
Fairytale Wall Stickers A Guide To Magical Room Makeovers
Ever dreamed of turning your child's room into an enchanted forest or a majestic castle, all without lifting a paintbrush? That’s exactly what you can do with fairytale wall stickers. They're a brilliantly simple, mess-free way to bring their favourite stories to life right on their walls.
For families across the UK, especially those renting, these decals are a game-changer. You can completely transform a nursery or playroom in just one afternoon, creating a stunning feature wall without the cost or commitment of wallpaper.
The Secret to a Mess-Free, Magical Room
Fairytale wall stickers aren't just pretty pictures; they're springboards for the imagination. Unlike a permanent mural that’s there for good, these high-quality vinyl designs let you build an immersive world that can change as your little one grows. That whimsical woodland scene you created for your newborn can easily be swapped for a brave knight's castle when they become a sword-wielding toddler.
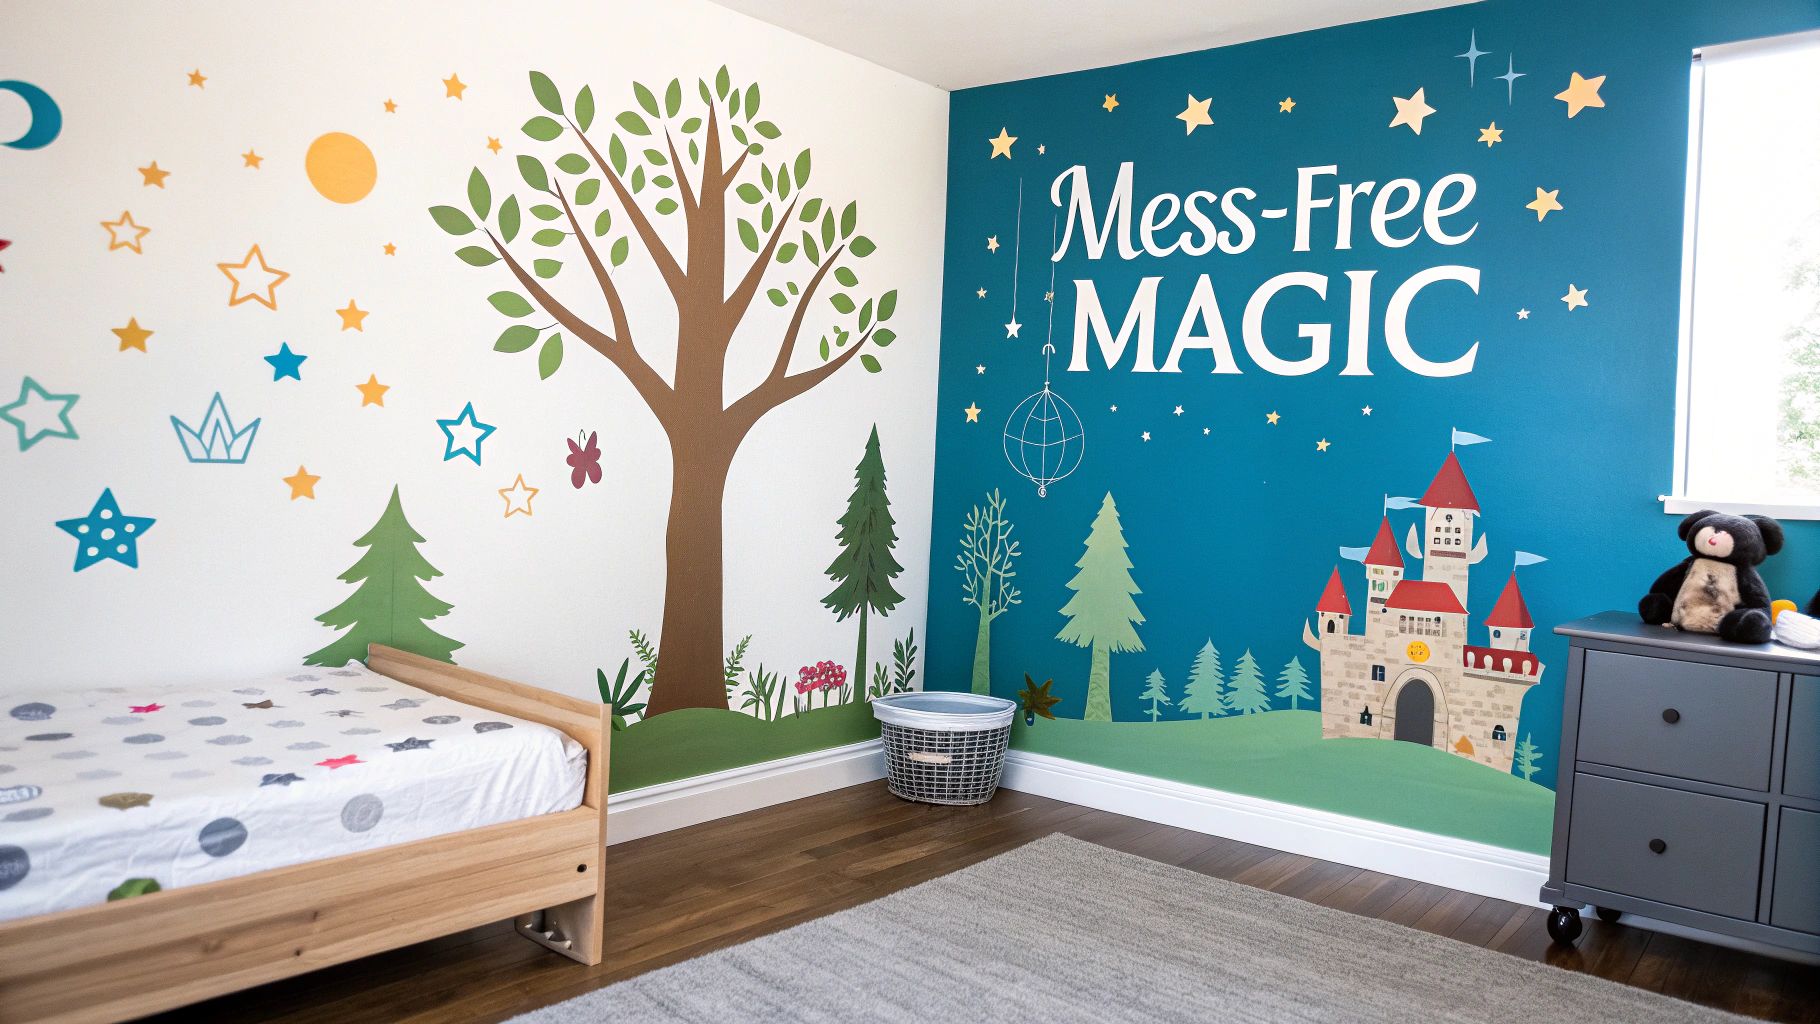
Let's be honest, the sheer convenience is a massive plus for busy parents. You get to skip the hassle of painting—no fumes, no endless clean-up, no waiting for paint to dry. This makes them perfect for a quick room refresh or for anyone living in a rented home where making permanent changes just isn't an option.
Why Parents Are Choosing Vinyl Decals
The move towards vinyl decals instead of more traditional decor really boils down to a few brilliant benefits:
- It’s budget-friendly. Crafting a feature wall with stickers costs a fraction of what you'd pay for a professional painter or rolls of designer wallpaper.
- Application is a doddle. Most designs can be up on the wall in less than an hour with just a few basic tools. It's a genuinely fun and rewarding weekend project.
- Removal is damage-free. When your child is ready for a new theme, good quality vinyl stickers peel off cleanly without taking the paint with them or leaving that awful sticky gunk behind.
- They're built to last. The high-grade vinyl used by UK specialists like Quote My Wall is made to stay put for years indoors, so you don't have to worry about fading or peeling.
The real magic of fairytale wall stickers lies in creating a space that feels personal and comforting. When you fill their room with friendly dragons, sparkling fairies, or enchanted trees, you’re not just decorating—you’re building the perfect backdrop for their own stories to unfold.
Think of this guide as your creative partner. I'll walk you through everything, from picking out the perfect design to getting the application spot on. We’ll cover materials, sizing, and styling tips to help you create a truly magical room your little one will love for years to come.
How To Choose The Perfect Fairytale Theme
This is where the real fun begins! Picking the right fairytale wall sticker isn't just about decorating; it's about setting the stage for your child's imagination. You’re crafting a world they can get lost in.
Think about themes that can grow with them. A soft, gentle woodland scene might be perfect for a baby’s nursery, but a bold castle and dragon set could be just the thing for a curious toddler who’s started their own make-believe adventures.
What story do you want the walls to tell? Will it be a secret garden teeming with whimsical fairies, or a dense forest where brave knights face mythical beasts? Tapping into what they love right now is a fantastic starting point, but always keep an eye out for designs with a timeless, classic feel.
Matching The Theme To Your Child
A great way to get some inspiration is by sitting down together with some printable colouring pages. It’s a simple, fun activity that can quickly show you which characters and scenes really light up their eyes. You'll soon figure out if they're dreaming of majestic unicorns or mischievous pixies.
The ultimate goal is to find a design that feels personal and comforting. When the theme really resonates with them, their room transforms from just a place to sleep into a true sanctuary—a special little world that’s all their own.
Understanding Materials And Durability
Let's be honest: not all wall stickers are made the same. The material really does matter, and if you want a professional, lasting finish, premium matt vinyl is the way to go. Cheaper, glossy stickers often look just like that—stickers. Matt vinyl, on the other hand, gives a beautiful, painted-on effect that blends right into your wall.
The best materials offer some key benefits:
- Vibrant Colours: The colours are richer, deeper, and won't fade over the years.
- Exceptional Durability: They’re tough enough to resist scuffs and marks, which is a must in any kid's room!
- Easy to Clean: A quick wipe with a damp cloth is all it takes to handle sticky fingerprints and keep it looking brand new.
UK families are increasingly investing in high-quality, personal touches for their homes. The UK wall art market, which includes these kinds of decorative stickers, was valued at USD 3.32 billion and is expected to climb to USD 6.57 billion by 2033. This surge shows just how much we love personalising our spaces with affordable yet beautiful designs. It's no surprise that vinyl decals are a huge part of this trend, thanks to their fantastic adhesion and long life.
Comparing Wall Sticker Materials
To help you decide, here’s a quick look at the most common materials. It makes choosing the right option for durability and appearance that much easier.
| Material Type | Best For | Durability | Removability |
|---|---|---|---|
| Matt Vinyl | A seamless, "painted-on" look on interior walls. | Excellent (often 5+ years indoors) | Cleanly removable without residue. |
| Glossy Vinyl | High-impact, shiny finishes; good for smaller decals. | Good, but can show scratches more easily. | Can sometimes leave sticky residue. |
| Fabric (Peel & Stick) | Textured walls and frequent repositioning. | Very good, tear-resistant. | Repositionable and easily removable. |
| Paper | Short-term or temporary decorations. | Low; prone to tearing and water damage. | Can tear upon removal and damage paint. |
Ultimately, for a long-lasting fairytale scene, matt vinyl usually offers the best balance of a premium look and the toughness needed for a child's bedroom.
Getting The Size And Customisation Right
The scale of your sticker can completely change the feel of a room. Are you thinking of a small, charming accent above the cot? Or are you dreaming big with a full-scale mural that turns an entire wall into an enchanted forest?
Before you buy, measure your space carefully and think about where furniture will go. A large castle sticker, for instance, looks incredible placed behind a bed, creating an instant, magical headboard.
Customisation is another fantastic way to make the design truly special. Many UK suppliers offer options to add a personal touch. Imagine a castle banner with your child's name on it, or a scattering of stars in their favourite colours. These little details are what elevate a simple sticker into a cherished piece of their childhood room.
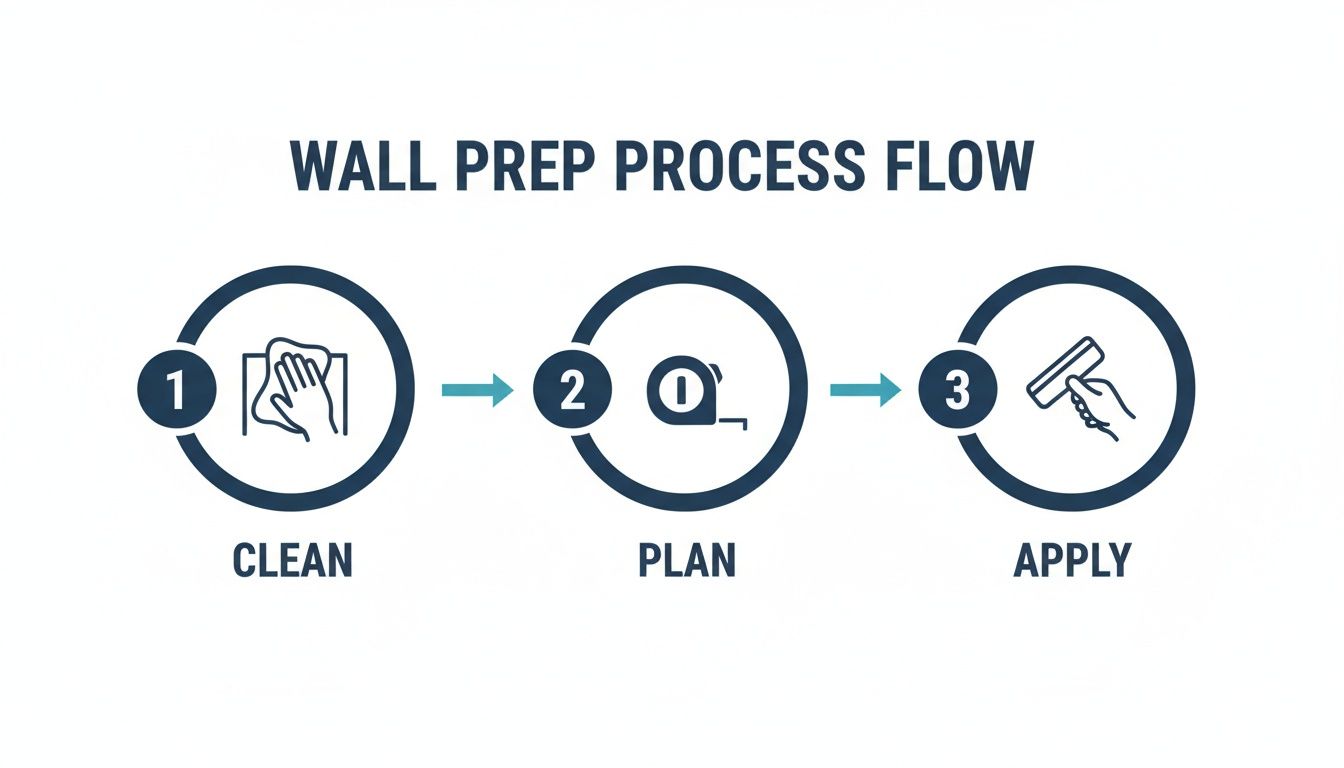
Getting Your Wall Ready For a Flawless Finish
Want the secret to making your fairytale wall stickers look like they were painted on by a professional? It all comes down to a little bit of prep work. Spending just 20-30 minutes getting your wall ready makes all the difference, ensuring a super smooth finish and preventing any pesky peeling corners later on. A perfect application really does start before you even think about peeling off the backing paper.
The aim here is simple: you need a clean, dry, and smooth canvas for your decal to stick to. Dust, grime, or even greasy fingerprints can get in the way of the adhesive doing its job properly. It's a bit like trying to put a plaster on a dusty knee – it’s just not going to stick.
Your Simple Toolkit
You don't need a van full of decorator's gear for this job. In fact, you've probably got everything you need hiding in a cupboard somewhere. Having it all to hand before you start just makes the whole process feel much calmer and more straightforward.
Here’s what you’ll want to grab:
- A soft, lint-free cloth: A microfibre cloth is ideal as it won't leave any fluffy bits behind.
- Mild soap and water: No fancy chemicals needed, just a simple, gentle cleaning solution.
- A measuring tape: Essential for getting your design perfectly centred and level.
- A pencil and a spirit level: Your partners-in-crime for marking out your placement guides.
- Low-tack painter's tape: This stuff is a lifesaver for holding your sticker in place while you figure out the perfect spot.
The All-Important Clean and Check
With your tools gathered, it's time to give the wall a gentle clean. Just mix a tiny bit of mild soap into some warm water, dampen your cloth, and give the whole area a good wipe-down. Follow up with a cloth dampened with plain water to rinse away any soap residue, then—and this is important—let it dry completely for at least 24 hours.
This is also a great moment to inspect your wall's surface. Most fairytale wall stickers love smooth, standard emulsion-painted walls. If you have a slightly textured wall, you should be fine, but heavily textured surfaces can make it tricky for the sticker to get a good grip. And a quick heads-up for keen decorators: never apply stickers to a freshly painted wall. You need to give the paint a minimum of three weeks to fully cure first.
Honestly, planning the layout is probably the most crucial part of this whole process. Use your painter's tape to create a temporary outline where you think the sticker should go. This lets you stand back, see it from the doorway, and double-check you’re happy with the height and placement. It’s so much easier to move a bit of tape than to peel off a brand-new sticker! This one simple trick ensures your enchanted scene is perfectly placed to bring its magic to life.
Applying Your Wall Sticker Without The Stress
With your wall perfectly prepped, it's time for the exciting bit—making your vision a reality. Applying your fairytale wall stickers might seem a little nerve-wracking, but I promise it's a straightforward and incredibly rewarding job. Forget any fears of creases or bubbles; follow a few simple steps and you'll get that flawless, painted-on look everyone wants.
The secret to perfect positioning is a little decorator's trick called the 'hinge method'. It’s the best way I know to place your design with absolute precision, especially for those larger, more intricate fairytale scenes. It takes all the guesswork out of the equation.
Mastering The Hinge Method
First things first, position the sticker on the wall with the backing paper still on. Grab your spirit level to make sure it's dead straight, then stick the top edge down with a few bits of low-tack painter's tape. Think of this tape as a temporary hinge that holds everything steady.
With your hinge in place, flip the whole sticker upwards so you can get to the backing paper. Gently start peeling the backing paper down from the top, just exposing the first few inches of the sticky vinyl. Snip off that revealed strip of backing paper with some scissors.
Now, carefully lower the sticker back down. Take a squeegee (a credit card works well too) and, starting from the centre, press outwards to smooth that exposed section firmly onto the wall. This creates a strong initial bond and anchors the top of your design.
The real beauty of this method is the control it gives you. By working in small sections, you minimise the risk of the sticker folding back on itself or trapping large air pockets. It transforms a potentially tricky task into a calm, manageable process.
Smoothing Your Sticker For A Perfect Finish
Once the top is secure, you can take off the painter's tape. Let the rest of the sticker hang down naturally. Now, you’ll work your way down: reach behind the vinyl, slowly peel away more of the backing paper, and smooth the sticker onto the wall with your squeegee as you go.
The golden rule is to always work from the centre outwards, using firm, overlapping strokes. This technique pushes any air bubbles towards the edges before they have a chance to get trapped. If a stubborn bubble does pop up, don't panic. Just take a pin, make a tiny hole right in the middle of it, and gently press the air out. The vinyl is surprisingly forgiving, and the tiny hole will be completely invisible.
After the entire design is stuck down, give it one last firm rub-down with the squeegee to make sure it's properly adhered. The final step is to slowly peel back the top application tape. Do this at a sharp angle, taking your time to ensure every last detail of your sticker stays put. And there you have it—a stunning, seamless result.
For a more detailed walkthrough, you can check out our guide on how to apply wall stickers.
It's easy to see why wall coverings are so popular in the UK. Options like these are often 70% less expensive than a full redecoration. Better yet, 90% of users find they can transform a room in under 30 minutes, which is fantastic for busy families. This incredible ease of use is a massive part of their growing appeal.
Styling Your Room Around The New Decor
With your fairytale wall sticker perfectly applied, the real fun begins. It's now the stunning focal point of the room, and the next step is to weave its magic throughout the space to create a truly cohesive and immersive world for your little one.
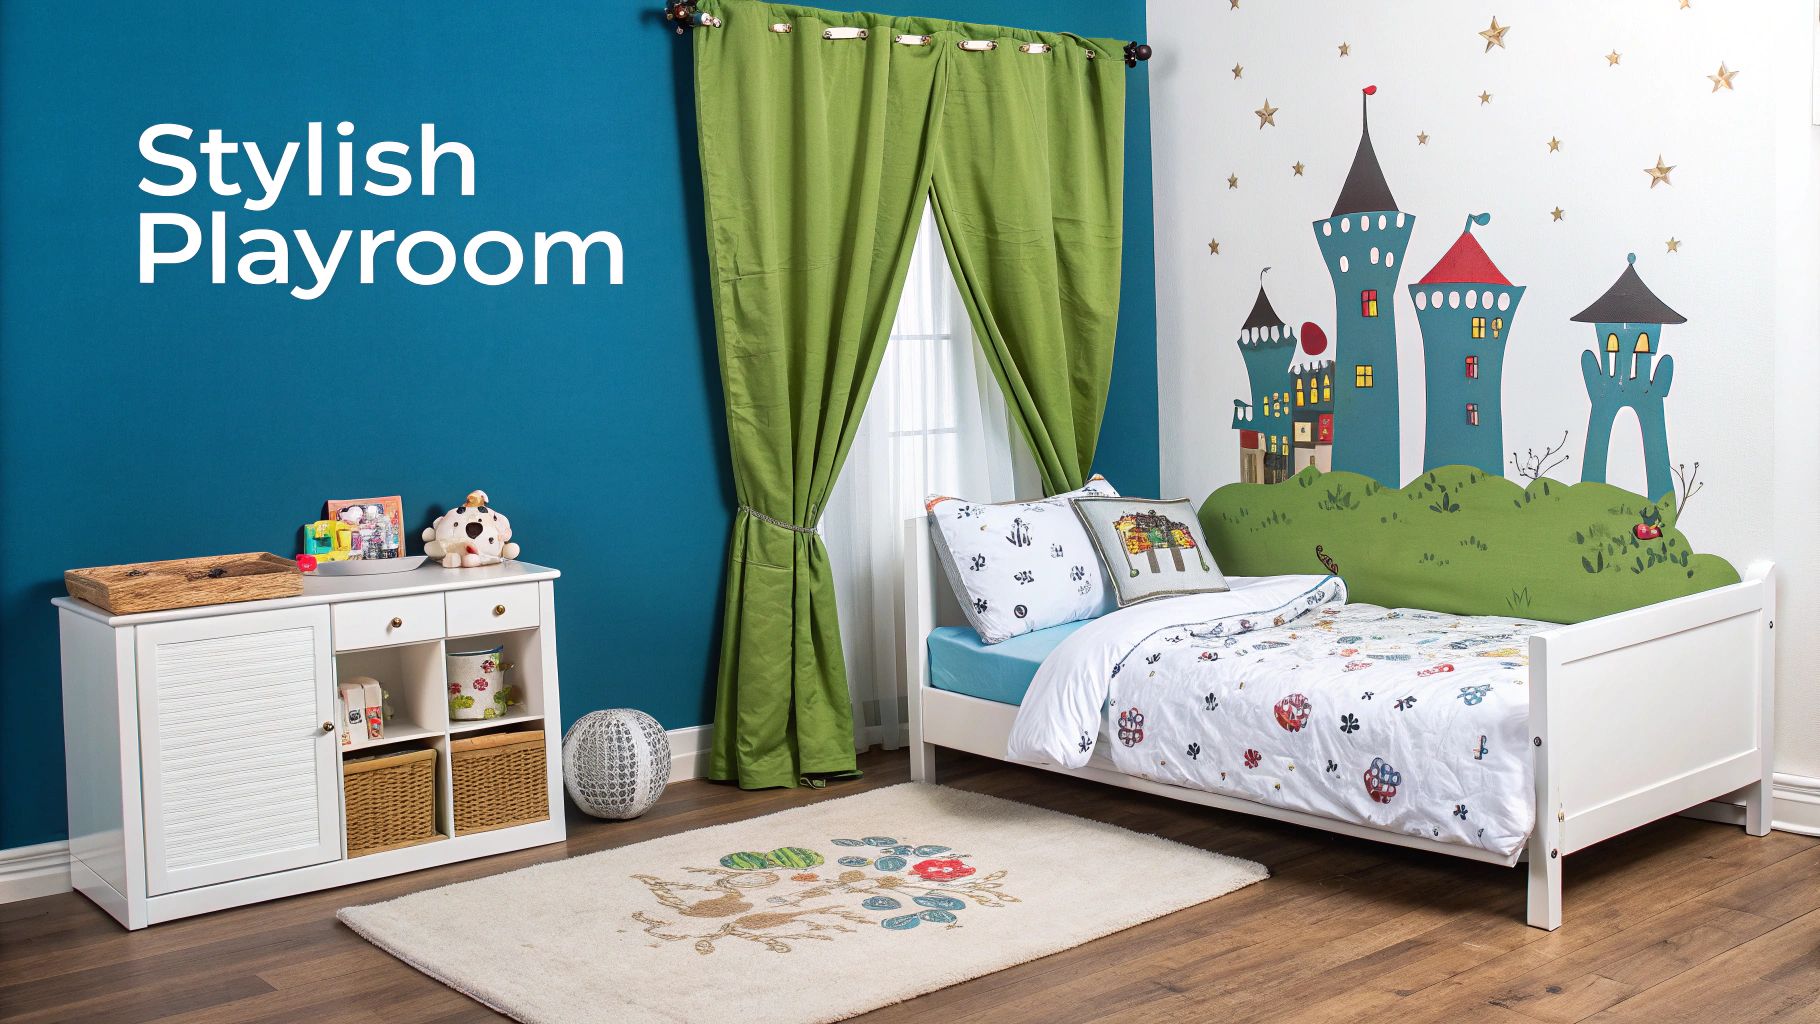
This doesn't mean you need a complete overhaul. Think of it more like layering complementary elements that echo the themes and colours of your new wall art. By bringing in a few key items like bedding, lighting, and textiles, you can transform the room from simply decorated to genuinely enchanting.
Creating A Cohesive Fairytale Theme
Coordination is everything when it comes to pulling a room together. Start by picking out two or three main colours from your wall sticker to use as an accent palette. If you’ve gone for a woodland scene filled with deep greens and earthy browns, you could introduce plush, forest-green cushions, a faux-fur rug that feels like soft moss, or curtains with a subtle leaf pattern.
For a grand princess castle featuring soft pinks and lavenders, try complementing it with these touches:
- Dreamy Fabrics: A delicate tulle or organza canopy draped over the bed adds an instant touch of royalty, while soft, velvety throws make things feel extra cosy.
- Sparkling Lighting: A simple string of warm fairy lights or a charming lampshade can cast a magical, ambient glow across the room.
- Themed Accessories: Small details like a crown-shaped cushion or a decorative carriage on a bookshelf can really tie the whole look together.
Getting a handle on how different hues affect a room's atmosphere can make a huge difference. You can learn more about color psychology in interior design to help you choose the perfect complementary shades.
Keeping Your Sticker Looking Vibrant
While our premium vinyl stickers are made to last, a little bit of care goes a long way. To keep your fairytale scene looking as good as new, just give it a gentle wipe with a soft, damp cloth every now and then. Be sure to steer clear of any abrasive cleaners or rough scrubbing, as they can easily damage the delicate matt finish.
The UK wallpaper market is booming, largely thanks to families looking for affordable, damage-free ways to decorate. High-quality vinyl is the go-to material because of its exceptional durability—it's perfect for products designed to last at least 5 years indoors.
This kind of longevity means your chosen design will be a cherished part of their room for many years to come. If you're looking for even more inspiration to complete the look, take a peek at our other guides on magical fairy bedroom ideas for tips on everything from furniture to the perfect finishing touches.
Your Fairytale Wall Sticker Questions, Answered
Even when you've found the perfect design, it’s natural to have a few questions before you start. I get it – you want the process to be as smooth as the finished look.
Think of this as a quick chat to clear up those last-minute queries. We'll cover everything from fresh paint to the best places to stick your new fairytale scene, making sure your decorating adventure is a total success.
How Soon Can I Put Stickers On A Freshly Painted Wall?
This is a big one, and my best advice is to be patient. You really need to wait at least two to three weeks after painting before applying any wall stickers.
Why? Because fresh paint needs to "cure". As it hardens, it releases solvents, and if you slap a sticker over it too soon, you'll trap those gases. This is what causes those annoying bubbles and stops the sticker from getting a proper grip. A little bit of waiting time is the key to a flawless, long-lasting finish.
Are The Fairytale Stickers Reusable?
Our stickers are designed for one-time use to give them a really strong, lasting bond. This is what keeps them looking perfect on your wall for years, without any annoying peeling at the corners.
While they're a dream to remove when you're ready for a change, the adhesive isn't designed to be used again. Trying to peel and restick them can stretch the vinyl and ruin the stickiness, so it’s always worth taking that extra minute to get the placement spot-on the first time.
Will They Damage My Walls When I Take Them Off?
Absolutely not, and that's one of the best things about them, especially if you're renting! We use a high-quality vinyl that’s made to come off cleanly. As long as your wall was properly prepared to begin with, you won’t be left with any sticky gunk or damaged paint.
My Top Tip: When it's time for removal, grab a hairdryer. Gently warming the sticker on a low heat setting softens the adhesive, making it super easy to peel away slowly and carefully.
It’s a simple trick that makes updating the room as your child grows completely stress-free. For a more detailed walkthrough, you can learn more about how to remove wall stickers safely right here.
What’s The Best Surface To Use Them On?
For the best results, you'll want a smooth, clean, and dry indoor surface. Luckily, that covers most of the typical spots in a kid's room.
They work brilliantly on:
- Smooth Painted Walls: Your standard emulsion-painted wall is the ideal canvas.
- Glass & Mirrors: They look fantastic on windows or mirrored wardrobe doors.
- Smooth Furniture: Think about customising a toy box, a headboard, or the side of a chest of drawers for an extra magical touch.
Where should you avoid? Highly textured surfaces are a no-go. Things like bumpy wallpaper, bare brick, or rough concrete don't give the sticker enough flat area to cling to, and it'll likely start to peel off.
Ready to bring that fairytale magic to life? Have a look through the enchanting collection of fairytale wall stickers at Quote My Wall and find the perfect design to spark your child's imagination. Visit us at https://www.quotemywall.co.uk.