
Magical Fairy Bedroom Ideas for Kids
Every truly magical fairy bedroom begins not with a wave of a wand, but with a solid plan. The most breathtaking designs I've seen are always the ones that thoughtfully blend soft lighting, whimsical textiles, and magical wall decor to create a space that feels like a genuine escape.
Crafting Your Magical Blueprint

Before you even think about hanging the first fairy light or peeling the back off a wall decal, it's worth taking a moment to map things out. This little bit of prep work is what turns a collection of nice ideas into a cohesive, functional, and truly enchanting wonderland. This is where you define the atmosphere, pick your colours, and decide how the room will flow.
This foundational step ensures every single element, from the bed frame to the smallest trinket, works together towards your final vision. It’s also your best defence against costly re-dos and helps you design a room that can adapt as your child grows.
Visualise the Vibe with a Mood Board
A mood board is your secret weapon for creating a unified look. It’s essentially a collage of images, colours, and textures that capture the feeling you’re aiming for. It’s the visual anchor for all your fairy bedroom ideas.
Start by gathering inspiration from all over. You can go old-school with a corkboard and pins or create a digital one on Pinterest. Don't just look at bedrooms; pull in anything that evokes the right mood:
- Nature Photos: Think misty forest floors, dew-covered ferns, or a dusky twilight sky.
- Colour Swatches: Grab some paint chips from a DIY store or save digital palettes online.
- Fabric Textures: Find images of floaty tulle, rich velvet, or earthy linen.
- Illustrations: Snip pictures from favourite fairy-tale books that capture the style you love.
This simple exercise helps you nail down your vision and gives you a reference to check back with, making sure all your later choices are on the right track.
Choosing Your Enchanted Colour Palette
While pink is a lovely classic, a truly immersive fairy realm often benefits from a richer, more natural palette. Layering several tones, rather than sticking to just one, adds a real sense of depth and sophistication. It’s what makes a room feel atmospheric and calming.
Drawing on broader design principles, like these inspiring newborn nursery ideas, can provide a brilliant starting point for creating a space that’s both stylish and comforting.
A well-chosen colour scheme does more than just decorate; it tells a story. Mossy greens can suggest a secret woodland grove, while dusky lavenders and deep blues evoke the magic of a twilight garden where fairies come out to play.
Magical themes like this are incredibly popular. In fact, a Dulux survey found that 17% of parents chose a specific theme for their child's room, with fairy and princess designs being firm favourites. It shows how much we want to create imaginative, personal spaces for our children.
To help you get started, here are a few colour palette ideas that move beyond the expected.
Fairy Bedroom Colour Palette Inspiration
Explore different colour combinations to create the perfect fairy atmosphere, from classic woodland to mystical twilight themes.
| Palette Theme | Primary Colours | Accent Colours | Overall Mood |
|---|---|---|---|
| Woodland Glade | Moss green, earthy brown | Soft gold, cream | Natural, calming, rustic |
| Twilight Garden | Dusky lavender, deep navy | Silver, blush pink | Mystical, dreamy, serene |
| Enchanted Forest | Forest green, muted teal | Burnt orange, mustard | Whimsical, adventurous, warm |
| Pastel Meadow | Sage green, soft peach | Lilac, buttercup yellow | Sweet, cheerful, gentle |
These combinations are just starting points, of course. Feel free to mix and match to find the perfect blend for your own little fairy's personality.
Planning a Functional Fairy Layout
A magical room still needs to be a practical one. Before you decide where to place that adorable toadstool seat, think about the day-to-day reality of how the space will be used. Creating distinct "zones" is a simple trick to keep the room organised and functional for sleeping, playing, and quiet time.
Grab a piece of paper and sketch a quick floor plan, mapping out these key areas:
- The Sleep Zone: This should be the calmest, most clutter-free area, ideally away from the door. A canopy over the bed or a cosy built-in nook helps define this space beautifully.
- The Play Zone: Set aside a good patch of open floor for imaginative play, making sure toy storage is easy to reach. A soft, plush rug is perfect for anchoring this spot.
- The Quiet Zone: A little corner with a comfy beanbag, some cushions, and a low bookshelf creates a perfect reading nook. The principles for creating calming spots like this are also touched on in our guide here: https://www.quotemywall.co.uk/blogs/news/nursery-wall-decor-ideas.
Considering the flow of the room from the very beginning ensures your beautiful fairy bedroom isn't just a feast for the eyes, but a joyful and easy space to actually live in.
Bringing Your Enchanted Walls to Life
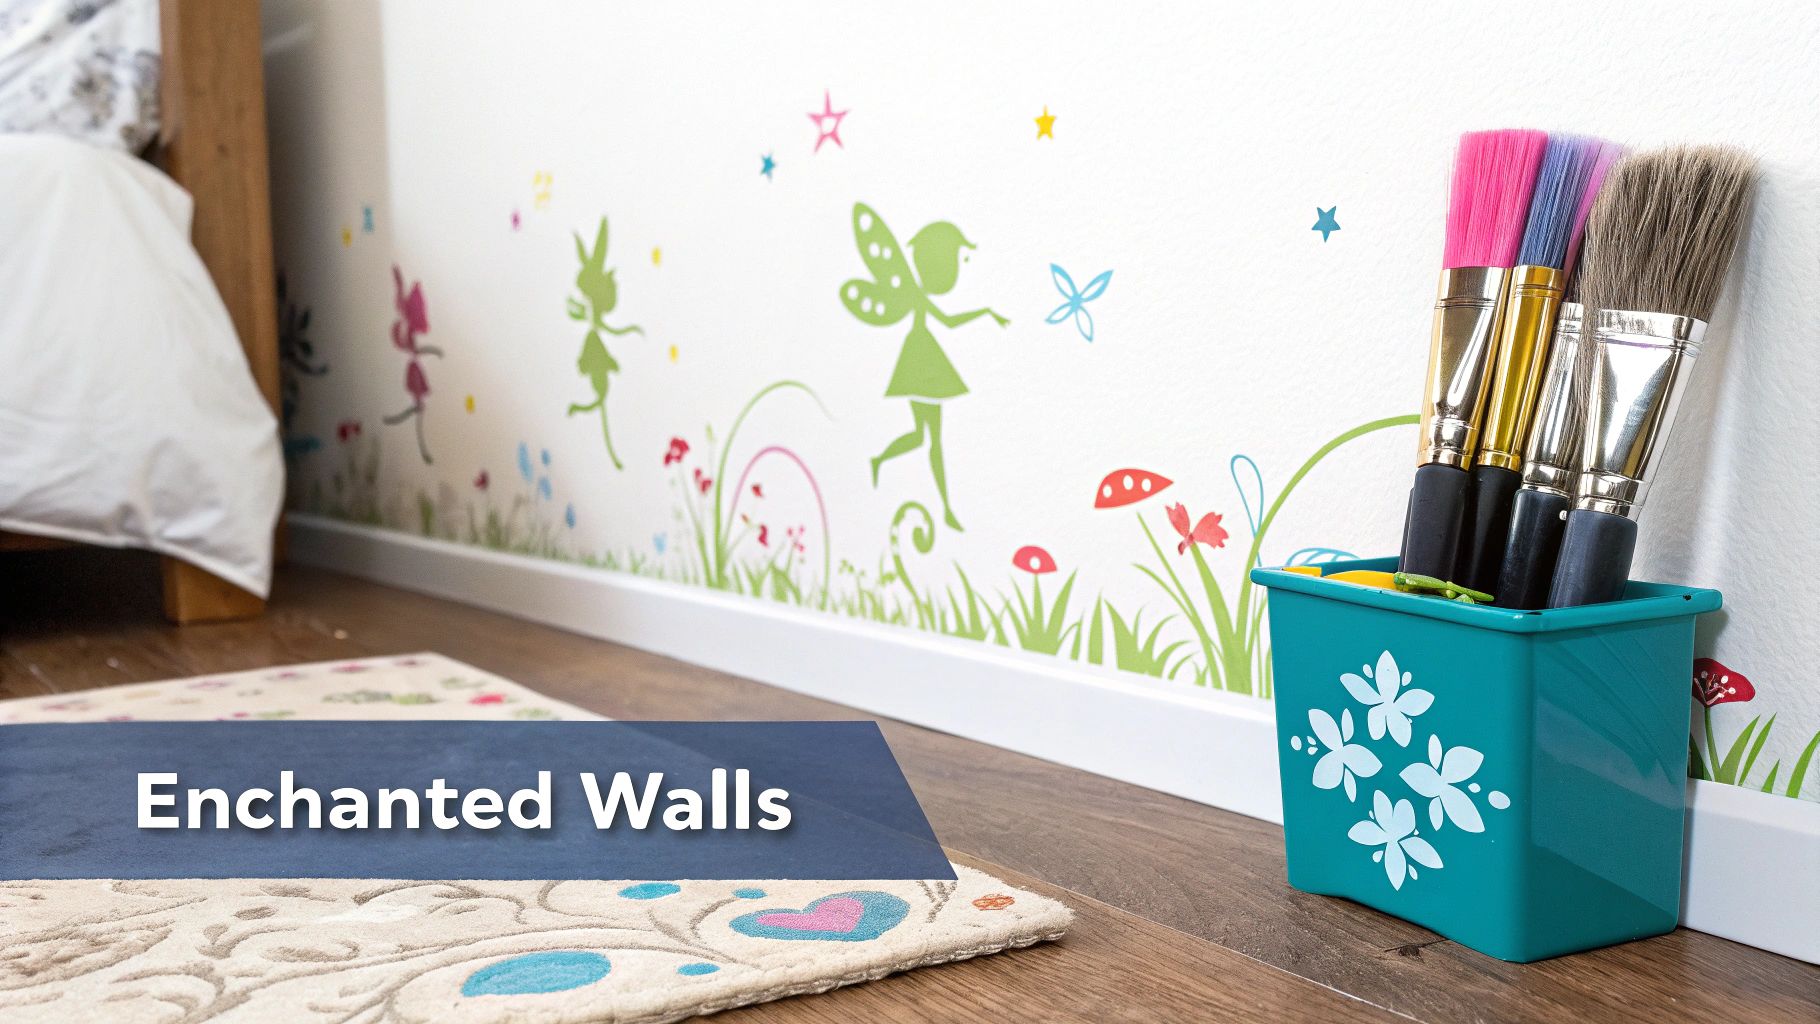
The walls are your canvas. They're the backdrop against which your entire fairy tale will unfold, so transforming them from plain surfaces into a scene of enchantment is one of the most powerful moves you can make. This is where you really set the stage for little imaginations to run wild.
Don't worry, you don't need to be a professional artist to get a stunning result. Thanks to brilliant solutions like peel-and-stick wallpapers and removable decals, creating a magical focal point has never been easier—or less permanent.
Create an Instant Woodland with Peel-and-Stick Wallpaper
Peel-and-stick wallpaper is an absolute game-changer for themed rooms. It gives you all the visual punch of traditional wallpaper but is far more forgiving, making it perfect for renters or for a room that you know will evolve as your child gets older.
For a fairy theme, I always recommend looking for designs that whisper of nature's magic. Think delicate botanicals, misty forest scenes, or even subtle, shimmery fairy-wing motifs. These patterns create an immersive environment that feels like stepping right into another world. Getting that flawless finish is all about good prep and a bit of patience.
- Start with a Clean Slate: First things first, make sure the wall is clean, dry, and smooth. A quick wipe-down with a damp cloth is usually all it takes, but let it dry completely.
- Measure Twice, Cut Once: Before you even think about peeling, measure your wall and cut the wallpaper to size. It’s always a good idea to leave a little extra at the top and bottom to trim later.
- Peel and Stick in Stages: Don't just rip the entire backing off at once. Peel back the top 15-20cm, line it up with the ceiling, and press it firmly. Then, gradually pull away more backing as you smooth the paper downwards with a squeegee to get rid of any air bubbles.
My top tip is to always work from the centre outwards when you're smoothing. This clever trick pushes any trapped air towards the edges where it can easily escape, stopping those frustrating bubbles from forming.
Using this method, you can create a professional-looking accent wall that instantly defines the whole room's character.
Weave a Story with Removable Decals
If a full wall of wallpaper feels a bit much, removable decals are a more flexible and targeted way to sprinkle in the magic. They are absolutely brilliant for layering details and telling a story right across the space. The real beauty of decals is their versatility—you can create one small, charming scene or an entire, expansive mural.
Think beyond just single stickers and consider how they can interact with the room itself. Why not place delicate fairy silhouettes so they look like they're peeking out from behind a headboard? Or have a trail of glowing stars leading from the door to the bed? This approach turns a simple decoration into an interactive part of the room’s narrative. You can find more great tips in this handy guide to decorating with children's room decals.
To build a really rich visual landscape, try mixing different elements:
- Fairy Silhouettes: These look especially lovely placed near lamps or windows for a beautiful backlit effect.
- Glowing Stars: A classic for a reason! They're perfect for the ceiling, creating a truly magical night sky.
- Botanical Elements: Add little clusters of wildflowers, toadstools, and swirling vines around skirting boards or door frames. It creates the feeling that an enchanted forest is gently reclaiming the room.
The best part? They're completely temporary. If (or when!) your child's tastes change, you can just peel them off without a hint of damage, making them one of the most practical fairy bedroom ideas out there.
Craft a Personal Mural with Stencils
For a unique touch that feels truly personal and handcrafted, a simple DIY mural using stencils is a fantastic option. This lets you create a one-of-a-kind enchanted forest without needing to be a natural-born artist. It’s the perfect middle ground between decals and freehand painting.
Start with a simple design, like tree trunks, oversized dandelions, or leafy branches. You can buy pre-made stencils or easily make your own with some card and a craft knife. I’d recommend planning your layout lightly in pencil first, just to make sure the scale and placement feel right.
When it's time to paint, use a stencil brush or a small foam roller with very little paint on it. This technique, often called 'dry brushing', is the secret to avoiding any paint bleeding under the stencil's edges and getting lovely crisp lines. By layering different stencils—perhaps trees first, then leaves, and finally a few hidden fairies—you can build up a scene with incredible depth. It's this personal touch that will make the room feel uniquely theirs, a secret magical world you created together.
Casting a Magical Glow with Lighting and Fabrics
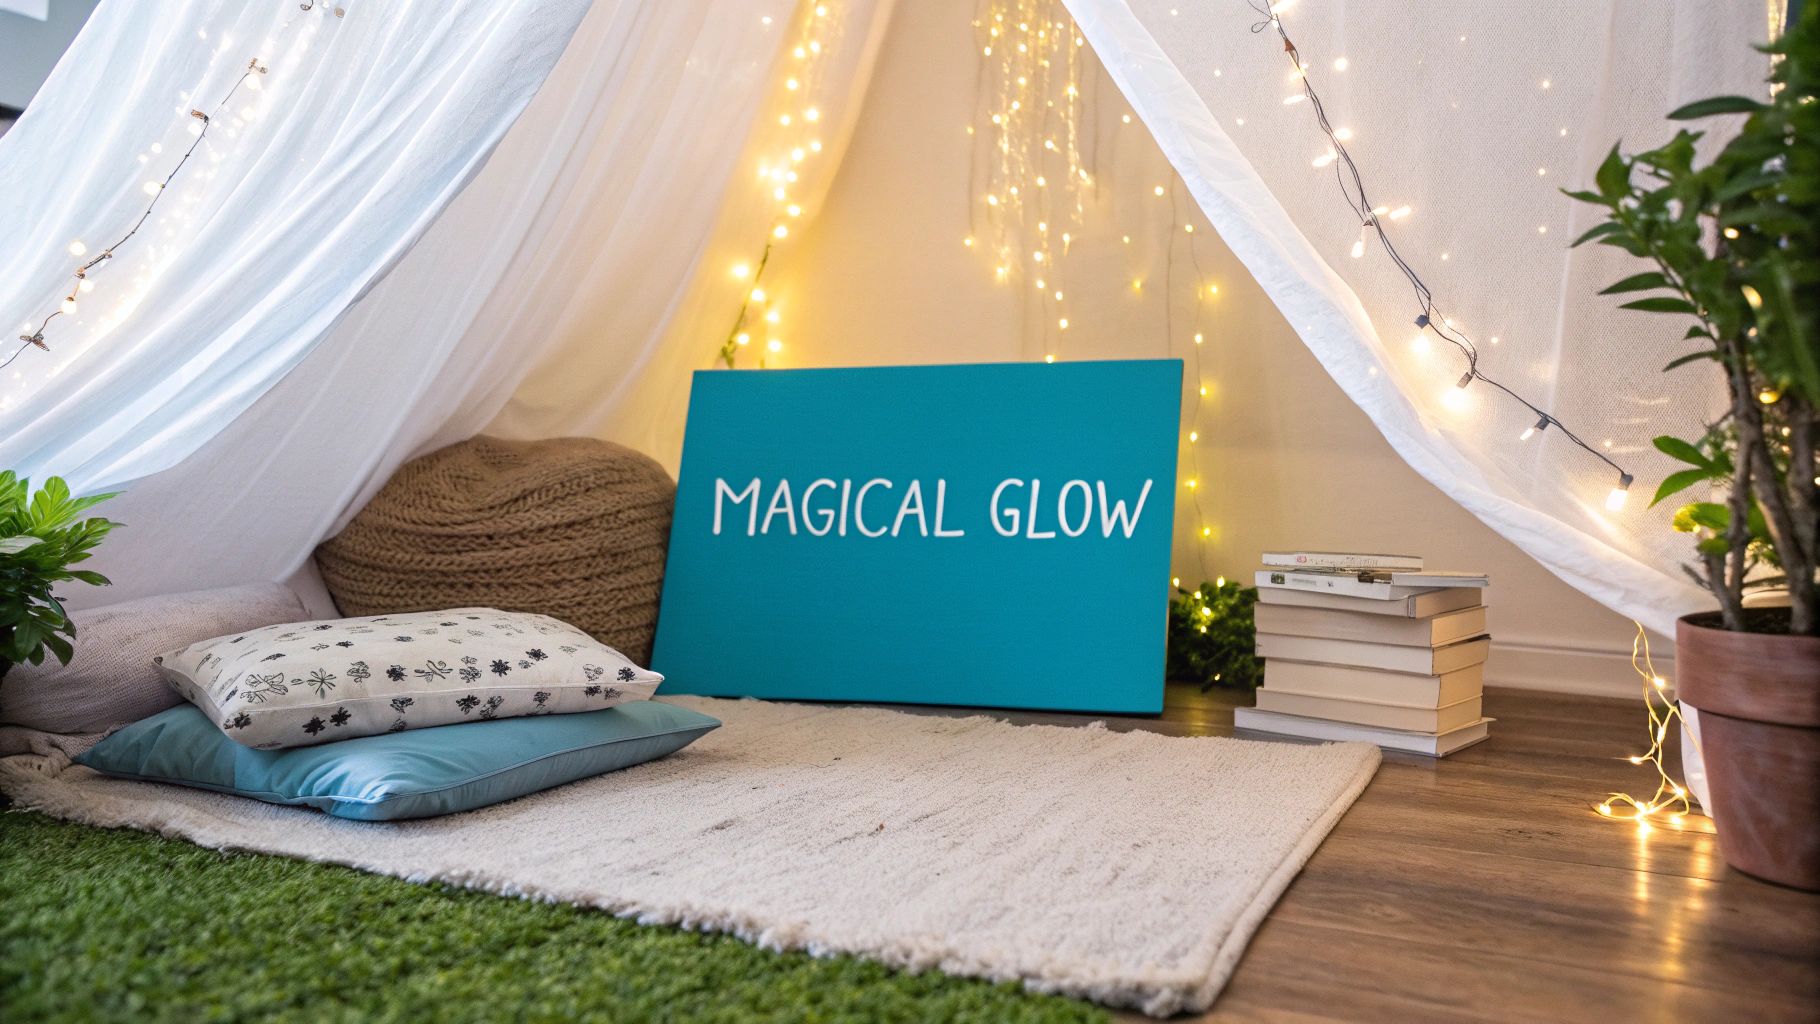
If the walls are the stage for your fairy tale, then lighting and fabrics are the special effects that bring the whole performance to life. These are the elements that create a real atmosphere, turning a nicely decorated room into a space that feels genuinely enchanting. The right glow can make a corner feel mysterious and cosy, while soft fabrics invite a child to simply curl up and dream.
The trick is all about layering. A single, bright ceiling light just won't cut it here. Instead, think about creating multiple small pools of gentle, warm light that draw the eye and add a real sense of wonder. This layered approach is your secret weapon for achieving that signature, ethereal fairy vibe.
Illuminating the Enchanted Realm
To create truly magical lighting, you want it to feel like it’s part of the scenery. Think less about practical brightness and more about creating a soft, dreamlike glow. Dainty copper-wire fairy lights are an absolute must-have for any fairy bedroom.
These delicate lights are incredibly versatile. You can drape them over a headboard, weave them through the netting of a bed canopy, or even wrap them around a plain lampshade for a whimsical update. They provide that gentle sparkle without ever feeling overwhelming.
For a charming DIY touch, try popping a battery-operated string of fairy lights inside a clean jam jar. This creates the illusion of captured fireflies or bottled magic – perfect for a bedside table or a shelf. It’s a simple, safe, and wonderfully effective trick.
To really take the immersion to the next level, consider a captivating light source like an enchanted rotating projector light. Projectors can cast swirling patterns or starry skies across the ceiling, instantly transforming the entire room into a different world at bedtime.
When choosing your lighting, always, always opt for LED bulbs. They stay cool to the touch, which is a crucial safety feature in a child's bedroom, especially when lights are placed near fabrics like canopies or bedding.
Weaving in Softness with Textiles
Once your lighting is casting a gentle glow, it's time to layer in texture and comfort with fabrics. Textiles are what make the room feel plush, warm, and inviting – a proper fairy haven. Mixing different materials is the key to adding depth and sensory interest to the space.
Start with the bed, the biggest textile element in the room. A gauzy canopy is a classic for a reason; it instantly creates the feeling of a special, protected space. You can buy ready-made canopies or easily make your own with a few metres of inexpensive tulle or voile fabric suspended from an embroidery hoop.
Beyond the canopy, think about layering textures right on the bed itself.
- Soft Bedding: Look for duvet covers in your chosen colour palette, maybe with a subtle botanical print or a soft, washed cotton feel.
- Velvet Cushions: A few jewel-toned velvet cushions add a touch of luxury and a lovely deep texture to lean against during story time.
- Chunky Knits: A chunky knit throw blanket tossed at the end of the bed adds another layer of cosy texture and is perfect for snuggling under.
This combination of different materials creates a rich, tactile experience that feels wonderfully indulgent and comforting.
Creating a Cosy Reading Nook
Every fairy bedroom needs a quiet corner for reading and daydreaming. This is where your use of lighting and textiles can come together to create a spot that’s completely irresistible. Find a corner of the room and focus on making it as comfortable as humanly possible.
A plush, faux-fur rug on the floor immediately defines the space and provides a soft base to sit on. From there, add a large floor cushion or a soft beanbag chair. The goal is to make it feel like a little nest.
Finally, give the nook its own dedicated lighting. A floor lamp with a warm bulb or a string of pretty globe lights hung on the wall above will provide just enough light for reading without jarring the room's gentle ambiance. This little haven will quickly become their favourite place to escape into a book and let their imagination soar.
Furnishing a Whimsical World on a Budget
Creating a truly magical fairy bedroom doesn't mean you need a royal budget. Far from it! With a little creativity and some clever upcycling, you can furnish an enchanting space that looks like it’s jumped straight off the page of a storybook, all without breaking the bank. It's really about choosing a few key pieces wisely and transforming what you already have into something special.
It's amazing how much parents in the UK invest in their children's bedrooms, which just shows how important these little personal spaces are. One poll found the average parent spends over £5,300 decorating a child's nursery and bedrooms before they hit the age of 10. And a huge part of that is furniture, with 28% of parents saying that choosing the right pieces takes the most time.
What’s really interesting, though, is how savvy parents are becoming. The same survey from The Independent revealed that 37% buy a mix of new and second-hand items to stick to a budget. This just proves that blending new finds with pre-loved treasures is a brilliant and popular way to approach any fairy bedroom project.
Anchor Pieces That Set the Magical Tone
Some pieces of furniture just scream "whimsy" and can act as a fantastic foundation for your fairy bedroom ideas. Take a simple house-frame bed, for example. It's a brilliant starting point. Its clean lines are crying out to be draped with fairy lights, faux ivy, or sheer fabric to create an instant enchanted cottage vibe.
Another classic is a bed with a simple canopy. It doesn't need to be an ornate four-poster. Even a basic frame can be completely transformed with some floaty voile or tulle fabric, creating a dreamy, protected space that feels like a fairy's personal hideaway. These bigger "anchor" pieces do the heavy lifting, establishing the theme so you can have fun with the smaller, more budget-friendly details.
A top tip from me: keep an eye on second-hand marketplaces for these kinds of beds. A quick coat of paint and some simple decoration can make a pre-loved frame look brand new and totally custom.
By choosing one really impactful piece of furniture, you create a strong focal point that the rest of the room's decor can easily revolve around.
The Magic of Upcycling with Vinyl Wraps
Now, this is where the real transformation happens. Upcycling is your secret weapon for getting that custom, high-end look on a shoestring. A plain, boring chest of drawers can become a masterpiece with a bit of imagination and some modern materials.
This is where removable vinyl wraps come in. They let you completely change the look of a piece of furniture without the mess, fumes, and hassle of sanding and painting. For a fairy theme, you could try a soft, pale wood-grain finish to get that woodland feel, or go for a gentle pastel colour like sage green or dusty rose.
Applying the wrap is surprisingly straightforward:
- Prep the Surface: First, give the furniture a good clean with a mild degreaser to get rid of any grime or oils. The surface has to be perfectly clean and dry for the best stick.
- Measure and Cut: Carefully measure each bit you want to cover, like the drawer fronts and the top. Cut your vinyl wrap to size, but leave a small overlap of about 2-3 cm on each side to be safe.
- Apply with Care: Peel back a little bit of the backing paper and line the vinyl up with one edge. Using a squeegee, smooth the vinyl down firmly, working from the centre outwards to push out any pesky air bubbles.
- Trim the Edges: Once it's all smooth, grab a sharp craft knife and carefully trim away the excess material. You'll be left with a clean, professional-looking finish.
This technique is so effective and very forgiving if you make a mistake. For a more detailed walkthrough, have a look at our complete guide on how to upcycle furniture which uses these exact methods.
Finishing Touches for a Custom Look
With the main furniture transformed, the final job is to add those small, bespoke details that really nail the fairy theme. These little changes have a massive impact and make the furniture feel truly unique and magical.
One of the easiest and most effective updates is simply swapping out the hardware. Ditch the boring drawer pulls for something more whimsical. You could choose:
- Crystal Knobs: These catch the light beautifully and add a touch of sparkle.
- Floral or Leaf-Shaped Pulls: Ceramic or metal knobs in botanical shapes are a perfect match for an enchanted forest theme.
- Painted Wooden Knobs: Simple wooden knobs are cheap as chips and can be painted in your accent colours for a perfectly coordinated look.
And if you're feeling a bit artistic, why not add some hand-painted details? Use non-toxic acrylic craft paint to add delicate trailing vines around the edges of a bookcase or a little cluster of charming red-and-white toadstools in the corner of a bedside table. It's these personal touches that take your upcycled furniture from a simple DIY job to a cherished piece of art.
Adding the Final Sparkle with DIY Decor
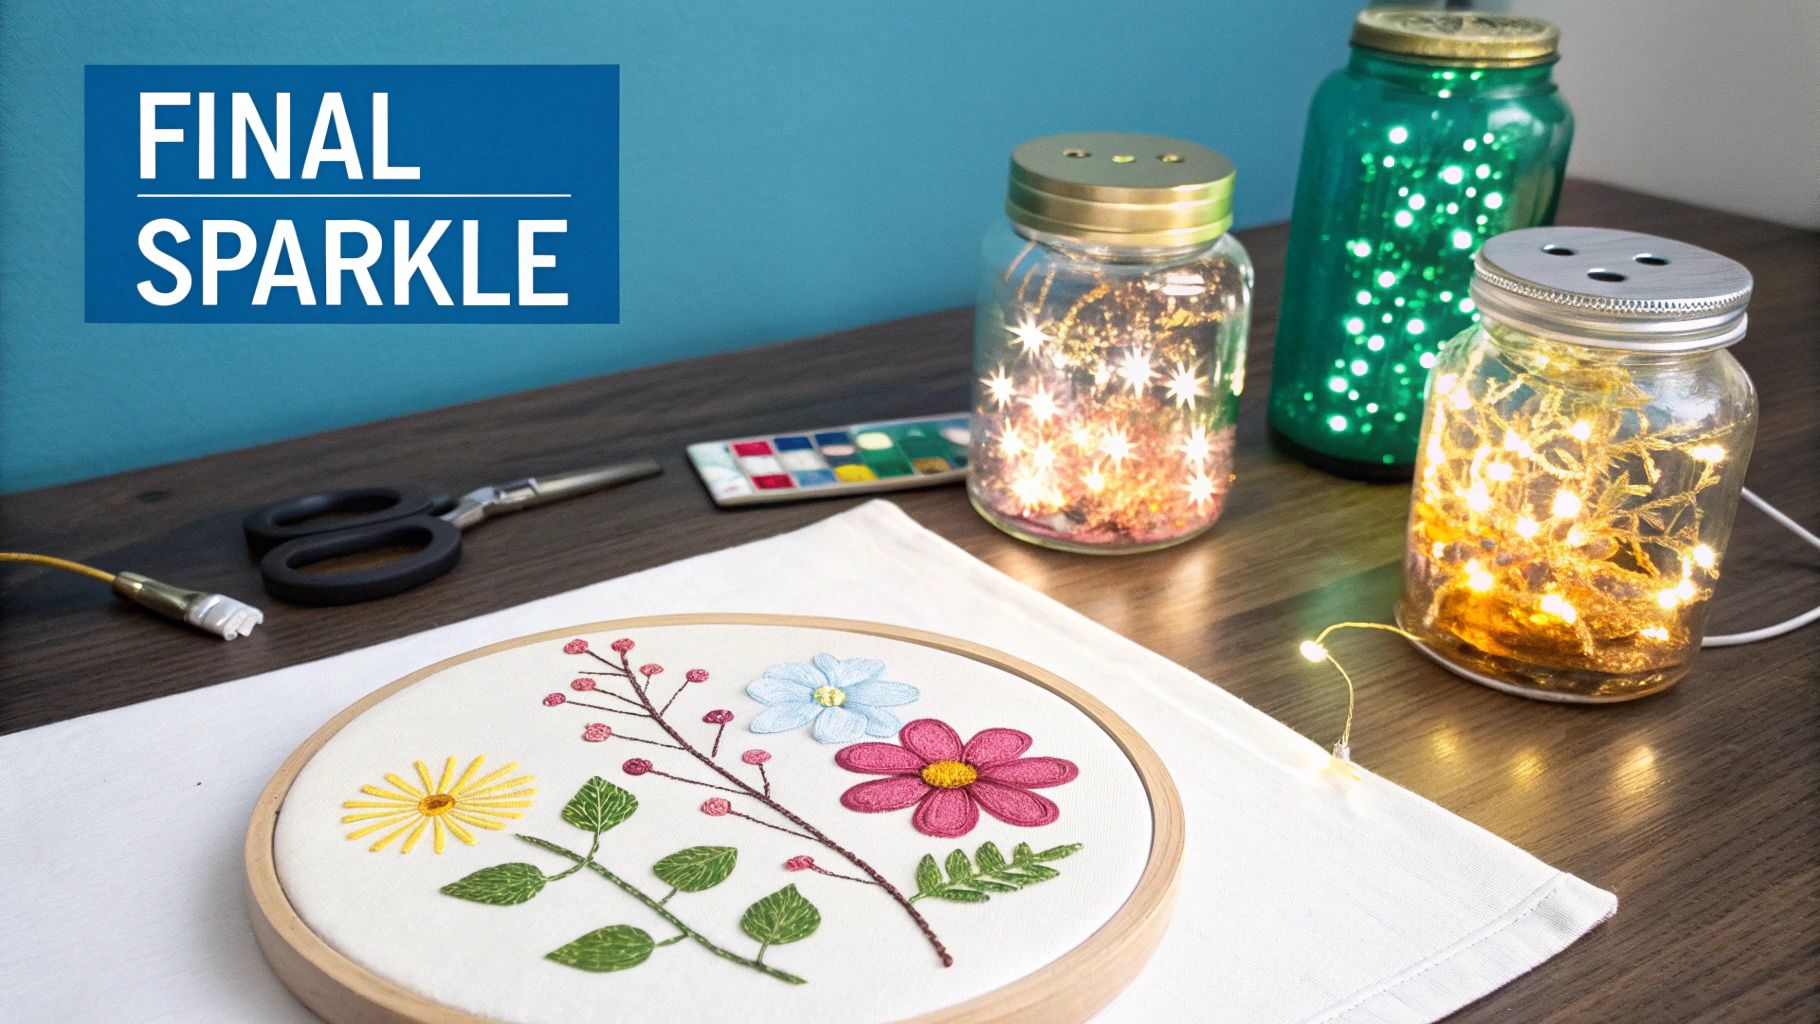
The walls are telling a story and the furniture has set the scene, but it's those final, personal touches that truly bring the enchantment to life. This is where the real magic happens, turning a decorated room into a personal wonderland. It’s your chance to sprinkle in some character with budget-friendly DIY projects that reflect your child’s personality.
These finishing touches don't need to be grand or expensive. In fact, some of the most charming fairy bedroom ideas are the ones you can create together, making memories while you craft. From glowing jars to whimsical storage, every little element builds on the magical world you're creating.
Crafting Your Own Enchanted Artefacts
There's a special kind of magic in handmade decorations. They're one-of-a-kind, filled with love, and a fantastic way to get your child involved in the whole process. One of my all-time favourites is the classic glowing fairy jar.
It’s surprisingly simple. Grab a clean glass jar, some PVA glue, fine glitter, and a string of battery-powered micro LED lights. Just coat the inside of the jar with a thin layer of glue, pour in the glitter, and swirl it around until it’s evenly coated. Once it's dry, pop the LED lights inside for a beautiful, sparkling lantern that looks just like you’ve captured fireflies.
Another lovely project is a floral mobile.
- Find a base: An old embroidery hoop is perfect for the frame.
- Add your strands: Tie different lengths of clear fishing line or delicate ribbon around the hoop.
- Attach your decorations: Use a hot glue gun to fix faux flowers, silk butterflies, or even little felt toadstools to the ends of the lines.
Hang it above a reading nook or in a corner of the room, and you've got a touch of gentle, floating beauty. It adds movement and a botanical feel that fits the fairy aesthetic perfectly.
Finding the Perfect Whimsical Accessories
Beyond the DIY, keep an eye out for key accessories that elevate the theme without creating clutter. The best finds are both decorative and functional. A toadstool-shaped stool, for example, is a perfect perch for putting on shoes, but it also looks like it was plucked straight from an enchanted forest.
Delicate butterfly wall decals are another brilliant choice. Unlike a big mural, you can scatter these across a wall to create the illusion of a swarm fluttering around a window or lamp. It adds a wonderful sense of life and movement to the room. Also look for bookends shaped like fairies or woodland animals to keep their favourite stories tidy.
Remember, the goal is to sprinkle magic, not overwhelm the space. A few well-chosen pieces will have a much bigger impact than a room crammed with themed items. Pick things that add to the story you've already started telling with the walls and furniture.
These small additions are what complete the picture, making their fairy world feel real and lived-in.
Magical and Practical Storage Solutions
Even a fairy needs somewhere to keep her treasures. Weaving storage into the theme is a clever way to keep the room tidy without breaking the spell. A plain plastic tub can really kill the vibe, so it’s worth looking for more natural, whimsical alternatives.
Wicker baskets are a fantastic option for toys, dress-up clothes, or extra blankets. Their natural texture fits beautifully with a woodland or rustic fairy theme. You can even add a touch of DIY magic by weaving colourful ribbons through the wicker or attaching a few faux ivy leaves.
For smaller trinkets, crystals, and special finds, floating shelves are ideal. Paint them in one of your accent colours to help them blend in seamlessly. Arranging their little treasures on the shelves creates a beautiful, curated display that doubles as personalised art. This way, every corner of the room remains part of the enchanting story.
Got Questions About Creating a Fairy Bedroom? We've Got Answers
Taking on a themed bedroom project is exciting, but it's natural for a few questions to pop up along the way. You're creating a magical world, after all! Here are some straightforward answers to the questions we hear most often, ensuring your fairy bedroom design is a soaring success.
How Can I Create a Room My Child Won't Quickly Outgrow?
This is the big one, isn't it? The secret is to think in layers and lean on flexibility. Instead of going all-in on very young, character-specific wallpaper, start with a more sophisticated and soft colour palette on the walls. Think gentle sage green, a dusky rose, or a dreamy lavender. This creates a timeless backdrop that feels magical now but won't feel babyish in a few years.
The real fairy magic comes from elements you can easily change. This is where removable vinyls are your best friend.
- Subtle accents: Think delicate star decals, subtle botanical stickers, or elegant fairy silhouettes that peel off without a trace when tastes change.
- Easily swappable decor: The core theme can live in things like bedding, cushions, and artwork. A duvet cover with a whimsical print is easy to change, and framed fairy-tale illustrations can be replaced with something new later on.
- Removable features: A simple bed canopy feels incredibly enchanting for a younger child but is simple to take down when they're older.
This approach lets the room gracefully evolve. An enchanted forest can become a chic botanical retreat simply by updating the accessories.
What Are the Best Budget-Friendly Fairy Bedroom Ideas?
You absolutely don't need a huge budget to create real magic. In fact, some of the most charming ideas come from a bit of creativity and DIY spirit. Upcycling and crafting are your best allies here.
A truly magical room is built with imagination, not just money. Scouring charity shops for an old wooden dresser you can paint and update with whimsical new knobs is often more satisfying and unique than buying something brand new.
Embrace your inner crafter with simple projects. You could make your own glowing fairy lantern jars with glitter and battery-powered LEDs, or create a beautiful canopy from a length of affordable tulle fabric. I've even seen people frame lovely illustrations found in second-hand storybooks.
For a free and authentic touch, forage for interesting branches to hang lights from, bringing a bit of the woodland indoors. The key is to spend strategically on one high-impact item, like a beautiful wall mural sticker, and then fill the rest of the space with your own creative, low-cost projects.
What Are the Key Safety Concerns to Keep in Mind?
Above all else, a fairy bedroom must be a safe haven. As you add those magical finishing touches, it's crucial to put safety first.
Always use low-voltage, cool-to-the-touch LED string lights. Make sure any cords and battery packs are tucked well out of a child's reach. If you're hanging a bed canopy, secure it firmly to the ceiling and ensure the fabric can't be pulled down into the sleeping area during the night.
Here’s a non-negotiable rule for any child’s room: anchor tall or heavy furniture, like bookshelves and chests of drawers, securely to the wall. This prevents any risk of them tipping over.
Finally, for any painting or upcycling projects, be sure to use non-toxic, child-safe paints and materials with low or zero VOCs (Volatile Organic Compounds) to keep the air in the room healthy.
Ready to bring your enchanted walls to life with minimal fuss? At Quote My Wall, we have a huge range of stunning vinyl wall decals, from delicate fairy silhouettes to beautiful botanical scenes, perfect for creating your magical space. Find your perfect design at https://www.quotemywall.co.uk.