
A Parent's Guide to Childrens Room Decals
Children’s room decals offer a wonderfully commitment-free way to inject colour and personality into your little one’s space. They transform a plain wall almost instantly, without the mess or permanence of paint.
The Magic Of Transforming A Room With Decals
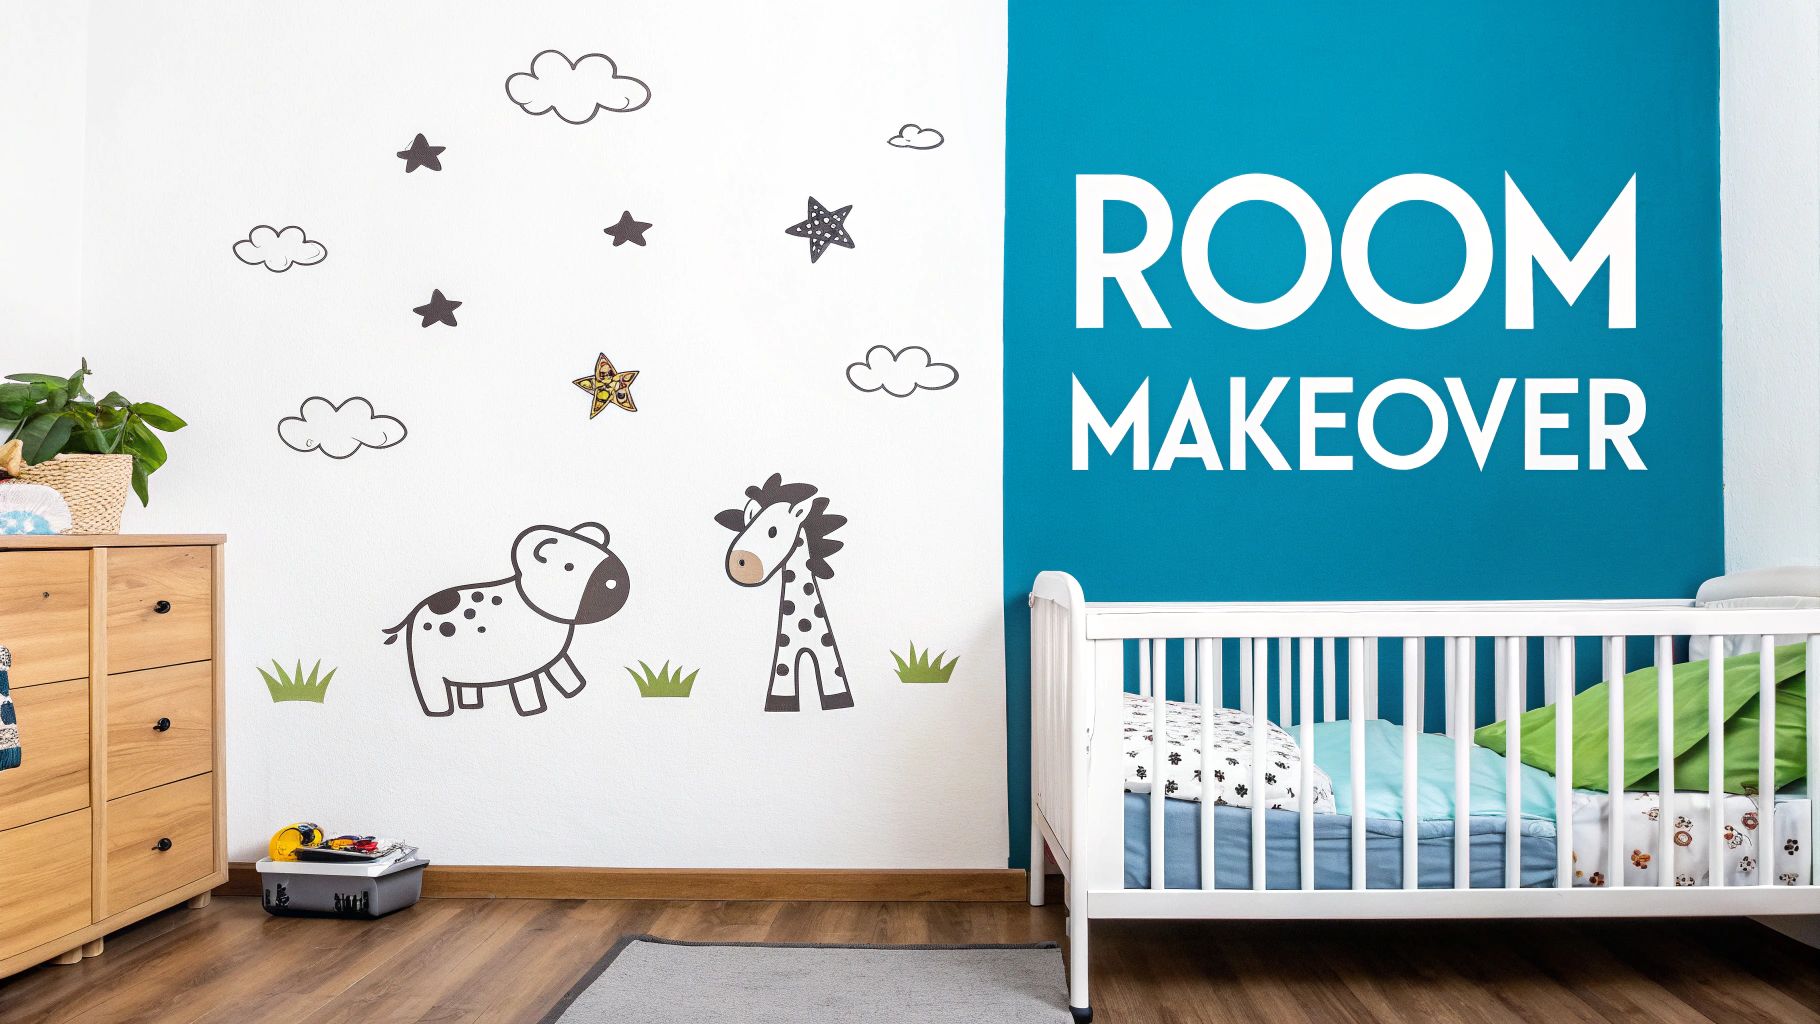
Crafting a bedroom that feels like a personal haven means choosing decor that sparks imagination. Painting can take days and rack up costs, but decals let you switch themes on a whim—dinosaurs one week, fairies the next.
Involving your child makes the process even more special. Hand over the decals and watch them map out where each planet or puppy goes. They’ll beam with pride at their own handiwork.
Decals are incredibly flexible. As childhood interests evolve—from jungle safaris to space odysseys—you can refresh the look in minutes, no repainting necessary.
That ease of change keeps the room exciting. Plus, educational decals—think alphabets or world maps—turn walls into playful learning zones.
These stickers tick three big boxes:
- Affordability: A budget-friendly pick compared with wallpaper or custom murals.
- Versatility: A vast selection of themes to suit any taste.
- Simplicity: Quick application, damage-free removal—ideal for renters.
Choosing the Perfect Decals for Your Child's Space
Picking the right decals for your child’s room goes far beyond just finding a cute design. It’s really about finding a perfect match for their personality, your home, and even the type of walls you have.
Think about what your child is completely obsessed with right now. A five-year-old in a serious dinosaur phase would be over the moon with a giant T-Rex looming over their bed. A younger toddler, on the other hand, might be just as delighted with simple, colourful polka dots they can point to.
There are some truly wonderful diverse sticker collections out there that can bring any theme to life. A great tip is to get your child involved in the choice. Letting them have a say gives them a real sense of ownership over their special space and makes the whole process more fun.
Matching Materials to Your Walls
The material of your childrens room decals is a huge factor, affecting both how they look and how long they'll last. Trust me, not all decals are made equal, and your wall surface is the ultimate decider.
- Vinyl Decals: These are the go-to for most people. They’re brilliant on smooth, flat walls and give you a clean, crisp finish. They're durable, a breeze to wipe down, and often have a matte look that can genuinely pass for a painted mural.
- Fabric Decals: If your walls have a bit of texture, fabric is your friend. These are much more forgiving to apply, often repositionable (a lifesaver!), and have a lovely woven texture that adds a real touch of warmth to a room.
Before you even think about clicking "buy," double-check what the manufacturer says about wall types. A decal meant for a smooth surface will almost certainly bubble or peel on a textured one, and nobody wants that frustration.
Here's a quick rundown to help you decide.
Comparing Decal Materials
This table breaks down the most common materials to help you pinpoint the best option for your child's room.
| Material Type | Best For | Key Features |
|---|---|---|
| Vinyl | Smooth, flat walls | Durable, easy to clean, mural-like matte finish |
| Fabric | Slightly textured or smooth walls | Repositionable, tear-resistant, high-end woven look |
| PVC-Free | Nurseries and eco-conscious homes | Non-toxic, odourless, environmentally friendly |
Ultimately, the best material is the one that suits your specific walls and priorities, whether that's durability, flexibility, or safety.
Sustainability and Safety in Decor
It's no surprise that more and more of us are looking for products that are both safe for our families and kind to the planet. This shift is definitely being felt in the UK home décor market, which is on track to be worth around USD 4.18 billion by 2025. Many brands now offer fantastic eco-friendly decals made from PVC-free materials and printed with non-toxic, water-based inks.
When it comes to a baby's nursery, safety is everything. Opting for non-toxic materials is a simple way to ensure a healthier room. For a deeper dive, our guide on what to consider when buying nursery wall stickers has some really practical advice.
And a crucial final point: always, always place decals well out of a baby’s reach. Anything they could potentially peel off is a choking hazard, so position them high up on the wall.
Getting It on the Wall: Your Guide to a Flawless Finish
Applying childrens room decals is one of those wonderfully satisfying jobs that can completely change the feel of a room in just an afternoon. With a little bit of prep and the right technique, you'll get a smooth, professional-looking result that looks almost painted on. It really just comes down to patience and following a few simple steps.
First things first, let's talk about the canvas. Your wall needs to be clean, dry, and smooth to give the decal the best chance to stick properly. A quick wipe with a damp cloth is usually all it takes to get rid of any dust. Just make sure you let it dry completely afterwards.
And here's a crucial tip from experience: if you've recently painted, you must wait at least three weeks for the paint to fully cure. If you jump the gun, the decal can trap the gases still being released by the paint, which is a surefire recipe for bubbles and peeling down the line.
Nailing the Placement and Smoothing It Out
Before you even think about peeling off the backing, map out where you want everything to go. Use small bits of masking tape to temporarily stick the decal to the wall. This is your chance to stand back, have a proper look, and tweak the position until it's just right. For bigger designs or anything with straight lines, a spirit level is an absolute game-changer.
Once you’re happy with the placement, it's time for the main event. Start from the top. Peel back just a small section of the backing paper, press the sticky side firmly against the wall, and then grab a squeegee or even a credit card. Smooth the decal down, always working from the centre outwards to push any air out.
My best piece of advice? Go slow. Seriously, take your time. As you smooth down one section, gradually pull more of the backing paper away. This slow-and-steady approach is the secret weapon against those annoying air bubbles and wrinkles.
This handy infographic breaks down the key decisions you'll want to think about before you even get to this stage.
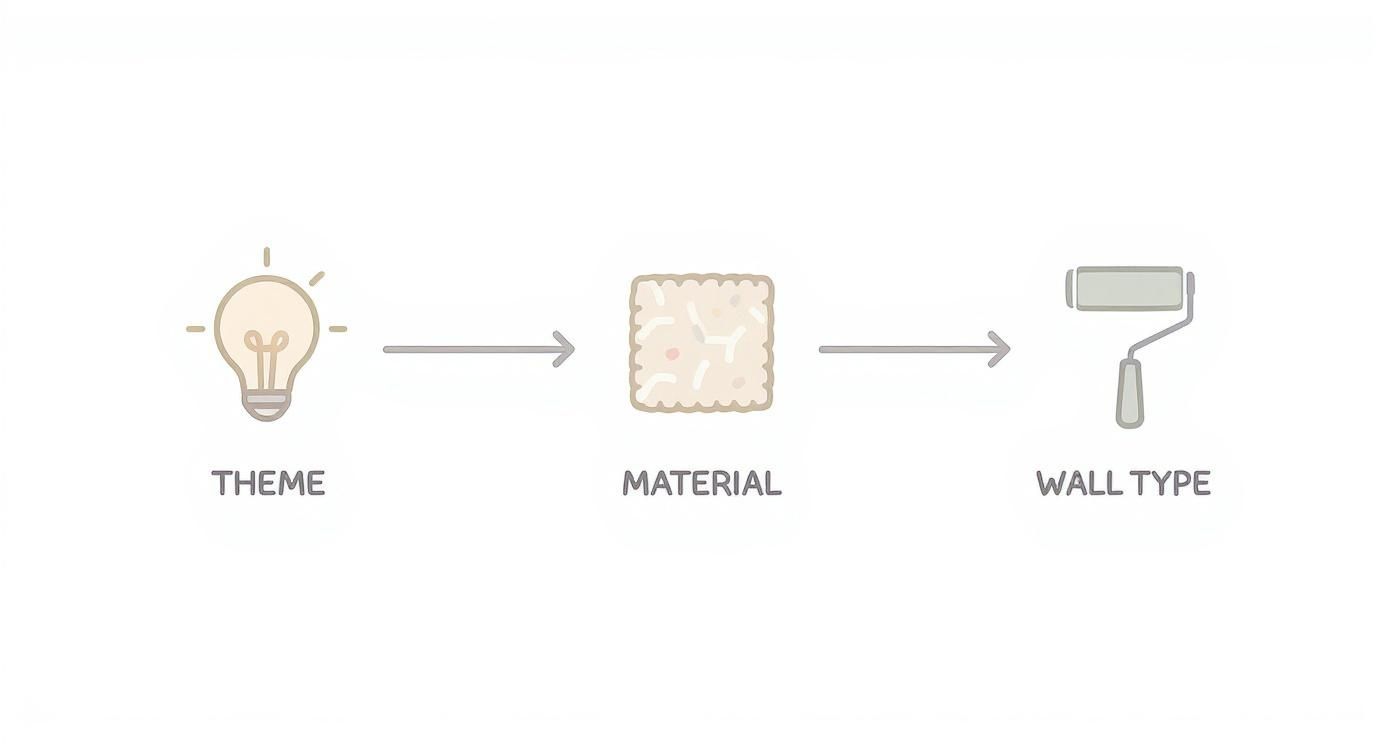
Thinking through the theme, material, and your wall's surface beforehand really does set you up for success when it comes to application day.
Fixing Hiccups and Adding the Final Touches
Don't have a meltdown if a bubble pops up – it happens to us all! Most of the time, you can just gently lift the nearest edge of the decal and smooth the area back down. For a really stubborn one, a tiny prick with a pin right in the centre of the bubble lets the trapped air escape, and you can press it flat.
If you're tackling a large, intricate design with multiple pieces, patience is your friend. These kits usually come with a numbered guide, so just follow it piece by piece to make sure everything lines up perfectly.
After everything is on the wall, give the whole design one last firm press with your squeegee to make sure the adhesive has a really good grip. Then, all that's left to do is step back and admire what you've created. You've just given the room a personal touch with a flawless, durable finish.
Styling Ideas to Bring Your Child's Room to Life
You’ve carefully chosen and applied your decals, and they look great. Now for the really fun part: styling. This is where you go beyond just sticking things on a wall and start weaving a bit of magic, turning a few stickers into the heart of a room that tells a story.
Think of your childrens room decals as the star of the show. A beautiful feature wall behind the cot or bed can instantly set the tone for the entire room. A gentle, watercolour animal scene creates a calming nursery vibe, while bold geometric shapes might bring the energy needed for an older child's playroom.
Good styling is about more than just looking pretty. It’s a huge part of creating the perfect play environment that encourages their imagination. The real goal is to make the entire space feel like a complete, immersive little world.
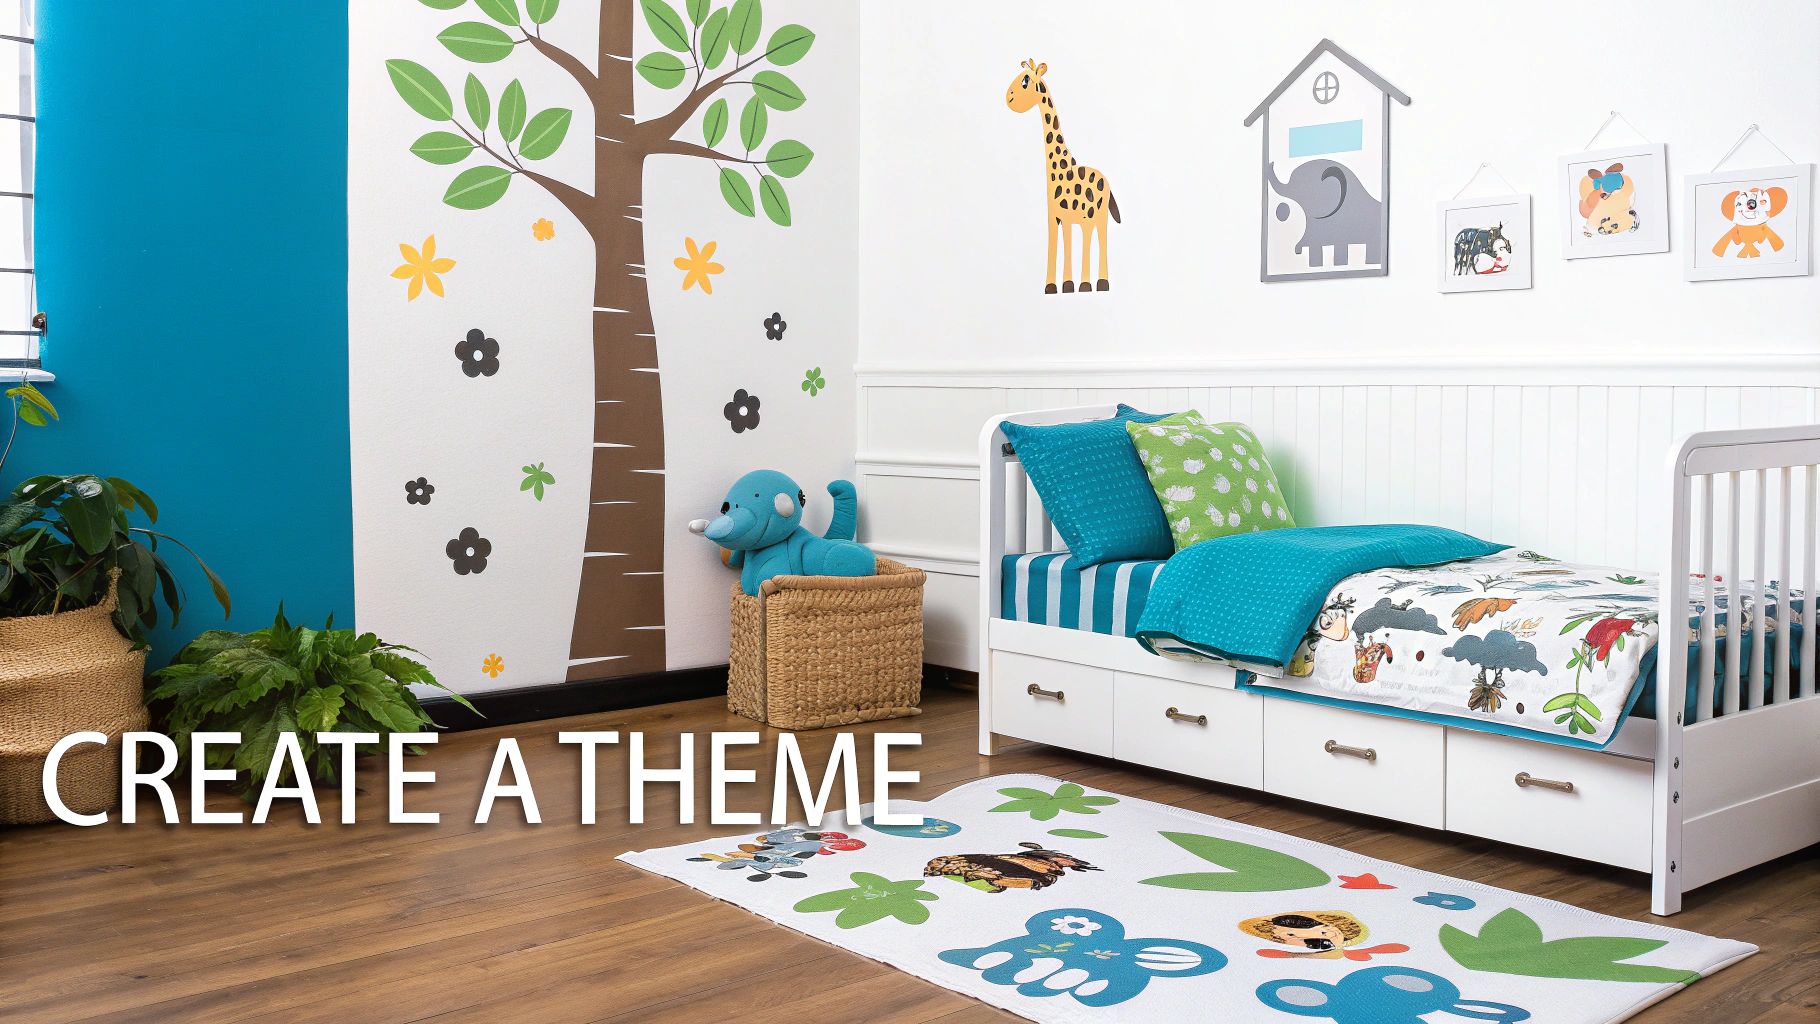
Creating Immersive Themes
The secret to a professional-looking, themed room is to carry the colours and motifs from your decals into the other accessories. It’s this layering that really brings the whole look together.
Let’s say you’ve designed a fantastic jungle scene over the bed. Don’t stop there! You can build on that theme in simple ways:
- Textiles: Look for bedding with a subtle leaf print or grab a few cushions in earthy greens and browns.
- Toys: A friendly plush lion or a few cheeky monkeys sitting on a nearby shelf will fit right in.
- Rugs: A simple, round jute rug can look just like a little clearing on the jungle floor.
This idea works for any theme you can dream up. A ceiling covered in glowing star decals is the perfect match for navy blue curtains and a cool rocket-shaped lamp.
One of my favourite tricks for a play corner is to use educational decals, like a colourful alphabet or a world map. Just add a small table and chairs, some comfy floor cushions, and a few baskets of books. Suddenly, you've got an inviting little nook that makes learning feel like an adventure.
It's clear that parents are putting more thought and investment into these kinds of creative spaces. The UK's kids' furniture market, which is closely tied to décor trends like decals, was valued at around USD 2.33 billion in 2023. It’s a testament to how much parents want to design rooms that are both beautiful and stimulating. With projections showing that figure could hit USD 9.00 billion by 2032, it's a trend that's here to stay.
If you’re looking for more inspiration, pop over to our guide on kids wall stickers ideas and selecting tips.
Looking After and Removing Decals Without Damaging Your Walls
One of the biggest draws of childrens room decals is that they aren't permanent. This flexibility is a huge reason why they've become so popular across the UK, as parents look for affordable ways to update a room without committing to something forever. It's a trend that's seen some serious growth, as you can see from these market insights into the appeal of removable decor.
Keeping your decals looking fresh is thankfully very simple. A quick, gentle wipe with a dry microfibre cloth will usually get rid of any dust. For little sticky fingerprints or smudges, just dampen the cloth slightly with water and carefully dab the spot.
The golden rule? Never use harsh chemical cleaners or abrasive sponges. These will almost certainly ruin the vinyl's finish and could even make the edges start to peel up. Stick to a soft cloth and a bit of water.
How to Take Decals Down Safely
When it's time for a new look, taking the decals off without a fuss is easy if you know the trick. The whole idea is to gently warm up the adhesive, making it let go of the wall without a fight.
Here’s how I always recommend doing it:
- Add a Little Heat: Grab a hairdryer and put it on its lowest heat setting. Hold it about 15-20 centimetres from the decal, waving it back and forth for 30-60 seconds to warm the vinyl evenly.
- Lift a Corner: Once it feels warm and a bit softer, you can usually lift a corner with your fingernail. A plastic scraper or even a credit card can also work if you're careful.
- Peel Slowly: This is the most important part. Pull the decal away from the wall slowly, folding it back on itself at a sharp angle. Don't just yank it straight out, as that's how you end up with damaged paint.
This technique is your best bet for most quality vinyl decals. For a more in-depth guide, we've put together a full post on how to remove a wall sticker without leaving a mark.
If you do find a bit of sticky residue left behind, a small amount of rubbing alcohol on a cloth should sort it out, leaving your wall perfectly clean and ready for its next adventure.
Your Questions Answered: Children's Room Decals
Diving into the world of children's room decals can spark a few questions. I get it – you want to know about safety, what surfaces they'll stick to, and whether they'll last. Let's run through some of the most common things parents ask me, so you can feel completely confident as you decorate.
Are Decals Safe for a Baby’s Nursery?
This is usually the very first question on any parent's mind, and for good reason. The short answer is yes, absolutely – as long as you know what to look for.
For a nursery, you'll want to find decals made from non-toxic, PVC-free materials that use water-based adhesives. Keep an eye out for brands that are upfront about their products being ‘phthalate-free’ or ‘VOC-free’. This just means they won't release any nasties into the air.
And the most important tip? Always place them high up on the wall, well out of reach of the cot. This stops curious little hands from peeling one off, which could become a choking hazard.
Can I Use Decals on Textured Walls?
Ah, the textured wall problem – a classic in many UK homes. While it's true that standard vinyl decals love a perfectly smooth, flat surface, you're not out of options if your walls have that common 'orange peel' finish.
This is where high-quality fabric decals really shine. They're much more flexible and forgiving than their vinyl counterparts, meaning they mould better to slightly uneven surfaces without bubbling or peeling at the edges.
My best advice is to always check the manufacturer’s notes before you buy a full set of children's room decals. If you can, get a small sample first and try it on a hidden spot. It's a simple test that can save a lot of hassle.
How Long Will the Decals Last?
When you put them up properly on the right kind of wall, a good quality set of interior wall decals will look brilliant for years. You can easily expect them to last five years or more without any cracking, fading, or peeling.
A few things can affect their lifespan, though:
- Sunlight: A room that gets a lot of direct, harsh sunlight might cause some colours to fade over a long period.
- Humidity: They're not huge fans of damp environments, so a steamy bathroom probably isn't the best place for them.
- Touching: If they're in a high-traffic spot where they're constantly being touched or rubbed against, they might show wear a bit sooner.
But even with their impressive durability, they are designed to be removed easily without damaging your walls. This means you have total freedom to change up the room's style as your child grows and their interests change.
Ready to bring some magic to your child's space with decor that's beautiful, safe, and a breeze to apply? Take a look at the huge range of children's room decals over at Quote My Wall and find the perfect design to spark their imagination. Visit us at https://www.quotemywall.co.uk today.
Article created using Outrank