

Your Ultimate Guide to World Map Wall Decals
World map wall decals are a fantastic, budget-friendly way to bring a sense of adventure and personality into any room. Think of them as large, high-quality vinyl stickers that stick directly to your wall. They create a stunning and removable piece of art, but without the faff and commitment of paint or traditional wallpaper.
How to Choose Your Perfect World Map Wall Decal
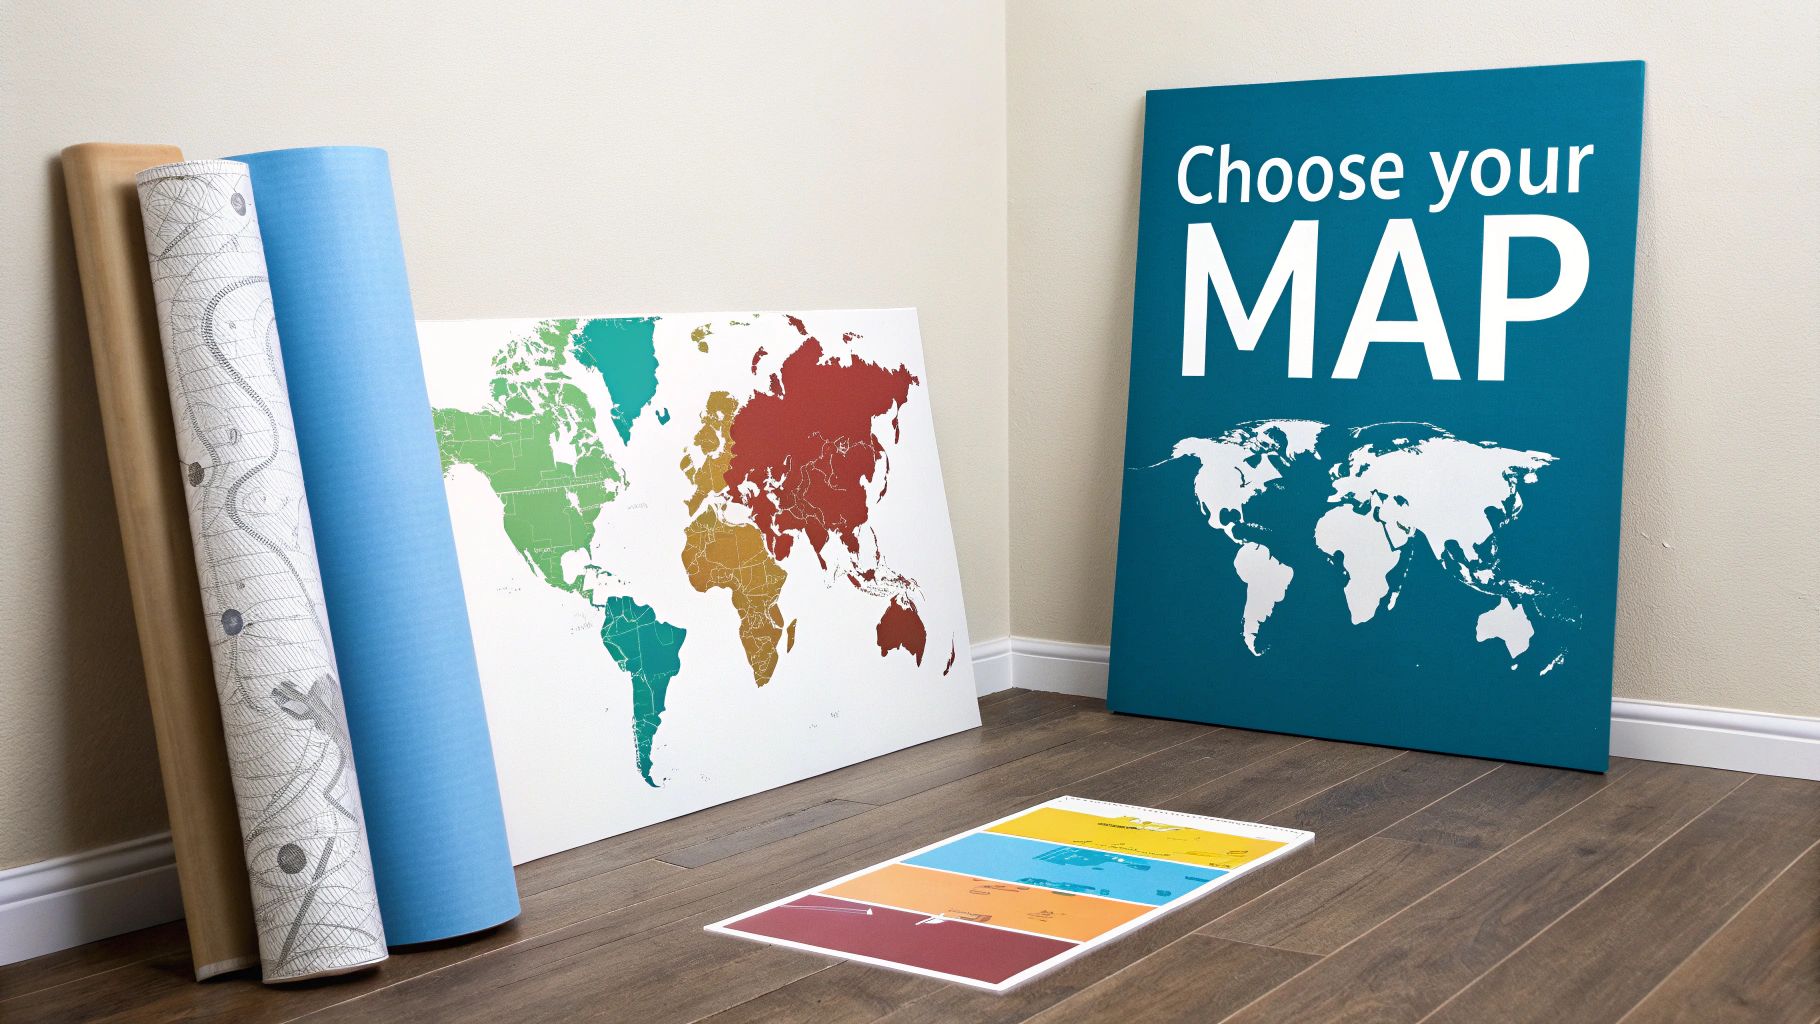
Before you can transform that blank wall into a global statement piece, you need to pick the right decal. This goes way beyond just finding a design you like; it’s about considering the material, style, and scale to make sure it genuinely fits your space. This is the fun planning stage of your interior design adventure.
Choosing a decal is a smart move, and you’re in good company. In 2022, the UK wall art market was valued at an impressive USD 3,597.2 million, with stickers and wall coverings like these claiming a massive 34.59% share. As you can see from the trends on Grand View Research, people are moving towards affordable, easy-to-apply decorations over permanent changes.
Selecting the Right Vinyl Material
The foundation of a brilliant decal is its material. Most good ones are made from vinyl, but it's important to know that not all vinyl is created equal. The finish is one of the first things you'll want to think about.
A matte finish is usually the top choice for living rooms, home offices, and bedrooms. It’s great at minimising glare from lamps and ceiling lights, giving the map a sophisticated, almost paint-like look that blends beautifully with your decor.
On the other hand, for busier spots like a child's playroom, a hallway, or even a kitchen, a more durable vinyl with a slight sheen might be a better bet. These are typically easier to wipe clean and stand up to the knocks of daily life. At Quote My Wall, we use premium vinyl designed to last for at least 5 years indoors, so your map will stay looking vibrant for years to come.
Finding a Style That Speaks to You
Once you’ve settled on the material, it’s time to choose a visual style that clicks with you and your home's aesthetic. The options are practically endless, which means you can find something that feels truly personal.
Here are a few popular styles to get you started:
- Detailed Political Maps: These are the classic choice, showing country borders, capital cities, and sometimes major towns. They're perfect for travellers who want to pin their journeys or for adding an educational touch to a child's room.
- Minimalist Silhouettes: If you’re after a modern, artistic vibe, a simple outline of the continents can make a powerful statement without overwhelming the room. These look especially striking in a simple, monochromatic colour scheme.
- Colourful Educational Maps: Bright, cheerful, and often featuring fun icons or animals, these maps are designed to spark curiosity in young minds and make learning geography an adventure.
- Abstract or Artistic Interpretations: Some designs throw traditional map-making out the window, using watercolour effects, geometric patterns, or typographic layouts to create a really unique piece of wall art. You can get more inspiration from our guide to world map wall stickers.
Getting the Scale and Placement Just Right
One of the most common slip-ups I see is people choosing a map that’s either too small or too big for their wall. An undersized map can look a bit lost and forgotten, while one that's too large can make a room feel cramped.
Before you even start browsing, grab a tape measure and size up your wall space. A great trick is to use masking tape to mark out the potential dimensions of the map. This helps you actually see how the scale will feel in your room and ensures the final result looks balanced and intentional.
Don’t forget to consider the furniture. If your map is going above a sofa or a headboard, leave some visual breathing room—a gap of at least 15-20 cm above the furniture is a good rule of thumb. This simple step helps create a cohesive look, turning your decal into a genuine focal point rather than just a random addition.
Getting Your Wall Ready for a Flawless Finish
The secret to a perfect world map wall decal doesn't start with the decal itself—it starts with the wall. Getting this groundwork right is what separates a professional-looking installation from one that ends in frustration. Honestly, skipping these prep steps is one of the biggest mistakes people make, and it almost always leads to annoying bubbles, peeling edges, and a look you're just not happy with.
Think of it this way: your wall is the canvas for your new piece of art. You wouldn't paint on a dirty, bumpy canvas, would you? The goal here is to create a clean, smooth, and completely stable surface so the decal's adhesive can grab on and stay put for years.
Your Prep Toolkit: The Essentials
You don't need a massive toolbox for this, just a few key items. Having everything within arm's reach before you begin will save you a lot of running around and make the whole process feel much calmer.
Here’s a quick list of what to grab:
- A soft, lint-free cloth or a sponge (microfibre cloths work brilliantly).
- A mild cleaning solution – a simple mix of washing-up liquid and warm water does the trick perfectly. Steer clear of harsh chemical or abrasive cleaners.
- A tape measure for getting those dimensions spot-on.
- A spirit level is non-negotiable if you want a straight map!
- A pencil for making light guide marks you can easily wipe away later.
Once you have these gathered, you're all set for the most important part of the preparation.
The All-Important Clean and Cure
First things first, let's get that wall clean. You’d be surprised how much invisible dust, grime, and even oils from our hands can build up on a wall. All that stuff creates a barrier that stops the decal's adhesive from forming a strong bond.
Just dampen your cloth with the mild soapy water, wring it out so it's not dripping, and give the entire area a gentle wipe down. Follow that up with a clean, water-dampened cloth to get rid of any soap residue. Now for the hard part: let it dry completely. Don't rush it; give it at least a few hours.
Now, a crucial piece of advice that I can't stress enough: paint curing. If your wall is freshly painted, you absolutely must wait for the paint to fully cure, not just feel dry to the touch. Drying is just the water evaporating; curing is a much longer chemical process where the paint fully hardens.
Applying a decal to a wall before the paint has fully cured is a recipe for disaster. The solvents that are still being released from the paint will literally eat away at the decal's adhesive, causing it to fail. When it peels, it'll likely take your new paint job with it.
For most standard latex or acrylic paints, you need to wait a bare minimum of three weeks before even thinking about applying a decal. This gives the paint enough time to harden into a stable, non-reactive surface that will welcome your new map.
Marking the Spot for Perfect Placement
With a clean, dry, and fully cured wall, you're finally ready to map out your map's location. This is where your tape measure, spirit level, and pencil become your best friends. Take a moment to stand back and decide exactly where you want it to go, thinking about furniture placement and how it will balance the room.
Measure to find the centre point of your desired location. Then, use the spirit level to draw a very faint, straight horizontal line that will serve as the guide for the top edge of your decal. You might also want to lightly mark the corners. Think of these marks as your safety net—they guarantee your map is perfectly level and centred before you even begin to peel off the backing paper. It’s this little bit of care that makes all the difference.
A Practical Guide to Installing Your Decal
Right, this is the exciting bit—transforming that decal from a tube into a stunning feature wall. Forget those fiddly, microscopic instruction sheets that come in the box. This is a real-world, practical walkthrough to get your map on the wall perfectly, first time.
When you first unbox your world map, resist the urge to stick it straight up. It's been tightly rolled for its journey to you, so it needs a moment to relax. Lay it out on a clean, flat surface—a large table or the floor works well. Pop a few books on the corners to help it flatten out completely. Leaving it for 24 hours makes a massive difference; the vinyl will be far less curly and much easier to work with.
The Foolproof Hinge Method
Getting a large, detailed map perfectly straight is the biggest challenge. Trying to just ‘eyeball it’ is a recipe for a wonky world. That’s why the hinge method is your best friend here. It’s a simple trick using masking tape, but it’s incredibly effective.
Once your decal is flat, hold it up to the wall, using those light pencil marks you made earlier to find the perfect spot. When you're happy with its position, run a long strip of masking tape horizontally across the very centre of the decal, sticking it firmly to the wall. This tape creates a hinge, holding the map securely in place so you can work on one half at a time. It’s the secret to getting a big design perfectly level without needing a second person.
Applying Your Decal Like a Pro
With the hinge holding everything steady, pick a side—top or bottom—and fold it back over the tape. Carefully start peeling the waxy backing paper away from the vinyl, stopping when you get to the central hinge. Grab some scissors and snip off the loose backing paper.
Now, take your squeegee (or a credit card wrapped in a soft cloth) and start smoothing the vinyl onto the wall. The key is to start from the centre, right alongside your tape hinge, and work outwards. Use firm, overlapping strokes at roughly a 45-degree angle. This technique is crucial because it methodically pushes any air out towards the edges, preventing those annoying bubbles from getting trapped.
Once the first half is smoothly on the wall, you can gently remove the masking tape hinge. Now just repeat the process for the remaining half. Peel away the rest of the backing paper and squeegee from the middle outwards until your entire map is in place.
Pro Tip: For maps with tiny, intricate islands or detailed text, slow down. After squeegeeing, go back and give these little pieces an extra firm rub with your thumb. This ensures they’ve made solid contact with the wall before you peel the top layer off.
This simple three-step prep is the foundation for a flawless finish.
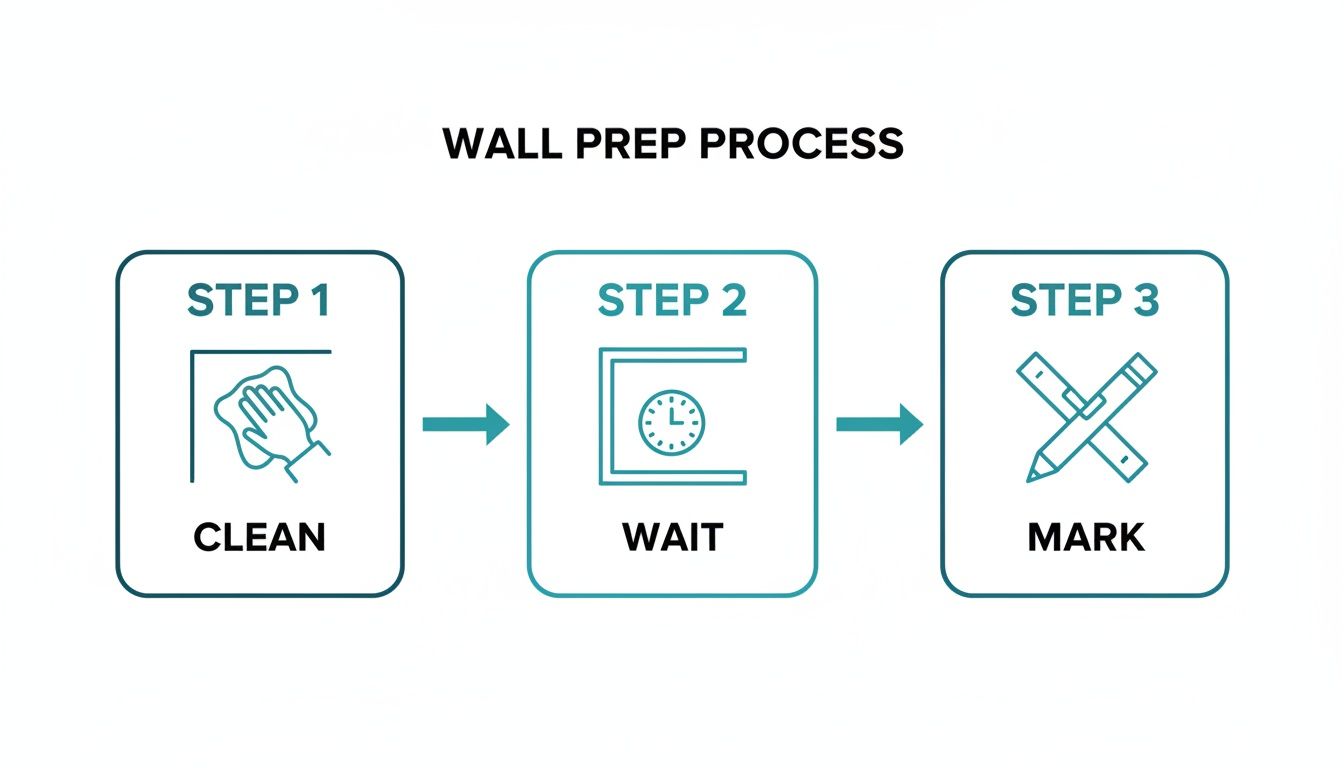
Following this clean, wait, and mark process ensures your wall is the perfect canvas for the decal.
The Big Reveal and Troubleshooting
This is easily the most satisfying moment. Start at a top corner and begin to slowly peel away the clear application tape. The trick is to pull it back on itself at a really sharp 180-degree angle, almost flat against the wall. Whatever you do, don't pull it straight outwards. This low, sharp angle is what encourages the vinyl to stay stuck to the wall.
If a small part of the map starts to lift off with the tape, don’t panic—it happens. Just stop peeling, lay the tape back down over that spot, and give it another firm press with your squeegee or finger. Then, resume peeling slowly and carefully. You can find more specific advice for different finishes in our guide to world map wallpaper decals.
But what about bubbles? Most tiny air bubbles will actually sort themselves out over a few days as the vinyl settles. If you have a larger, more stubborn one, take a pin and make a tiny hole right in the middle of it. You can then gently smooth the trapped air out through the hole. For any small creases, a quick blast with a hairdryer on a low setting will soften the vinyl just enough to smooth them out with your finger.
Creative Ways to Style Your World Map
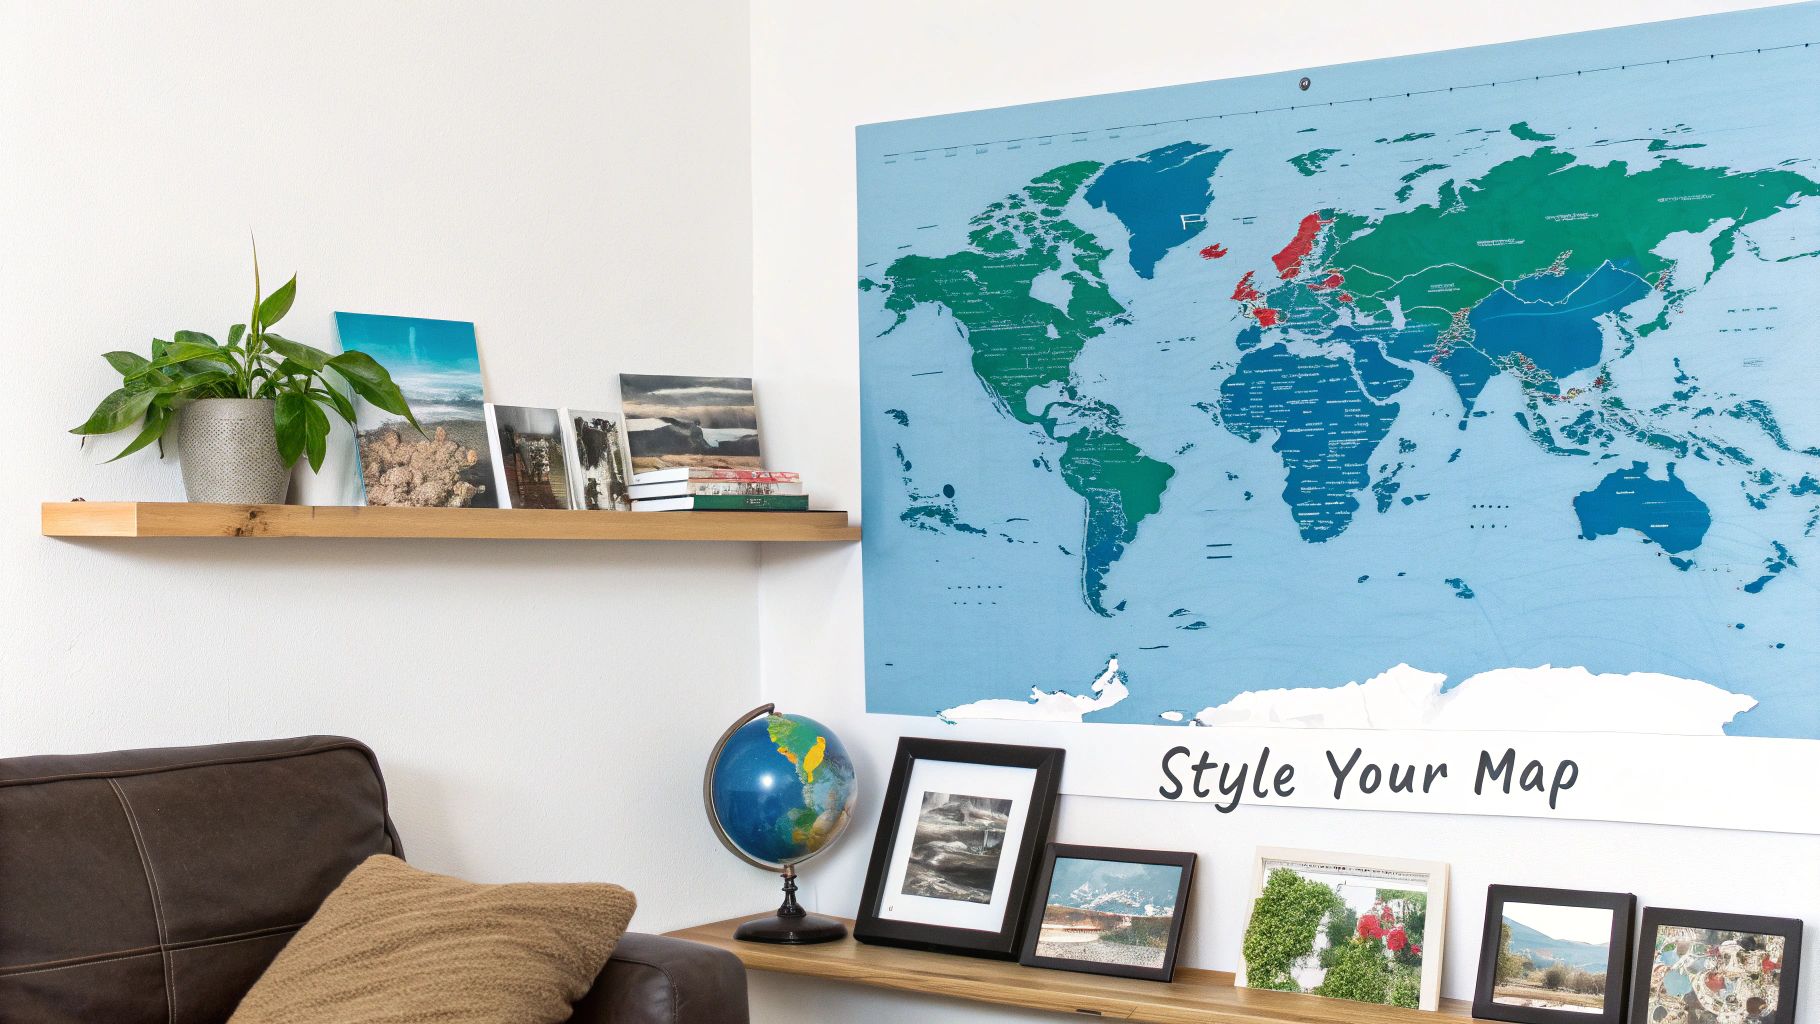
A world map wall decal is so much more than just a sticker; it's a versatile design tool that can completely anchor a room and tell a personal story. It can be a professional backdrop for your home office one day and an interactive family feature the next. The real magic happens when you weave the map into your room's overall theme, making it a natural, inspiring part of your daily life.
This kind of personalised home update is becoming incredibly popular across the UK. It taps into a huge trend, with the European wall decor market predicted to grow by a staggering USD 16.42 billion between 2024 and 2029. In fact, vinyl stickers held the largest revenue share in the UK back in 2022 at 34.59%, which just goes to show how much families and renters love these easy, affordable solutions over a full-blown renovation. You can get a deeper look at the numbers in Technavio's market analysis.
For the Sophisticated Home Office
In a home office, a world map can be a source of quiet, powerful inspiration. Think about a large, monochromatic decal in shades of grey, black, or deep navy blue. It creates a sophisticated, uncluttered backdrop for video calls, adding just enough visual interest without being a distraction. It subtly hints at global connections and big-picture thinking.
To really nail the look, pair it with minimalist decor. I'm talking sleek floating shelves, a modern desk lamp, and maybe a few carefully chosen metallic accents. The aim is to create a professional space that feels both focused and expansive.
In the Heart of the Home: The Living Room
The living room is where your map can truly shine as a conversation starter. This is the perfect spot for a bold, large-scale world map wall decal that becomes the room's undeniable focal point. A colourful design can inject a tonne of energy and personality, while a vintage or sepia-toned map adds a touch of classic, worldly charm.
This is also the perfect canvas for documenting your family's adventures. Here are a few ideas I love for making it interactive:
- Pin Your Travels: Use small, colourful map pins to mark all the places you've been. You can usually press them gently right into the vinyl.
- Dream Board Your Future: Pick a different colour of pin to plot out all your bucket-list destinations.
- Create a Photo Gallery: Arrange a collection of your favourite travel photos around the map, connecting them back to their locations on the map with a bit of string.
Suddenly, the decal transforms from a static piece of art into a living, evolving story of your family's journey.
A world map in a communal space does more than just decorate; it becomes a shared scrapbook of memories and dreams. It prompts stories about past trips and sparks conversations about where to go next, bringing the family together around a shared sense of adventure.
Igniting Curiosity in a Child's Bedroom
For a child's room or playroom, a world map is a fantastic educational tool disguised as fun decor. Go for a brightly coloured decal that clearly labels continents and countries. Some even feature animals or famous landmarks to really capture their imagination.
Make sure to place it at a height where your child can easily see and interact with it. You can turn learning into a game by asking them to find different countries or trace the route of a famous explorer. If you're looking for more ways to make geography fun, check out an activity like The Enchanted World Map Adventure for some brilliant inspiration.
Complementing Your Map with Surrounding Decor
The right accessories can elevate your world map from a simple decal to a fully integrated design feature. Strategic styling is what makes it feel like it truly belongs in the room.
Try adding floating shelves alongside or just beneath your map. These are perfect for displaying souvenirs from your travels—a small sculpture from Thailand, a painted tile from Portugal, or a framed photo from a family holiday. This creates a sort of three-dimensional travelogue that adds real depth and personal meaning to the display.
Don't forget about lighting. A well-placed spotlight or an articulated wall lamp can highlight the map, turning it into a dramatic feature after dark. It's a small touch, but it can completely change the atmosphere of the room and draw everyone's attention to your global centrepiece.
Keeping Your Map Looking its Best and Removing it Without a Fuss
So, your world map is on the wall and it looks incredible. The great thing about high-quality vinyl is that it’s incredibly durable and requires very little fuss to maintain. But you'll want to know how to keep it looking pristine and, when the time comes, how to remove it cleanly.
A little bit of care goes a long way in preserving the vibrant colours and crisp lines of your map. And when you’re ready for a change, knowing the right removal technique is crucial—especially if you're renting or just love to switch up your décor. Let’s get into the simple how-tos for both.
How to Keep Your World Map Looking Fresh
Honestly, the secret to looking after your decal is a gentle hand. For day-to-day cleaning, a soft, dry cloth is all you’ll ever really need. I find a microfibre duster works perfectly.
Just give the map a quick, light wipe-down every week or so to keep dust from building up. That’s it. This simple habit is usually enough to keep your world map wall decals looking as sharp as the day you put them up.
If you happen to get a smudge or a fingerprint on there, don't panic. Just dampen a clean cloth with a little water, wringing it out until it's barely damp. Gently dab the spot – avoid any vigorous rubbing.
The one thing you must never do is grab a bottle of chemical cleaner.
- No all-purpose sprays: These often have solvents that can eat away at the vinyl, causing the colours to fade or the material to break down.
- Stay away from abrasive cleaners: Anything gritty will scratch the surface of your decal, and that damage is permanent.
- Don’t use a soaking wet sponge: Too much water can get under the edges and weaken the adhesive, which will eventually lead to peeling.
My best advice? Treat your decal like a piece of art. You wouldn't hit a painting with a household cleaner, right? A gentle, dry dusting is all it needs to protect the adhesive and the print for years to come.
A Damage-Free Guide to Taking Your Decal Down
One of the best things about vinyl decals is that they aren't a lifelong commitment. Whether you're moving house, redecorating, or just ready for a new look, taking your map down is a straightforward job that shouldn't leave a mark if you do it properly.
The trick is heat. A bit of gentle warmth softens the adhesive, making the vinyl pliable enough to peel away without a struggle. Your everyday hairdryer is the perfect tool for the job.
Warming Up the Adhesive
First, set your hairdryer to a low or medium heat setting. You don't need to blast it on high. Hold it about 15-20 cm from the wall and aim it at one of the decal's edges.
Gently move the hairdryer back and forth across a small section for about 30 seconds to warm it evenly. You'll feel the vinyl become slightly soft and warm to the touch – that’s your sign that the adhesive is ready to let go.
The Best Way to Peel
Once it's warm, use your fingernail or a plastic scraper (like a credit card) to carefully lift a corner. Now, here's the most important part: the angle.
Don’t pull the decal straight out towards you. Instead, fold it back on itself and peel it away at a very shallow, almost 180-degree angle. By keeping the vinyl as close to the wall as possible as you peel, you put minimal stress on the paint underneath. If you feel it start to resist, just stop and give that spot another quick blast of heat.
For a more detailed guide on this, we've put together a full post on how to remove wall stickers without a trace. Take your time, use a little heat, and your wall will look as good as new.
Your World Map Decal Questions Answered
Even after doing your homework, it’s completely normal to have a few last-minute questions before taking the plunge. We get it! It’s a big feature for your wall. Let's run through some of the most common queries we hear from people just like you.
Think of this as the final check-in, clearing up those practical, real-world concerns that pop up right before you’re ready to commit.
Will It Stick to My Textured Wall?
This is the big one, probably the question we’re asked more than any other. And honestly, the answer is: it depends. Our high-quality vinyl decals are made for smooth, flat, painted walls. That’s where they’ll get the best grip and look their sharpest.
But what if your wall isn't perfectly smooth? A very light texture, like an "orange peel" or eggshell finish, is usually fine. The trick is to be extra patient during installation. You’ll need to put in a bit more effort, using your squeegee and thumbs to really press the vinyl into all those tiny little bumps and grooves.
Heavily textured surfaces are a different story. If you’re dealing with something like popcorn texture, rough plaster, or exposed brick, a standard decal just isn't going to work. The adhesive can't make full contact, leaving air gaps that will cause it to peel.
Top Tip: If you're unsure, try this simple test. If you can get a small sample of the vinyl, stick it in a hidden spot on the wall. Press it down well and leave it for 24-48 hours. If it’s still holding firm with no peeling edges, you’re likely good to go.
Can I Put a Decal in a Bathroom or Kitchen?
Yes, you can! The vinyl we use is durable and water-resistant, so it holds up surprisingly well against the humidity in these rooms. A world map can look brilliant above a freestanding bath or even as a creative alternative to a kitchen splashback.
The key to making it last is good ventilation. If your bathroom has an extractor fan and you use it every time you shower, you shouldn't have any issues. It's the constant, trapped steam that can eventually get the better of the adhesive.
Also, think carefully about placement. Try to avoid putting the decal where it will get directly splashed day in and day out, like right behind the kitchen sink taps. With a bit of common sense, your map will look great for years.
Are the Wall Decals Reusable?
This is a common mix-up. While our decals are designed to be easily removable, they are not reusable.
When you peel the decal off the wall (often with a little help from a hairdryer), the vinyl inevitably stretches and loses its original shape. The adhesive also loses its tack. It’s a one-time application, so it’s worth taking that extra time to get the positioning perfect from the start. Once it’s on, it’s there to stay until you’re ready for a change.
Can I Get a Custom Size or Colour?
Absolutely. We know that standard sizes don't work for every home. You might have the perfect spot between two windows or want to match the map’s colour to a specific shade in your room’s décor.
We love working on personalised projects. Whether you need custom dimensions or a specific colour palette to match your sofa cushions, just reach out. We can help you create a truly one-of-a-kind piece that feels like it was made just for your space.
Ready to find the perfect map for your space? At Quote My Wall, we have a huge range of high-quality vinyl designs to choose from, and we're always here to help with custom projects. Explore our collection and start your next decorating adventure today at https://www.quotemywall.co.uk.