

Vinyl Wrap for Wardrobe Doors: Expert Guide
Vinyl wrap for wardrobe doors is a durable, reversible update when the substrate is solid wood, melamine, vinyl-wrapped MDF, or painted surfaces, and quality interior wraps last at least 5 years on furniture. The result depends less on the roll you buy than on whether the door is clean, stable, smooth, and suitable for adhesive film.
That matters when a dated fitted wardrobe is structurally sound but the colour makes the bedroom feel tired. Replacing the whole system creates more waste, cost, and disruption than many people expect, while wrapping can refresh the visible doors without removing the carcass. The catch is that wardrobe wrapping isn't a universal peel-and-stick fix. Damaged paint, loose laminate, porous board, swollen edges, and soft or contaminated surfaces can defeat even a good film.
UK households already have a substantial DIY audience for this kind of furniture refresh. A 2025 UK DIY trends report says 80% of UK adults have carried out home improvement work on their current home, with average annual household DIY spending of £1,150.24. It also values the UK home improvement market at £11.2 billion in 2024, so a practical, lower-disruption update such as wardrobe-door wrapping sits within an established home-improvement habit.
Choosing the Right Vinyl Wrap Path
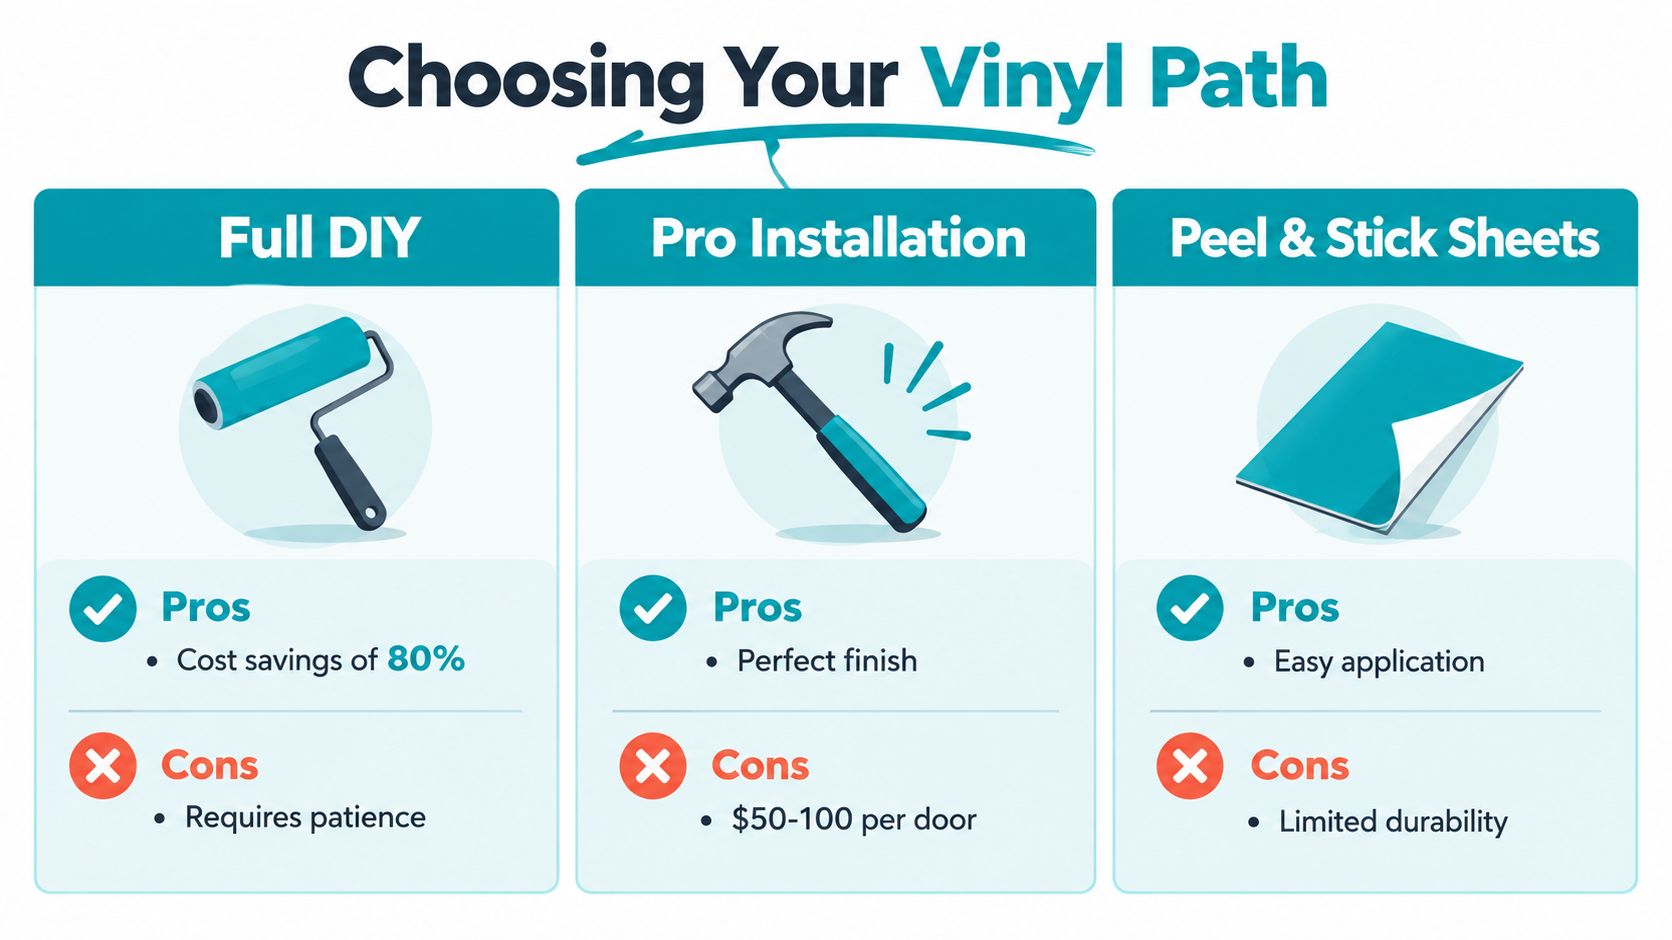
Before measuring film, decide which job you're taking on. A freestanding wardrobe with flat, removable doors is a reasonable DIY project. A fitted bedroom with tall doors, sliding mechanisms, awkward access, and damaged edges may be better handled by a wrapping specialist, or may justify replacement if the underlying furniture has already failed.
| Route | Works well when | Main compromise |
|---|---|---|
| Full DIY wrap | Doors are flat, sound, removable, and easy to work on horizontally | Lower material cost, but the finish depends on patience, preparation, and accurate trimming |
| Professional installation | The wardrobe is fitted, large, heavily used, or difficult to remove | Higher upfront spend, but survey, preparation, labour, and aftercare may be included |
| Replacement | Doors or carcasses are warped, swollen, structurally weak, or poorly suited to adhesive | A cleaner reset, but with more disruption and less reuse of the existing furniture |
DIY is not automatically the cheapest decision
DIY makes sense when you can remove the door, lay it flat, clean it properly, and redo a section without rushing. It doesn't make sense to wrap around fitted hinges in a cramped bedroom if you can't inspect the rear edges or keep dust away from the adhesive.
Professional pricing also changes the calculation. UK service pages show wardrobe wrapping can be quoted per door at around £45 or more, often including a survey, surface preparation, labour, and a guarantee, as described by WRPX furniture wrapping. That isn't a universal tariff, but it shows why a room with many doors needs a total installed-cost comparison rather than a roll-of-film comparison.
One UK installer describes removing wardrobe doors for workshop wrapping, while wrapping frames and carcasses in situ. Its quoted turnaround is 1 to 3 days, depending on size, and the service includes preparation, film, labour, and a 5-year guarantee. This approach gives the installer better control over dust, edges, alignment, and curing than an improvised in-room application.
Practical rule: If the doors are difficult to remove or the edges are already failing, get a survey before ordering film.
For broader planning around storage layouts, The Cabinet Coach closet solutions can help you assess whether the existing wardrobe layout deserves a cosmetic update or a more substantial redesign. If the carcass and storage arrangement work, upcycling usually preserves more value than replacing everything. Vinyl furniture wraps and why they're better to upcycle provides useful context for that decision.
Selecting the Best Vinyl for Your Wardrobe Finish
The substrate is the first specification. Colour, texture, and sheen come later.
A UK furniture-wrapping installer identifies solid wood, melamine, vinyl-wrapped MDF, and painted surfaces as suitable substrates. Those materials are generally sealed and stable enough to accept a properly chosen film. That doesn't mean every door in those categories is ready immediately. A melamine panel with grease on it, a painted door with flaking edges, or MDF with swollen corners still needs treatment before wrapping.
Identify the door before choosing the roll
Look closely at an exposed edge, hinge recess, or the back of the door. Solid wood usually shows a natural grain through the edge, while melamine and vinyl-wrapped MDF typically have a manufactured surface over a board core. Painted doors need a firm coating with no powdering, peeling, or soft patches.
Avoid treating these warning signs as minor cosmetic defects:
- Loose laminate: Film may attach to the loose layer rather than the door, so both finishes can lift.
- Swollen MDF: Water damage changes the edge profile and leaves no stable line for trimming.
- Heavy texture: Ridges create hollow points under the wrap and make pressure inconsistent.
- Silicone or wax contamination: Adhesive may appear to grip, then release along touched areas.
- Raw or porous board: The surface can absorb moisture and provide an unreliable bond.
If the base is low-energy, glossy, or uncertain, test a hidden area first. Low-energy surfaces resist adhesion, and damaged surfaces may need sanding, repair, sealing, or a different finish altogether. Wrapping isn't a substitute for restoring a door that has lost its shape.
Choose an interior film with controlled adhesion
Product guidance for self-adhesive wardrobe vinyl describes a low-tack, water-based adhesive film that can be repositioned during application and removed more readily with heat from a hairdryer. That characteristic is valuable on long wardrobe panels because you can lift and restart a misaligned section instead of forcing a bad position.
The same UK guidance markets the material with a 5-star rating for adhesion, lightfastness, shrinkage, and durability. Treat those ratings as product guidance, not a guarantee that an unsuitable substrate will perform. Film designed for interior furniture is a more sensible choice than a random high-tack exterior product that may be difficult to correct or remove.
For ideas about integrating wardrobe finishes with a wider fitted scheme, Interiors by DeX wardrobe solutions is a useful reference point. Your final choice should still be based on the actual door surface, not on a photograph of a different installation. Vinyl wrap for furniture in the UK also covers the broader furniture-upcycling use case.
Preparing Wardrobe Doors for Wrapping
Most failed wardrobe wraps don't fail because the installer lacks a specialist tool. They fail because someone wraps over grease, dust, loose coating, or a damaged edge.
Start by photographing the hinge positions and labelling each door before removal. A small piece of masking tape on the inside can identify the opening and hinge orientation. Remove handles, rails, and fittings that obstruct the face, then place each door on a clean, padded work surface. Never drag a large panel across a dusty floor, because grit can transfer to the face and create pressure points.
Clean, inspect, and test
Vacuum loose dust first. Wipe the surface with a clean, lint-free cloth and a suitable degreaser, then allow it to dry fully. Isopropyl alcohol can help remove light residue from compatible factory finishes, but test it in an inconspicuous place before using it across the door. Don't saturate MDF edges or leave cleaning liquid sitting around hinges and joints.
Run your fingertips across the front and every edge. Your hand will find raised chips and soft areas that may be invisible under room lighting. Mark defects with low-tack tape so you don't forget them after cleaning.
A smooth-looking door isn't necessarily a stable door. Check the edges, corners, hinge recesses, and underside before you trust the face.
Repair instead of hiding defects
Sand only where the existing coating is firm and you need to remove a nib, ridge, or sharp transition. Feather the repair rather than creating a hollow around it. Fill chips with a compatible repair compound, allow it to cure, then sand the area smooth and remove every trace of dust. Where the surface is porous or chemically unstable, use an appropriate primer or sealer, then test the film again once the coating has cured.
Don't wrap over loose paint, bubbling laminate, swollen board, or dampness. If a hidden test patch lifts at the corner, feels spongy, or pulls the finish when removed, stop and reassess. The right outcome may be refinishing, replacing the door, or asking a specialist to assess the substrate. Guidance on restoring rather than just covering cabinet surfaces can be found through Arsh Art Cabinet Refinishing GTA, even though the local service context differs from a UK wardrobe project.
Applying Vinyl Wrap to Wardrobe Doors
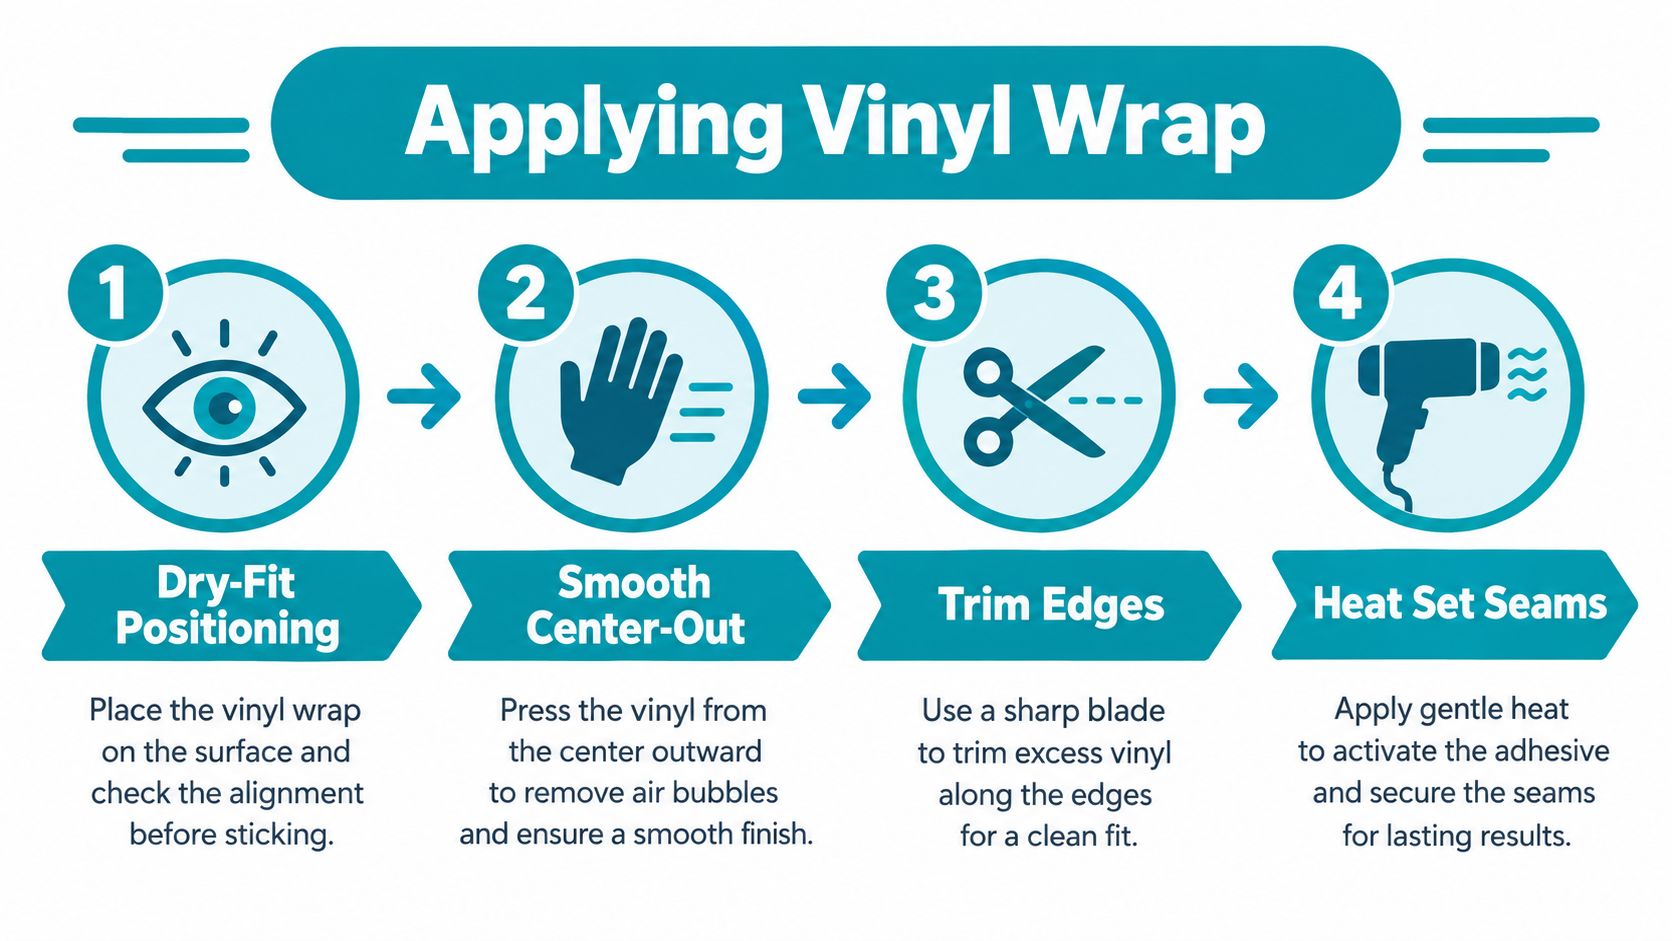
Large wardrobe doors reward a controlled workflow. Lay the prepared door flat, clean the work surface again, and cut the film with enough material to turn onto the edges. Keep the backing paper on until the dry fit looks right.
Place the film over the panel without exposing the adhesive. Align the most visible edges first, then check the grain, pattern, or directional texture. On a pair of doors, compare the pattern before peeling anything. A slightly wrong alignment at the top can be obvious when the doors hang side by side.
Work from the centre outward
Peel back a manageable strip of backing paper, not the entire sheet. Tack the exposed area, then use a felt-edged squeegee to press from the centre towards the sides. Keep the tool moving with overlapping strokes. The aim is to move air towards an open edge, not trap it under a fully committed panel.
If alignment starts to drift, stop. A repositionable film is designed to let you pull back and restart during application, which is particularly useful on long wardrobe doors. Don't stretch the film to correct a crooked position. Tension can pull the pattern out of line and make the edge contract later.
The how to apply vinyl wrap guide is useful for the basic sequence of measuring, cutting, smoothing, and trimming. On a wardrobe door, the extra discipline is supporting the panel properly and checking the return onto every edge.
Finish the edges without forcing them
Trim with a sharp blade and a metal ruler, changing the blade when it starts dragging. Leave a neat, consistent turn onto the rear face where the door design allows it. Keep cuts away from visible corners unless the profile requires a controlled seam.
For simple rounded edges or shallow profiles, gentle heat from a hairdryer can help the film conform. Warm the film gradually, press it into position, and let it cool before moving the panel. A heat gun can deliver too much energy too quickly in inexperienced hands, so it isn't a shortcut for poor positioning.
Heat should help the film settle, not rescue a contaminated or unstable substrate.
Reinstall handles only after the film has been trimmed and checked. Pierce fixing holes carefully from the finished side, rather than forcing a screw through a loose flap. Rehang the door, confirm the gaps, and make sure the wrapped edge doesn't rub against the frame.
Troubleshooting Adhesion and Edge Issues
Bubbles, lifting corners, and open seams have different causes. Treating every problem with more heat usually makes the diagnosis worse.
A bubble trapped under otherwise flat film is often an air pocket created during application. Small pockets can sometimes be worked towards the nearest edge with a felt squeegee. Use light, repeated pressure rather than a hard push that stretches the surface. If the adhesive hasn't fully committed and the film remains repositionable, lift back to the problem area and lay it down again more slowly.
Uneven pressure creates a different appearance. A ridge, chip, or dust particle can make the film look bubbled even though no air is present. Run a fingertip across the area. If you can feel a solid raised point, the correction is to remove the film, repair the base, clean away dust, and reapply.
Read the edge as a diagnostic
An edge that lifts immediately after trimming may have been under tension, poorly pressed, or cut across a contaminated area. An edge that keeps lifting after careful pressure often points to the substrate. Grease, silicone, powdering paint, low-energy laminate, and swollen MDF all reduce the chance of a reliable bond.
Use a hairdryer for controlled warmth, then press the edge firmly with a clean roller or squeegee. Allow it to cool while held in position. Don't overheat the film or pull it tight around a corner. If the edge returns to its original position, the material is revealing tension rather than accepting the shape.
Pulling back early is a correction. Pressing harder onto a wrong position is how a manageable mistake becomes a visible crease.
For a seam, confirm that both surfaces are clean and that the overlap is stable. Trim slowly with a fresh blade, then seal the line with firm, even pressure. If the film has stretched, shrunk, or lifted because the base is damaged, patching the visible face may only postpone failure. Remove the affected section and correct the substrate instead.
Wardrobe doors exaggerate flaws because they stand vertically at eye level and catch side light. Inspect them in daylight, from an angle, before reinstalling every fitting.
Maintaining Wrapped Wardrobe Doors and Removing Them Safely
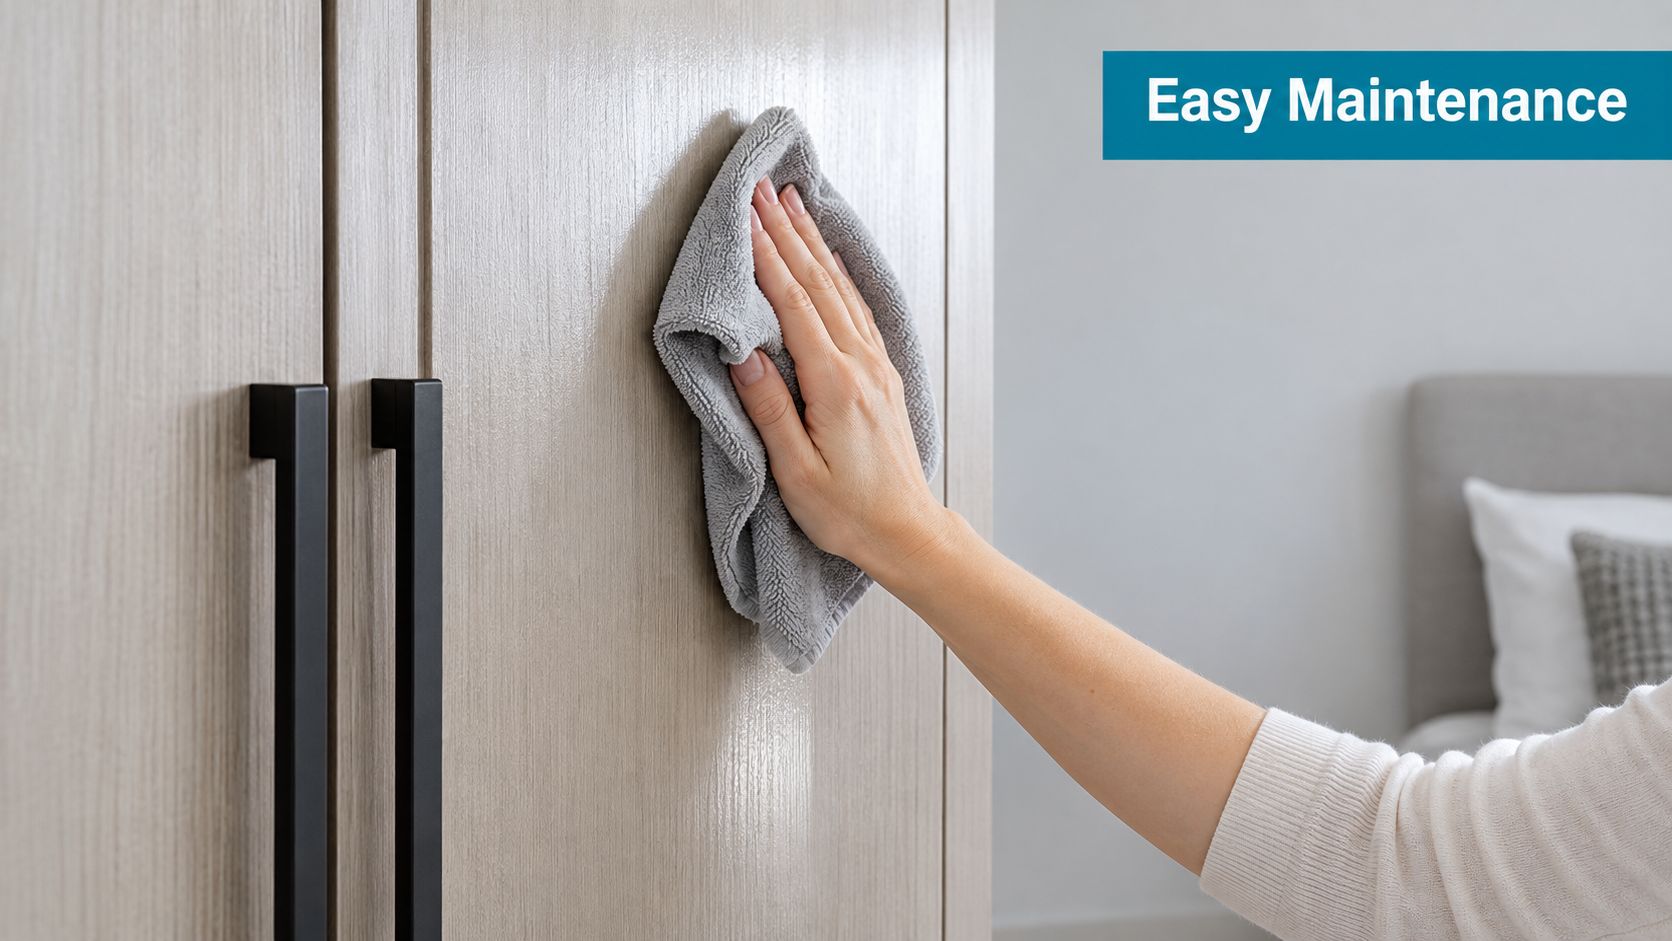
Wrapped doors need ordinary care, not aggressive cleaning. Use a soft cloth with mild soapy water, then dry the surface rather than leaving moisture around the edges. Avoid abrasive pads, solvent-heavy cleaners, and repeated scrubbing along seams. Chemical residue and friction can weaken the finish or encourage edge lifting.
Treat the wrap as a finish, not armour
Handles, door edges, and areas around sliding tracks receive the most contact. Keep those parts free from grit, and don't allow a loose edge to catch on clothing. Address a small lift early, but first establish whether the problem is a local cut or a failing substrate.
Quality interior vinyl wraps are expected to last at least 5 years on furniture, based on the product information provided by Quote My Wall. Actual service life depends on preparation, sunlight, cleaning, handling, and the condition of the door beneath the film. A guarantee from an installer may cover the installation for a defined period, but it won't make an unsuitable substrate suitable.
Plan removal before you commit
For renters, the key question isn't whether vinyl can be applied at all. It's whether the original finish can be recovered without damage at the end of the tenancy. Independent product guidance says heat-assisted removal can work on factory-finished laminates and melamine without residue, provided the substrate is suitable and the film was applied correctly.
Warm one area at a time with a hairdryer, keep the heat moving, and peel the film back slowly at a low angle. Don't yank it away from the surface or use a blade against the original finish. Adhesive residue, softened paint, or lifted laminate can appear when the base was already weak, contaminated, or poorly sealed.
A test patch is the sensible renter's safeguard. Apply a small piece inside an edge or another hidden location, leave it in place long enough to assess the bond, then remove it with controlled heat. If the original finish marks, softens, or pulls away, don't cover the whole wardrobe without written permission and professional advice.
Quote My Wall offers vinyl furniture wraps and application guidance for smooth, flat surfaces such as wardrobe doors, alongside other home décor vinyl products. Visit Quote My Wall to compare suitable wrap designs, check the application instructions, and choose a finish that matches your substrate and removal plans.