

Tile Stickers for Kitchen Backsplash: Upgrade Your Kitchen
You're probably looking at a kitchen you don't hate, but don't enjoy either. The cupboards are fine, the worktop does the job, and then your eyes land on that backsplash: dated beige tiles, tired grout, or a blank painted wall that catches every splash of pasta sauce. You want it to look better, but you don't want builders in the house, a landlord dispute, or a bill that turns a small refresh into a full renovation.
That's exactly where tile stickers make sense. They sit in the sweet spot between “leave it alone” and “rip it all out”. For UK renters, they offer a way to personalise a kitchen without making permanent changes. For homeowners, they're a quick visual upgrade that doesn't swallow an entire weekend.
Transform Your Kitchen in an Afternoon
Tile stickers for kitchen backsplash projects have gone from niche DIY trick to mainstream home update. The wider category is growing fast. The global peel-and-stick tile backsplash market was valued at USD 1.2 billion in 2023 and is projected to reach approximately USD 2.5 billion by 2032, growing at a CAGR of 8.5% from 2024 to 2032, with the UK helping drive that growth as more people look for cost-effective, non-permanent upgrades, according to Dataintelo's peel-and-stick tile backsplash market report.
That rise makes sense if you've priced up proper tiling lately. Traditional backsplash work costs money, creates mess, and usually means committing to one look for years. Tile stickers give you a different route. You can refresh the visual centre of the kitchen in an afternoon, use basic tools, and avoid grout, mortar, and the dust that comes with cutting ceramic.
The appeal isn't only price. It's control. You can test a bolder pattern, soften a cold white kitchen with warmer tones, or cover old-fashioned tile prints that date the whole room. If you're weighing up whether the idea is worth it, these practical benefits of using tile stickers in your home give a solid overview of where they work well and why people keep choosing them.
Why they fit modern UK homes
A lot of kitchens in the UK aren't designed for major change. Rental restrictions matter. Tight budgets matter. Small room sizes matter too, because a backsplash takes up enough wall space to change the feel of the room without becoming a huge project.
Practical rule: If you want the biggest visual change for the least disruption, change the surface at eye level first.
That's what makes this type of update satisfying. Even a simple matt white, marble-look, or patterned tile sticker can make old cupboards look sharper and worktops feel more intentional. It's one of the few DIY jobs where the before-and-after difference looks bigger than the effort required.
What tile stickers do well
- They hide visual clutter. Old motifs, stained grout lines, and mismatched tiles stop dominating the room.
- They suit low-commitment decorating. Useful if your taste changes or your tenancy does.
- They keep the job manageable. You can stop at the backsplash instead of drifting into a full kitchen refit.
The key is treating them like a finish, not a shortcut. Pick the right product, prep properly, and they can look surprisingly polished.
Choosing the Right Tile Stickers for Your Kitchen
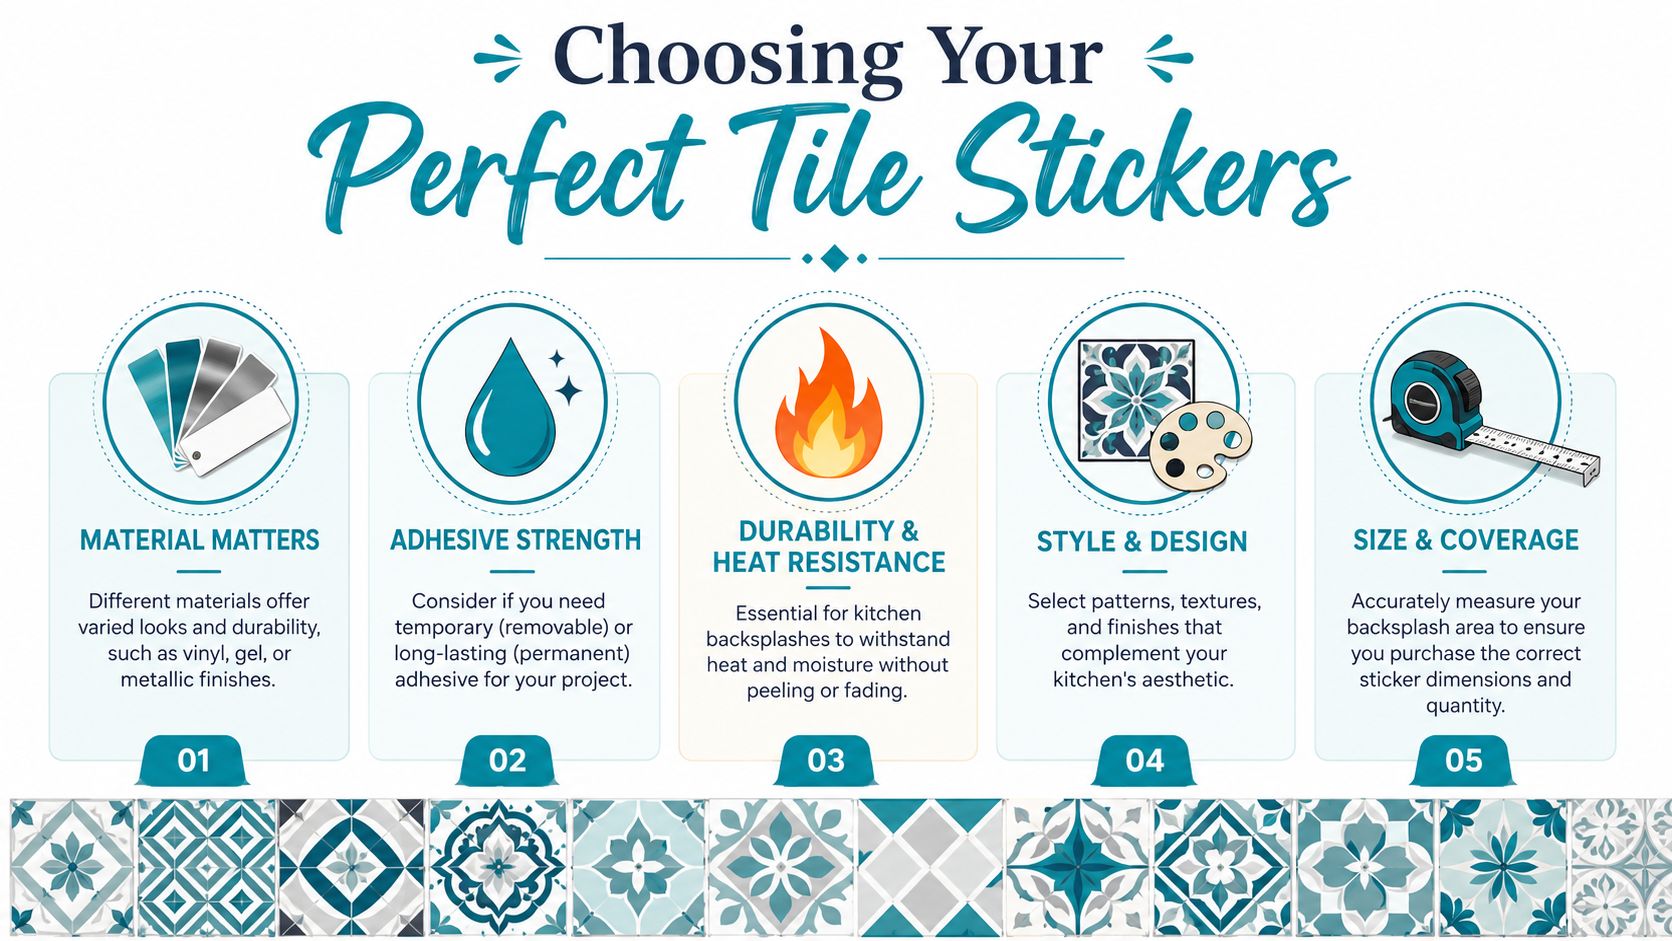
The biggest mistake people make is buying on pattern alone. A nice print won't save a poor adhesive, a flimsy sheet, or a finish that can't cope with cooking steam. In kitchens, performance matters as much as appearance.
Material matters more than the listing photos
Most tile stickers for kitchen backsplash use fall into a few broad groups. Standard vinyl is usually the easiest place to start. It's flexible, simple to trim with a craft knife, and often the most forgiving for first-time DIY.
Thicker gel-effect or 3D-style options can look more substantial from a distance, especially in plain kitchens that need texture. The trade-off is that thicker products can be fussier around sockets, corners, and uneven grout lines.
Metallic finishes can look smart in contemporary kitchens, but they show alignment mistakes more easily. If your walls are wonky, and plenty of older UK walls are, a heavily reflective finish won't hide much.
Compare by use, not by trend
| Material Type | Best For | Heat Resistance | Durability |
|---|---|---|---|
| Standard vinyl | Most rental kitchens, flat walls, easy trimming | Better away from direct hob heat | Good if applied to a properly prepared surface |
| 3D gel-effect | Adding texture and more visual depth | Varies by product, check placement carefully near cooking zones | Can look premium, but edges need careful sealing and smoothing |
| Metallic finish | Modern kitchens and feature sections | Better used away from the hottest area | Surface can show scratches and alignment errors more clearly |
If you want a useful design primer before choosing a style, The Cabinet Coach backsplash tips are worth a look because they help you think about proportion, colour balance, and how a backsplash relates to cabinets and worktops.
Water-resistant isn't the same as steam-proof
This is the issue that gets glossed over most often. Many products are sold as water-resistant, which sounds reassuring, but splashes from a sink aren't the same thing as repeated cooking steam in a compact UK kitchen.
That distinction matters. As noted in Commomy's guide to kitchen tile stickers, performance under repeated high heat and steam cycles is a critical consideration in homes without strong ventilation, and that difference between water-resistant and steam-proof can determine whether edges stay flat or start lifting after 2 to 3 years in high-humidity conditions.
In older flats and terrace kitchens, steam is often a tougher test than the occasional splash.
What usually works best
- Behind sinks: Standard vinyl often works well if the wall is clean and smooth.
- Beside, not directly behind, a hot hob: More durable products are safer, and placement matters.
- On visibly uneven tile lines: Smaller-format stickers usually disguise imperfections better than large sheets.
- In rentals: A removable-friendly product is sensible, but don't assume “removable” means “risk-free” on old plasterboard.
Choose for your actual kitchen, not the showroom one in the product photo. Steam, texture, heat, and wall condition decide whether this job looks crisp or starts peeling at the corners.
Essential Prep for a Flawless Backsplash Finish
Prep decides whether the finish lasts. Most sticker failures aren't design problems. They're grease, dust, glossy paint, damp walls, or rushed measuring.
Clean first, then inspect the surface
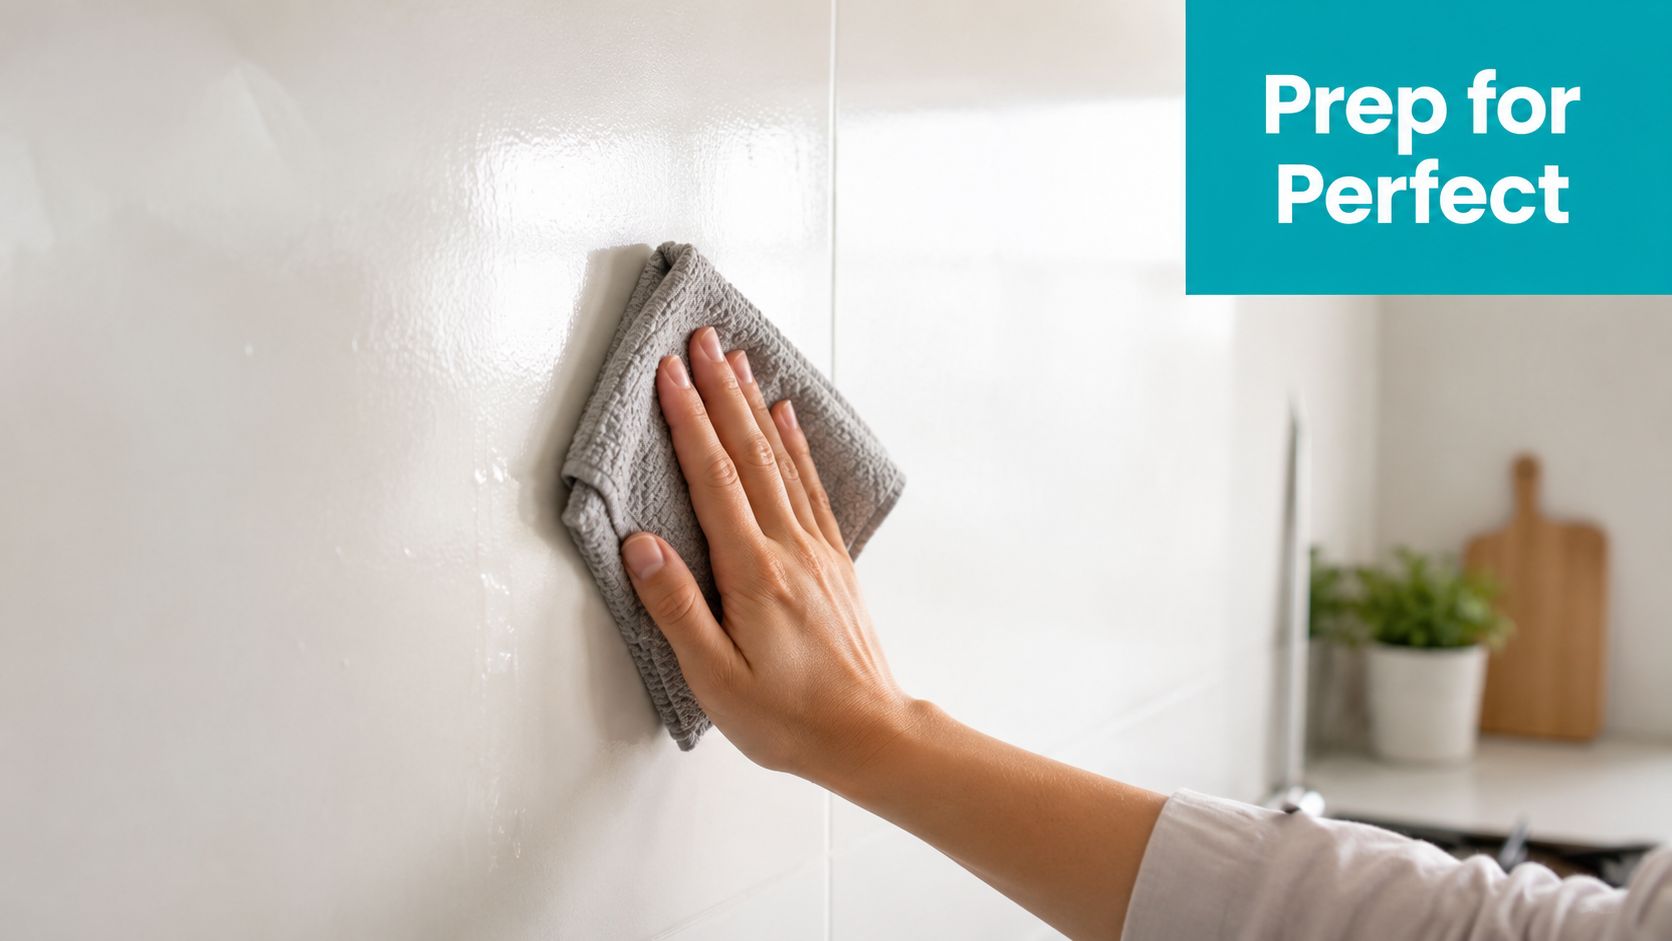
Kitchen walls collect an invisible film of grease, especially near the hob. If you stick over that, the adhesive bonds to the grease instead of the wall. It might hold for a few days, then start lifting in corners or around grout joints.
Wash the area thoroughly and let it dry fully. Then run your hand over the surface. If it feels slick, dusty, chalky, or bumpy, fix that before you touch the backing paper.
According to Journeyman HQ's peel-and-stick backsplash guidance, adhesion can exceed 95% on smooth, clean surfaces, and they recommend adding a 10% overage buffer when measuring to cover cuts and mistakes.
Measure like you expect a mistake
For a backsplash, neat planning saves material and bad joins. Measure the full width and height of every section you want to cover. Then account for cupboards, extractor shapes, sockets, and any awkward end points.
Don't buy the exact amount. Buy the amount you need plus that 10% overage. That buffer matters most when you're trimming around sockets and under cabinets, where small errors happen fast.
A practical guide to covering kitchen tiles effectively can also help if your existing backsplash is old tile rather than painted plaster.
Glossy and textured walls need extra work
Smooth walls are easiest. Glossy tiles and painted splash areas can still work, but they need more care because adhesive struggles to grip a slick finish. Lightly de-glossing or priming can make the difference between a sticker that stays put and one that slowly curls.
If you're after ideas for getting a more polished decorative result on awkward surfaces, this guide to achieving a professional tile finish in Melbourne is useful for finish-related thinking, even though it covers paint rather than stickers.
Prep shortcut to avoid: Never apply tile stickers onto a wall you cleaned five minutes ago if there's still moisture in the grout lines or corners.
A simple prep checklist
- Degrease the area: Focus on the strip nearest the hob and kettle.
- Check the surface finish: Smooth is ideal. Glossy or textured needs extra attention.
- Dry completely: Adhesive and trapped moisture don't mix well.
- Mark a level starting line: Don't trust worktops or old tiles to be perfectly straight.
- Order extra material: That overage saves the job when you make a bad cut.
This part feels slow, but it's the part that makes the final result look deliberate.
Applying Your Tile Stickers Like a Pro
Application is where patience pays off. This isn't difficult work, but it is precise work. The first piece sets the visual line for every piece that follows, so don't rush the opening move.
Start where the eye lands first
Begin in the most visible section of the backsplash, not the easiest one. Usually that's the area between the worktop and wall units that sits directly in view when you walk into the kitchen. If the pattern alignment is strongest there, small compromises at the far edge matter less.
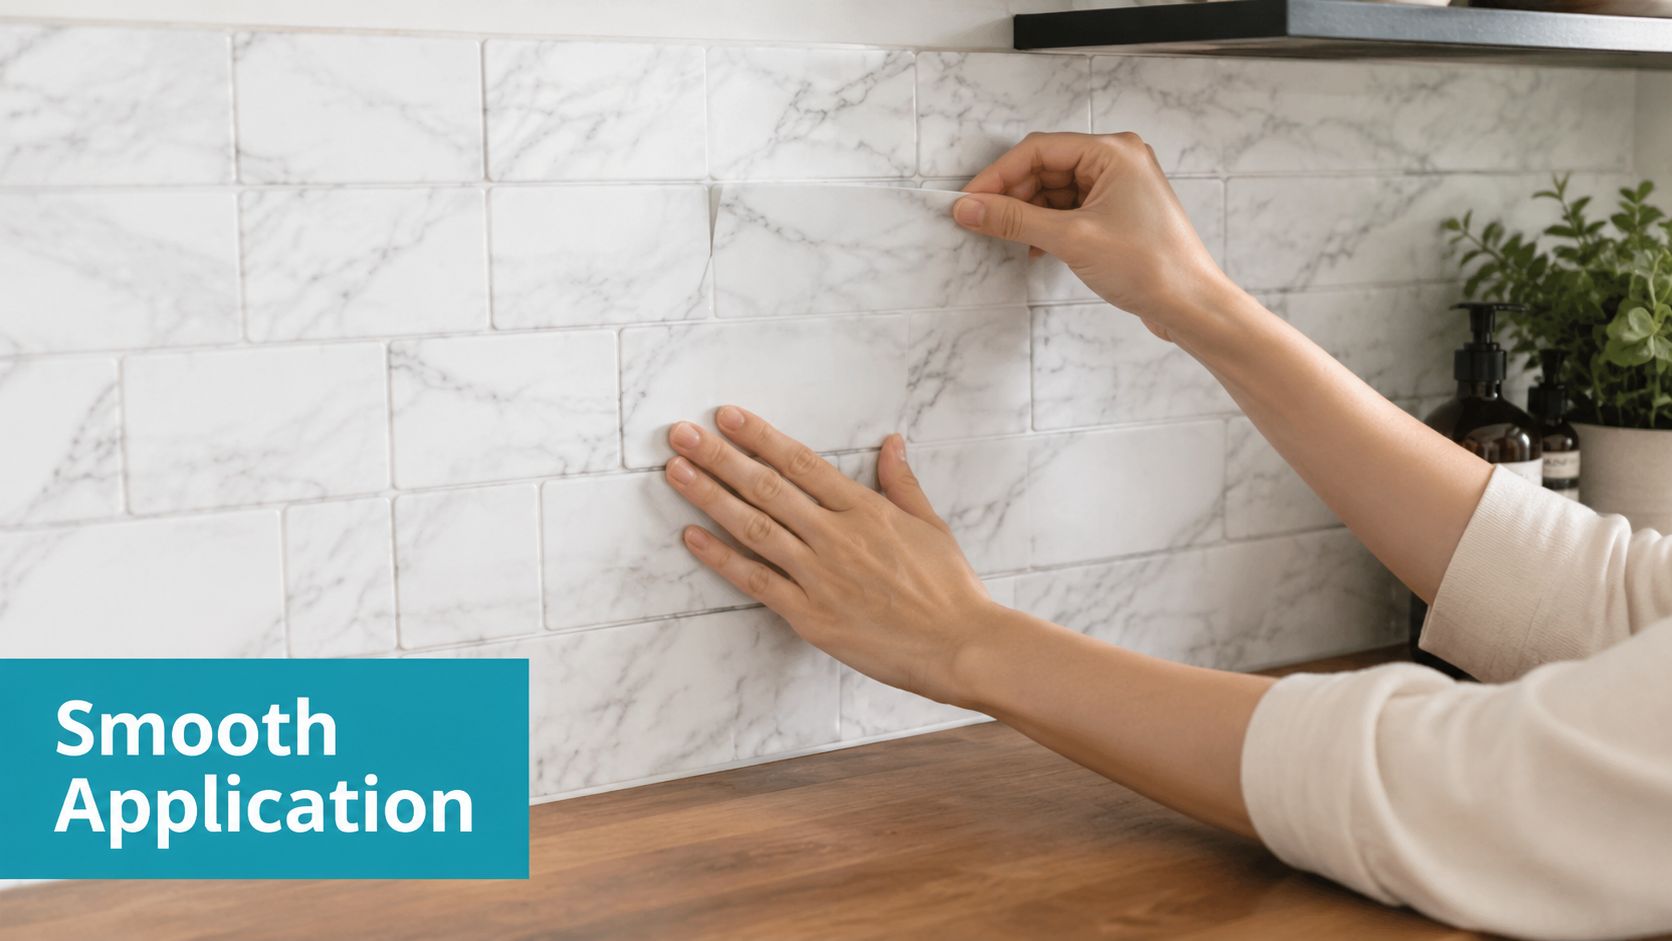
Don't remove all the backing at once. Peel back a small strip, line up the top edge carefully, and tack it lightly into place. Once that top line is right, smooth downward gradually.
Use pressure from the centre out
A plastic squeegee works well, but a bank card wrapped in a soft microfibre cloth also does the job. Press from the centre towards the edges to push out trapped air. If you smooth randomly, you can seal bubbles in and create visible ridges.
With separate tile stickers, keep spacing consistent. With sheet-style products, watch the printed grout line like a hawk. A tiny drift at the start becomes obvious by the third or fourth row.
Cutting around sockets and corners
Achieving a professional or homemade finish depends on these cuts. Never guess these cuts in the air. Mark them first, use a sharp craft knife, and cut on a proper cutting mat.
A few habits help:
- Dry-fit before sticking fully: Hold the piece in place and mark socket corners lightly.
- Change blades often: A dull blade snags vinyl and tears printed edges.
- Trim less than you think: You can always shave off more. You can't put it back.
- Wrap corners neatly: If a corner is visible, decide whether you want a clean butt joint or a careful overlap, then stick to one method.
A backsplash looks expensive when the cuts around sockets are tidy and the pattern line stays level.
Keep joins discreet
Some products look best edge-to-edge. Others benefit from a slight overlap, especially where moisture could creep into a seam. The right choice depends on the product thickness and printed design, but the principle is simple. Avoid obvious gaps where splashes can sit.
This is also where the budget value becomes clear. In the UK, traditional kitchen backsplash installation typically costs £800 to £1,500, while high-quality vinyl tile stickers usually cost £15 to £60 per pack, which can mean a cost reduction of over 90%, according to GM Insights on the self-adhesive tiles market. That lower cost gives you room to buy extra packs and still stay well below the cost of conventional tiling.
The tools that make the job easier
- Craft knife and spare blades
- Steel ruler for straight cuts
- Cutting mat
- Squeegee or wrapped card
- Pencil for light marking
- Soft cloth for final pressing
A calm, careful pace beats speed every time. The finish depends less on confidence and more on alignment, clean cuts, and pressing each section properly before moving on.
Maintenance and Troubleshooting Common Issues
Once the stickers are on, daily care is simple. Harsh cleaning is what shortens their good looks fastest. Scrubbing pads, abrasive powders, and aggressive chemicals can dull the surface, catch the edges, or wear away printed detail.
Keep cleaning gentle
Use a soft cloth and a mild cleaner. Wipe rather than scour. In a kitchen, most marks are grease or splash residue, and those usually come off without much effort if you clean little and often.
If you've installed stickers near a sink, dry the area after heavy splashing. That habit matters more at seams and edges than on the middle of each panel.
Fix small lifting before it spreads
Corners sometimes start to lift after repeated steam exposure. Don't ignore that. A small curl can collect grease, then become a larger failure.
Try this approach:
- Warm the area lightly: A hairdryer on gentle heat softens the adhesive.
- Press with a soft cloth: Hold steady pressure rather than rubbing hard.
- Let it cool in place: The adhesive often resets better if left undisturbed.
- Check the cause: Steam, grease build-up, or poor original prep usually sits behind the problem.
Handle damage pragmatically
A nick from a pan or a scratch from a metal utensil doesn't always mean replacing the whole backsplash. If the product is individual tile format, swap the damaged piece. If it's a continuous sheet, a discreet patch can work in a less visible area, but pattern matching needs care.
Small defects are easiest to fix the day you notice them. Leave them, and dirt makes the repair far more obvious.
If the surface keeps lifting in the same area, the problem is usually environmental. Too much heat, poor ventilation, or a slick underlying surface can all shorten the life of the adhesive. At that point, replacing one section may work, but relocating stickers further from the hottest zone is often the smarter move.
Safe Removal for Renters and Homeowners
“Removable” sounds reassuring, but it's not a guarantee. In UK homes with older plasterboard, flaky paint, or patched walls, removal can still go wrong if you rush it. This is the stage where renters worry most, and rightly so.
Don't trust the word removable on its own
That label doesn't account for the condition of the wall underneath. As noted in Claire Douglas Styling's discussion of kitchen tile stickers, a key concern for UK renters is whether removal can damage plasterboard, and a careful, heat-assisted removal technique is essential to avoid tearing paint or plaster.
If the wall was poorly painted, already damaged, or covered in old layers of paint, even gentle adhesive can pull something loose. That doesn't mean tile stickers are a bad idea. It means removal needs method, not force.
A safer removal method for plasterboard walls
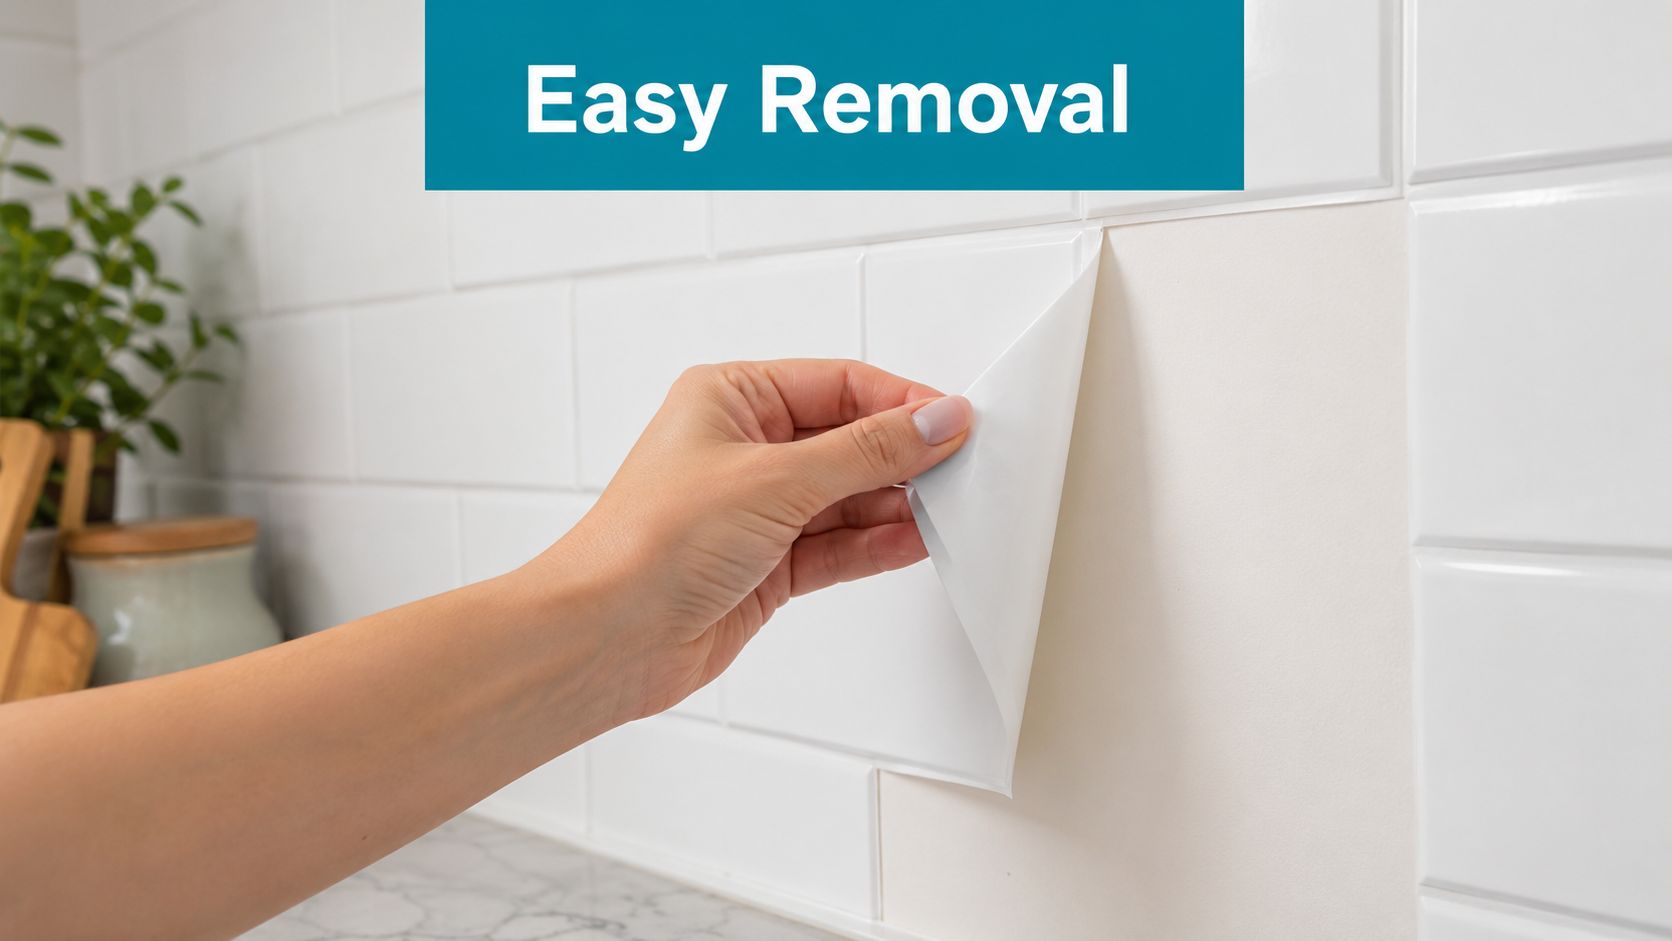
Start with a hairdryer on low to medium heat. Warm one corner for a short spell, then lift the edge with your fingernail. Don't jab at it with a metal scraper unless you want to mark the wall.
Once the corner lifts, pull slowly at a low angle. Think “back along itself”, not “out from the wall”. That puts less stress on paint and skim coat.
A practical sequence looks like this:
- Warm a small section first so the adhesive softens.
- Lift one edge gently without digging into the wall.
- Peel slowly and keep heating ahead of the section you're removing.
- Stop if paint starts lifting and apply more warmth before continuing.
- Remove residue carefully with a soft cloth and a wall-safe cleaner, testing in an inconspicuous spot first.
If the stickers are on old tiles
Removal from existing tiles is usually lower risk than removal from painted plasterboard, but grout lines can hang onto adhesive. Work slowly and expect to clean residue afterwards. If you used a contact-paper barrier over existing tiles, that layer can help protect the original finish during removal, though it still makes sense to test any method in a hidden area first.
For extra guidance on peeling wall products away more carefully, this guide on how to remove wall stickers is a useful reference.
The slower you remove adhesive film, the less likely you are to turn a simple tidy-up into a patch-and-paint job.
When to be extra cautious
- Old rental walls with many paint layers
- Freshly painted walls that haven't cured properly
- Weak plaster around previous repairs
- Areas near heat where adhesive may have hardened unevenly
If deposit protection is on your mind, take photos before installation, test one hidden patch before committing, and leave time for careful removal before the final inspection.
If you want a simple way to refresh a dated kitchen without committing to full tiling, Quote My Wall offers vinyl-based décor options including kitchen tile stickers, along with practical guides that help you choose, apply, and remove them more carefully.