
A Guide to Using Sticky Back Plastic for Furniture Flawlessly
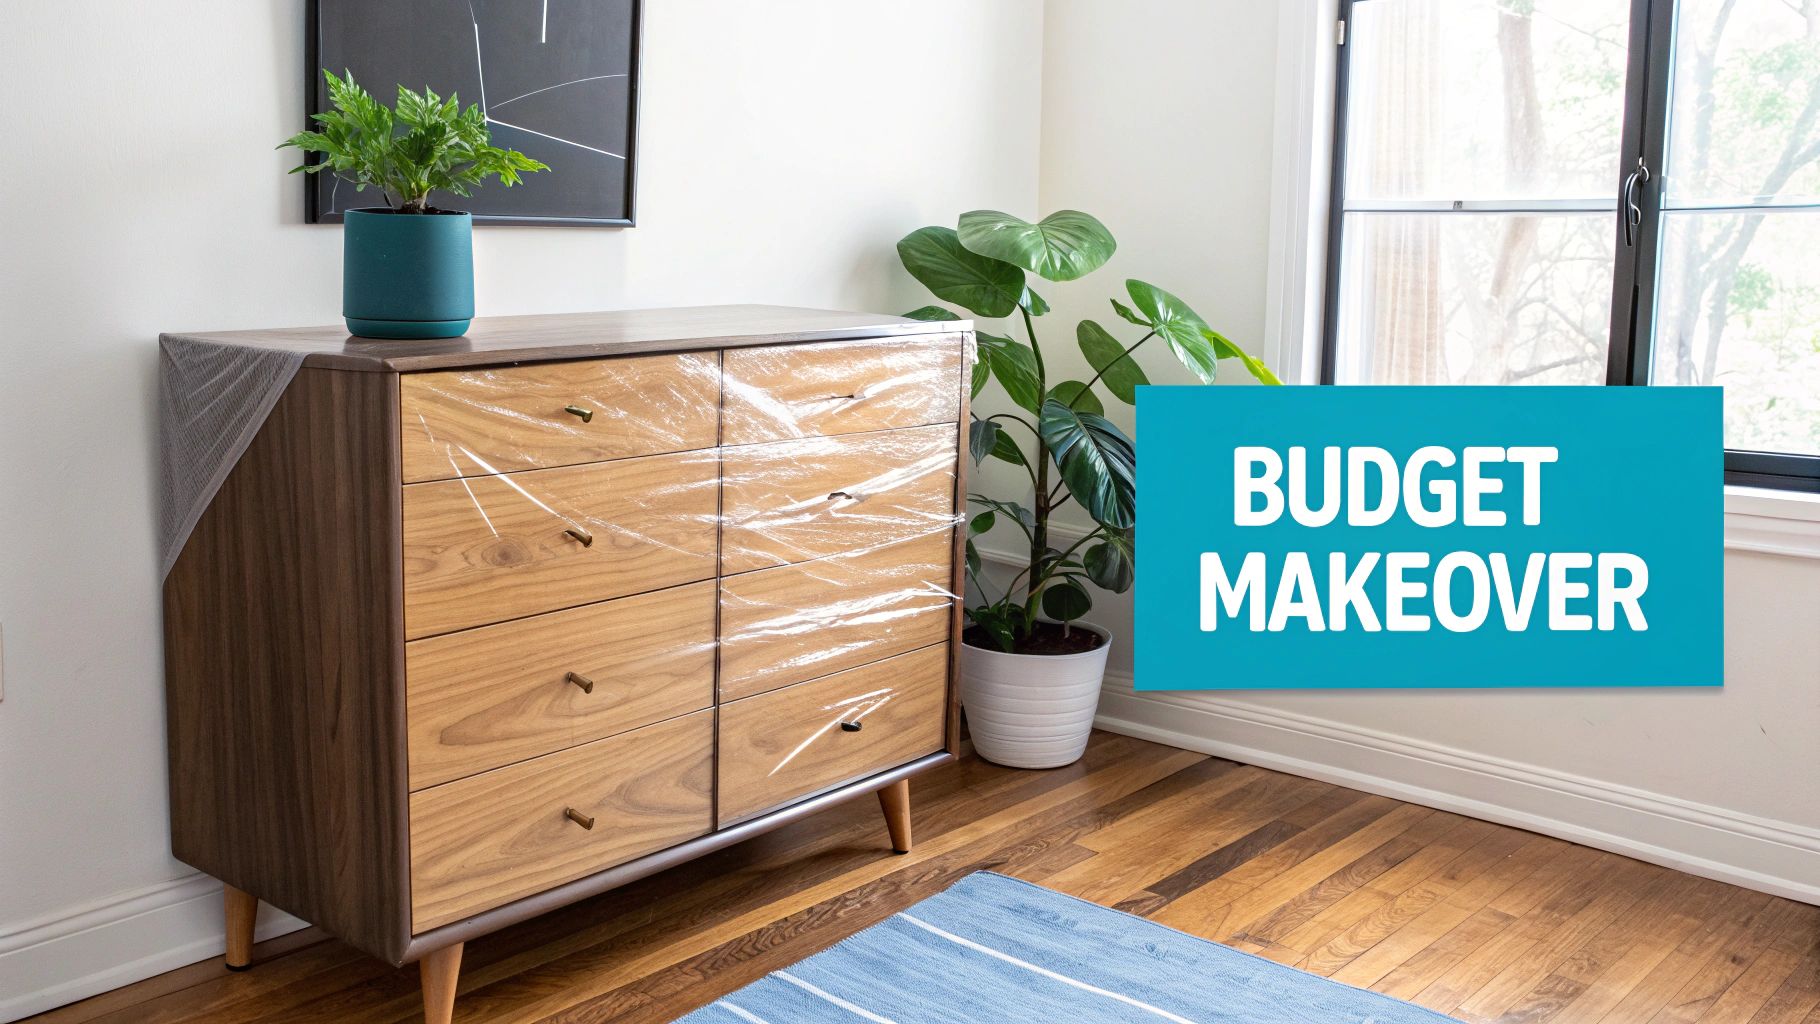
Staring at a tired piece of furniture you can't quite bring yourself to replace? Sticky back plastic for furniture might just be the refresh you're looking for, offering a high-impact transformation without the hefty price tag. This versatile vinyl film lets you completely reinvent tables, dressers, and cabinets, turning dated items into stylish, modern centrepieces.
Your Guide to a Budget-Friendly Furniture Makeover
This is about more than just hiding a few scratches; it's a creative way to inject your own style into your home without committing to permanent, expensive changes. The real appeal of using self-adhesive vinyl is how straightforward it is and the sheer variety on offer. You can get the look of sleek marble, warm wood grains, or bold, solid colours in just a single afternoon.
Forget the hassle of waiting for paint to dry or dealing with messy glues. This guide will walk you through everything you need to know to tackle your first project with confidence.
Why Choose Self-Adhesive Vinyl
Sticky back plastic isn't a new invention. It first became a popular DIY staple in the UK during the post-war period, and its use skyrocketed through the 1950s and 1960s as a cheap and cheerful way to modernise homes. It’s just as relevant today. With UK consumer spending on new furniture hitting around £21.5 billion recently, finding affordable refurbishment options is a real priority for many of us wanting to get more life out of the pieces we already own.
So, why has this method stood the test of time? It comes down to a few practical benefits:
- It’s Wallet-Friendly: You can achieve a dramatic new look for a tiny fraction of what it would cost to buy new furniture.
- It’s Renter-Friendly: Most vinyls can be peeled off without damaging the surface underneath, which is perfect for temporary updates.
- It Gives You Creative Freedom: The endless styles and patterns mean you can get a custom look that fits your decor perfectly.
- You Get Quick Results: A project can often be finished in a single day, giving you that satisfying sense of instant accomplishment.
This approach empowers you to upcycle rather than discard, which is not only economically savvy but also a more sustainable choice. It’s about seeing the potential in what you already own.
Covering furniture is just one piece of a larger home improvement puzzle. Learning how to upcycle furniture in other ways can spark even more ideas for your next project. And it doesn't stop with hard surfaces; you can also explore slip-on covers for a different type of furniture transformation to give items like sofas and chairs a new lease of life.
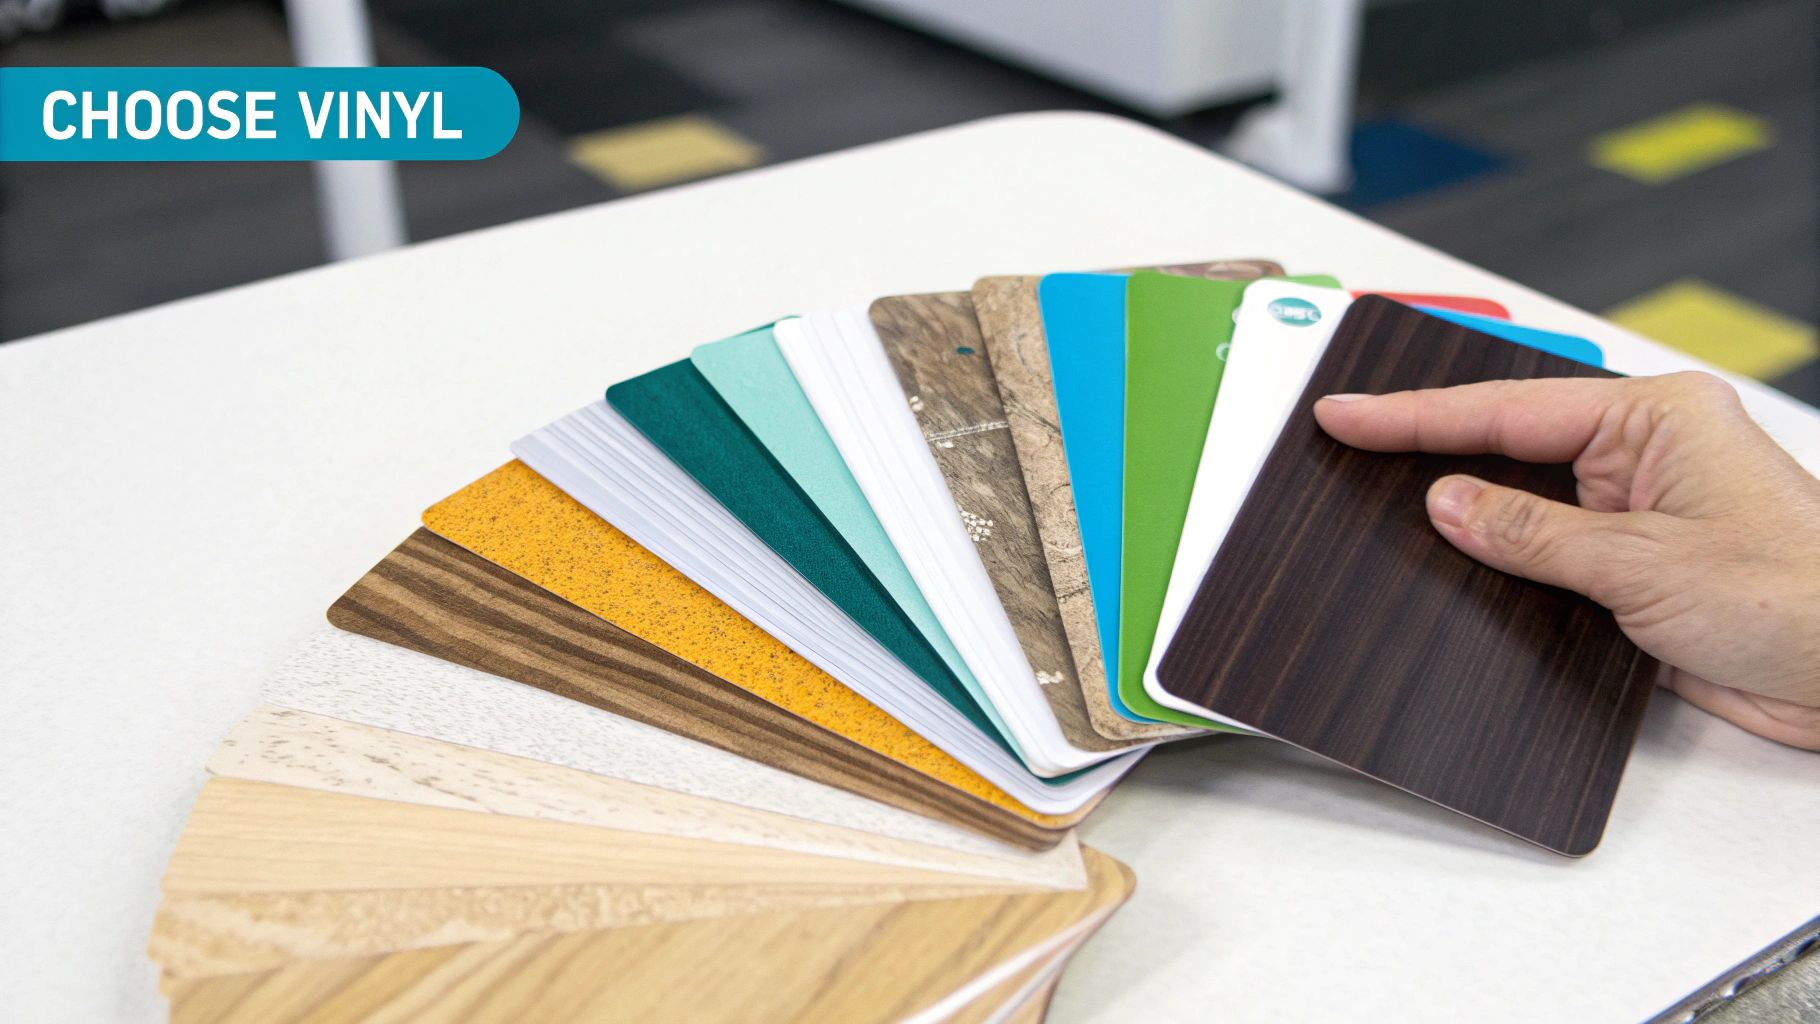
Picking the Perfect Sticky Back Plastic for Your Project
Choosing the right sticky back plastic is easily the most critical step for getting a professional-looking finish on your furniture. It’s about more than just finding a pattern you love; the vinyl’s properties directly impact how easy it is to apply and, crucially, how long it will last. Get this bit right, and you'll save yourself a world of frustration down the line.
The first thing I always look at is the material's thickness. It can be tempting to go for cheaper, thinner vinyls, but they’re often a false economy. They can tear during application and sometimes even show the texture of the surface underneath. For a durable, smooth result, I always recommend a vinyl that's at least 120-180 microns thick. This extra body gives you better coverage and is far more forgiving to work with.
Understanding Finishes and Their Impact
The finish of your vinyl wrap—whether it's matte, gloss, or satin—can completely transform a piece of furniture and change how it plays with the light in a room. Each one has its own vibe and practical benefits.
To help you decide, here’s a quick breakdown of the most common options and where they work best.
Comparing Sticky Back Plastic Finishes
| Finish Type | Best For | Appearance | Durability & Cleaning |
|---|---|---|---|
| Matte | Living room furniture (coffee tables, sideboards), bedrooms. Areas with lots of direct light. | Sophisticated, modern, and non-reflective. Excellent for hiding minor imperfections. | Very forgiving. Hides fingerprints and smudges well. Easy to wipe clean. |
| Gloss | Kitchens, bathrooms, statement pieces. Rooms you want to feel brighter. | Sleek, high-shine, and reflective. Creates a polished, high-end look. | Shows smudges and fingerprints more easily. Requires frequent wiping but is very durable. |
| Satin | Almost anything! A versatile choice for dining tables, cabinets, and wardrobes. | A subtle, soft sheen that sits between matte and gloss. Elegant and understated. | A great all-rounder. Resists fingerprints better than gloss but has a gentle lustre. |
Ultimately, the finish you choose is as much about practicality as it is about style. A high-gloss vinyl might look stunning on a display cabinet, but a hardworking matte or satin finish will be far more forgiving on a busy family coffee table.
If you're planning a bigger transformation, you can find more in-depth advice in our guide to the best vinyl wrap for kitchen cabinets, which dives deeper into these options.
Matching Adhesive Strength to the Job
Not all adhesives are created equal. The sticky side of your vinyl determines how well it grips and how easy it is to reposition or, eventually, remove.
For most furniture upcycling projects, a standard-tack adhesive is absolutely fine. It provides a strong, lasting bond but has enough 'give' to let you peel it back and adjust it during application if you don't get it right the first time.
However, for high-traffic areas or surfaces exposed to heat and moisture—like a bathroom vanity or a kitchen worktop—a high-tack vinyl is a much smarter investment. The stronger adhesive ensures the edges won’t start peeling up over time with daily use. Just be mindful that high-tack options are much less forgiving; you have to be more precise with your initial placement, as repositioning is a lot trickier.
Getting Your Furniture Ready for a Flawless Finish
Let's be honest, the secret to a professional-looking, bubble-free finish with sticky back plastic isn't really in the application itself. It's all in the prep work. This is the one step people tend to rush, and unfortunately, it always shows in the final result.
A perfectly clean, smooth surface is the goal. Even a tiny speck of dust or a greasy fingerprint can create an annoying bump under the vinyl or, worse, stop the adhesive from bonding properly. Think of it like painting a wall – you wouldn't just slap a new colour over flaky paint and dirty marks, would you? It’s the same logic here. Spending an extra hour getting the surface just right will save you a world of frustration and make the difference between a project you're proud of and one that starts peeling in a few weeks.
Your Essential Toolkit
You don’t need a professional workshop to get this done, but having a few key items ready to go will make the whole process so much smoother. Getting everything together first means you won’t have to stop halfway through to hunt for a screwdriver.
Here’s a simple list of what I always have on hand:
- Cleaning Solution: For most jobs, a bowl of warm water with a few drops of washing-up liquid is all you need. If you're tackling greasy kitchen cabinets or a bathroom vanity, a proper degreaser or a 50/50 mix of white vinegar and water will cut through the grime much more effectively.
- Lint-Free Cloths: Microfibre cloths are your best bet. They grab onto dust and don’t leave any fluffy bits behind.
- Sandpaper: A medium-grit paper, somewhere around 120-180 grit, is perfect for smoothing out rough spots or keying glossy surfaces.
- Wood Filler & Putty Knife: Absolutely essential for filling any dings, deep scratches, or old screw holes in wooden furniture.
- Screwdriver: You'll need this to remove handles, knobs, hinges, or any other hardware. Trust me, taking a few minutes to do this makes wrapping drawers and doors infinitely easier.
- Sharp Craft Knife: A fresh, sharp blade is non-negotiable for getting clean, precise cuts. A dull blade will only drag and tear the vinyl.
How to Prep Different Furniture Surfaces
Furniture comes in all shapes, sizes, and materials, and each one needs a slightly different touch to get it ready for wrapping. The end goal is always the same, though: create a smooth, clean, and stable surface for the adhesive to grab onto.
For Natural or Painted Wood
First things first, give the piece a really good clean to get rid of dust and grime. Let it dry completely, then run your hand over the surface to feel for any imperfections. Use wood filler to patch up any nicks or deep scratches, wait for it to dry, and then sand it back so it’s perfectly flush. A final, light sanding over the whole piece will create a lovely, uniform base. Just be sure to wipe away every last bit of sanding dust with a damp cloth before you start wrapping.
A quick tip from experience: if you're putting a light-coloured vinyl over a dark, painted piece, it's worth applying a coat of primer first. This stops the old, dark colour from peeking through your new finish, which can sometimes happen in bright sunlight.
For Laminate or Melamine
The challenge with these materials is their slick, non-porous finish, which can make it tricky for adhesives to get a good grip. The key is to create a bit of 'tooth' for the vinyl to hold on to. Start with a deep clean using a degreaser to shift any polish or grease buildup. Then, lightly scuff the entire surface with your medium-grit sandpaper. You’re not trying to strip the finish off, just take the shine down a notch. This tiny change in texture makes a massive difference to how well your sticky back plastic for furniture will stick for the long haul.
Mastering the Application and Fixing Common Glitches
You’ve done the prep work, and now for the fun part. This is where your vision comes to life, and with a few tricks of the trade, you can get a finish that looks genuinely professional.
The biggest mistake I see beginners make is pulling the entire backing paper off in one go. Don't do it! The vinyl becomes a nightmare to handle—it’ll stick to itself, fold, and you’ll have a tough time getting it lined up.
A much smarter way to work is what’s known as the 'hinge' method. Just peel back the first few inches of the backing paper and fold it down to create a sharp crease. Carefully line up this exposed sticky edge with the top or side of your furniture. When you're happy with the positioning, press it down firmly. This small, anchored section acts like a hinge, keeping the rest of the roll perfectly straight as you go.
Now you can work slowly, pulling the backing paper away from underneath with one hand while smoothing the vinyl down with a squeegee in your other.
The Art of the Squeegee
Your squeegee is the secret to a smooth, bubble-free finish. The trick is always to work from the centre outwards. Start every squeegee stroke in the middle of the vinyl and push with firm pressure towards the edges. This simple motion forces any trapped air out to the sides instead of trapping it under the surface.
- Overlapping Strokes: Make sure each sweep of the squeegee overlaps the last by about 50%. This ensures you don't miss any spots and create a line of annoying little bubbles.
- Consistent Pressure: Don't be timid. Applying firm, even pressure helps the adhesive bond properly and forces out any stubborn air pockets.
The techniques for applying vinyl to furniture are pretty similar to other applications, like window films. If you want more tips on getting a flawless finish, our guide on how to install window privacy film has some great pointers.
Conquering Corners and Curves
Corners and curves are where many projects hit a snag, but a simple household tool makes all the difference: a hairdryer. Gently heating the vinyl makes it more pliable and stretchy, which helps it mould beautifully to tricky shapes without creasing.
When you get to a corner, let the vinyl overhang a little. Grab your hairdryer and, on a low heat setting, move it back and forth over the corner to warm the material up. You’ll feel it start to soften. Once it’s pliable, gently stretch and smooth it around the corner with your fingers, then follow up with the squeegee to secure it. For an inside corner, a precise relief cut with your craft knife will allow the vinyl to lay flat without bunching up.
Troubleshooting Common Application Hiccups
Even with the best technique, things can go wrong. Don’t panic—most issues are surprisingly easy to fix.
The key is to sort problems out the moment you see them. A small bubble is easy to deal with right away, but it can become a permanent crease if you ignore it and keep applying more vinyl on top.
- Stubborn Bubbles: If a bubble just won't smooth out, take a sharp pin and make a tiny hole in the centre. You can then use your squeegee or even just your finger to gently push the trapped air out through the pinprick.
- Accidental Creases: Created a crease? The best thing to do is carefully lift the vinyl back to that point and re-apply it, using that centre-out squeegee method to smooth it flat. A little bit of heat from the hairdryer can also help relax a minor crease.
- Lifting Edges: If an edge starts to lift after a day or two, it’s usually because a tiny bit of dust or grease was missed during prep. Gently clean under the edge with an alcohol wipe, let it dry completely, and then use your hairdryer to warm the vinyl and press it back down firmly. This will help reactivate the adhesive.
Keeping Your Revamped Furniture Looking Its Best
You’ve done the hard work, and your furniture looks incredible. The good news? Keeping that vinyl-wrapped surface looking pristine is incredibly straightforward. You won't need any fancy cleaners or special tools.
The number one rule is to be gentle. Steer clear of abrasive scourers, harsh chemical cleaners, and anything with bleach. These can easily scratch the delicate surface or cause the beautiful colour to fade over time. For day-to-day dust, a quick wipe with a soft, damp microfibre cloth is perfect.
If you’re dealing with something a bit more stubborn, like greasy fingerprints or a sticky spill, a little warm water with a drop of washing-up liquid is your best bet. Wipe the area down, then go over it again with a clean, damp cloth to rinse away any suds before drying it off completely.
Quick Fixes for Minor Damage
Life happens, and even with the most careful use, a little wear and tear is inevitable. Maybe you’ve dropped something and caused a small scuff, or a corner has started to lift in a humid room like the bathroom. Don't panic! Most of these little issues are simple to fix without needing to redo the whole piece.
- Small Scuffs: You'd be surprised what a firm buff with a clean microfibre cloth can do. It often helps to blend minor scuffs right into the finish.
- Lifting Edges: If an edge or corner starts to peel, it's usually because a bit of dust snuck in during application or it's in a damp spot. Gently lift the vinyl, clean underneath with an alcohol wipe, and let it dry. A quick blast with a hairdryer on low will warm up the adhesive, letting you press it firmly back down.
- Little Rips or Tears: For a small tear, you can create a clever patch from a spare piece of vinyl. Just cut a shape slightly larger than the damage, taking care to line up the pattern for a near-invisible fix.
My top tip? Always hang on to your offcuts! Having a few spare scraps from the original roll is an absolute lifesaver when you need to make a seamless repair later on.
Renter-Friendly Removal
One of the best things about using sticky back plastic for furniture is that it’s not forever. This makes it an absolute dream for renters or anyone who loves to switch up their style without commitment. When you’re ready for a change, all you need is a hairdryer.
Start by gently warming one corner of the vinyl on a low heat setting. This softens the glue and makes it much easier to peel away. The trick is to pull the vinyl back on itself at a shallow angle, rather than pulling it straight up. This simple technique drastically reduces the chance of leaving any sticky gunk behind.
If you do find a little residue, it can usually be cleaned off with some warm, soapy water or a dedicated adhesive remover. Just like that, your furniture is back to its original state, ready for its next look.
Answering Your Top Questions
Even with the most detailed guide, you're bound to have a few specific questions. Let's tackle some of the most common ones we hear, so you can get on with your project feeling totally prepared.
Can Sticky Back Plastic Withstand Heat?
This is a big one, especially if you’re thinking about kitchen worktops or a dining table. The short answer is: it depends. Most standard vinyls can take a bit of moderate heat – a warm plate or your morning cup of tea won't cause any problems.
However, they are not heatproof. Never, ever put a hot pan straight from the hob onto the vinyl. It will definitely melt or scorch the surface. If you need something more robust for a kitchen environment, look for specialised heat-resistant films. These are usually rated for temperatures up to 75-80°C, giving you a bit more peace of mind. But even then, I always tell people to get into the habit of using trivets and coasters. It's the best way to keep that finish looking brand new.
How Durable Is It on High-Traffic Furniture?
How long your vinyl lasts really comes down to two things: the quality of the film itself and how well you prepped the surface beforehand. A good, thick vinyl on a properly cleaned and smoothed surface can be incredibly resilient.
Think about it in real-world terms:
- Bookcase Shelves: Perfect. These surfaces don't get a lot of direct wear and tear, so the vinyl will last for years.
- Coffee Table Top: It’ll hold up well, but you absolutely need to use coasters. Keys, mugs, and remote controls being dragged across the surface will eventually leave their mark.
- Dining Table: I’d say it has moderate durability here. It can handle daily family meals, but it’s naturally going to be more susceptible to scuffs and scratches over time compared to the original wood or laminate.
A little tip from experience: for high-wear areas like a desk where you’re constantly sliding a mouse or keyboard around, go for a matte or textured finish. They are so much more forgiving and do a brilliant job of hiding the minor scratches that come with daily life, unlike a high-gloss finish which shows everything.
Is It Safe for Use in a Child’s Room?
Yes, absolutely. The sticky back plastic sold in the UK today is typically made from PVC with water-based, non-toxic adhesives. This makes it a perfectly safe choice for decorating children's furniture. It's a fantastic, budget-friendly way to bring a splash of colour to a chest of drawers or to theme a plain old toy box.
One of the best things about it for a kid's room is how easy it is to clean. Sticky fingerprints, felt-tip pen, crayon marks – they all just wipe away. The only thing to be really careful about is making sure every single edge is pressed down firmly, so curious little fingers can't start picking at it.
Feeling inspired to start your own furniture refresh? At Quote My Wall, we've curated a huge range of premium vinyl wraps that are perfect for any upcycling project you can dream up. Take a look through our collection and find the perfect design to give your old furniture a new lease of life.
Explore the possibilities at https://www.quotemywall.co.uk.