
best vinyl wrap for kitchen cabinets: Affordable DIY upgrade
If you're looking for a way to overhaul your kitchen without the massive expense and upheaval of a full renovation, the right vinyl wrap is an absolute game-changer. High-quality architectural vinyls, especially those with air-release technology, can give you a professional, factory-finish look that completely transforms a tired kitchen in just a weekend.
Why Vinyl Wrap Is a Game Changer for Kitchens
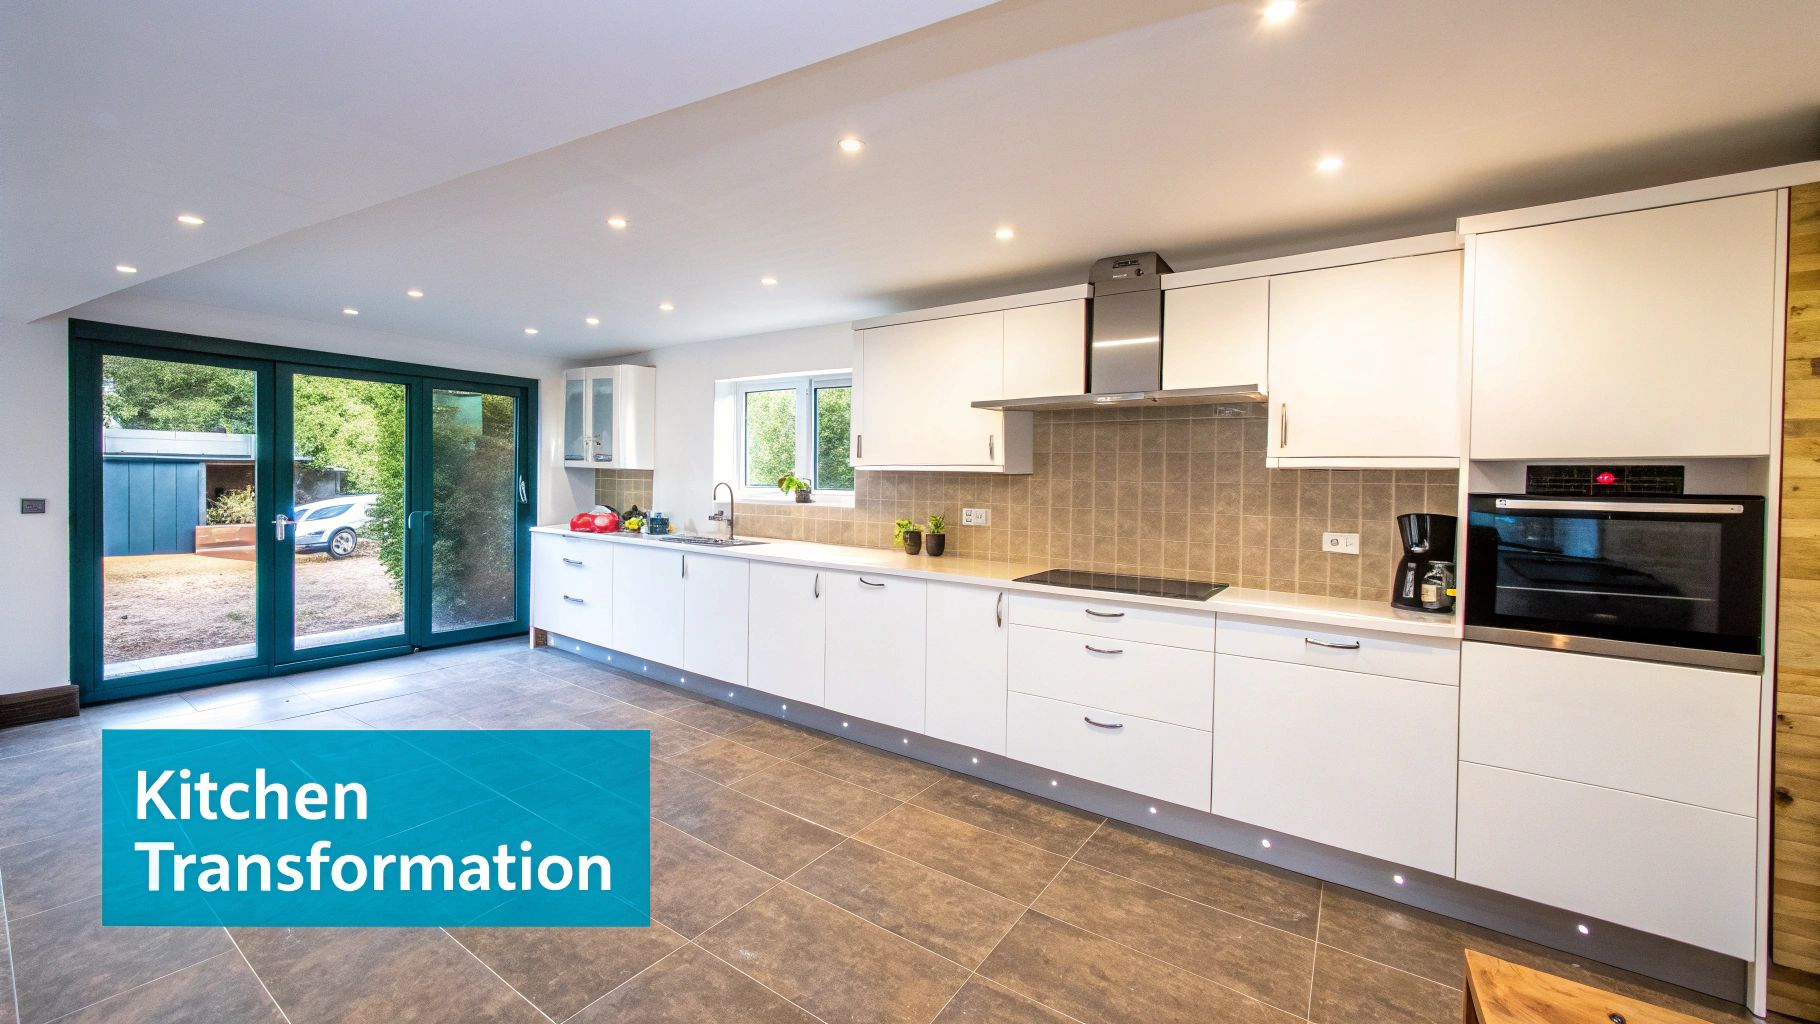
Dreaming of a kitchen makeover but put off by the cost, mess, and time? Vinyl wrapping is the practical, stylish solution you've been waiting for. It’s so much more than a lick of paint; it's a complete aesthetic overhaul that doesn't involve ripping out a single cabinet. It's the perfect way to get that high-end look on a sensible budget.
Forget weeks of dust and builders traipsing through your home. A stunning transformation can be yours over a single weekend. This efficiency is precisely why vinyl wrapping is fast becoming the go-to choice for savvy UK homeowners who want maximum impact with minimal fuss.
The True Value of a Vinyl Makeover
The appeal of vinyl wrap goes far beyond the instant visual upgrade. It’s about making a smart, sustainable choice for your home. By deciding to upcycle your existing cabinets, you're not just saving a significant amount of money; you're also making an environmentally friendly decision. If you're curious, you can find out more about why vinyl furniture wraps are better to upcycle and how this approach keeps perfectly good cabinets out of landfill.
Today’s architectural vinyls are built to withstand the rigours of a busy kitchen, offering impressive durability against the knocks and spills of daily life. The key benefits are hard to ignore:
- Exceptional Durability: Premium wraps are tough, resisting scratches, moisture, and heat far better than many traditional paints.
- Low Maintenance: A quick wipe with a soft cloth and a mild cleaner is all it takes to keep your wrapped surfaces looking pristine.
- Endless Style Options: Whether you want the warmth of a realistic wood grain, the luxury of marble, or a sleek, modern matte colour, the design possibilities are virtually endless.
In fact, kitchen vinyl wrapping has exploded as one of the UK's fastest-growing home improvement trends. It's a method that can seriously boost your home's value while saving you 70-80% compared to the cost of a new kitchen installation. Top-tier wraps are also incredibly resilient, with many products guaranteed to last well over 15 years.
How to Select the Perfect Vinyl Wrap
Choosing the right vinyl wrap is genuinely the most important part of your kitchen project. It’s the decision that separates a professional-looking, long-lasting finish from a DIY job that starts peeling or bubbling after just a few months. Let's break down the options so you can pick the best vinyl for your kitchen cabinets with total confidence.
Your first decision point comes down to two main types of vinyl: cast and calendered.
For most kitchens with flat, simple surfaces—think classic Shaker-style or modern flat-panel doors—calendered vinyl is your go-to. It’s made by rolling and stretching the material, which makes it a fantastic, budget-friendly option that still delivers great results.
If your cabinets have more intricate routered edges, deep grooves, or curved features, you'll want to invest in cast vinyl. This is the premium stuff. It starts as a liquid poured into a mould, creating a thinner, more flexible film that conforms beautifully to complex shapes without shrinking over time. It’s the secret to a seamless finish on trickier designs.
Understanding Finishes and Cabinet Styles
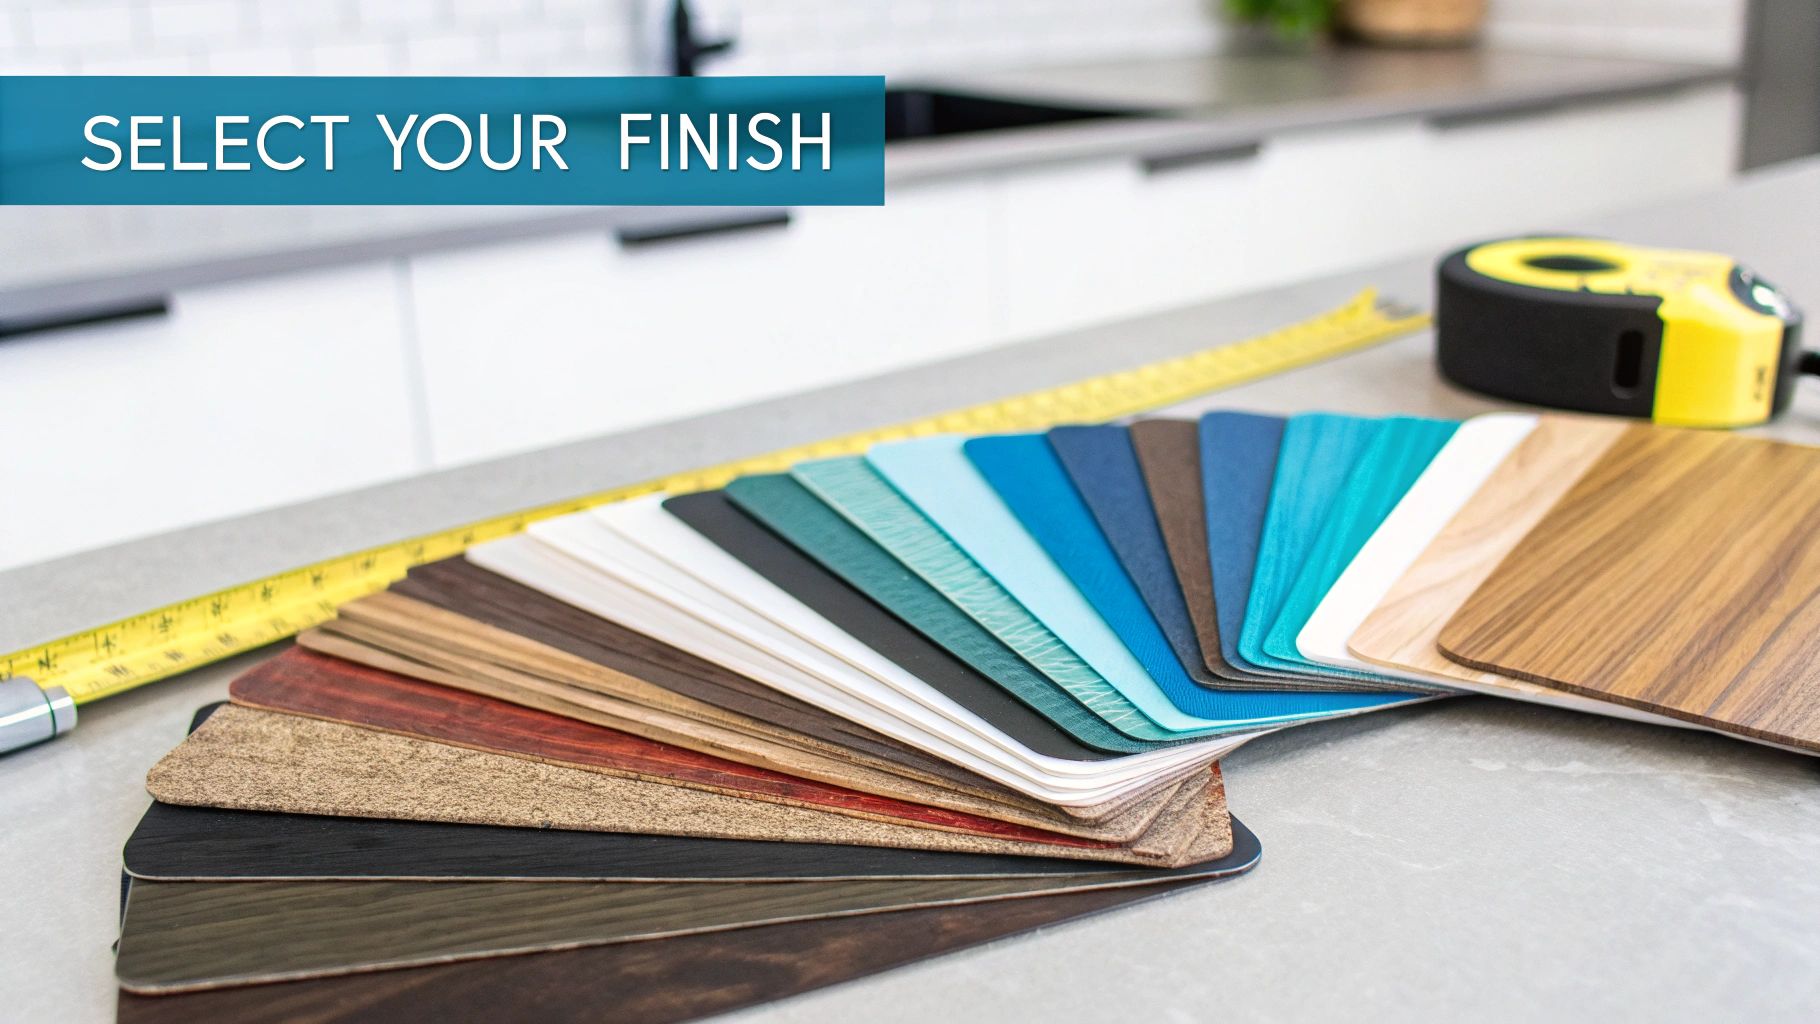
The finish you choose really sets the tone for your entire kitchen. From the sleek look of high gloss to the cosy feel of a textured wood grain, the options are almost endless. But before you fall in love with a finish, it's worth understanding how it will work with your cabinet construction. A little research into choosing the right cabinet style can help you match the wrap perfectly to your kitchen's existing architecture.
Here’s a quick look at the most popular choices:
- Matte Finishes: These give a sophisticated, contemporary feel. Best of all, they're brilliant at hiding fingerprints and minor imperfections, making them a practical choice for busy family homes.
- Gloss Finishes: Want to make a small kitchen feel bigger and brighter? A reflective gloss surface is the way to go. It’s a breeze to wipe clean, but be prepared for it to show smudges more easily.
- Textured Finishes: This is where you can get really creative with wood grains, stone effects, or brushed metals. They add incredible depth and character, giving you a high-end, tactile look that mimics the real material.
To make the decision a bit easier, this table breaks down which finishes work best for different kitchen vibes.
Comparing Vinyl Finishes for Your Kitchen Style
| Finish Type | Best For | Durability/Maintenance Level | Pro Tip |
|---|---|---|---|
| Matte | Modern, minimalist, and Scandi-style kitchens. | High (Hides fingerprints) | A dark matte, like charcoal or navy, can create a stunning, dramatic look. |
| Satin/Sateen | Transitional styles that blend modern and traditional elements. | Medium (Easy to clean) | Offers a subtle sheen that isn't as reflective as gloss, providing a balanced, elegant appearance. |
| Gloss | Small or dark kitchens needing a light-enhancing boost. | Medium (Shows smudges) | Keep a microfibre cloth handy for quick wipe-downs to maintain that pristine, reflective shine. |
| Textured Wood | Farmhouse, rustic, or traditional kitchens. | High (Hides wear) | Match the grain direction to the cabinet style (vertical for doors, horizontal for drawers) for realism. |
This table is a great starting point, but nothing beats seeing the material in your own space.
Pro Tip: I can't stress this enough: always order samples! A colour or texture on a screen can look completely different in your kitchen's unique light. Stick the samples on your cabinets and live with them for a few days before you commit.
Key Technical Details to Check
Looks aren't everything. A few technical details will tell you whether you’re buying a quality product built to last.
The most important feature to look for is air-release technology. This is a non-negotiable for a smooth application. The adhesive side has tiny, invisible channels that let trapped air escape, making it so much easier to get a bubble-free finish, even if you’re a first-timer.
Next, check the vinyl's thickness, which is measured in microns. Aim for something around 80-100 microns. A thicker film is more durable, easier to handle without stretching or tearing, and does a much better job of hiding any minor bumps or imperfections on the original surface.
Finally, make sure the product specifies good heat and moisture resistance—an absolute must for a kitchen environment. You can see how these principles apply in other areas of the home in our ultimate guide to vinyl wraps and wall stickers.
Preparing Your Cabinets for a Flawless Finish
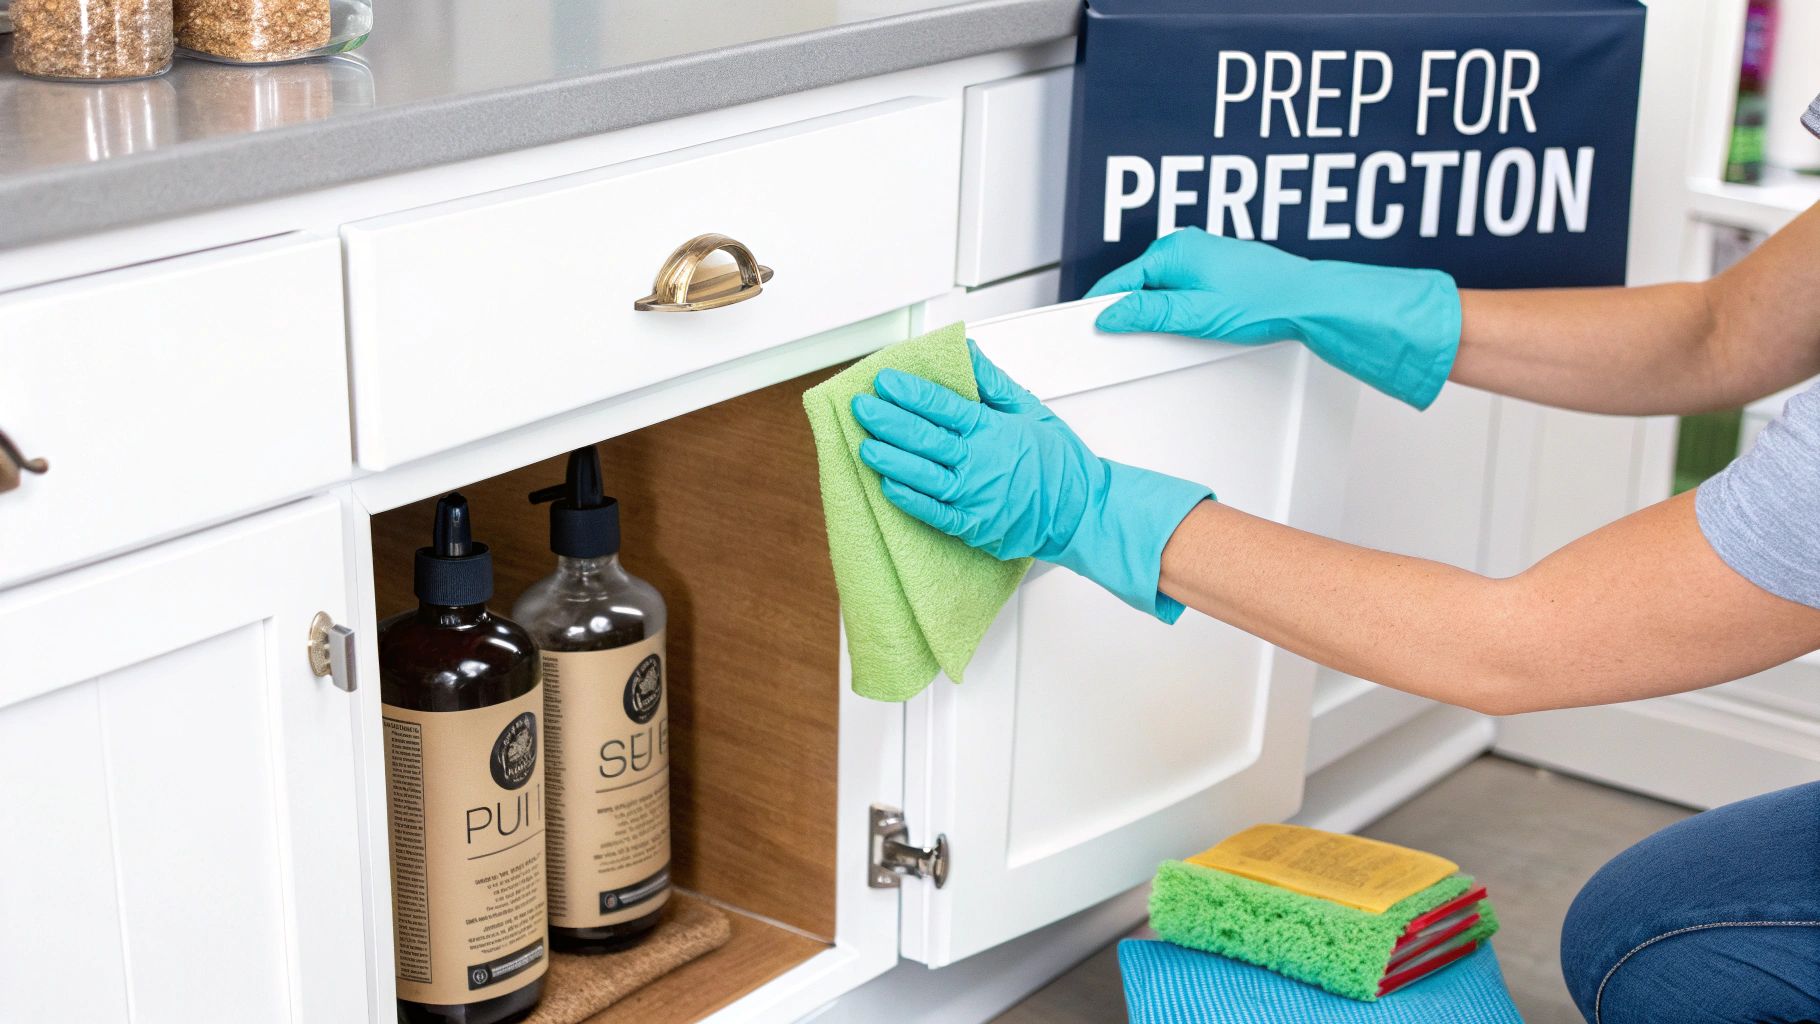
Here's a truth I've learned over countless projects: the secret to a wrap that looks professionally installed and lasts for years isn't in the application—it's in the prep work. Honestly, skipping these crucial steps is the single biggest mistake you can make. You absolutely need a pristine surface to get that flawless, bubble-free look you’re after.
Think of it this way: the vinyl’s adhesive needs a perfectly clean slate to grab onto. Years of cooking leaves a nearly invisible film of grease and grime on cabinet surfaces, even if they look clean to the naked eye. This residue is the number one enemy of adhesion and will cause your beautiful new wrap to lift and peel before you know it.
Deep Cleaning for Maximum Adhesion
Your first mission is a proper deep clean. I’m not talking about a quick wipe with a damp cloth; you need to be meticulous here. Start with a good degreasing cleaner to cut through all that built-up kitchen oil. A simple mixture of warm water and washing-up liquid can work wonders, but for really stubborn grease, a dedicated kitchen degreaser is your best bet.
After degreasing, the final wipe-down is the most important part. Use isopropyl alcohol (often just called rubbing alcohol) on a lint-free cloth. This gets rid of any leftover cleaner residue, making sure the surface is completely sterile and ready for the vinyl. It evaporates quickly and leaves nothing behind that could mess with the adhesive.
One of the most common DIY fails I see is applying vinyl to a surface that wasn't properly cleaned. Believe it or not, even a single fingerprint contains enough oil to prevent the wrap from sticking correctly, which will eventually lead to a bubble or a peeling corner.
Handling Different Cabinet Surfaces
How you prep really depends on what your cabinets are made of. Each material has its own quirks, and getting it right is key to making sure the best vinyl wrap for your kitchen cabinets adheres properly.
- Laminate or Melamine: These are pretty much ideal surfaces for wrapping because they're smooth and non-porous. A thorough clean, as I described above, is usually all you’ll need.
- Painted Wood: If the paint is in good nick (not flaking or peeling), give it a very light sanding with fine-grit sandpaper—something around 220-grit. This just scuffs up the surface enough to give the adhesive a bit more to grip onto.
- Bare or Textured Wood (like Oak): Wood with a deep grain needs an extra step. To stop that texture showing through your wrap, you'll likely need to apply a grain filler. Once it’s cured, sand it perfectly smooth. It’s more work, but it’s absolutely essential for a professional finish.
Dismantling for a Professional Result
Trying to wrap cabinet doors while they’re still hanging is a recipe for frustration and a messy job. If you want a truly professional result, you have to take them off.
- Remove all Hardware: Start by unscrewing every handle, knob, and hinge. Pop them into labelled bags so you know exactly what goes where when it's time to put it all back together.
- Label Your Doors: This tip is a genuine game-changer. Stick a piece of masking tape on the inside of each door and on the cabinet frame it belongs to. A simple numbering system (e.g., 'Top Left 1', 'Bottom Right 4') will save you a massive headache later.
Taking the time to dismantle and prepare everything methodically is what sets you up for a smooth and successful application. It’s the difference between a project you're proud of and one you'll end up wanting to redo.
Getting the Vinyl Wrap On: Your Application Masterclass
Alright, your cabinets are prepped and waiting. This is the moment where all that planning pays off and you start to see your new kitchen take shape. Applying the vinyl might seem like the most daunting part, but with a bit of patience and the right technique, it's actually incredibly satisfying.
The absolute golden rule for a stress-free application, especially on bigger cabinet doors, is what we call the 'hinge method'. Honestly, this one trick separates a professional finish from a DIY disaster. It stops the vinyl from sticking to itself or going on crooked, which is a real pain to fix.
The Hinge Method: Your Secret to Perfect Alignment
So, you've got your piece of vinyl cut, leaving a decent bit of overhang on all sides. The temptation is to rip the whole backing paper off at once – don't do it! Instead, just peel back the top 5-10 cm of the backing and fold it down sharply, creating a crease.
Now, line up that exposed sticky edge with the top of your cabinet door. Take your time here. Nudge it around until it's perfectly straight. Once you’re happy, press it down firmly with your squeegee. This little strip is now your 'hinge', holding the whole sheet exactly where you want it.
With the vinyl anchored, you can reach underneath, grab the folded backing paper with one hand, and slowly pull it downwards. As you pull, follow behind with your squeegee in the other hand, smoothing the vinyl onto the surface. This method gives you total control and pretty much guarantees it goes on straight every time.
Squeegee Technique and Tackling Air Bubbles
Your squeegee is your best friend during this process. I'd always recommend getting one with a soft felt edge; it glides over the vinyl without leaving any scratches.
The motion is key. Always work from the centre outwards. Using firm, overlapping strokes at roughly a 45-degree angle, you’ll push any potential air pockets out towards the edges before they even become bubbles. It’s a simple rhythm: pull a bit more backing paper, squeegee from the centre out, repeat.
But what if a bubble does pop up? No need to panic. If it’s near the edge, you can usually just lift the vinyl gently past the bubble and smooth it back down. If it's trapped right in the middle, grab a very fine pin or the tip of a sharp craft knife. Make a tiny prick right in the centre of the bubble, then use your finger to press the air out. The pinprick will be completely invisible once you're done.
A little tip from experience: Never try to force a large bubble all the way to the edge. You'll end up stretching and creasing the vinyl. It’s much better to carefully lift the vinyl back to where the bubble is, let the air out, and then re-apply that section.
Conquering Corners and Tricky Curves
Corners, curves, and those recessed panels on Shaker-style doors are where many people get stuck. This is where a heat gun (or even a hairdryer on its hottest setting) works wonders. A little bit of heat makes the vinyl soft and pliable, almost like fabric, letting you stretch and mould it around complex shapes for a perfect fit.
Here’s how to handle those common tricky spots:
- Inside Corners: Gently warm the vinyl as it approaches the corner. Use the firm edge of your squeegee or a special tucking tool to press it snugly into that 90-degree angle.
- Rounded Edges: Apply heat to the section of vinyl that will cover the curve. You'll feel it soften. Now, gently stretch it over and around the edge, smoothing it down with your hand (pop a glove on if it’s a bit hot). The heat helps it conform to the new shape permanently.
- Recessed Panels (Shaker Style): Always start with the flat, central part of the door first. Once that's down, use heat to warm the vinyl over the recessed grooves, then carefully work it into the channels with your squeegee before finally wrapping the outer frame.
This careful use of heat is what creates that seamless, almost-painted-on finish.
For more ideas on how vinyl can spruce up your space, take a look at this guide on how to transform your home with removable tile stickers and vinyl wraps. Getting these application skills down will give you a massive confidence boost and ensure your kitchen makeover looks absolutely brilliant.
Budgeting Your Project: DIY vs. Professional Costs
Let’s talk money. When it comes to wrapping your kitchen cabinets, the big question is often whether to roll up your sleeves and do it yourself or bring in the pros. Honestly, it nearly always boils down to your budget. Going the DIY route can save you a serious amount of cash, but it's worth weighing up the full picture before you dive in.
If you decide to tackle this yourself, your main expense will be the vinyl. The best vinyl wrap for kitchen cabinets varies in price depending on the quality and finish you choose. Beyond the wrap itself, you’ll just need a handful of essential tools to get that slick, professional look.
- Your Toolkit: You'll want a quality squeegee (I always recommend one with a soft felt edge), a sharp craft knife with plenty of spare blades, a heat gun (a hairdryer will do in a pinch), and some isopropyl alcohol for a spotless pre-wrap clean.
- Total Tool Cost: You can get everything you need for around £30-£50.
Crunching the Numbers
When you lay it all out, the savings from a DIY job are hard to ignore. With a professional, you're paying for their experience, efficiency, and a guarantee of a perfect finish. According to data from Checkatrade, you can expect professional labour costs here in the UK to be between £150 to £200 per day.
Most kitchens take between one and three days to wrap, so labour alone could set you back anywhere from £150 to £600. Add the material costs on top of that, and a fully professional service often lands somewhere between £2,000 and £4,000.
In contrast, if you're buying the materials yourself, you can find good quality vinyl from as little as £8 to £30 for a 2-metre roll. For a standard-sized kitchen, your total material spend could be as low as £100-£500. It's a massive difference. For a closer look at the figures, check out these kitchen wrapping prices from Checkatrade.com.
This infographic breaks down the core technique you'll be using – this is the "labour" you're saving money on by doing it yourself.

Getting these three things right—measuring precisely, aligning the vinyl with care, and using that squeegee with smooth, deliberate strokes—is the secret to a flawless, bubble-free result that looks like it was done by a pro.
In the end, it’s a classic trade-off: money versus time and skill. A DIY project can genuinely save you thousands, but it demands patience and a keen eye for detail. A professional job costs more, but you're paying for peace of mind and a perfect outcome.
Answering Your Top Kitchen Wrap Questions
Even with all the inspiration, I know you probably have a few practical questions bubbling up before you commit to wrapping your kitchen. That's completely normal. Let's walk through some of the most common queries I hear, so you can move forward with total confidence.
How Long Does Vinyl Wrap Actually Last?
This is usually the first thing people ask, and for good reason. The great news is that a professionally installed, high-quality architectural vinyl can easily last for 10 years or more. Its lifespan really comes down to the quality of the vinyl itself and the amount of wear and tear in your kitchen, but it's engineered to handle moisture, heat, and everyday scuffs far better than a coat of paint.
Will It Stick to My Cabinets?
Vinyl wrap works its magic best on smooth, non-porous surfaces. Think laminate, MDF, melamine, or wood with a factory finish. What if you have something with a more pronounced texture, like oak cabinets? You can still get a fantastic result, but you'll need to do a bit of prep work first by filling the grain and sanding it smooth. A perfect finish always starts with a perfectly smooth canvas.
Keeping Your New Cabinets Looking Great
So, how do you look after your newly wrapped kitchen? Honestly, it couldn't be simpler. For everyday cleaning, just a soft microfibre cloth, a bit of water, and some mild soap is all you need to handle fingerprints and spills. Just be sure to steer clear of abrasive scourers or harsh chemical cleaners, as they can dull the finish or leave fine scratches over time.
If you're looking for the best cleaning solutions, a good guide to non-toxic kitchen cleaners can point you in the right direction. This will help you keep everything looking brand new without risking any damage to the vinyl.
One of the best things about vinyl wrap—and something people often forget—is that it isn't permanent. If you change your mind in a few years, it comes right off. Just warm the surface gently with a hairdryer to soften the adhesive, and you should be able to peel it away slowly without damaging the cabinet underneath.
If you find a little sticky residue left behind, a bit of isopropyl alcohol on a cloth will usually take care of it. This makes it a brilliant, damage-free option for renters or anyone who loves to switch up their décor every so often. That flexibility is a huge win over painting or a full refit.
Ready to transform your kitchen with style and confidence? Explore hundreds of high-quality, bubble-free designs at Quote My Wall and find the perfect look for your home today. Visit us at https://www.quotemywall.co.uk to order your free samples