

Sticker Wall Decorations The Ultimate How-To Guide
Sticker wall decorations are one of the cleverest and most affordable ways to give a room a new lease of life. They offer all the visual punch of wallpaper but without the faff, the mess, or the long-term commitment.
They're incredibly versatile, too. I've seen them used to bring personality to a nursery, create a striking feature wall in a living room, and even give tired old furniture a second chance. It’s all about making a stylish statement that you can switch up whenever the mood takes you.
Why Sticker Wall Decorations Are Such A Smart Design Choice
For homeowners and renters all over the UK, finding decor that’s both high-impact and low-commitment can feel like a real challenge. Sticker wall decorations, usually made from high-quality vinyl, bridge that gap perfectly. They're a fantastic tool for personalising your space without the permanence of paint or the headache of traditional wallpaper.
The real beauty is in their simplicity and flexibility. You can completely change the vibe of a room in an afternoon – maybe adding a calming quote above the bed or a playful scene with woodland animals in the kids' room.
A Growing Trend in UK Homes
This isn't just some niche idea anymore; it's a proper mainstream design choice. Their rising popularity shows a real shift towards home styling that's more adaptable and easier on the wallet.
To give you an idea, the UK wallpaper market, which includes these popular vinyl-based decals, brought in USD 102.7 million back in 2022. That figure is expected to jump to USD 154.4 million by 2030, which tells you just how many of us are turning to these easy-to-apply solutions. If you're interested in the numbers, you can dig into the market trends on Grand View Research.
So, what’s driving this growth? It comes down to a few key things:
- Cost-Effective: You can get that high-end, designer look for a tiny fraction of what it would cost to wallpaper or hire a painter.
- Easy to Apply: Most designs can be on your wall in under an hour with just a few basic tools. It’s the perfect weekend DIY project.
- Damage-Free Removal: Good quality vinyl stickers peel off cleanly, leaving no sticky residue or damaged paint. This is a game-changer for renters!
- Endless Variety: From minimalist geometric patterns to intricate floral designs and personalised names for a nursery, the options are practically limitless.
The real magic of wall stickers is how they deliver a completely bespoke feel to any space. It’s about creating a custom look that’s all you, without needing a massive budget or calling in the professionals. They empower you to be your own interior designer.
How To Choose The Perfect Sticker For Your Space
Choosing the right wall sticker is about more than just falling in love with a design. I've seen it time and again – the material, finish, and size are what truly determine whether the final look is a design triumph or a bit of a let-down. Getting these details right from the start is the secret to a professional-looking result you'll love for years.
The first thing to look at is the material itself. You can find plenty of cheap options online, but they often use a lower-grade vinyl that's a nightmare to apply. Worse, it can be prone to peeling and might even strip your paint when you try to remove it. Premium-grade vinyl is what you should be looking for. It’s made specifically for interior walls, so it sticks smoothly and, crucially, peels off cleanly when you fancy a change. This is non-negotiable for renters or anyone who, like me, enjoys a regular decor refresh.
Material And Finish Matter
Beyond the quality of the vinyl, the finish will completely change how the sticker interacts with the light and paint in your room. It’s a small detail, but it makes a huge difference to the overall feel.
A gloss finish, for example, has that shiny, reflective surface which can look incredibly sleek and modern. The catch? It can create a real glare in brightly lit rooms or on walls facing a window, sometimes making the design hard to see properly from different angles.
A matte finish, on the other hand, gives a flat, non-reflective appearance that looks almost as if it’s been painted directly onto the wall. This is usually my top recommendation for wall quotes and detailed designs in living rooms or bedrooms because it blends so seamlessly with standard matt or eggshell paints.
Pro Tip: If your walls have even the slightest texture, a matte vinyl sticker is far more forgiving. The non-reflective surface is brilliant at hiding minor bumps and imperfections, creating a much smoother, more integrated look.
To help you decide, here’s a quick breakdown of how the two finishes stack up.
Choosing Your Vinyl Sticker Finish
Use this quick comparison to decide whether a matte or gloss finish will work best for your room's lighting and overall aesthetic.
| Finish Type | Best For | Appearance | Pro Tip |
|---|---|---|---|
| Matte | Living rooms, bedrooms, textured walls, and achieving a 'painted-on' look. | Flat, non-reflective, sophisticated. | Blends beautifully with most interior wall paints for a seamless, high-end effect. |
| Gloss | Kitchens, bathrooms, children's playrooms, and high-traffic areas. | Shiny, reflective, vibrant. | The slick surface is wipeable, making it a practical choice for mess-prone areas. |
Ultimately, the best finish comes down to your personal taste and the specific conditions of your room.
Getting The Scale And Sizing Just Right
This is where so many people trip up. A sticker that looks amazing online can arrive and seem comically small or completely overwhelming once it's on your wall. The best piece of advice I can give is to grab some masking tape and mark out the sticker’s dimensions on your wall before you click "buy". This simple trick gives you a proper feel for the scale in your actual space.
Think about what you want the sticker to achieve. Is it a show-stopping focal point or a subtle little accent?
- For a feature wall: Go big or go home! A large-scale graphic or mural behind the sofa can instantly anchor the entire room's design.
- For a nursery: A collection of smaller, scattered stickers like stars or woodland animals can create a whimsical, charming atmosphere without dominating the space.
- For a kitchen: You don't need a huge piece. Smaller decals designed for tiles can add a fantastic pop of colour and pattern to a backsplash.
Taking a few minutes to plan the scale ensures your new decor works with your furniture and the room's proportions, not against them. For more inspiration on making a statement, have a look at our guide on creating personalised wall stickers in the UK.
Prepping Your Walls for a Flawless Application
Let's be honest, the secret to a professional-looking finish starts long before the sticker even comes near the wall. Getting the surface preparation right is probably the single most important thing you can do to make sure your new sticker wall decorations stick properly and look great for years. If you skip this, you’re setting yourself up for peeling corners and annoying bubbles.
The aim is simple: create a clean, smooth, and bone-dry canvas for your vinyl decal.
Start by giving the wall a gentle wipe-down. A soft sponge with a bit of mild soap and water is perfect for this, getting rid of any dust or grime that you can't even see but which could stop the adhesive from working its magic.
Once it's clean, go over it again with a damp cloth just to make sure there's no soapy film left behind. Now for the hard part: patience. You need to let the wall air dry completely. Don't be tempted to rush it, as any trapped moisture is the number one enemy of a good stick. I always tell people to wait at least 24 hours before even thinking about putting the sticker up.
Dealing with Different Paint Types
The kind of paint you have on your walls really does make a difference. Most modern vinyl decals are made to work brilliantly on standard matt or eggshell paints because they have a tiny bit of texture for the adhesive to grab onto.
Things can get a bit more challenging with high-gloss, satin, or 'washable' paints, though. Their slick surface can make it harder for the sticker to get a proper grip.
- Freshly Painted Walls: This is a big one. You absolutely must let the paint cure, not just feel dry. Curing is a chemical process that takes much longer, usually at least 3-4 weeks. Stick a decal on too early, and you risk it bubbling up, or worse, pulling the paint right off the wall when you decide to remove it.
- Textured Surfaces: If your walls aren't perfectly smooth, don't worry. Just use a squeegee with firm, even pressure when you’re applying the sticker. This helps mould the vinyl into all the little dips and bumps for a much better hold.
Think of it like priming a canvas before you start a painting. It’s the groundwork that makes sure the final piece looks fantastic and lasts. A few minutes spent on prep now will save you a world of frustration down the line.
With everyone looking to add a personal touch to their homes, it's no surprise this market is booming. The European wall decor market is forecast to grow by a massive USD 16.42 billion between 2024 and 2029, and the UK is a huge part of that trend. If you're interested in the numbers, you can explore the market forecast on Technavio. Taking the time to prep your walls means your piece of this trend will look its best.
And if you're dealing with the aftermath of an old sticker, we've got a handy guide on how to remove sticky residue from walls.
Getting Your Vinyl Sticker Application Just Right
With your wall perfectly prepped, it’s time for the exciting bit. Putting up your new sticker can feel a little intimidating, especially if you’ve gone for a large or complex design. But honestly, it’s surprisingly straightforward once you know the secret. A few simple tricks are all it takes to get a smooth, bubble-free finish every time.
The absolute key to perfect placement is something we call the ‘hinge method’. This is the go-to technique for professionals, and it’s a total game-changer for getting your decal exactly where you want it without it sticking to itself or going on wonky.
The Hinge Method: A Step-by-Step Guide
First up, position your sticker on the wall. Use a couple of bits of masking tape at the top to hold it in place while you step back to check it’s level and centred. Nudge it around until you’re happy.
Once you've got it just so, run a long strip of masking tape horizontally across the middle of the sticker, sticking it firmly to the wall on both sides. This creates your 'hinge'.
Now you can lift the top half of the sticker and peel the backing paper away, right down to your central tape hinge. Snip off that exposed backing paper with scissors.
Time for the squeegee. If you don't have one, a credit card wrapped in a soft cloth works a treat. Start from the centre hinge and work your way outwards and upwards, using firm, overlapping strokes to smooth the vinyl onto the wall. This pushes any pesky air bubbles out as you go.
With the top half secure, you can gently remove the masking tape hinge. Let the bottom half of the sticker hang down, carefully peel away the rest of the backing paper, and repeat the process. Squeegee from the middle downwards and outwards until it’s all stuck down.
This simple flow—clean, dry, and wait—is truly the foundation for a flawless application.
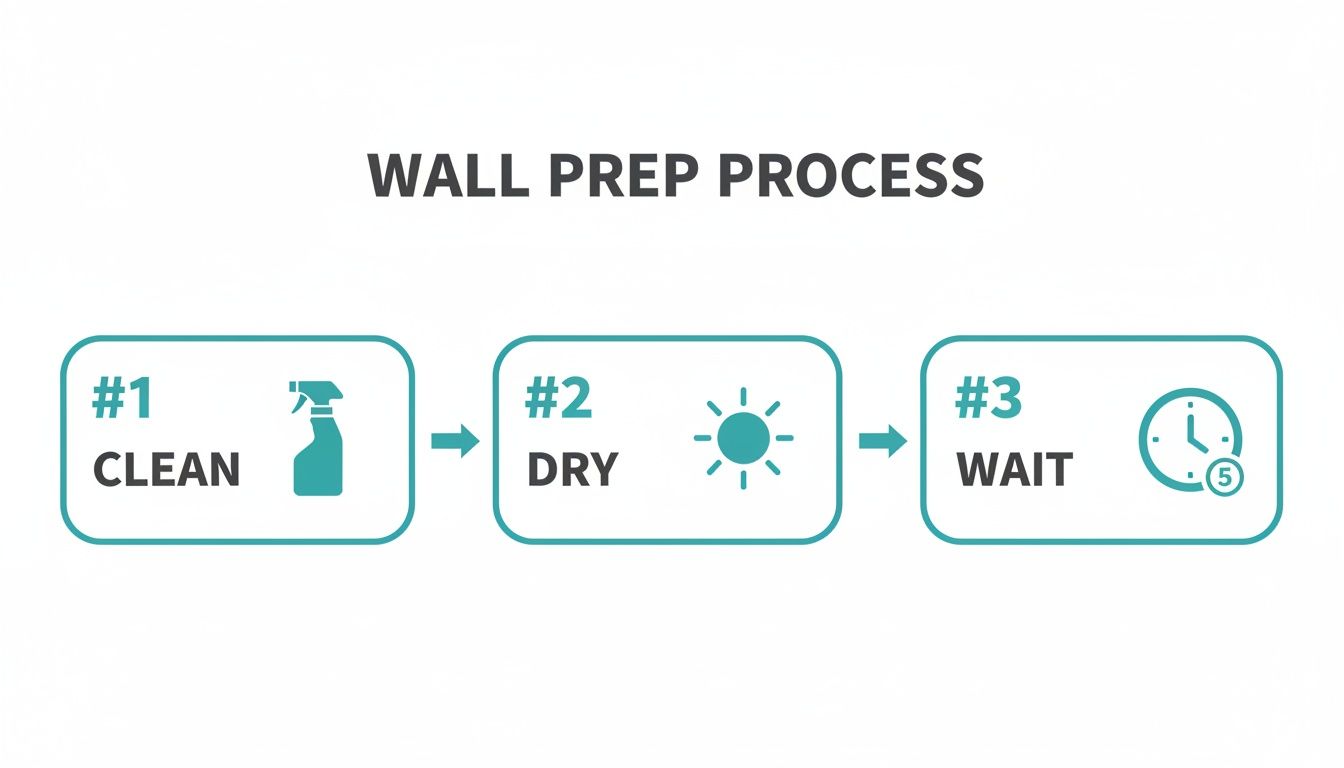
As you can see, a little patience really does go a long way.
The Final Touch: Removing The Transfer Tape
After the vinyl is firmly on the wall, there's just one last step: getting rid of the top layer of transfer tape. This bit needs a steady hand.
Start at one of the top corners and slowly peel the transfer tape back on itself. The trick is to pull it at a really sharp 180-degree angle, almost flat against the wall. Whatever you do, don’t pull it straight out towards you, as this can tug the edges of your new design right off the wall.
What if a small piece tries to lift with the tape? It happens.
- Don't panic. Just press the transfer tape back down over that area.
- Give it a firm rub with your finger or the squeegee to help it stick properly.
- Then, try peeling that section again, nice and slow.
For really intricate designs with fine lettering or delicate lines, this slow and steady approach is absolutely crucial. The result is a crisp, clean design that looks like it was painted right onto the wall.
If you’re more of a visual learner, we have a fantastic resource with more detailed guidance on how to apply wall stickers over on our blog. It’s well worth a look
Creative Styling Ideas For Every Room
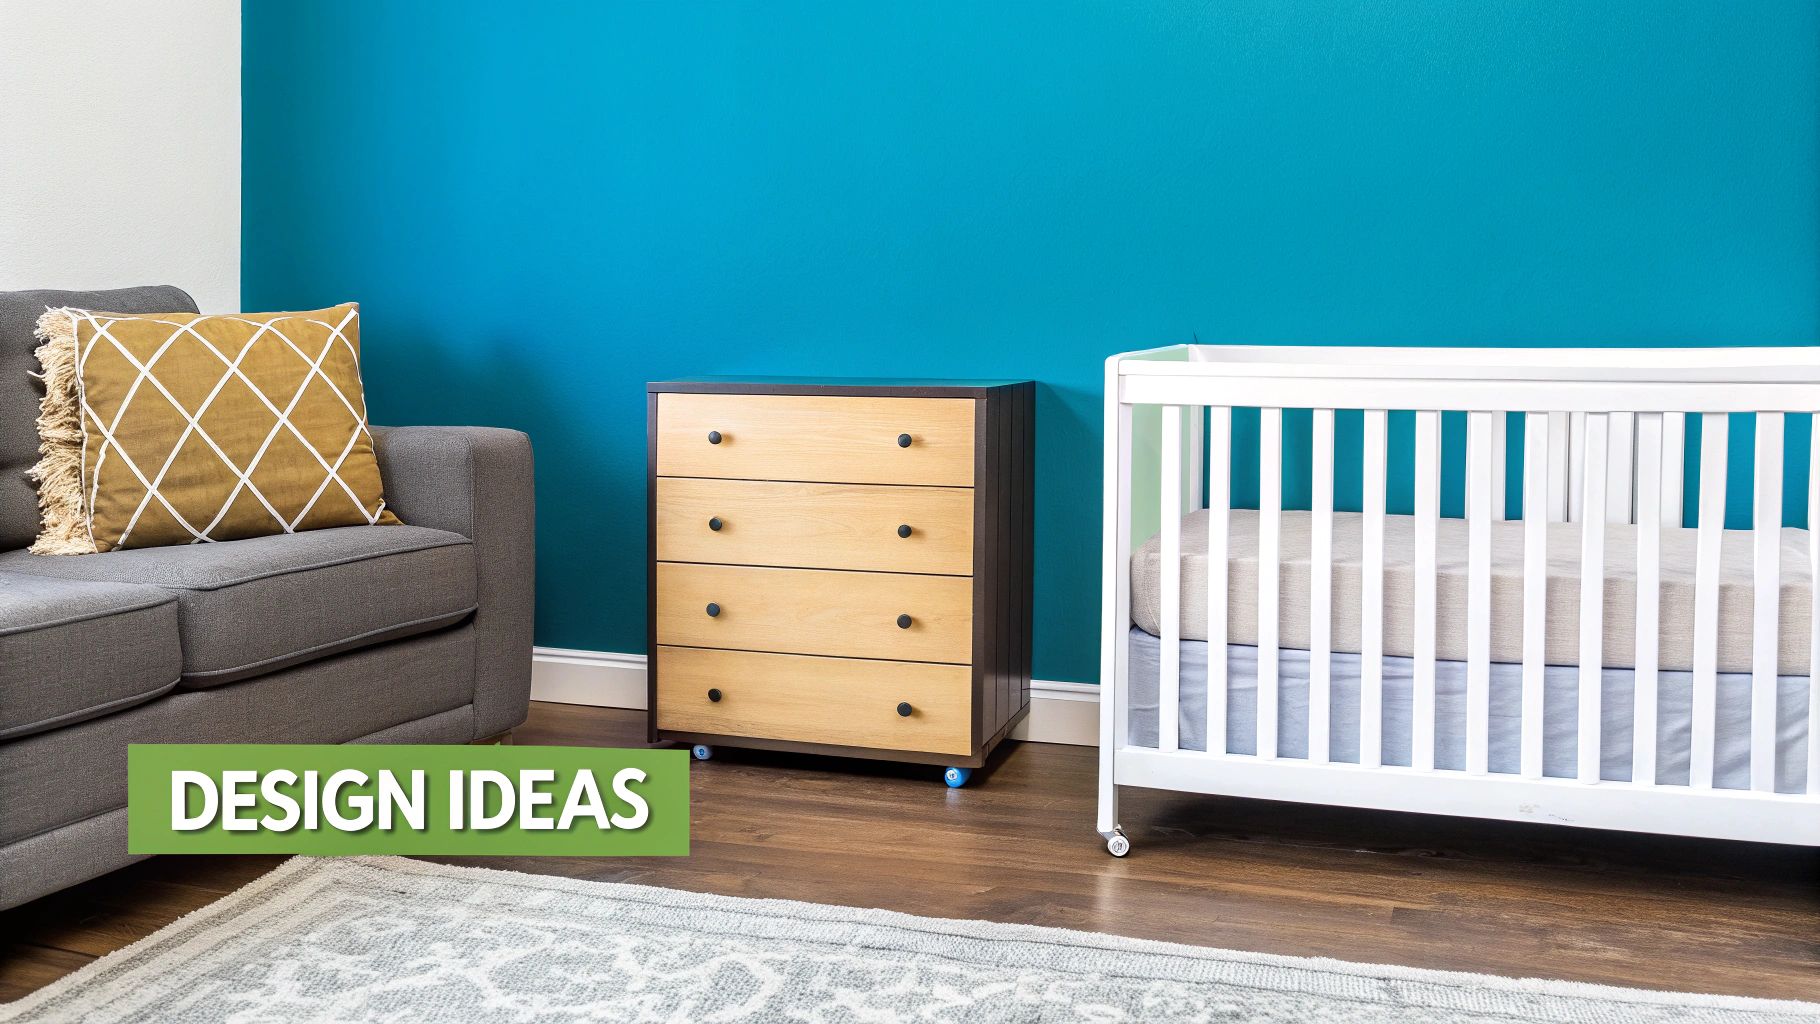
Right, now that you’ve got the hang of putting them up, it’s time for the fun part. Wall stickers are incredibly versatile, giving you a chance to get creative in just about any room. Let’s look at a few ways you can use them to really bring some personality into your home.
Creating A Dreamy Nursery Or Playroom
A child’s room is the perfect canvas for letting your imagination run wild. A classic for a good reason, personalised name decals above the cot or bed add a lovely, bespoke touch right away.
But you don’t have to stop there. You can build a whole theme without the faff of painting a full mural. Think about scattering polka dots in soft pastels for a playful feel, or maybe a few woodland animals peeking out from behind the bookcase. The idea is to create a space that feels magical but is easy to change as they grow up and their tastes (inevitably!) change.
Elegant Touches For Living Spaces
For the main living areas, a bit of subtlety often goes a long way. A beautifully scripted quote above the sofa or along a hallway can set a warm, welcoming tone for the whole house. Just pick a phrase that means something to you and your family.
If quotes aren't your thing, minimalist geometric patterns are a brilliant choice for a modern, sophisticated look. A simple cluster of triangles or a honeycomb design can make a striking feature wall in your dining room or home office without overpowering the decor. It's a clean, contemporary and surprisingly stylish effect.
Wall stickers are really shaking up UK interiors, offering a budget-friendly alternative to traditional decor. It's the domestic housing sector that's driving the fastest growth, with a 6.41% compound annual growth rate. As more of us work from home and create wellness spaces, demand for nature-inspired and textured decals is soaring. This is a huge plus for the UK's growing number of renters—over 4.6 million households—who need decor solutions that won't cost them their deposit. For more on this, check out the European wall covering trends from Mordor Intelligence.
Smart Updates For Kitchens And Bathrooms
You don't need to rip everything out for a kitchen or bathroom refresh. Specially designed tile stickers are an absolute game-changer for dated backsplashes or tired floors. They're made to be durable, water-resistant, and come in countless designs, from intricate Moroccan patterns to sleek metro tile effects.
It’s a fantastic weekend project that can give a high-traffic area a major facelift for a fraction of the cost and hassle of re-tiling. Just make sure you buy stickers specifically made for these high-moisture environments to ensure they last.
The Upcycling Revolution
And remember, wall stickers aren't just for walls! Vinyl wraps are perfect for breathing new life into old furniture. That dated chest of drawers or plain IKEA bookshelf can be completely transformed with a wood-effect, marble, or simple block-colour wrap.
This is upcycling at its easiest. It lets you create custom pieces that tie in perfectly with your room's new look. If you’re feeling really bold, you could even explore more artistic options like graffiti for walls and stunning murals, which can make a massive statement in a feature room.
Answering Your Top Questions About Wall Stickers
It's one thing to see all the amazing inspiration out there, but it's another to feel completely confident before you start peeling and sticking. We get asked a lot about the nitty-gritty details of using sticker wall decorations, so I've pulled together the most common queries to put your mind at ease.
Think of this as your final checklist before diving in. Let's get any lingering doubts out of the way so you can start your project with pure excitement.
Can I Remove Wall Stickers Without Damaging My Paint?
Yes, you absolutely can. In fact, this is one of their biggest perks, especially if you're renting or just like to change your mind! The trick is twofold: using good quality vinyl and knowing the right removal technique.
When it's time for a refresh, the process couldn't be simpler. Just grab a hairdryer and gently warm the sticker on its lowest heat setting. This softens the adhesive just enough to loosen its grip. Then, find a corner and slowly peel the sticker back on itself at a really sharp angle, keeping it almost flat against the wall.
Good quality vinyl, like the kind we use for all our products, is designed specifically for this. As long as your wall was in decent nick and the paint had fully cured before you put the sticker on, you won't be left with any sticky mess or peeled paint.
It’s this damage-free removal that makes them such a fantastic, zero-stress way to style your home, whether for a few months or several years.
Are Wall Stickers Suitable For Bathrooms And Kitchens?
They can be, but this is where choosing the right material really matters. For a well-ventilated bathroom or kitchen wall that might get the odd light splash, our premium-grade vinyl is moisture-resistant and works perfectly well.
However, for areas that see a lot more action – think inside a shower enclosure or a kitchen backsplash right behind the hob – you'll need something more specialised.
- Look for specialist materials: For these tougher spots, you'll want to find tile stickers or vinyl designed to be fully waterproof and withstand frequent wiping down.
- Preparation is crucial: In a steamy bathroom or greasy kitchen, making sure the surface is spotlessly clean and completely dry is non-negotiable. This gives the sticker the best possible bond, stopping the edges from lifting later on.
With the right product for the job, you can bring a splash of personality to even the most functional rooms in the house.
How Long Do Vinyl Wall Stickers Last?
Honestly, the lifespan of a wall sticker all comes down to the quality of the vinyl. You'll see plenty of cheap options floating around, but they often use lower-grade materials that can start to peel, crack, or fade in less than a year. It's a classic case of 'you get what you pay for'.
A high-grade, premium vinyl is a different beast altogether. It's engineered for indoor durability.
When you apply one of our sticker wall decorations correctly to a suitable, well-prepared surface, you can expect it to look brilliant for a minimum of 5 years. This makes them a great long-term decorating choice that still gives you the freedom to change things up whenever you get the itch for something new.
Can I Order A Custom Wall Sticker Design?
Of course! This is where the fun really starts. If you've got a brilliant idea that you just can't find off the shelf, we can help you create it from scratch.
Maybe it's a favourite family quote you want in a specific font, a unique graphic you've sketched out, or a pattern that needs to be a very particular size or colour to match your decor. A bespoke sticker is the perfect solution. The process is straightforward – just get in touch with our team with your idea, and we can walk you through creating a true one-of-a-kind piece, made just for you.
Ready to transform your space with confidence? At Quote My Wall, we have a huge range of high-quality vinyl stickers for every room and project. Find your perfect design or get started on a custom piece by visiting us at https://www.quotemywall.co.uk.