
Stick on Name Tags for Clothes: Does It Survive the Wash?
Almost every guide to stick on name tags for clothes answers the same question. Does the label survive the wash? That's the easy part. The more useful failure is quieter. A tag peels because it was pressed onto a stretchy cotton sleeve instead of the smooth care label, because the jumper went into a 60°C cycle ten hours after application, or because the name inside it belonged to a child who has since handed the blazer down to a younger brother.
Treat the tag as one part of a system. It sits beside a care label, it inherits whatever laundering the garment receives, and it has to keep working when the garment changes owner. Get that system right and an inexpensive sticker outlasts a sewn label fitted in the wrong place.
What Stick-On Name Tags Are and How They Hold
A stick-on name tag is a small printed or personalised label coated with a pressure-sensitive adhesive. You peel it off its backing sheet and press it down. No needle, no iron, no heat setting to guess at.
The closest everyday comparison is a plaster. A good plaster is a flexible film carrying an adhesive that grips a surface, bends with it and keeps hold when wet. A stick-on tag behaves the same way, and it fails the same way: on a surface it can't fully contact, or where the material flexes so hard that the edges lift.
Three labelling options dominate school and care settings. Stick-on labels go on in seconds, need no tools and live or die by the surface underneath. Iron-on labels use heat to fuse adhesive into the fibres, which is durable but demands a fabric that tolerates a hot iron. Sewn labels are the most permanent and the slowest to fit, minutes per garment rather than seconds.
The material the label itself is built from matters too. Clothing label material ranges from flexible vinyl film, which bends with a care tag and repels water, to paper-backed stock that turns to mush in the drum.
You'll meet stick-on tags on school uniform, PE kit, shoes, lunch boxes, nursery spare clothes and care-home garments. Placement matters so much because adhesion is a surface property. Cotton jersey is fibrous and slightly bumpy, with gaps that let water creep under the adhesive. Polyester and coated fabrics behave differently again, and both stretch repeatedly during wear.
Working rule: a tag lasts longest on a clean, smooth, low-friction area. On most garments that means the care label, not the fabric.
Care Symbols and What They Mean for Your Tags
Read the care label before you stick anything to it. Whatever you add will face exactly the conditions printed there, so scan the table first and work out how the garment will affect your tag.
| Care instruction | What it means | What to check on the tag |
|---|---|---|
| Wash at 60°C | Hot wash for heavier fabrics | Check for lifting or print loss after the first hot cycle |
| Tumble dry on low or medium heat | Moderate dryer heat | Confirm the tag lies flat after one full dry |
| Do not tumble dry | Dryer use not permitted | Air-dry the garment and recheck adhesion after drying |
| Iron at low heat | Light heat over fabric | Avoid ironing directly over the tag; iron the reverse side |
| Dry clean only | Professional solvent cleaning | Ask the supplier for dry-clean test data |
A 60°C wash is the harshest routine test most household garments will ever get. It softens adhesive, expands the fibres under the label and drives detergent into any gap at the edge. Inspect after the first hot cycle, not after the tenth.
Tumble drying is where flatness matters. Heat plus tumbling can make a vinyl label curl at a corner, and a curled corner catches on the next garment in the drum. Pull the garment out warm and press the tag flat with your thumb while it's still pliable. If the label says no tumble drying, air-dry it and check again before the next wash.
Ironing damages tags more often than washing does. The plate goes straight over the print and softens the film. Turn the garment inside out and iron the reverse, or work around the label entirely.
Washability is a laundering claim, not a promise about every fabric and every method. A 40°C cycle and a 60°C cycle stress adhesive differently, and solvent dry cleaning sits outside most household testing. Where a garment is dry clean only, ask for the test data before you rely on the tag. More on the printed care symbols themselves sits in this guide to clothes care labels.
Before you label a full uniform list, run the check that settles it: take one test garment, wash it three times on the programme it will really receive, and inspect the edges, the print and the legibility. If the tag survives that, it will survive the term.
Where to Place Tags on Each Garment
Placement is the single decision that decides whether a tag lasts a term or a week. Start with the garment type.
| Garment | Best placement | Avoid |
|---|---|---|
| School jumper or sweatshirt | Inside back neck, beside the care label | Collar, neck seam and cuffs |
| Polo shirt or blouse | Inside back neck, below the care label | Front panel and sleeve edges |
| Trousers or skirt | Inside back waistband, on the care label | Over the fly, pockets and hems |
| PE kit or shorts | Inside back waistband, above the elastic | Elastic edges and leg openings |
| Socks or tights | Inside top band or cuff | Heel, toe and sole areas |
| Shoes or bags | Tongue or inside lining | Flexing creases and wet surfaces |
Two rules sit behind that table.
Never cover the statutory label. UK textile products must carry clear, durable, legible and accessible fibre-composition information, with the legal responsibility resting on the manufacturer or importer, as the government guidance on textile labelling sets out. A tag that obscures printed fibre or care text, or peels across it during laundering, creates a problem you don't want. Sit beside the care label or on a blank part of it.
Stay out of friction zones. Collars, waistbands, cuffs and seams flex hundreds of times a day. Every flex works the edge of an adhesive label, and edges are where lifting starts. Front placement gives excellent visibility for staff and teachers, but it also takes the most abrasion, so reserve it for garments that need to be identified at a glance.
If a garment stretches or folds at the spot you've chosen, choose another spot.
Two quick checks confirm the decision. Run a finger over the applied tag: any ripple or trapped air means it needs re-pressing or moving. Then inspect it after the first three washes, when any placement error has had time to show.
How to Apply a Stick-On Name Tag Step by Step
Choose your placement from the table above before you touch the label. Once the backing is off, you have one attempt at a clean bond.
Here is the sequence that works, applied to a school jumper with a satin care label inside the back neck.
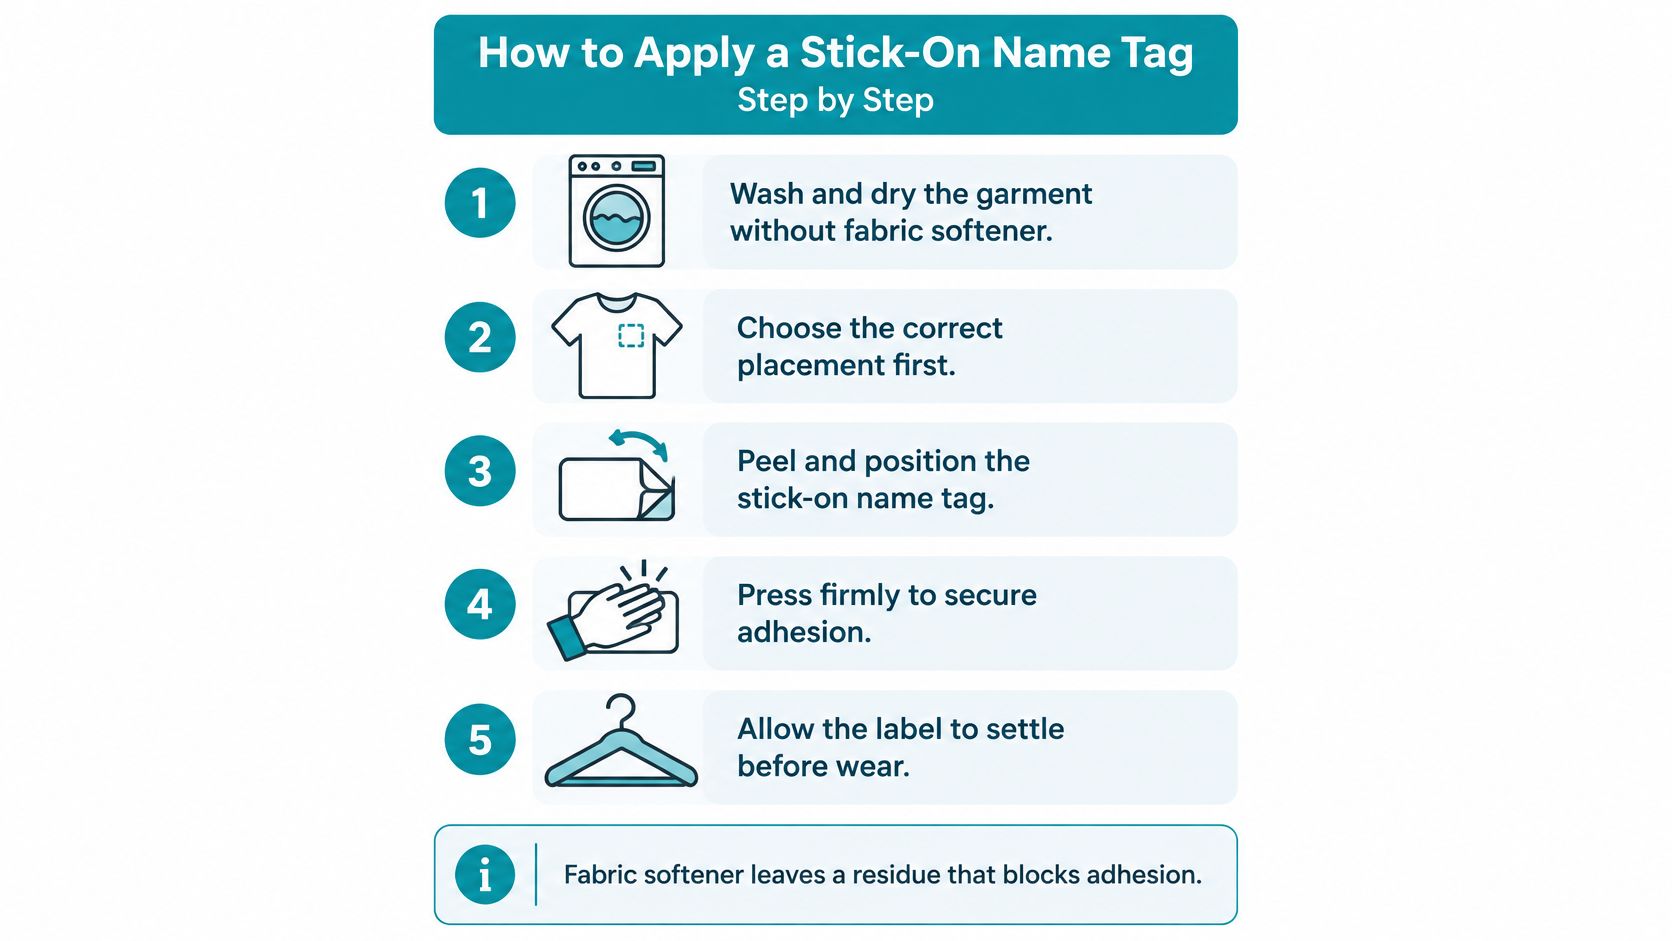
- Wash and dry the garment without fabric softener. Softener leaves a residue film on fibres and on care labels, and that film sits between the adhesive and the surface. The common slip is labelling a garment straight out of the packet, where manufacturing finishes can do the same thing.
- Check the area is flat and completely dry. Warm, damp fabric is the classic failure: the adhesive bonds to moisture rather than to the label, and it lets go on the first cycle.
- Peel the tag from its backing slowly. Slow peeling keeps the corners from folding back on themselves, which ruins the edge before it ever meets fabric.
- Press from the centre outwards for around 30 seconds. Use a fingertip or a clean cloth. Pressing from the edges inwards traps a pocket of air in the middle, and that pocket becomes a bubble under heat.
- Work the edges for a few seconds more. Lifting starts at the perimeter, so the perimeter deserves the most pressure.
- Leave the garment alone for 24 hours before its first wash. Pressure-sensitive adhesives keep curing after contact. Washing early interrupts that and costs you the bond.
Success looks like a flat tag with no bubbles, sitting flush against the care label with a clean, continuous edge all the way round. If you can see a lifted corner at this stage, lift the whole tag and start again with a fresh one rather than pressing a compromised edge back down.
Labelling School Uniform Without Losing Money
Uniform is expensive enough that losing a single item is a real budget event. The Children's Society's 2025 UK survey put the average cost of school uniform and PE kit at £343.28 for primary pupils and £442.25 for secondary pupils, as set out in its school uniform report. The Department for Education's own parent survey recorded £343 for primary and £442 for secondary in 2024, the figures cited when the government announced action on uniform costs.
Those averages sit far above what parents regard as reasonable. A 2020 Children's Society survey of around 1,000 parents across the UK found families spending £315 a year on primary uniform and £337 on secondary, while parents put a reasonable price at £85 and £105 respectively, according to The Wrong Blazer report.
That gap is why a label earns its place. Say a Year 5 child's PE kit goes missing on a Tuesday. A tag on the inside back waistband, above the elastic, gives the office a name to match against the lost property pile the same afternoon, instead of a navy top that joins a table of identical navy tops until half term.
Hand-me-downs work the same way. A blazer passed to a younger brother keeps its shape and its branding, and a tag on the care label can be replaced in seconds without a needle near the lining.
For resale and school swaps, label on the care label rather than the fabric. The name stays readable across several owners, the garment stays sellable, and nothing is stitched into a panel that shows. Check the school's exchange or resale rules before tagging a branded item, since some schemes want the original label untouched.
Label in this order: outerwear and branded items first, because they cost the most to replace, then PE kit, then everyday jumpers.
Labelling for Care Homes and High-Volume Laundry
Care-home laundry operates at a far larger scale than household washing. Garments from several residents may be processed together, and staff need to identify each item quickly. A label designed for home washing may not be suited to every laundry routine, so check that its care instructions match the garments' washing and drying requirements.
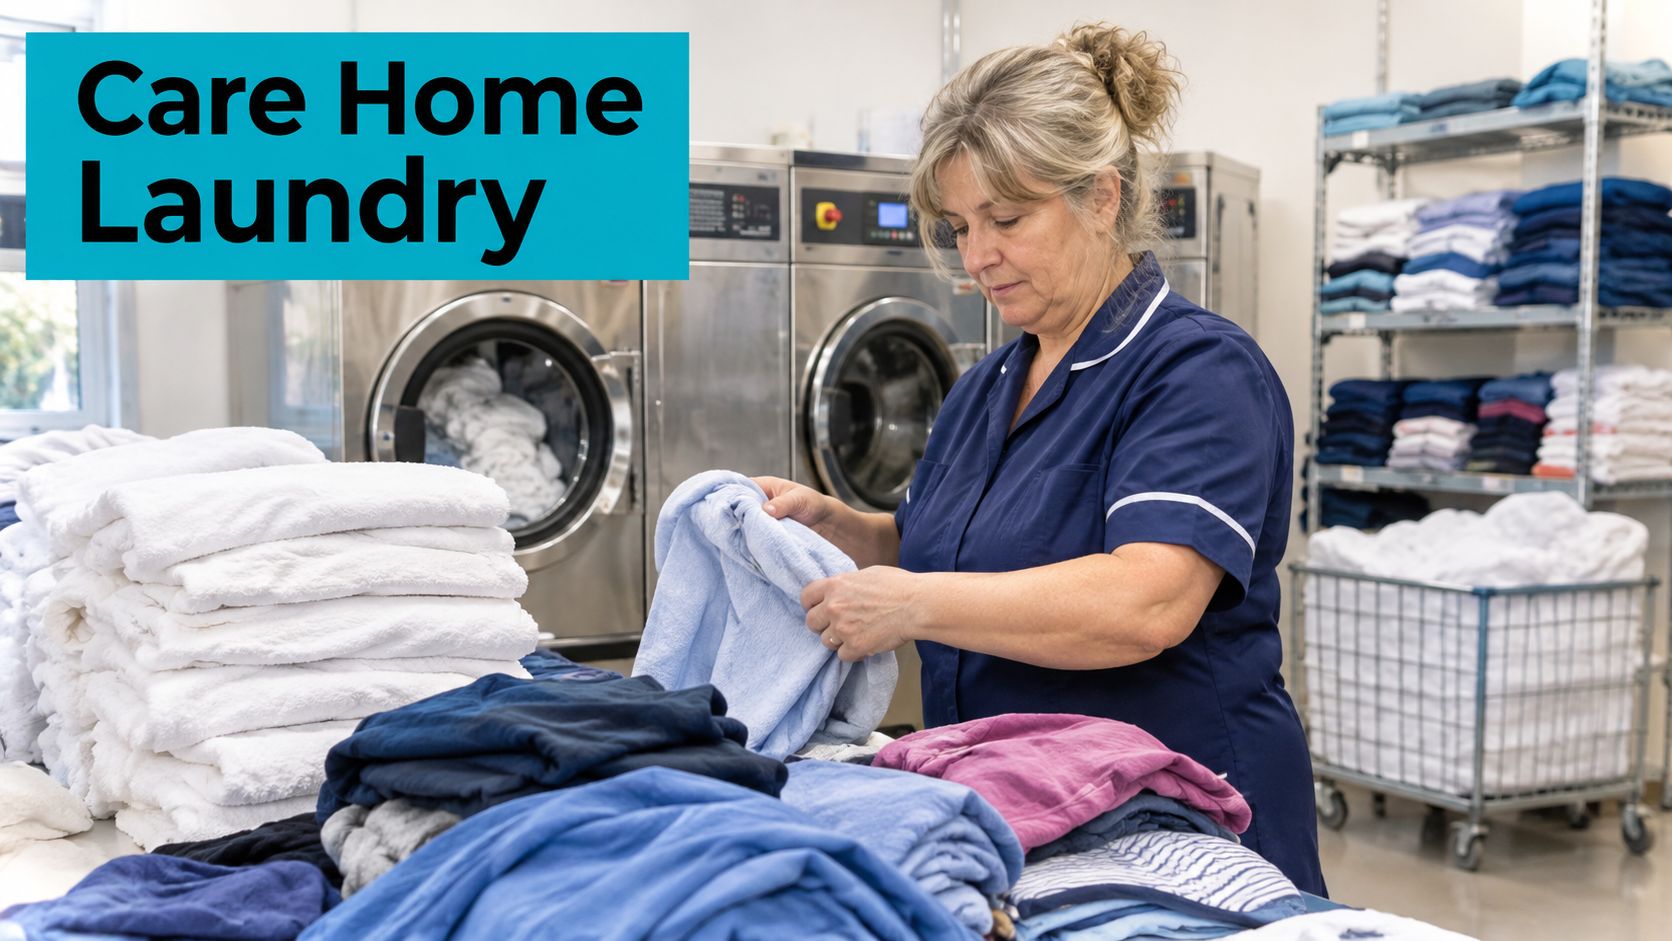
Set one standard label position for incoming clothing, such as the care label, and make sure staff know where to look. A consistent position speeds up identification when several similar garments return from the wash. Quote My Wall offers ultra-high-tack stick-on clothing labels for care-home clothing; its labels peel and stick without sewing or ironing and are designed to stay stuck wash after wash.
Choose a naming convention that staff can read quickly and that distinguishes residents with similar names. Use a unique identifier, and consider whether a shortened name is more appropriate for privacy. The right format should remain clear to the people sorting and returning clothes.
Inspection schedule: Check labels after each laundry batch, after a garment repair and when a resident changes room. Replace a tag if an edge has lifted or the text is no longer legible.
Keep a record of replacements against each garment. Repeated label failures on one item may point to a placement or garment-surface issue. For more on choosing labels for this setting, see this guide to clothing labels for nursing homes.
Removing Tags Without Damage and Protecting Skin
Removal is the part people rush, and it's where fabric gets torn.
Warm the tag first. A hairdryer on a low setting for 10 to 20 seconds softens the adhesive without heating the fabric much. Lift one corner slowly and peel back at a low angle, keeping the tag close to the surface rather than pulling it upwards. Pulling fast, or pulling cold, is what lifts fibres and leaves residue behind.
Any tacky patch left on a synthetic care label comes off with a little rubbing alcohol on a cotton pad, applied after you've tested a hidden spot. On delicate or coated fabrics, leave the residue to wear away rather than scrubbing at it.
Skin matters more than fabric. Adhesive-backed labels can cause irritant or allergic contact dermatitis, and NHS guidance on contact dermatitis treatment identifies adhesives as a common potential trigger in patch-type products. Children, older adults and anyone with eczema or a previous adhesive sensitivity are the people to think about first.
Place tags on external fabric or on an existing care label so they avoid direct skin contact, and keep them away from seams and high-friction zones. Never apply one to broken or inflamed skin, and stop using the product if redness, itching, blistering or a reaction spreading beyond the label area appears.
The same NHS guidance notes that patch testing is the best way to identify a contact allergen. A small trial on a spare garment is still worth doing, because it checks two things at once: whether the tag stays put, and whether indirect contact irritates the wearer. A "washable" claim describes laundering performance, not skin compatibility.
Frequently Asked Questions About Name Tags
Can a stick-on tag go in the microwave?
Yes. Quote My Wall's stick-on clothing labels are microwave safe, as well as safe for washing machines, tumble dryers and dishwashers.
Can I write on the tag with a marker?
You can, but handwriting may fade with repeated washing. Printed text is a practical choice when the name needs to remain easy to read through regular laundry.
Can a tag be reused after removal?
Usually, it is better to use a new tag. Once lifted, an adhesive label may not stick as reliably, which matters when a garment is passed to a sibling or another wearer.
How long do tags last?
Wear varies with washing and the surface the tag is attached to. Check that it remains legible and firmly attached as part of your usual laundry routine, especially before passing a garment on.
Does dry cleaning need a different tag?
Dry cleaning is different from ordinary machine washing. Check the label's care guidance before using a stick-on tag on a dry-clean-only garment.
Choose Name Tags That Last Through Every Wash
Buying well comes down to a short list you can check before you order.
- Adhesive grade: look for a supplier that states the label is designed to stay stuck wash after wash, not just that it's "sticky".
- Rated conditions: confirm the label is rated for washing machine, tumble dryer and dishwasher, so the same pack covers clothes, bottles and lunch boxes.
- Size for the garment: small labels suit care labels and socks; larger text suits care-home garments where staff read at arm's length.
- Pack count against your list: count the uniform items you label in a term before choosing a pack size.
- Personalisation: check that the name, font and text length you need are offered, and that the print stays legible rather than fading.
Match the pack to the job. A large pack makes sense for a full school uniform list, a mixed pack covers stationery and bottles alongside clothes, and a clothing-specific pack suits care-home garments that go through heavy laundering.
Quote My Wall sells ultra high tack stick on clothing labels for kids' school clothes and care home clothing. The 84 Stick On Name Label Stickers For Kids School Uniform cost £10.99, plain stick on name labels are £4.39, and the 84 Animal Children's School Stick On Labels cost £9.99. The labels use an ultra sticky adhesive and are designed to stay stuck wash after wash, need no sewing or ironing, and are described by the provider as washing machine, tumble dry and dishwasher safe.
Start with the garment's care label, pick the placement from the table, run the three-wash test on one item, then order the pack that matches your garment count.
Quote My Wall supplies ultra high tack stick on clothing labels for school uniforms, kids' clothes and care-home garments, along with packs for bottles, stationery and school items, so one order can cover a whole term's labelling. Peel each label onto the care label, press from the centre outwards, and let it settle before the first wash. Visit Quote My Wall to browse the label packs, designs and prices.