

Staircase Wall Decals a UK Guide to a Stunning Stairway
Your staircase is probably doing one job well. It gets people upstairs. What it often doesn't do is add much to the house. In plenty of UK homes, the stair wall becomes a blank strip of magnolia paint, a patchy area that gets scuffed by bags and coats, or an awkward space no one quite knows how to decorate.
That's why staircase wall decals work so well. They give you a way to add pattern, words, names, or artwork without committing to wallpapering a narrow hallway or repainting the whole stairwell. They're also part of a much bigger shift towards flexible decorating. The global wall decal market reached USD 9.6 billion in 2024 and is projected to reach USD 16.8 billion by 2033, reflecting demand for affordable, non-permanent décor updates, according to Dataintelo's wall decal market report.
In real British homes, that flexibility matters. You might be decorating over old plaster, working around a narrow turn in the stairs, or trying to make a rental feel like yours without creating work for move-out day. Done properly, staircase wall decals can look crisp, intentional, and surprisingly high-end. Done badly, they peel at the edges, sit crooked, or fight with the shape of the staircase.
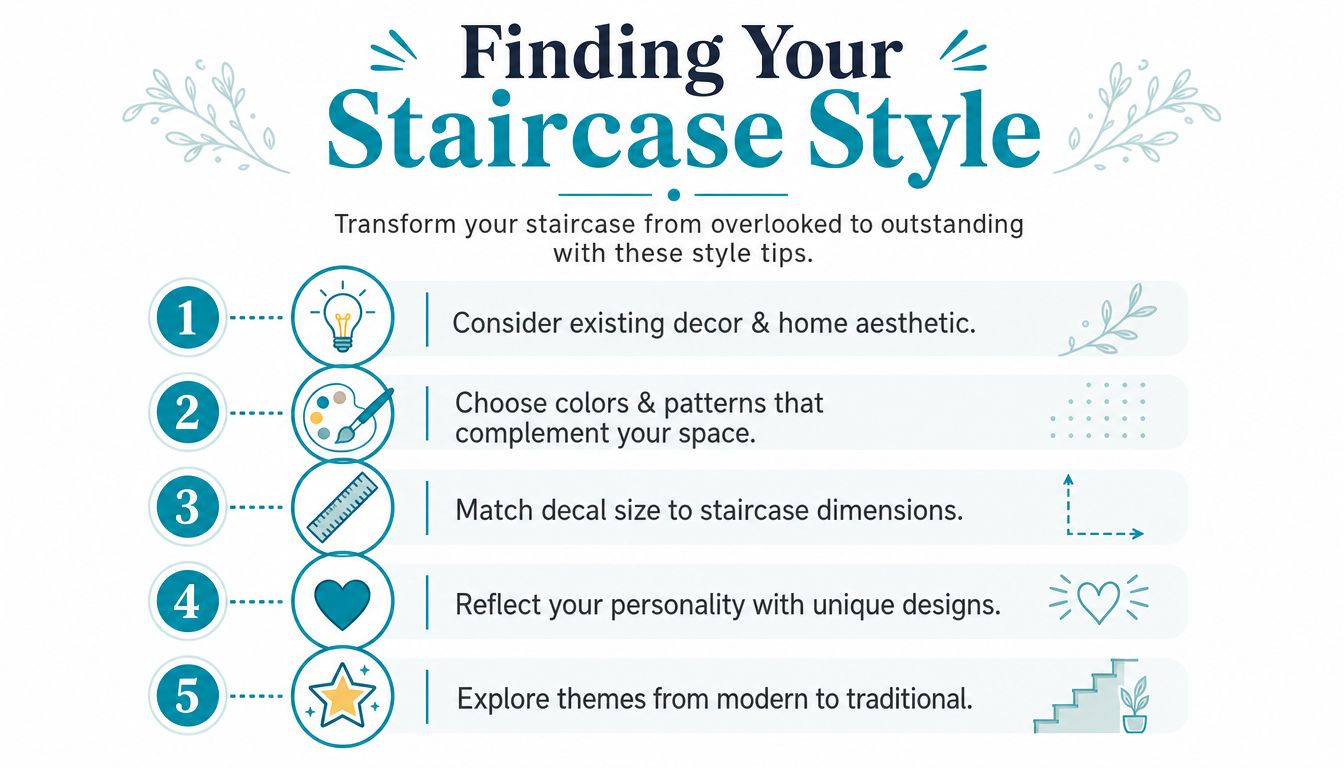
Finding Your Staircase Style
A staircase usually tells you what it needs upon close inspection. A narrow Victorian terrace hallway often wants something lighter and simpler. A newer build with a plain white stairwell can handle a bolder graphic or a run of repeated shapes. A family house with children's photos dotted around the landing often suits decals that feel personal rather than purely decorative.
Match the staircase, not the trend
The most successful staircase wall decals don't try to copy a showroom. They work with what's already there.
For example, if your hall already has black ironwork, dark frames, and a neat modern look, thin typography or minimalist line designs usually sit well. If you've got warm timber, painted spindles, and a softer traditional feel, botanical decals, family-name pieces, or tree-style layouts often make more sense.
If you want design inspiration before settling on a look, Jessie's Home staircase art is useful for seeing how different approaches change the feel of a stairway. It helps to compare styles in context rather than choosing from a product thumbnail alone.
Styles that usually work well
A few ideas keep proving themselves in everyday homes:
- Simple text layouts work well on long, uninterrupted walls beside the stairs. Short phrases, family names, or a sequence of single words can guide the eye upwards without making the space feel busy.
- Riser-based patterns suit straighter staircases where each step reads clearly. Geometrics and repeat motifs tend to look cleaner than fussy illustrations.
- Family tree or photo-adjacent decals make sense when the staircase already acts as a memory wall. These can tie frames together rather than leaving them floating separately.
- Nature-inspired designs are handy when the hall lacks natural light. Leaves, branches, or floral forms can soften a hard, narrow space.
A good staircase design should feel like it belongs to the house when you walk past it every day, not like it was added for a photo.
If you're exploring ready-made options for stair graphics, these stair decals and stair stickers show the sort of formats available for risers and staircase décor.
What tends not to work
Some ideas look exciting online but fight the architecture in practice:
- Very large wall quotes can overwhelm tight stairwells.
- Tiny intricate details disappear when viewed while moving up and down the stairs.
- Too many competing colours make halls look cluttered fast.
- Highly themed novelty designs often date quicker than you expect.
If you're unsure, start with one strong idea and repeat it cleanly. Staircases reward restraint.
Choosing the Right Decal Material and Finish
Material choice is where many staircase projects go right or wrong. People often focus on the design first, then end up disappointed because the finish looks too shiny, the edges lift, or the surface can't cope with routine cleaning.
The key point is simple. Not all vinyl behaves the same way on a stair wall.
Matte or gloss
For most interior staircases, matte vinyl is the safer visual choice. It tends to look more like painted wall art and doesn't bounce light back from pendant fittings, spotlights, or the harsh bulb that so many hallways still seem to have.
Gloss vinyl has its place. It's easier to wipe, and some people prefer a sharper, sticker-like finish for playful or graphic designs. But on a stair wall, gloss can reflect light unevenly and make the decal stand out in the wrong way.
Here's the practical comparison.
| Feature | Matte Vinyl | Gloss Vinyl |
|---|---|---|
| Overall look | Softer, more like painted-on artwork | Brighter, more obviously vinyl |
| Light reflection | Low glare | More reflective under hallway lighting |
| Best for | Quotes, silhouettes, botanical designs, subtle wall art | Bold graphics, high-contrast shapes, easy-clean areas |
| Surface imperfections | Hides minor wall flaws better | Shows bumps and uneven patches more readily |
| Everyday feel | More understated | More decorative and punchy |
What quality vinyl should do
For a staircase, I'd look for high-tack, washable vinyl rather than the cheapest removable option you can find. Premium UK suppliers offer vinyl formulated to last at least 5 years in interior settings, which is a sensible benchmark for a high-traffic area such as a stairwell, as shown in the Simple Shapes staircase family decal listing.
That matters because stair walls get touched, brushed past, and cleaned more often than people think.
Practical rule: if the decal is going anywhere near a hallway, landing turn, or area where children trail hands up the wall, buy for durability first and style second.
The finish that suits real homes
If your walls are older, slightly uneven, or painted in a flat emulsion, matte usually blends better. If the stair area is prone to marks and you know you'll wipe it often, gloss may earn its keep despite the extra shine.
When you're weighing up removable options, it helps to compare how different products behave over time. This guide to removable wall decals in the UK is a useful starting point for understanding what “removable” really means in practice.
A final trade-off. Thin, cheap vinyl can look neat in the packet but becomes frustrating on the wall because it stretches, wrinkles, and exaggerates every error. Slightly thicker, better-made vinyl is usually easier to position cleanly, especially on stair runs where you're working at awkward angles.
Preparing Your Walls for Flawless Application
Most decal failures start before the backing paper comes off. The design gets blamed, but the actual issue is usually the wall. Dust, old paint chalking, hidden grease, or textured plaster will beat even a decent decal if you skip the prep.
In the UK, this matters more than many generic guides admit. Over 30% of UK homes were built before 1945, and many of those properties have uneven plaster or textured finishes that standard vinyl struggles with, as noted in The Spruce's staircase wall ideas page.
The standard prep that actually matters
On a straightforward painted wall, the process is simple but essential:
- Remove dust first with a dry microfibre cloth. Stair walls collect more airborne dust than people realise.
- Wash the area with mild detergent diluted in warm water.
- Rinse lightly with clean water so no soap film remains.
- Let the wall dry fully before you test or apply anything.
- Check the paint surface by rubbing it with your hand. If it feels chalky or leaves residue, the wall isn't ready.
Don't apply decals over freshly painted walls until the finish has properly cured. Even when paint feels dry to the touch, it can still be releasing moisture and won't always hold adhesive well.
What to do with older British walls
Staircase wall decals become less forgiving in these situations. Old plaster often looks smooth from a distance but has tiny pits, ridges, and repaired patches that reduce contact between wall and adhesive.
These are the common trouble surfaces:
- Limewashed walls can be dusty and unstable.
- Rough old plaster may look painted but still has too much texture for clean adhesion.
- Filled cracks and patch repairs create mixed absorption and uneven grip.
- Peel-prone old emulsion can lift with the decal instead of supporting it.
If the wall has only light texture, a test piece often tells you quickly whether the project is viable. If the texture is heavy, no amount of smoothing pressure will make ordinary vinyl behave like paint.
If the wall feels bumpy under your palm, the decal will read every bump once it's on.
When to stop and rethink
Sometimes the best advice is not to push ahead. If you're dealing with deep texture, crumbly plaster, or repeated paint layers that are already unstable, standard decals are the wrong finish for that spot.
What usually works better is:
- Preparing a smoother panel area first
- Choosing a smaller decal that sits on the flattest section
- Moving the design to the landing wall instead of the main staircase run
- Using framed art instead if the surface is too rough
That decision saves money and a lot of irritation. Good decorating isn't about forcing one idea into every space. It's about knowing when a wall is giving you a clear no.
How to Measure and Plan Your Decal Placement
A staircase magnifies wonky spacing. A decal that's only slightly off can look much more crooked once it follows the angle of the stairs. That's why planning on the wall, before sticking anything down, makes such a difference.
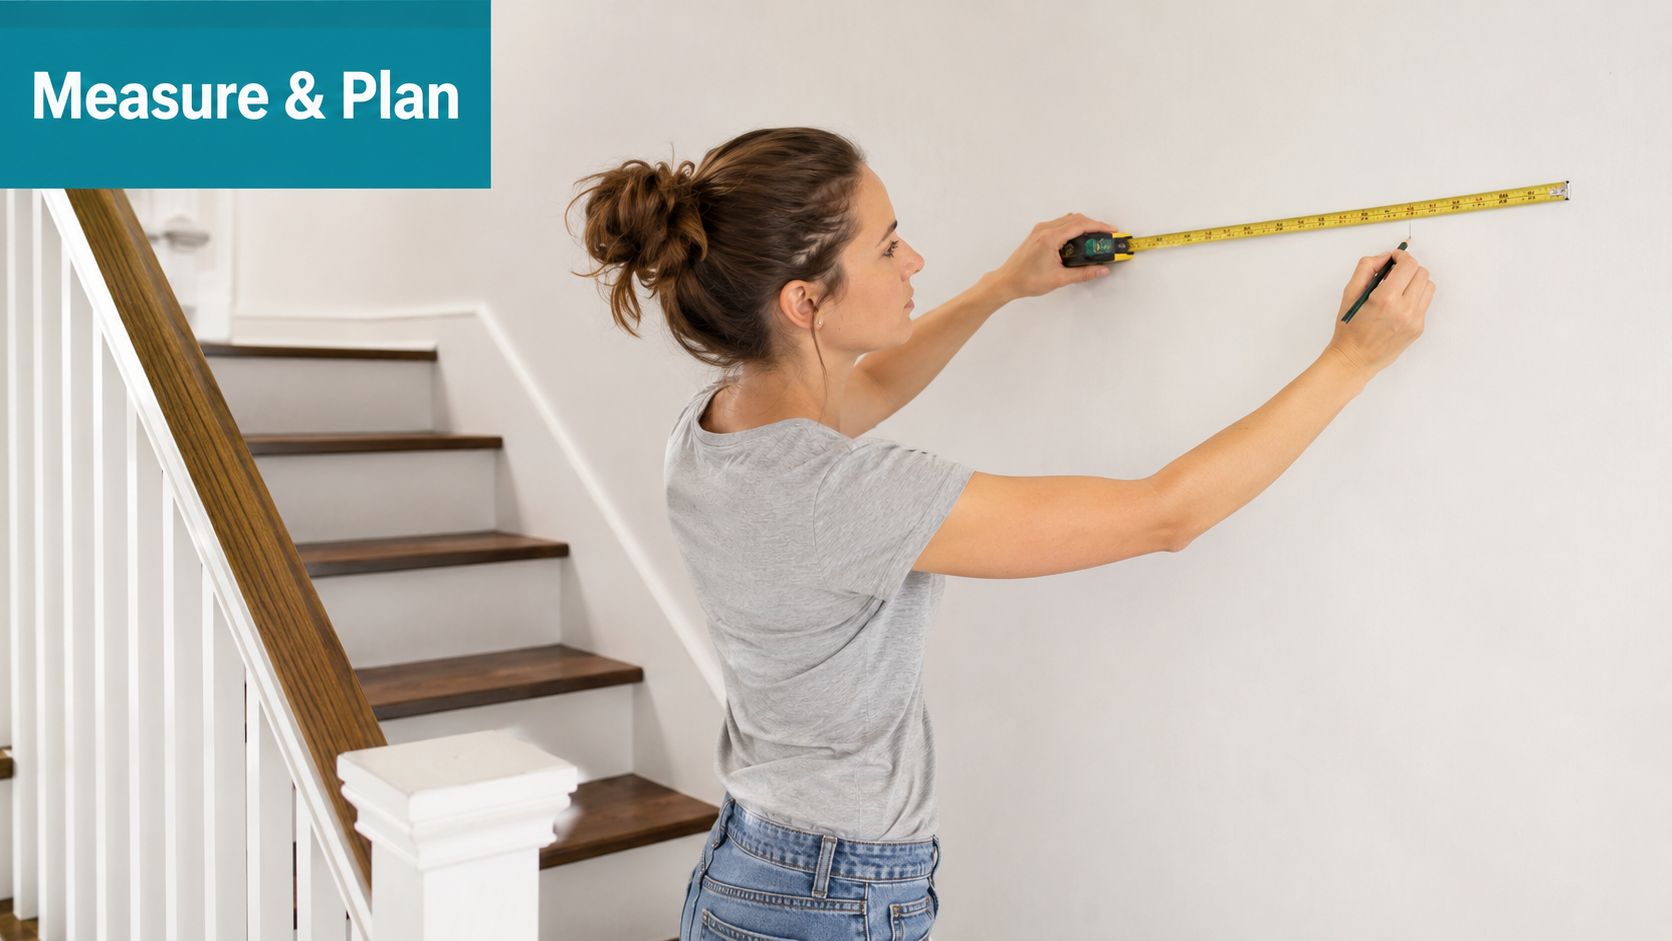
Tools worth having to hand
You don't need specialist kit, but you do need a few basics:
- Tape measure for width, height, and repeat spacing
- Pencil for light guide marks
- Masking tape to map out positions without damaging paint
- Spirit level for straight elements
- Paper template if the decal has a large or unusual shape
A flexible tape measure is particularly handy on stair walls because you're often working around banisters, turns, and awkward starts and stops.
Plan the layout before peeling
Start by measuring the full usable area, not the whole wall. That means the space the decal can occupy once you account for handrails, light switches, frames, and the visual stop points at the top and bottom of the stairs.
Then mark a centre point. For a single feature decal, centre it within the visible section rather than the full wall length. For a repeated design, mark the first and last position, then work out spacing between them before you place the middle pieces.
A simple planning method works well:
- Tape the backing or template to the wall to check size in real life.
- Step back and view it from the bottom of the stairs. That's how it is typically first seen.
- Check from the top landing too because proportions shift when viewed downhill.
- Adjust for the staircase angle so the design looks balanced in motion, not just straight on.
Special care on risers and angled walls
If you're applying decals to risers, measure each one individually. In older houses, they're not always identical, even when they look as though they should be. On the side wall beside the stairs, don't assume the angle alone will guide the eye. You still need consistent spacing.
The wall may be straight, but the staircase changes how your eye reads every line on it.
One mistake I see often is people placing decals too low, so they get interrupted by the handrail, or too high, so the design loses connection with the stairs. Aim for a position that feels integrated with the stair line rather than floating above it.
If you're using words, cut-out letters, or a multi-part graphic, lay everything on the floor first in the right order. That avoids the classic error of perfect spacing with the wrong sequence.
A Step-by-Step Guide to Installation and Removal
Application looks fiddly until you use a method that controls the decal while you work. For staircase wall decals, the hinge method is the one I'd reach for first because it keeps the design aligned and cuts down the risk of bubbles and accidental stretching.
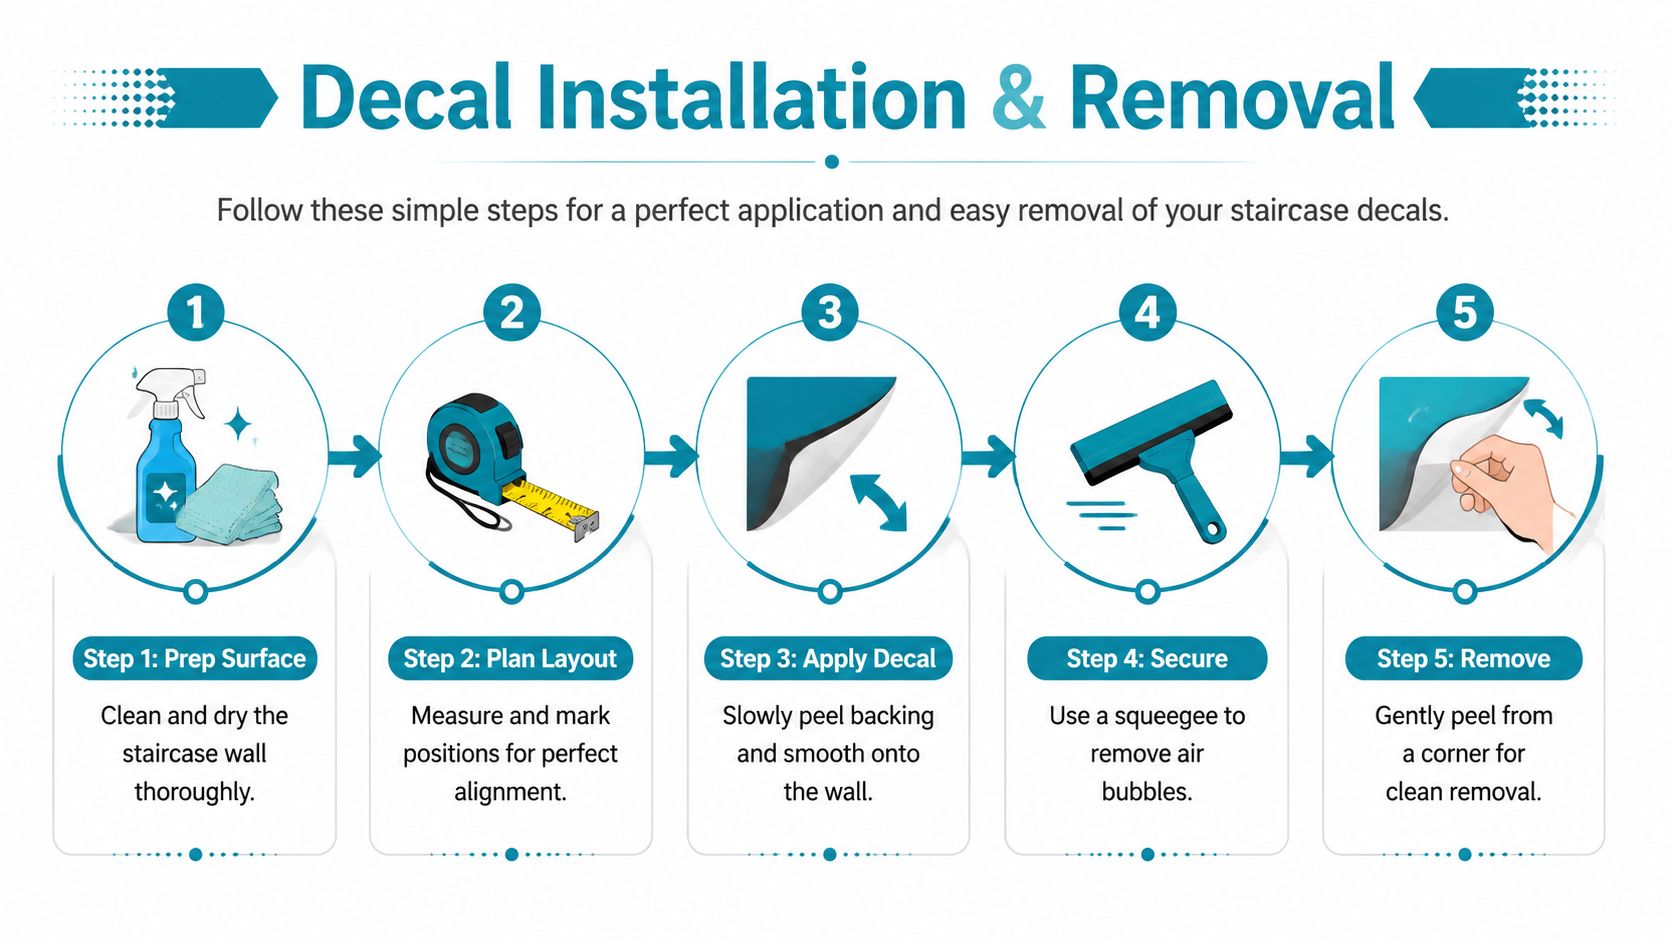
How to apply the decal cleanly
Use a felt-edged squeegee if you have one. A bank card wrapped in a soft cloth works too.
-
Position the decal first
Hold it against the wall with masking tape and check alignment. Don't remove the backing yet. -
Create the hinge
Run one strip of masking tape through the centre of the decal, either vertically or horizontally depending on the shape. This keeps it anchored. -
Peel one side back
Lift one half away from the wall, peel back the backing paper, and trim that backing away if needed. -
Squeegee from the centre outward
Press the vinyl onto the wall slowly, working in overlapping strokes. Go from the taped hinge out towards the edge. -
Repeat on the other side
Remove the centre tape, peel the remaining backing, and smooth the second half. -
Burnish the surface
Rub over the entire decal firmly so the adhesive beds in properly, especially around fine tips or lettering.
If the decal uses transfer tape, don't yank it off. Peel it back slowly at a low angle while watching that the vinyl stays on the wall.
What to do if bubbles appear
Small bubbles happen, especially on large pieces. Most aren't a disaster.
- Smooth first because many bubbles are trapped air near the surface.
- Lift and reapply gently if the vinyl is still fresh and the material allows repositioning.
- Work more slowly on the next section rather than pressing harder.
For staircase work, patience is more useful than force. Pulling too quickly stretches the vinyl and makes edges curl later.
Slow hands beat strong hands with decals.
If you want a visual walkthrough of the process, this wall sticker application guide shows the general technique clearly.
How to remove decals without making a mess
Removal is where quality vinyl really shows its value. A well-made decal should come away far more cleanly than a bargain product with brittle film or poor adhesive.
The safest method is:
- Warm a corner gently with a hairdryer on a low to medium setting
- Lift the edge with your fingernail, not a metal scraper
- Peel back slowly at a shallow angle
- Keep warming as you go if resistance increases
If a little adhesive remains, a soft cloth and mild cleaner usually deal with it. Don't soak the wall. Gentle and gradual is the rule, especially on older paint finishes or rental-property walls where you want the least disruption possible.
UK Safety Rules and Long-Term Decal Care
A staircase feature has to do more than look good. It also needs to sit in the background of everyday movement. If a design distracts the eye, muddles the edge of a step, or starts peeling in a busy hallway, it stops being decoration and starts becoming a nuisance.
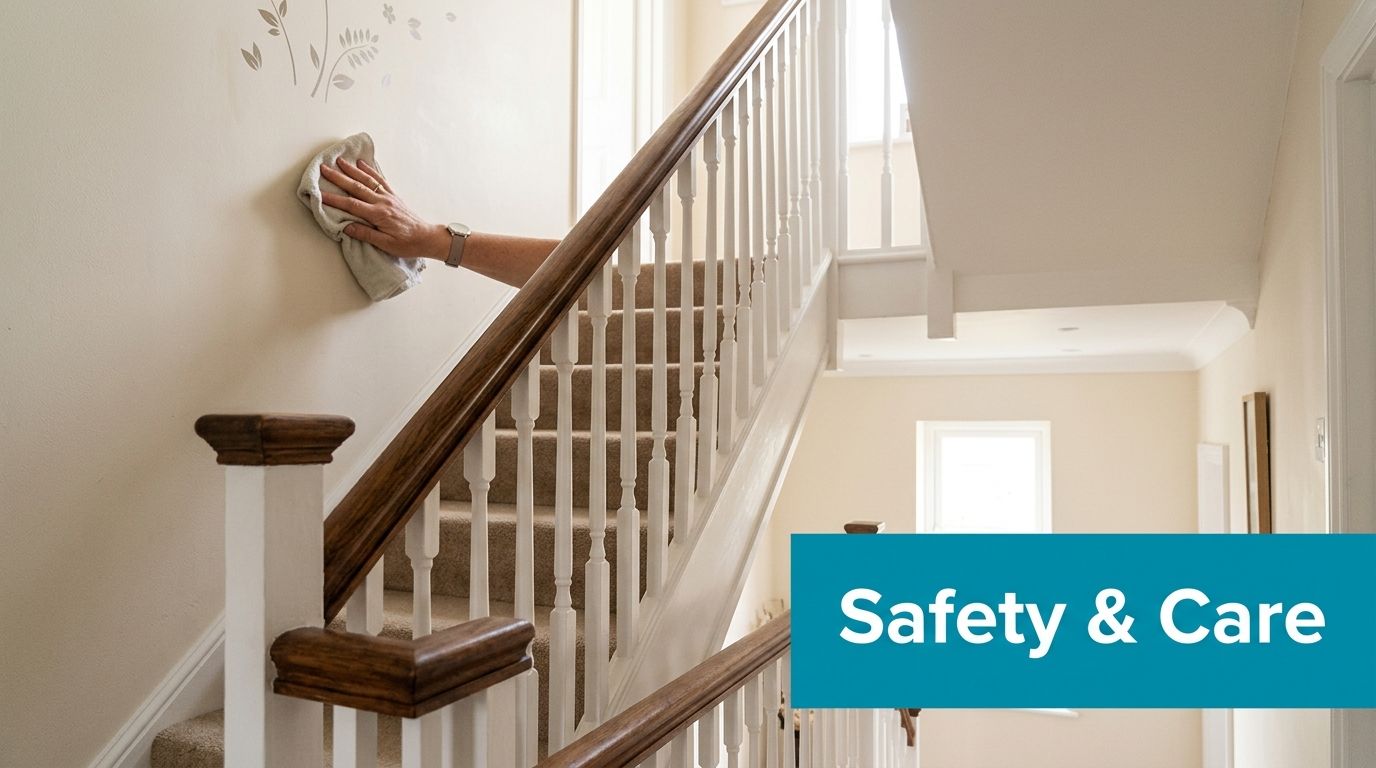
Keep decal placement compatible with safe stair use
In the UK, stair design sits under Building Regulations Part K. For domestic stairs, the maximum step rise is 220mm, which matters when you're thinking about how graphics interact with the visual rhythm of the staircase, as outlined in this summary of UK staircase building regulations.
The practical takeaway is straightforward. Don't use staircase wall decals in a way that confuses the eye about where one step ends and the next begins.
That means:
- Avoid heavy illusion patterns on or beside the treads
- Be cautious with bold stripes that run across risers
- Keep wall decals clear of the step edge sightline
- Use calmer designs on steep or narrow stairs
This is especially important in homes with children, older relatives, or anyone who uses the stairs in low light.
Safety check: if the design makes the staircase harder to read at a glance, it's the wrong design for that spot.
Clean them in a way that helps them last
Stair walls get knocked, rubbed, and cleaned regularly. That's why cheap vinyl often starts lifting around the corners. Better materials hold up better, but only if you clean them sensibly.
Use:
- A soft microfibre cloth for routine dusting
- Mild detergent in warm water for marks
- Gentle wiping rather than scrubbing
- Drying afterwards so moisture doesn't sit on the edges
Avoid anything abrasive, and don't soak the decal. Even a durable finish doesn't benefit from aggressive cleaning.
Watch for early signs of failure
Most decal problems start small. If you catch them early, you can often prevent the whole piece from deteriorating.
Look out for:
- Edge lift near hand level
- Clouding or surface dullness from repeated rubbing
- Corners collecting dust because they've started to curl
- Adhesion loss near textured patches in older walls
A quick press-down won't permanently fix a failing decal if the wall or adhesive is the issue. At that point, it's better to remove it cleanly and replace it than let it fray and spoil the whole stairwell.
Your Staircase Decal Questions Answered
A few questions come up again and again with staircase wall decals, especially in rented homes and family houses.
Can you use staircase wall decals in a rented property
Usually, yes, but only if you choose the right wall and the right material. A stable painted surface is the safest option. Old flaky paint, damp-prone walls, and surfaces with lots of repairs are the ones most likely to cause problems on removal.
If you rent, test a small area first and keep the original product details so you know what removal method the supplier recommends.
Are they suitable for homes with children
They can be a very practical choice because they don't require drying time like paint and they're easier to wipe than many delicate wall finishes. The main thing is placement. Don't put fine edges where hands constantly brush past, and avoid visually confusing patterns close to the stair line.
What if my wall isn't perfectly smooth
Then you need to be selective. Small decals on flatter areas often work better than one large design over a mixed surface. In older homes, it's often smarter to decorate the landing wall or the top run of the stairs rather than the roughest part of the stairwell.
Can you get something personalised
Yes. Custom names, quotes, and made-to-fit layouts are often the best answer when off-the-shelf designs don't suit your wall shape. That's particularly helpful on staircases with awkward turns, half-landings, or unusual proportions.
What style ages best
Simple typography, restrained botanical shapes, and clean repeating patterns tend to stay easier to live with than novelty motifs. Staircases are transitional spaces. The design should have personality, but it shouldn't demand attention every single time you walk past.
The best results usually come from treating staircase wall decals as part of the architecture rather than as an add-on. When the scale is right, the wall is properly prepared, and the finish suits the house, they can completely change a dull stairwell without turning it into a project you regret six months later.
If you're ready to try staircase wall decals in your own home, Quote My Wall has options across wall stickers, stair decals, and personalised vinyl designs, which can be useful when you need something that fits an awkward stairwell rather than a standard flat wall.