
How to Apply Privacy Window Film for a Flawless Finish
Applying privacy window film yourself is one of those brilliant DIY jobs that can completely transform a room in just a few hours. The secret really comes down to three things: getting your window glass absolutely spotless, cutting the film accurately, and using a simple soapy water solution to slide it into place before smoothing it all out.
Your Guide to a Perfect Window Film Application
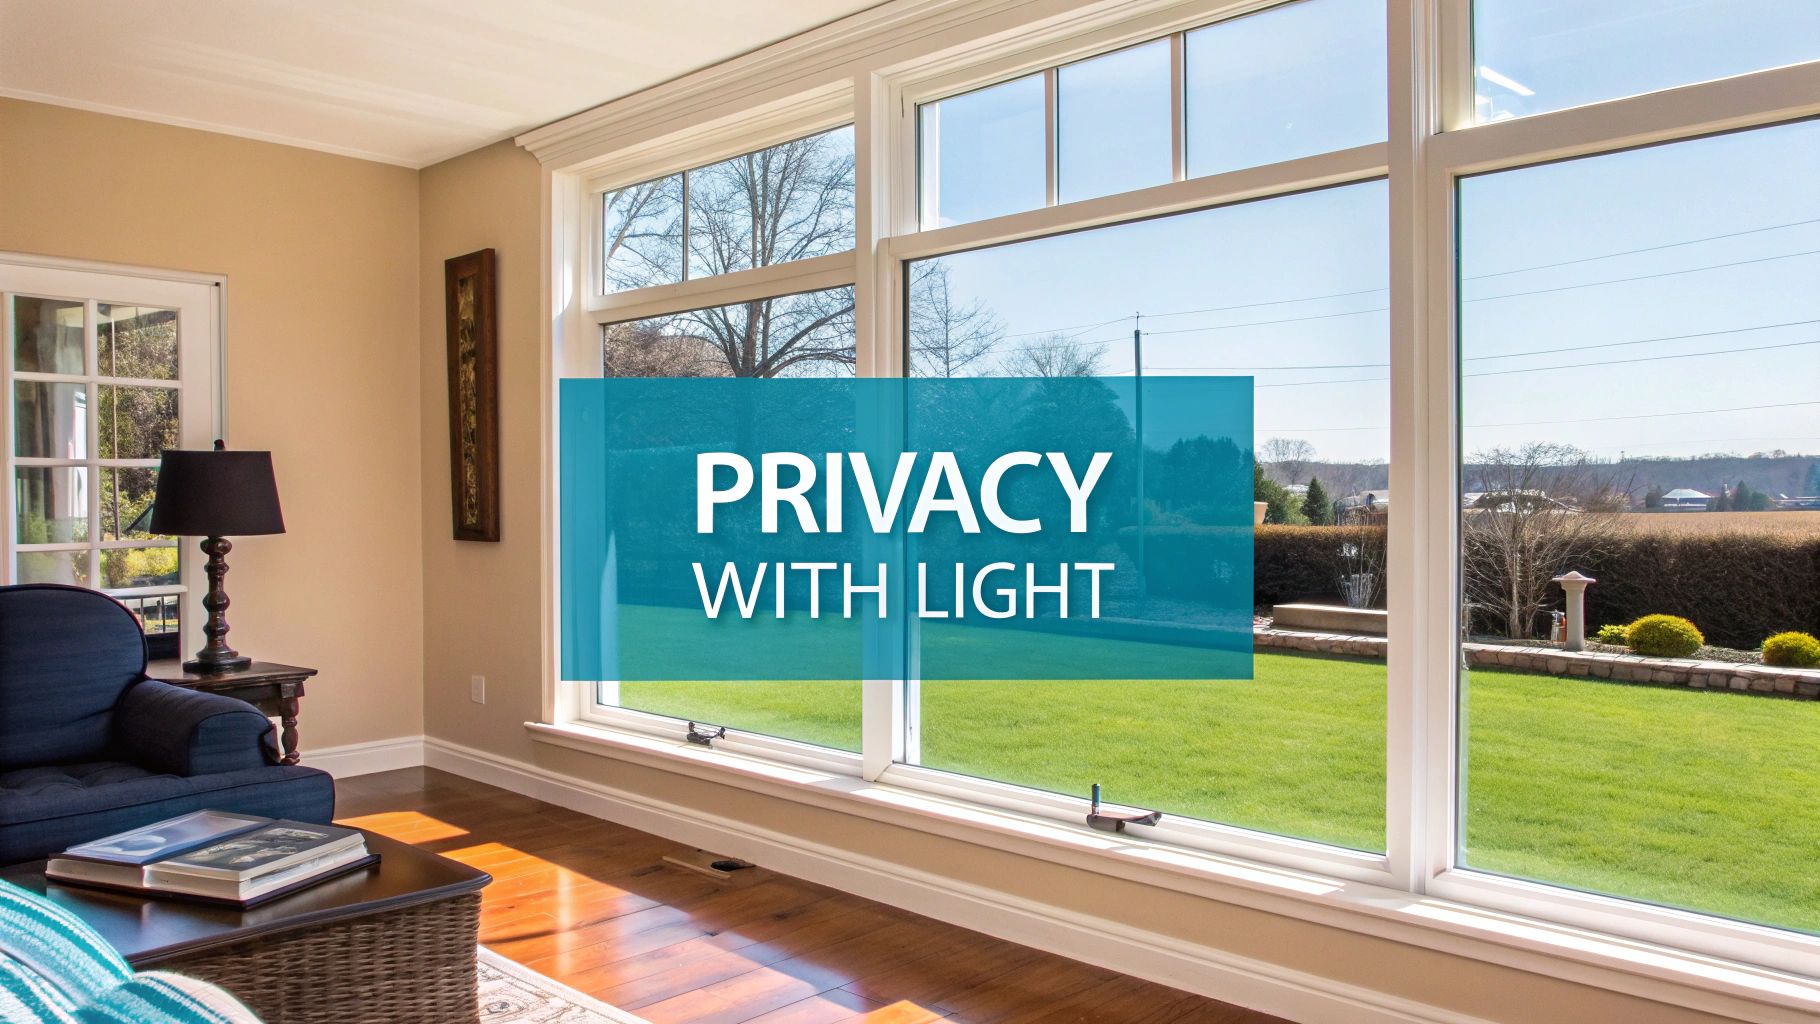
Ready to get more privacy at home without losing all that lovely natural light? Fitting window film can seem a bit daunting, I know. You’re worried about getting it straight, and nobody wants a finish riddled with bubbles. But trust me, it’s far more forgiving than you think.
Consider this guide your helping hand through the process. I’ll share some practical, down-to-earth advice to help you get that sleek, professional finish you're after. First things first, let's get the prep work sorted.
Setting the Stage for Success
A great finish starts well before the film even comes near the glass. It’s all about making a few smart choices upfront to make the whole job easier. This means getting your head around the different types of film available and which one is right for your space.
Here’s what we’ll look at:
- Choosing the right film: Are you after a decorative frosted look for a bathroom window, or do you need more of a one-way mirror effect for a living room that faces the street?
- Gathering the correct tools: I'll explain why a basic craft knife and a proper squeegee are your best friends for achieving clean edges and a flawless look.
- Understanding the environment: You'll learn why trying to apply film on a hot, sunny day is a recipe for disaster, and why a cool, overcast day is your best bet.
The real secret to a professional-looking installation isn’t about speed or some fancy technique. It's all about patience and preparation. Taking your time to get the glass perfectly clean is the single biggest thing you can do to avoid annoying bubbles and specks of dust trapped underneath.
A Practical Approach to Application
I’m going to skip the overly technical jargon and give you a clear, straightforward roadmap. Think of this less like a rigid instruction manual and more like getting tips from a mate who’s done it all before and learned from a few mistakes along the way.
You’ll soon see why a squeaky-clean window is the absolute foundation for success, and how a simple spray bottle of soapy water is the magic ingredient that lets you position and reposition the film until it’s perfect.
By the end of this, you’ll have the confidence to get stuck in. My aim is to give you the know-how to not only get the film on correctly but also to handle any little hiccups that might pop up, leaving you with a result you can be genuinely proud of.
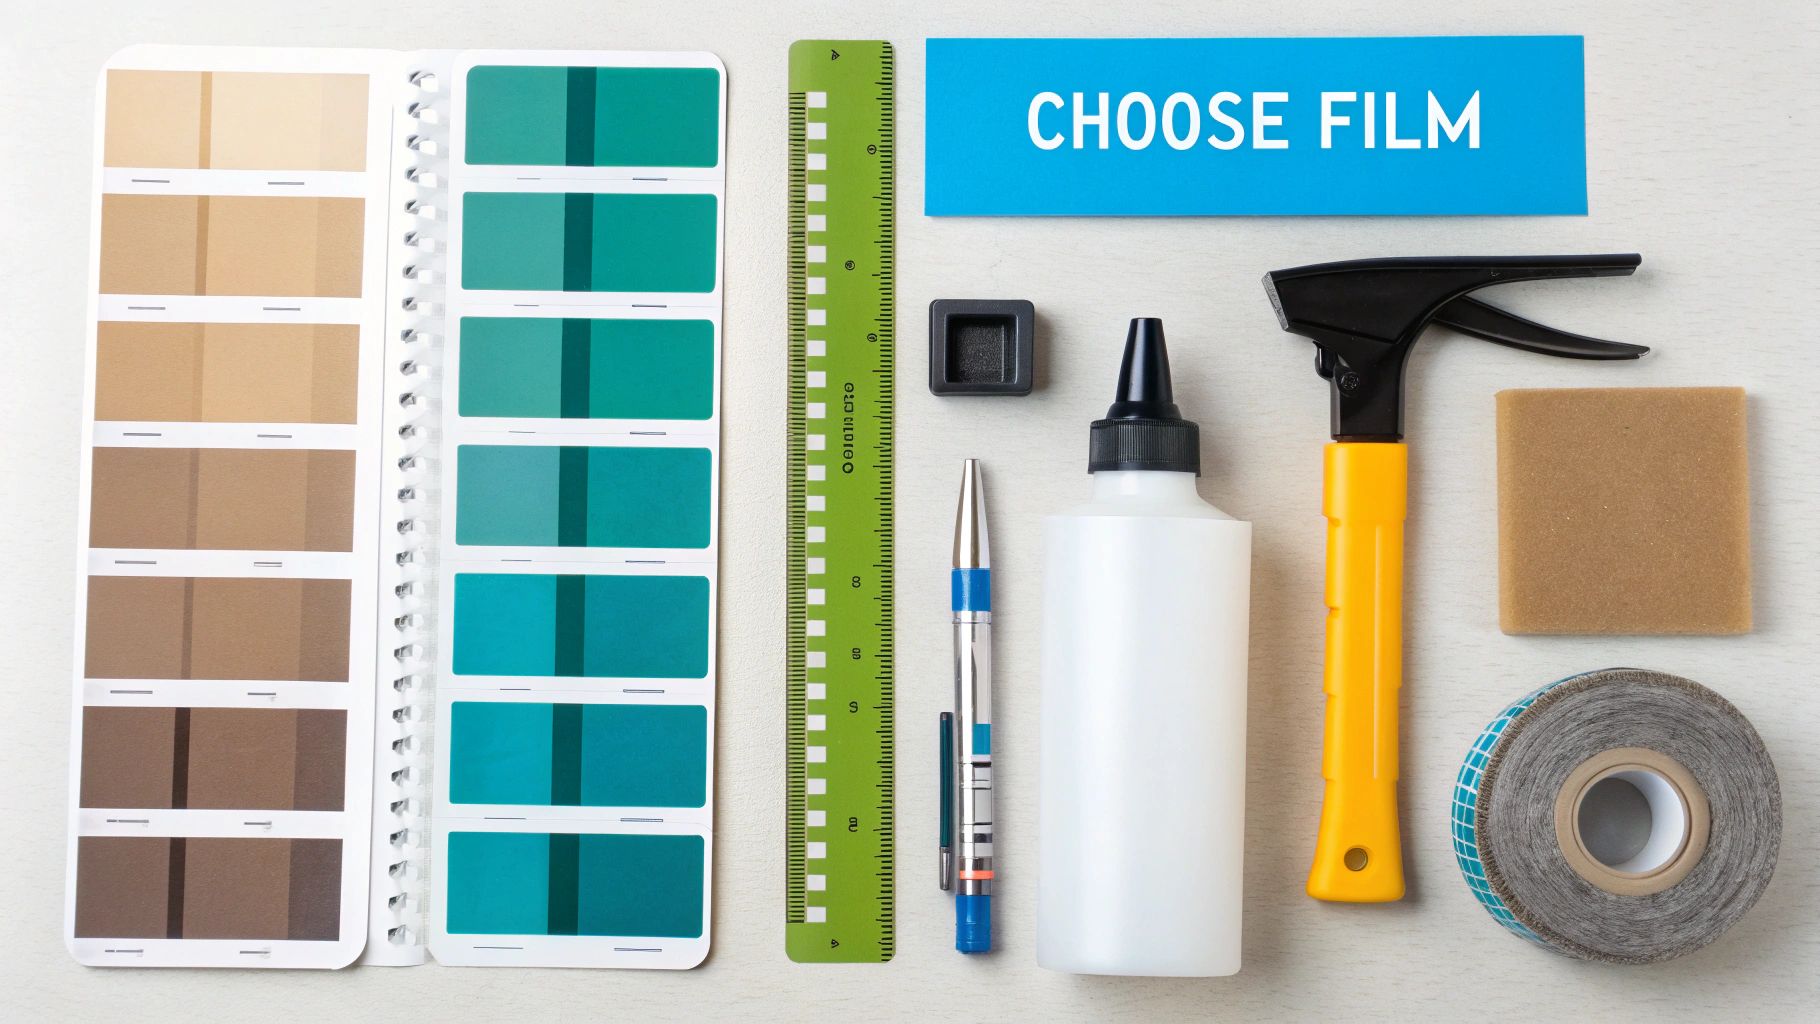
Choosing Your Film and Gathering the Right Tools
The secret to a flawless finish begins long before you even think about touching the window. It all starts with choosing the right materials for the job. The type of film you pick not only changes the look of your room but completely dictates the application process itself.
First, what are you trying to achieve? Are you after total privacy for a ground-floor bathroom, or do you just want to cut the glare in the living room without sacrificing your view? For most UK homes, a frosted or etched film is a fantastic choice. These films obscure views by up to 99% but still let a generous 70-90% of natural light stream in, so you don't end up with a gloomy room.
Beyond the aesthetics, choosing the right film can be a savvy financial move. It's estimated that UK households lose a staggering £2.5 billion each year in heat escaping through windows. A good quality privacy film can reduce this heat loss by 20-30%, acting as an extra layer of insulation that genuinely pays for itself over time.
Adhesive vs Static Cling Film
Your next big decision is whether to go for an adhesive film or a static cling one. This choice really boils down to how permanent you want the solution to be and how confident you feel about the installation.
To help you decide, let's break down the key differences between the two main types of privacy window film. This table should give you a quick overview to see which one fits your situation, whether you're a homeowner looking for a long-term solution or a renter needing something less permanent.
Adhesive vs Static Cling Window Film: A Quick Comparison
| Feature | Adhesive Film | Static Cling Film |
|---|---|---|
| Durability | High – designed for long-term use (years). | Moderate – best for temporary or seasonal use. |
| Installation | Less forgiving; requires precision and patience. | Very beginner-friendly; can be repositioned. |
| Removal | Can be difficult; may leave a sticky residue. | Simple to peel off with no mess. Reusable. |
| Best For | High-traffic areas, bathrooms, external-facing windows. | Renters, temporary privacy, seasonal glare reduction. |
| Cost | Generally slightly more expensive upfront. | More budget-friendly and reusable. |
Ultimately, adhesive films are your go-to for a durable, long-lasting finish, while static cling films offer incredible flexibility. If you need more guidance, our guide on choosing the best window film for privacy goes into much more detail.
Expert Tip: Choosing the right film type is about more than looks; it dictates how forgiving the installation will be. If you're new to this, I'd strongly suggest starting with a static cling film. It gives you a low-risk way to get a feel for the process before you commit to a more permanent adhesive solution.
Your Essential Tool Checklist
Forget those overly complicated lists you might see online. You only need a handful of basic items, but getting decent quality ones will make a world of difference.
Here’s what you’ll actually need:
- Spray Bottle: For mixing up your slip solution (a little water and a drop of baby shampoo).
- Squeegee: A felt-edged one is non-negotiable. It glides smoothly and prevents scratches. Please, don't be tempted to use a credit card – it will damage the film.
- Craft Knife: Make sure it has a fresh, sharp blade. A dull blade will tear the film and leave you with raggedy, unprofessional-looking edges.
- Tape Measure & Ruler: Accuracy is your best friend here.
- Lint-Free Cloths: A couple of microfibre cloths are perfect for cleaning the glass and soaking up excess water.
For a broader look at all the available options for home privacy, this guide on top privacy window treatments is a great resource.
Once you have the right film and these simple tools in hand, you're properly set up for a smooth, bubble-free application.
Getting the Prep Right for a Flawless Finish
Here’s a secret that anyone who’s done this for a living knows: 90% of a perfect, bubble-free finish is all in the prep work. This is the bit everyone wants to rush, and it’s exactly where things go wrong. If you want to learn how to apply privacy window film like a pro, nailing the preparation is the single most important thing you can do.
Think of your window as a canvas. Any tiny speck of dust, a greasy fingerprint, or a fleck of old paint will become a permanent, ugly bump trapped under your beautiful new film. So, we need to go beyond a quick spray and wipe to get the glass truly ready.
A crucial part of this process is starting with an impeccably clean window. You need to learn how to achieve a perfectly streak-free window, because this is about more than just looks – it's about creating a perfect surface for the film to cling to.
Mixing Up Your "Slip Solution"
The magic ingredient for a stress-free installation is what we call a slip solution. This simple mixture is a game-changer, letting you slide the film around on the glass until it’s in exactly the right spot. It stops the film from grabbing onto the window before you’re ready.
You don’t need anything fancy to make it. Here's my go-to recipe:
- Grab a clean spray bottle and fill it with about a litre of tap water.
- Add just a few drops of a very mild baby shampoo or a basic washing-up liquid. Steer clear of anything with degreasers or moisturisers, as these can mess with the film's adhesive.
- Give it a gentle swirl to mix. You're aiming for slightly soapy water, not a bottle full of foam.
This solution acts as a lubricant, giving you a generous window of time to get the placement perfect before you reach for the squeegee. It’s the secret weapon that turns a potentially fiddly job into a completely manageable one.
The Deep Clean Method
Right, let’s get that window surgically clean.
First off, give the entire window frame and sill a good wipe-down. This gets rid of any loose dust that might decide to float onto your glass right in the middle of the job.
Next, give the glass a really liberal spray with your newly mixed slip solution. Use a clean, lint-free microfibre cloth to wash it down properly, paying extra attention to the corners and edges where grime loves to collect. It’s no surprise that industry experts reckon as many as 70% of installation failures come down to a poorly prepared surface.
Pro Tip: After that first wash, take a fresh razor blade scraper and gently run it across the wet glass. Hold it at a 45-degree angle to lift off any stubborn paint specks or tiny bits of old gunk. You’ll be shocked at what comes off a window you thought was already "clean."
For the final step, spray the glass one last time and use your squeegee to dry it completely. Work from the top down, slightly overlapping each stroke. And here's the important bit: wipe the squeegee blade with a clean cloth after every single pass. This final check guarantees you’re left with no streaks or sneaky specks.
Now your glass is truly ready for a flawless application.
Applying the Film: From Cutting to Squeegeeing
Right, with your windows sparkling clean, it's time for the main event. This is where a bit of patience really pays off, turning that roll of film into a feature that looks like it was professionally installed. We'll walk through it logically, from getting your measurements right to trimming those final, crisp edges.
Let's start with measuring and cutting. Accuracy is important, but here’s a tip I’ve learned over the years that makes life much easier: don't cut the film to the exact size of the glass just yet. Instead, measure your window pane and add at least an extra inch (that's about 2-3 cm) to both the width and the height.
This oversized approach is sometimes called 'cutting rough', and it gives you a fantastic margin for error. It means you've got plenty of film to cover the whole surface, which makes the final trim far less stressful and much more precise.
From Backing Liner to a Floating Film
Now for the part that can trip up newcomers: separating the film from its clear backing liner. The film is surprisingly thin and loves to create static, which can make it curl back on itself. A simple trick is to stick a piece of tape on both sides of one corner and just pull them apart – the liner should peel away without a fight.
Once that liner is off, grab your spray bottle. This is where you need to be generous with the slip solution. Give the newly exposed sticky side of the film a thorough soaking. Don't hold back; you want it literally dripping wet. Immediately after, give the window glass another good misting. Honestly, you can't use too much solution at this stage.
This infographic breaks down the core application process into three simple actions.
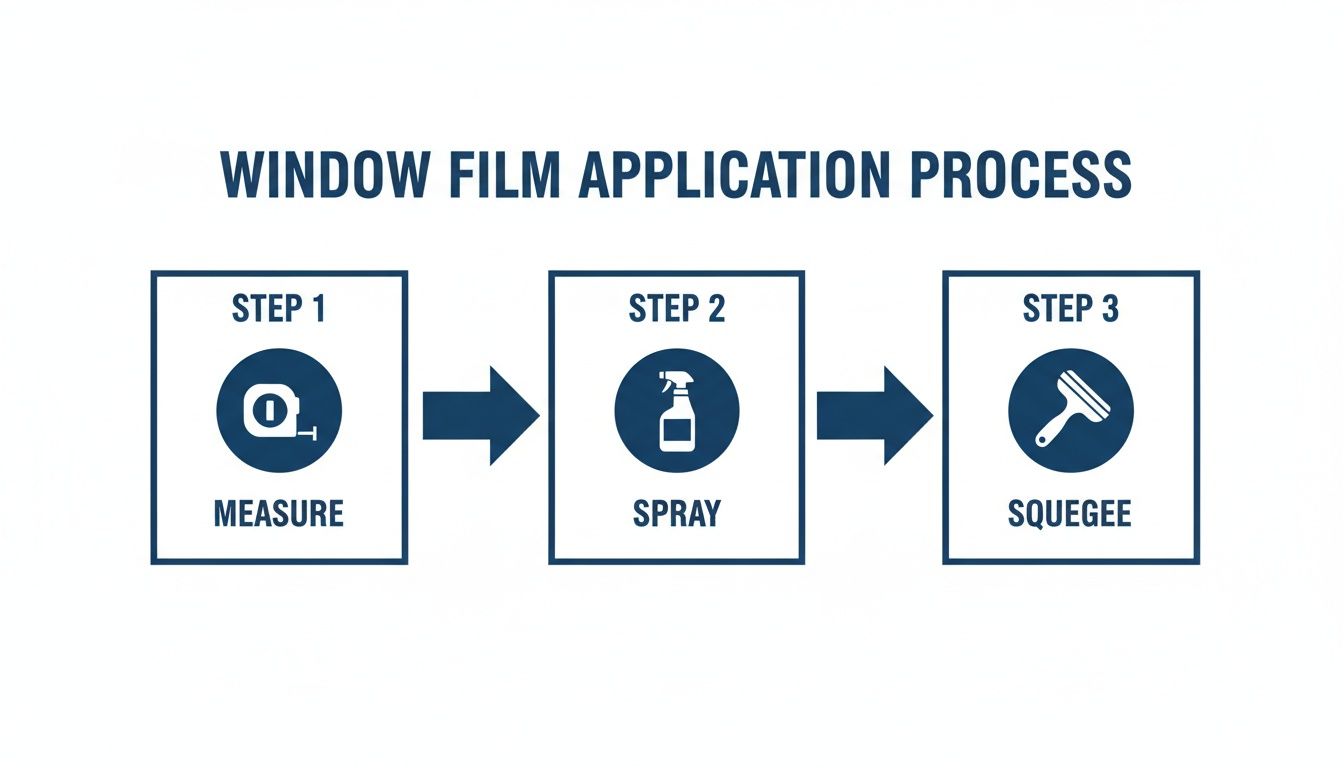
It’s a great visual reminder that success really just boils down to careful measurement, plenty of spray, and a methodical approach with the squeegee.
With both the film and the glass wet, you can now 'float' the film onto the window. The slip solution creates a slick surface, allowing you to slide the film around effortlessly until it’s perfectly positioned, with the excess overlapping the frame on all sides. If you're interested in similar DIY projects, our guide on how to apply vinyl wrap uses some of the same techniques.
The Art of the Squeegee
This is easily the most satisfying part of the job. Give the front of the film (the side facing you) a light spray to lubricate it, which helps the squeegee glide smoothly. Start in the centre and work your way out with firm, overlapping strokes.
Here's a solid technique that always works for me:
- Create an Anchor: Start with a single horizontal stroke across the very top of the film. This helps to fix it in place.
- Work from the Centre: From the middle, push your squeegee outwards—first to the right edge, then to the left.
- Move Downwards: Keep repeating this pattern, working your way down the window until you’ve pushed out all the water and any lingering air bubbles.
A crucial tip: try to work in a dust-free room if you can. Airborne particles are notorious for getting trapped and are blamed for ruining up to 40% of first-time attempts. For a standard UK sash window (averaging 1.2m x 1.5m), a pre-cut film and a good slip solution can give you results that rival a professional job costing £100 or more.
All that's left is to trim the excess. For this, you need a sharp craft knife with a fresh blade. Use your squeegee or a credit card as a straight-edge guide. Press it firmly into the corner where the glass meets the rubber gasket or frame, and run your knife smoothly along it. This will give you a perfect, factory-finish edge.
Finally, gently wipe away any remaining water around the edges with a clean microfibre cloth, and you're done. Stand back and admire your handiwork
Even with the steadiest of hands, you might spot a few little quirks after applying your window film. Don't panic! This is completely normal, and most issues are a doddle to sort out. The trick is to tackle them calmly and correctly to keep that pro finish you've just achieved.
A classic culprit is the stubborn air bubble that just refused to be squeegeed out. It might look glaringly obvious now, but the fix is surprisingly simple. For a small bubble, grab a fine needle or the very tip of your craft knife and make a tiny pinprick right at the edge of the bubble. Now, with your squeegee or a credit card, gently press the trapped air out through that little hole. The film will smooth down, and the pinprick will be virtually invisible.
Quick Fixes for Common Window Film Problems
Most installation hiccups are a quick fix. You just need to know what you're looking at and how to handle it. I've put together a table of the most common problems people run into and how to sort them out without any fuss.
| Problem | Cause | How to Fix It |
|---|---|---|
| Small Air Bubbles | Trapped air that wasn't fully pushed out. | Make a tiny pinprick at the bubble's edge with a fine needle. Gently squeegee the air out through the hole. |
| Hazy or Cloudy Look | Trapped moisture (slip solution) under the film. This is a normal part of the curing process. | Be patient. The cloudiness will disappear on its own as the moisture evaporates over a few days or weeks. Don't touch it. |
| Edges Won't Stick | The film is touching the window frame/seal, or the glass wasn't perfectly clean right at the edges. | Trim the film back by another 1-2 mm so it’s only on the glass. If the edge is dirty, lift it, re-spray, wipe the glass, and re-apply. |
| Film Slips Around | Too much slip solution was used, making it hard for the film to grip the glass. | Gently squeegee from the centre outwards with more pressure to push out the excess water and help it 'grab' the glass. |
Remember, most of these issues resolve themselves with a bit of time or a very minor adjustment. The key is not to overwork the film while it's still settling.
Keeping Your Film Looking Its Best
Once your film is up and looking flawless, a bit of simple aftercare will keep it that way for years. The most important thing you can do right now? Nothing at all. Your film needs time to cure, which is just the fancy way of saying all the leftover slip solution needs to evaporate completely.
This curing process can take anywhere from a few days to a couple of weeks. It really depends on the type of film and how much direct sunlight the window gets. You might see some small water pockets or a slightly hazy look during this time – resist the temptation to poke and prod! They will vanish on their own. If you're curious about the different types, our guide on static cling film for windows has more detail.
A Crucial Waiting Game: It is absolutely vital that you do not clean the window film for at least 30 days after you've installed it. Cleaning too soon can mess with the curing process, which could cause the edges to lift or trap moisture permanently.
When that month is up and it's time for a clean, just follow these simple rules:
- Go gentle on the chemicals. Never use cleaners containing ammonia (like many standard glass cleaners) as they can damage the film's surface.
- Keep it simple. A soft cloth and a bowl of water with a tiny drop of washing-up liquid is perfect.
- Use soft materials only. A microfibre cloth is your best friend here. It won't leave scratches. You can dry the film with a fresh, clean microfibre cloth or a soft rubber squeegee to get a perfect, streak-free shine.
Your Window Film Questions Answered
To finish up, let's tackle some of the common questions that pop up when you're working with privacy film. I've pulled these together from years of helping people with their DIY projects, so hopefully, they’ll clear up any last-minute wobbles you might have.
Can I Get the Film Off Again Without Damaging the Glass?
Yes, absolutely. This is one of the biggest reliefs, especially if you're renting. Modern films are designed to be removed cleanly.
- Static Cling Films: These are a doddle. You just pick at a corner and peel it away, usually in one go. There's no sticky mess, and you can often roll it up and reuse it somewhere else.
- Adhesive Films: A bit more permanent, but still perfectly removable. The trick is to warm the film gently with a hairdryer. This softens the glue, letting you peel the film back slowly. If any sticky bits are left behind, a bit of warm, soapy water and a plastic scraper will sort it out in no time.
Help! Bubbles Have Appeared a Few Days Later!
First off, don't panic. If you notice a few hazy or cloudy patches right after installation, that’s usually just leftover water trapped under the film. It’s a totally normal part of the process and these little pockets will evaporate on their own over the next week or two as the film cures.
If you have a proper air bubble that’s still hanging around after that time, it's an easy fix. Grab a very fine needle or the tip of a craft knife and make a tiny pinprick on one side of the bubble. Then, use your squeegee or even a credit card to gently push the trapped air towards the little hole. The hole itself is so small it will be invisible once the film flattens down.
What's the Best Temperature for Applying Window Film?
You'll have a much easier time on a mild, overcast day. The weather can make a surprising amount of difference to the final result.
The sweet spot is an ambient temperature between 5°C and 25°C. If you try to do it in direct, hot sunshine, the soapy water solution will evaporate before you've had a chance to get the film positioned and the bubbles out. On the other hand, if it's too cold, the film will take ages to cure properly.
Can I Put This Film on Textured or Double-Glazed Windows?
This is a really important one. Window film needs a completely smooth, flat surface to get a proper grip. It simply won't work on textured, patterned, or old-style frosted glass because the uneven surface traps air and prevents it from sealing.
As for modern double- or triple-glazed windows, you must check the manufacturer's instructions for the specific film you're buying. Certain types, especially dark-tinted or heat-absorbing films, can cause thermal stress. This can, in rare cases, damage the sealed unit. Always make sure the film is rated as safe for your specific type of window.
Ready to give your space a stylish and practical privacy boost? At Quote My Wall, we stock a huge range of high-quality privacy films for any project, from elegant frosted designs for the bathroom to decorative patterns for the living room. Find the perfect finish for your home by exploring our collection.