

A Complete Guide to Magical Fairies Wall Stickers
Imagine turning a plain old room into an enchanted forest with just a peel and a stick. That's the real magic of fairies wall stickers. They offer a wonderfully simple, paint-free way to create a space that sparks imagination and wonder for years to come.
Bring Whimsical Wonder into Your Home
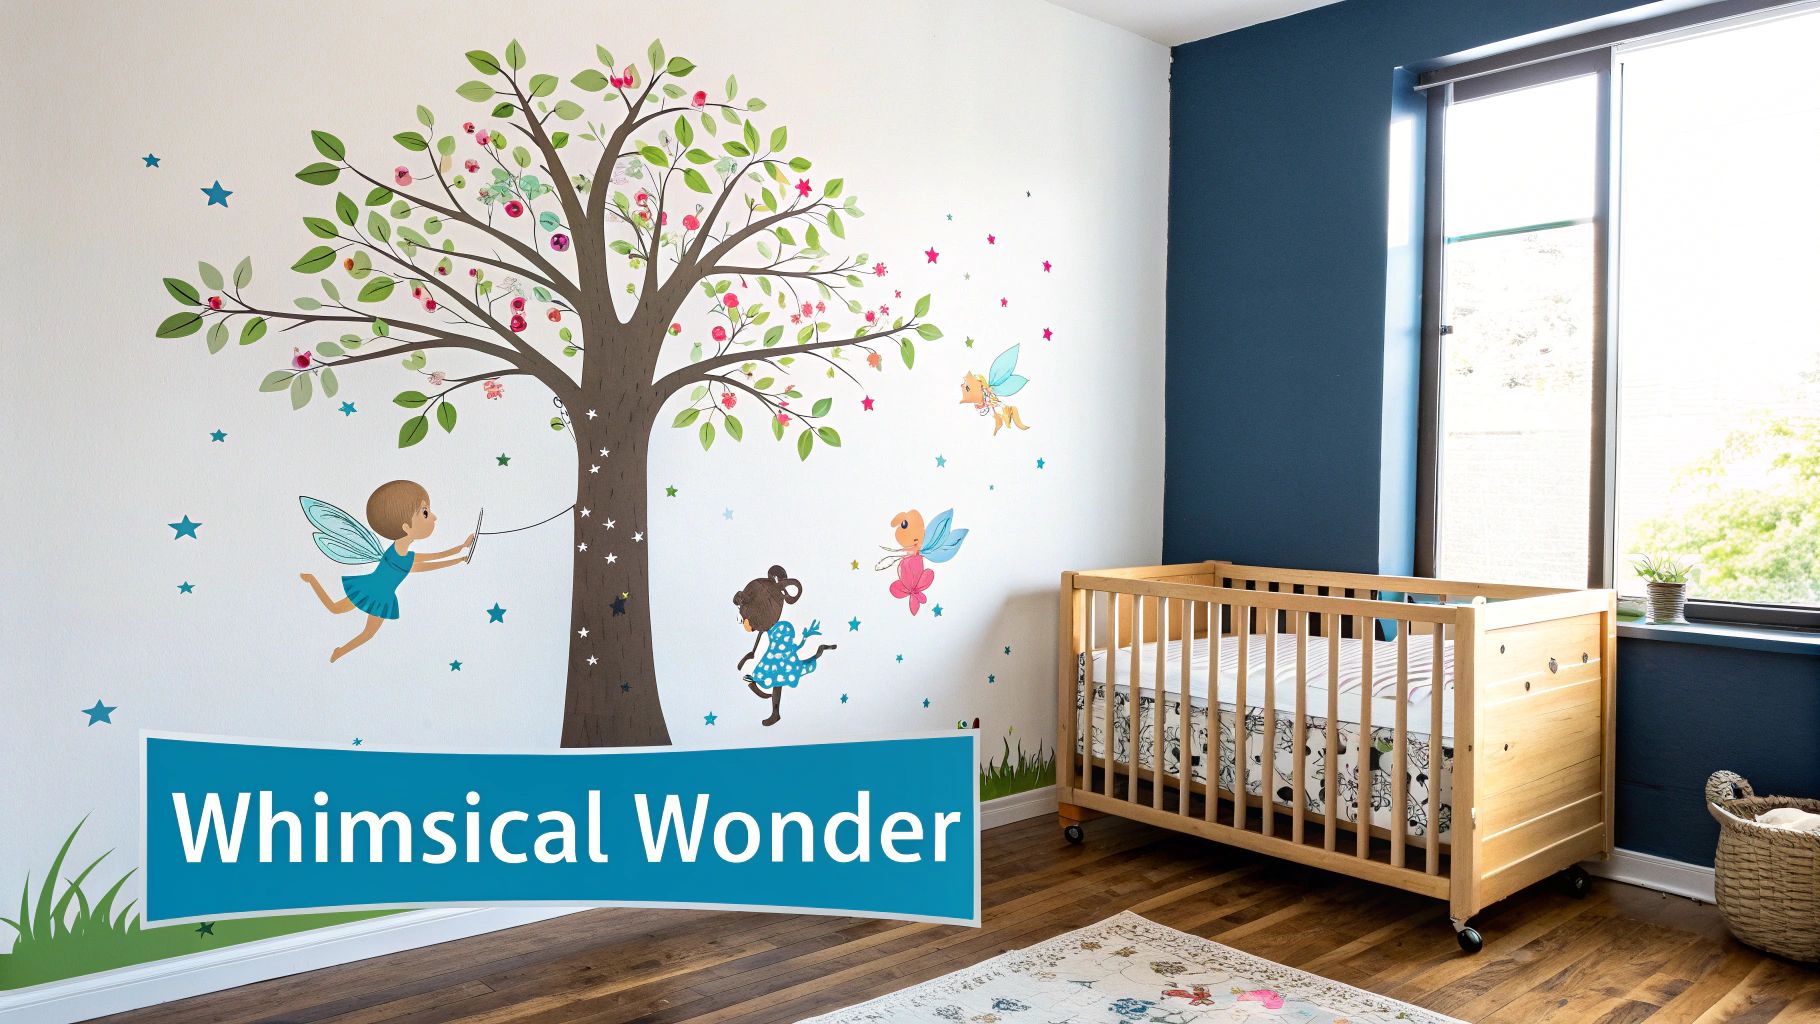
You don't need to commit to a full-scale redecoration to create a magical backdrop for childhood adventures. High-quality vinyl art is a stunning and affordable alternative to wallpaper, transforming simple walls into scenes straight out of a storybook. These decals are so much more than just decorations; they’re tools for storytelling.
They help you craft a timeless, whimsical haven that can easily adapt as your child grows. A flutter of fairies near a bookshelf or a single, gentle pixie perched above a headboard can make a room feel personal and truly special. It’s an approach that celebrates imagination over passing fads.
The Power of Imaginative Spaces
A child’s room is their sanctuary—a safe space for play, rest, and dreaming big. The environment we create for them plays a huge part in nurturing their creativity. Adding enchanting elements like fairy wall stickers can transform a bedroom from just four walls into an interactive world where they're the main character.
Think of this guide as your map to designing that enchanting space. We'll walk through everything from choosing the right materials to styling a scene that feels cohesive and alive. You'll learn how to:
- Pick durable, high-quality stickers that look as if they've been painted on.
- Design a layout that tells a captivating story across the walls.
- Apply and remove decals without a trace of damage—perfect for renters.
- Style a complete room theme around your chosen fairy designs.
Wall art acts as a gateway to fantastical realms, inspiring creativity and nurturing a child’s sense of well-being. By choosing designs that resonate with them, you create an environment that invites exploration and fun, turning their room into a personal sanctuary.
Ultimately, the goal is to create a space that feels both magical and deeply personal. It’s about building a backdrop for memories, where bedtime stories feel more vivid and playtime is filled with endless possibilities. For more tips on enhancing your interiors, explore this guide on choosing the right decorative wall art.
How to Choose the Perfect Fairy Wall Stickers
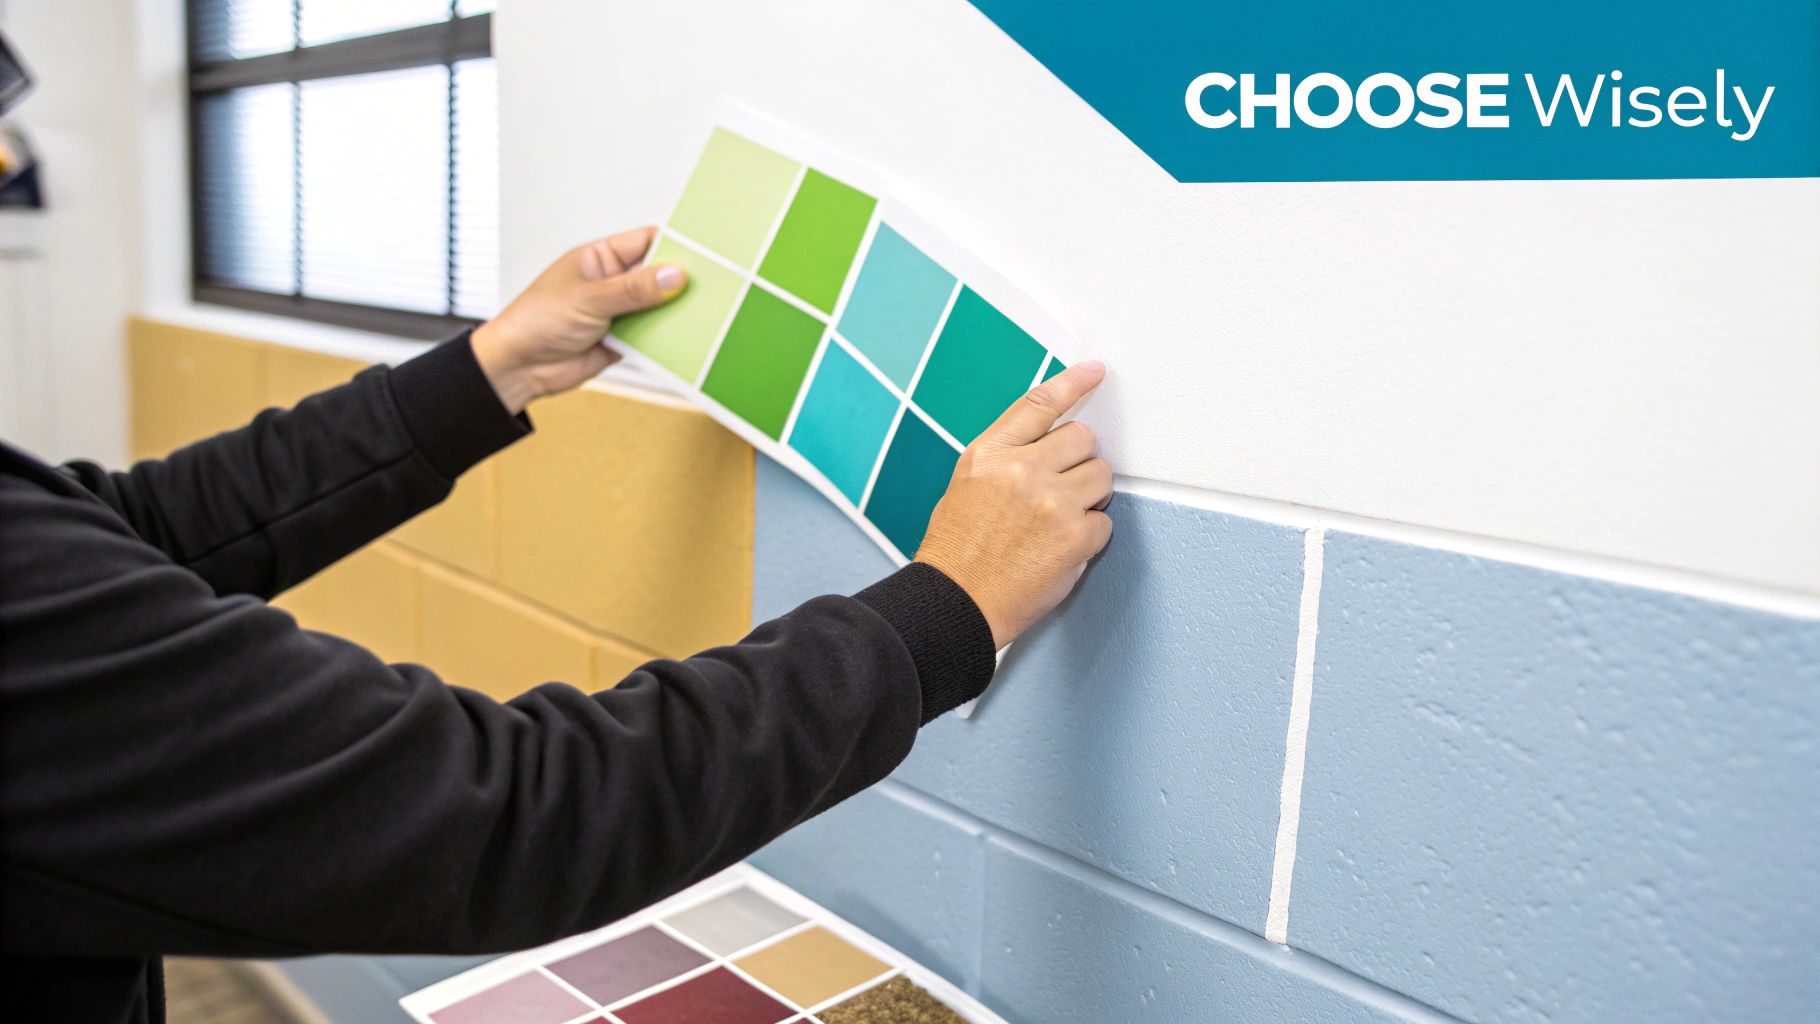
Choosing the right fairy wall stickers is about more than just falling in love with a design. It’s about picking the right material and finish to really bring that magical vision to life on your walls. Not all decals are made the same, and knowing the difference is the secret to a professional-looking, long-lasting result that feels right at home in your space.
In the world of wall stickers, you'll mainly come across two materials: vinyl and fabric. Good-quality vinyl is by far the most popular choice, loved for its durability and the crisp, clean lines it creates. Fabric stickers are a great alternative, often being reusable, but they can be a bit pricier and sometimes lack the intricate detail you get with precision-cut vinyl.
This choice of material has a huge impact on how the sticker looks on your wall and how it plays with the light in the room. A matte vinyl sticker, for example, looks almost like a soft, hand-painted mural. It absorbs light, blending beautifully into the wall. On the other hand, a gloss finish is like a vibrant illustration from a storybook, catching the light to create a bold, eye-catching focal point.
Understanding Materials and Finishes
When you start browsing for fairy wall stickers, the first thing to get your head around is the material and finish. Think of it like deciding between a photograph and a watercolour painting—both are lovely, but they set completely different moods.
- Matte Vinyl: This is your best bet for a sophisticated, "painted-on" effect. It cuts down on glare, which makes it perfect for brightly lit rooms or for walls that are opposite a window. The non-reflective surface really helps the design feel like a part of the wall itself.
- Gloss Vinyl: If you want your fairies to truly pop with colour and energy, a gloss finish is a brilliant choice. It gives a sleek, shiny look that really makes a statement—ideal for an accent wall or a special feature in a playroom.
- Fabric Decals: Usually made from polyester, these are thicker and have more of a texture. Their biggest advantage is that they can often be repositioned and reused, but you might find they have a softer, less defined edge than vinyl.
The boom in customisable home decor has completely changed how we decorate. Fairy wall stickers are a wonderful example of this, giving families the power to create unique, folklore-inspired nurseries and bedrooms that feel deeply personal and utterly enchanting.
Matching Stickers to Your Space
Once you’ve thought about the sticker itself, it's time to consider its new home. The texture of your wall, the way light moves through the room, and your existing colour scheme are all key pieces of the puzzle.
A perfectly smooth wall is vinyl's best friend; it ensures a flawless application with no pesky bubbles. If your walls have a bit of a texture (like an 'orange peel' finish, which is common in many UK homes), a high-quality, flexible vinyl will be much more forgiving than a rigid, cheaper one.
Also, think about the light. A gloss sticker might catch an annoying glare in a sunny spot, while a matte one will keep its gentle charm from dawn till dusk.
Here's a quick guide to help you decide.
Comparing Fairy Wall Sticker Materials
| Material Type | Best For | Finish Options | Durability | Removability |
|---|---|---|---|---|
| Matte Vinyl | A subtle, "painted-on" mural look | Non-reflective | High | Clean removal, but generally not reusable |
| Gloss Vinyl | Bold, vibrant designs that need to pop | Shiny, reflective | High | Clean removal, but generally not reusable |
| Fabric | Renters or those who like to change decor often | Textured, soft | Moderate to High | Repositionable and reusable without wall damage |
Ultimately, the right material comes down to the final look you're hoping to achieve and the practicalities of your space.
The love for fairy wall stickers is part of a much bigger picture. The European wall decor market is predicted to see massive growth, with a potential increase of USD 16.42 billion between 2024 and 2029. Here in the UK, where we spend around USD 16.90 per person on wall decor, shoppers are increasingly looking for ways to make their homes unique. This has made personalised fairy designs an incredibly popular choice. You can read more about the booming wall decor market on Technavio.com and get inspired by checking out our guide to personalised wall stickers in the UK.
Designing Your Enchanted Scene
Alright, this is where the real fun begins. Let's move beyond just sticking things on a wall and start thinking like a designer. We're not just decorating; we're crafting an entire world. With a few simple design tricks, you can turn a set of fairies wall stickers into a captivating story that unfolds right there in the room.
The first thing to do is pick your 'wow' moment—the focal point. This is the one feature that grabs your attention as soon as you walk in and holds the whole design together. Think of it as the main character in your enchanted tale. A large, sweeping fairy tree arching over a cot, for example, instantly creates a magical, protective canopy. If you want to really get this right, learning how to Create a Perfectly Balanced Accent Wall can help you showcase your fairy scene perfectly.
With your main feature in place, the next step is to build the story around it. This is where you bring in the smaller, supporting stickers to create a sense of life and guide the eye around the space.
Creating Flow and Movement
Think of your smaller stickers—the individual fairies, tiny stars, butterflies, and flowers—as your supporting cast. Their job is to add depth and lead the eye on a journey, making the whole scene feel dynamic and alive.
A great way to do this is by creating visual pathways. You could have a trail of sparkly fairy dust swooping from the doorway towards the main tree over the bed. Or maybe a little cluster of fairies fluttering playfully around a light switch, turning a mundane object into something whimsical. This approach ties different parts of the room together, making the design feel cohesive instead of like a few random images dotted about.
A well-designed scene does more than decorate; it tells a story without words. By carefully placing each element, you create a visual rhythm that encourages exploration and makes the room feel boundless and full of secrets waiting to be discovered.
Inspiring Layout Ideas
Need a little creative nudge? Here are a few layout ideas that I’ve seen work wonders with fairy wall stickers. Each one uses the room in a slightly different way to tell its own unique story.
-
The Whispering Garden: Start your design low to the ground, right along the skirting boards. Place flower and toadstool stickers along the bottom of the wall, with little fairies peeking out from behind them. It creates a magical illusion that a tiny garden is sprouting right up from the floor.
-
The Starry Night Flight: Don't forget the 'fifth wall'—the ceiling! Place a large moon sticker in a corner or the centre, and then scatter flying fairies and glow-in-the-dark stars across the rest of the space. This draws the eye upward, making the room feel taller and more expansive, perfect for bedtime dreaming.
-
The Enchanted Forest Corner: Pick one corner of the room and turn it into a self-contained world. Use a large tree sticker as the backdrop, then cluster fairies, woodland animals, and flowers around it. This is a brilliant way to create a cosy, immersive reading nook or a dedicated play zone.
Flawless Application and Damage-Free Removal
Getting that professional, bubble-free finish with your fairies wall stickers is much easier than you might think. The real secret to a magical result isn't some special trick—it's just a bit of prep and a steady hand. Taking a few moments before you start makes all the difference, ensuring your enchanting scene looks like it was painted right onto the wall.
First things first, let's get your canvas ready. Your wall needs to be clean, dry, and smooth. A quick wipe with a soft, damp cloth will get rid of any dust. Just make sure it’s completely dry before you begin. One crucial tip: if you've recently painted, you absolutely must wait at least 30 days for the paint to fully cure. This is so important, as applying a sticker too soon can mean the adhesive takes the paint with it when it's time for a change.
Your Step-by-Step Application Guide
With your wall prepped, it's time for the fun part: bringing your fairy scene to life. The biggest mistake people make is rushing. Take your time, follow these simple steps, and you'll avoid any pesky bubbles or wonky fairies.
- Position with Precision: Don't peel anything yet! Use a bit of masking tape to temporarily stick your design to the wall. This is your chance to step back, look at it from different angles, and get the placement just right without any commitment.
- Peel and Stick Gradually: Begin by peeling the backing paper away from the top edge of the sticker. As you go, press the sticky side firmly against the wall, always working from the centre outwards.
- Smooth It Out: This is the key to a flawless finish. Grab a squeegee or even a credit card and smooth the sticker onto the wall. This simple action pushes out any trapped air bubbles. Use gentle, overlapping strokes, and you'll get a perfectly flat, seamless look.
If you’d like a more detailed walkthrough, we've got plenty more tips in our full guide on how to apply wall stickers.
Thinking about the design itself, this simple process helps you plan your scene from the top down, starting with your main feature.
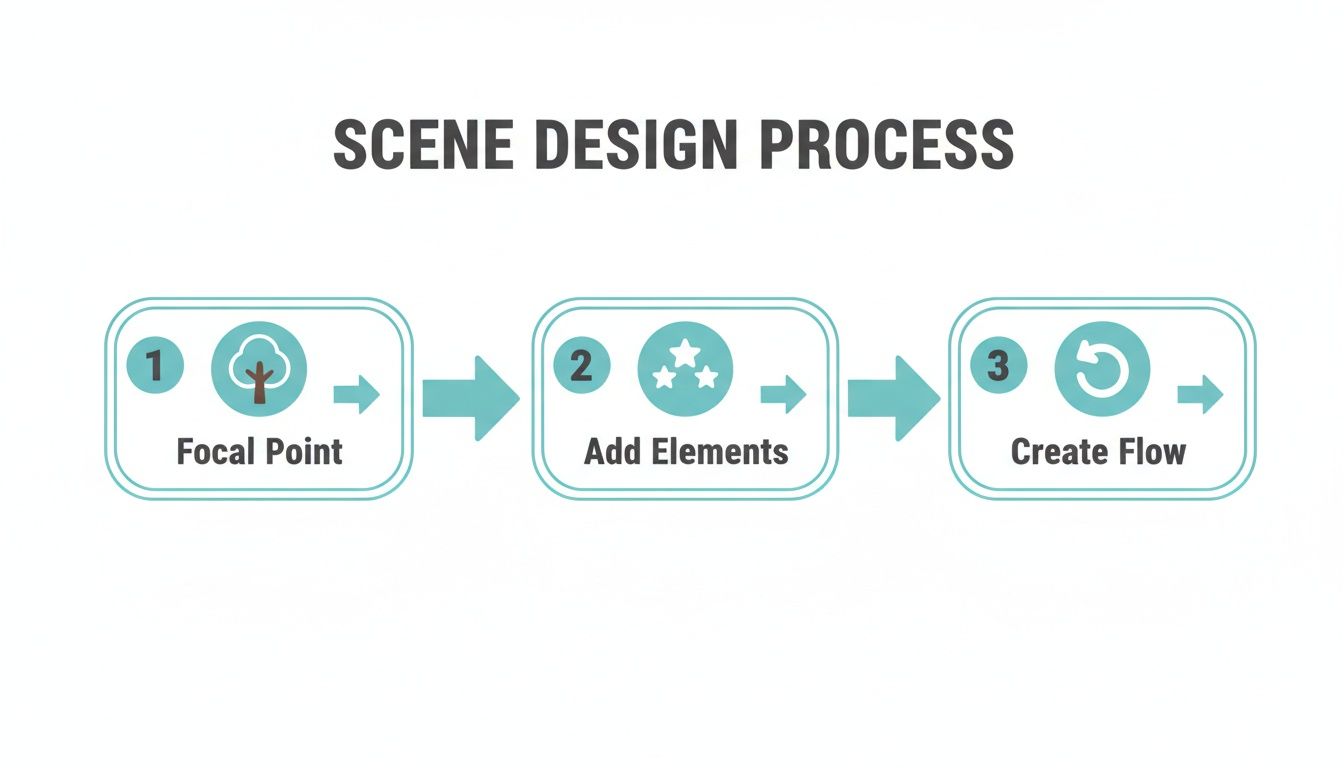
As the graphic shows, deciding on your focal point first gives the whole scene a sense of structure and purpose.
The Secret to Damage-Free Removal
One of the biggest concerns I hear, especially from renters, is about potential damage to the walls. Will the stickers pull off the paint? The great news is that high-quality vinyl is specifically designed to be removed cleanly, leaving your walls looking just as they did before.
The process itself couldn't be simpler. All you need is a hairdryer. Gently warm up a corner of the sticker, holding the hairdryer a few inches away for about 15-20 seconds. This little bit of heat is enough to soften the adhesive and make it easy to work with.
Once it's warm, you can start to peel the sticker back on itself at a sharp angle. If you feel any resistance, just give it another quick blast of heat. It should lift away smoothly, with no sticky mess left behind. It’s this easy removal that makes them such a perfect decorating solution for any home, rented or owned.
Bringing Your Magical Room to Life: Some Styling Inspiration
With the practical stuff out of the way, let's get to the fun part – styling a complete, enchanting room. This is where you can really let your creativity shine, pulling together all the elements to create a truly magical space. Think of these ideas as starting points, a bit of inspiration to show you just how fairies wall stickers can anchor a beautiful and cohesive theme.
It’s about more than just sticking decals on a wall. When you pair them with the right colours, furniture, and little finishing touches, you can build an immersive world that feels thoughtfully designed from top to bottom.
The Secret Garden Nursery
Picture a nursery that feels like a gentle, sun-dappled glade, where tiny fairies hide amongst soft-petalled flowers climbing the walls. The ‘Secret Garden’ theme is absolutely perfect for a baby’s room, creating a wonderfully serene and peaceful atmosphere.
This look is built on soft pastels and natural textures. A colour palette of muted pinks, sage greens, and creamy whites sets a calming tone. You can use floral and vine decals to creep up from the skirting boards, perhaps framing the cot as a beautiful focal point. Finish the look with light wood furniture, a cosy woollen rug, and bedding with delicate botanical prints to tie it all together.
- Colour Palette: Dusty rose, mint green, soft lavender, and ivory.
- Furniture Style: Natural or white-washed wood with simple, classic lines.
- Key Accessories: Woven storage baskets, sheer curtains to soften the light, and a mobile with delicate felt flowers.
A themed room is a child’s first personal universe. It's where they can feel safe, inspired, and completely themselves. By building a world around a concept they love, you create a backdrop for countless hours of imaginative play and peaceful dreams.
For a deeper dive into creating a magical space, you can explore our full collection of fairy bedroom ideas.
The Moonlit Fairy Grotto
If you’re after something with a bit more mystery and drama, the ‘Moonlit Fairy Grotto’ is a fantastic choice. This theme uses deeper colours and shimmering accents to capture the feel of a secret hideaway, sparkling under the night sky. It's an idea that works beautifully for slightly older children who love a touch of adventure.
The whole concept starts with a rich, dark colour palette. Don't be afraid of navy blues, deep purples, or even charcoal greys on the walls. Against this dramatic backdrop, silver or iridescent fairy wall stickers will really stand out and sparkle. For an extra touch of magic, scatter some glow-in-the-dark stars across the ceiling.
To really nail that grotto feel, lighting is key. Drape warm fairy lights around a headboard or weave them through a bed canopy. Velvet cushions, a dark-stained wooden bed, and a few metallic accessories will add layers of texture and a touch of sophistication. It’s a bold style that feels like a genuine escape into a starlit world.
Creating these kinds of personalised spaces is becoming more and more popular. In the UK, the wall decor market is booming, with people spending an average of £13.50 per person on sprucing up their walls. It just goes to show how much we love affordable and stylish options like wall stickers, which can completely transform a room without the commitment or cost of a full redecoration. You can see more on the booming UK wall decor market at futuremarketinsights.com.
Answering Your Questions on Fairy Wall Stickers
So, you've picked out the materials and are picturing how those enchanting designs will look on your walls. It's completely normal to have a few last-minute practical questions before you get started. We've put together the most common queries we get from our UK customers to give you clear, straightforward answers about our fairies wall stickers.
Let's tackle those nagging concerns, from whether they're suitable for renters to how to look after them long-term. We want you to feel totally confident before you start your decorating adventure.
Are Fairies Wall Stickers Suitable For Renters in the UK?
Yes, absolutely! This is one of the best things about choosing high-quality vinyl stickers. They're designed from the ground up to be a beautiful, temporary way to decorate. We use a specialised adhesive that’s strong enough to hold firm for years, but gentle enough to be removed without any drama.
When it's time to move on, they come down easily. All you need is a hairdryer on a low setting to gently warm the vinyl. This softens the adhesive, letting you peel the sticker away cleanly. This little trick means you won't damage the paintwork or leave any sticky gunk behind, which is great news for getting your rental deposit back.
Wall stickers are a fantastic, commitment-free way for renters to make a space feel like their own. You get to inject your own personality into a room without making any permanent changes.
Can I Apply These Stickers to Textured Walls?
For that flawless, "painted-on" look, our premium vinyl stickers really need a smooth, clean, and dry surface. The more contact the adhesive has with the wall, the better it will stick.
They can often work on walls with a very light texture, like the subtle "orange peel" finish you find in lots of modern UK homes. However, heavily textured or bumpy surfaces, like artex, are a no-go. The unevenness leaves little air gaps, which stops the sticker from getting a proper grip and can lead to peeling edges. If you're not sure, it’s always a good idea to test a small sample sticker in a less obvious spot first.
How Do I Clean and Care for My Wall Stickers?
Keeping your fairy scene looking vibrant is incredibly easy. Our stickers are made from a durable, high-quality vinyl that's built to last indoors. You won't need any special cleaning potions or complicated routines.
Just give them a gentle wipe with a soft, damp cloth. That's all there is to it! The main thing to avoid is anything abrasive – so no scouring pads or harsh chemical cleaners that could scratch the print. With just a tiny bit of care, your fairies wall stickers will keep their lovely colours for years.
Can I Reuse the Wall Stickers After Removing Them?
Our vinyl wall stickers are really designed for a single, perfect application. While some fabric decals can be repositioned, the delicate, precision-cut nature of vinyl means it’s meant to stay put once it's on the wall.
When you remove them, even if you do it carefully with heat, the intricate shapes of the fairies can stretch or tear a little. This makes it almost impossible to reapply them perfectly flat, without any annoying wrinkles or bubbles. While you might get away with lifting and moving a small piece moments after first placing it, they aren't designed to be moved from one wall to another once the adhesive has properly cured.
Ready to create your own enchanting world? Explore the full collection of magical designs at Quote My Wall and find the perfect fairies wall stickers to bring your vision to life.