
Clothing Labels Name: A Practical UK Buying and Care Guide
A school jumper disappears into the lost-property pile, or a care-home resident's nightdress comes back from the laundry in somebody else's room. In both cases, the problem isn't that a garment lacks a name. The label needs to stay attached, remain readable and help the right person identify the item without making laundry or hand-me-downs harder.
The best clothing labels for names depend on where a garment goes, how it's washed and whether it may be passed to someone else. A stick-on label can be convenient on a care tag, while an iron-on or sew-in label may suit a garment without a suitable tag. Choose for the whole life of the garment, not just the moment you apply the label.
Why Name Labels Matter for UK Wardrobes
Uniforms make identification an everyday job for families. In England, more than 99% of parents and carers surveyed by the UK Government said their child's school required a uniform, and 86% said at least one item required branding. The same survey found that at least one branded item was optional for 63% of primary-school parents, compared with 34% of secondary-school parents. Those findings show why families may be managing several similar garments across school, clubs and seasons, though the evidence covers England rather than every UK nation. (UK Government's 2023 Cost of School Uniform Survey)
That uniform might leave home in the morning, get taken off for sport and go through the wash before it's worn again. A label has to cope with that routine. Putting one on and assuming the job is done can fail when it's attached to a stretchy seam, applied to fabric that doesn't suit it or washed before the adhesive has settled.
Different wardrobes, different risks
Schools and care homes need labels for different reasons. For a family, they can help distinguish a child's polo shirt from a row of similar school kit and make a coat easier to return. In a care home, clear identification can help staff sort shared laundry and return clothes to the correct resident. In both settings, the garment needs a label placed where it remains readable and survives normal care.
The pressure on school clothing is real. UK survey findings indicate that children commonly own several shirts or T-shirts and trousers or skirts, while shirts and T-shirts are generally washed multiple times a week. The same research estimated that shirts and T-shirts were replaced after an average of 173.2 days of wear, roughly 90% of a 190-day school year. (Fidra's UK school-uniform survey)
Practical rule: Think about where the garment goes after it's worn. The wash cycle, the wearer and the next owner all matter when you choose a label.
A name label won't solve the cost of uniforms or guarantee that a missing item comes home. It can, however, support an organised system for identifying, sorting and reusing garments.
Choosing the Right Label Type for Each Garment
No single label type suits every garment. A stick-on label needs a smooth, stable surface, an iron-on label needs fabric that tolerates heat, and a sew-in label depends on a secure stitch. A laundry marking pen is simple, but it marks the garment itself rather than adding a removable label.
| Label Type | Best For | Application | Main Trade-off |
|---|---|---|---|
| Stick-on | Garments with a smooth care tag, including coats and some sportswear | Press firmly onto the care tag, following the maker's instructions | Convenient and potentially removable, but unsuitable for a stretchy or textured application surface |
| Iron-on | Iron-safe garments where a durable bonded label is wanted | Apply heat and pressure as directed by the label maker and garment care instructions | Not appropriate for heat-sensitive, coated or no-iron fabrics, and harder to remove |
| Sew-in | Items needing a label attached without adhesive or direct heat | Stitch securely to a suitable seam or label area | Long-lasting when well sewn, but takes more time and can create a raised edge |
| Laundry marking pen | A quick identification mark where a separate label isn't practical | Write on a suitable garment area, following the pen's instructions | Simple, but handwriting may fade and the mark isn't designed to transfer to a new owner |
Match the label to the garment
For a school polo shirt, check whether there's a smooth care tag suitable for a stick-on label. If the garment is iron-safe and you want a fixed label, an iron-on option may suit it. A wool jumper, waterproof coat or stretchy sports top needs more caution: follow the garment's care instructions, and don't assume heat or adhesive will work just because it did on cotton.
For a care-home nightdress, prioritise a readable mark that fits the resident's laundry process. A sew-in label or suitable stick-on on a care tag may be more practical than ironing a label directly onto delicate fabric. Marking pens can be useful, but test the fabric and ink first.
Quick-fit guide
- School polo: Use a suitable care tag for a stick-on label, or choose iron-on only if the care instructions allow heat.
- Wool jumper: Avoid applying heat unless the garment care label permits it. Consider a sew-in label or a suitable tag.
- Waterproof coat: Don't iron the coated fabric. Use an appropriate care-tag label, or sew into a suitable existing label area.
- Stretchy PE top: Avoid placing adhesive on the fabric or a stretchy seam. Check whether its care tag offers a stable surface.
If you're also labelling handmade quilts or textiles for gifting, these custom quilt label ideas offer another perspective on placing a personal identifier where it belongs. For a closer look at how material affects label choice, see this guide to clothing label material.
Preparing and Applying Labels That Stay Put
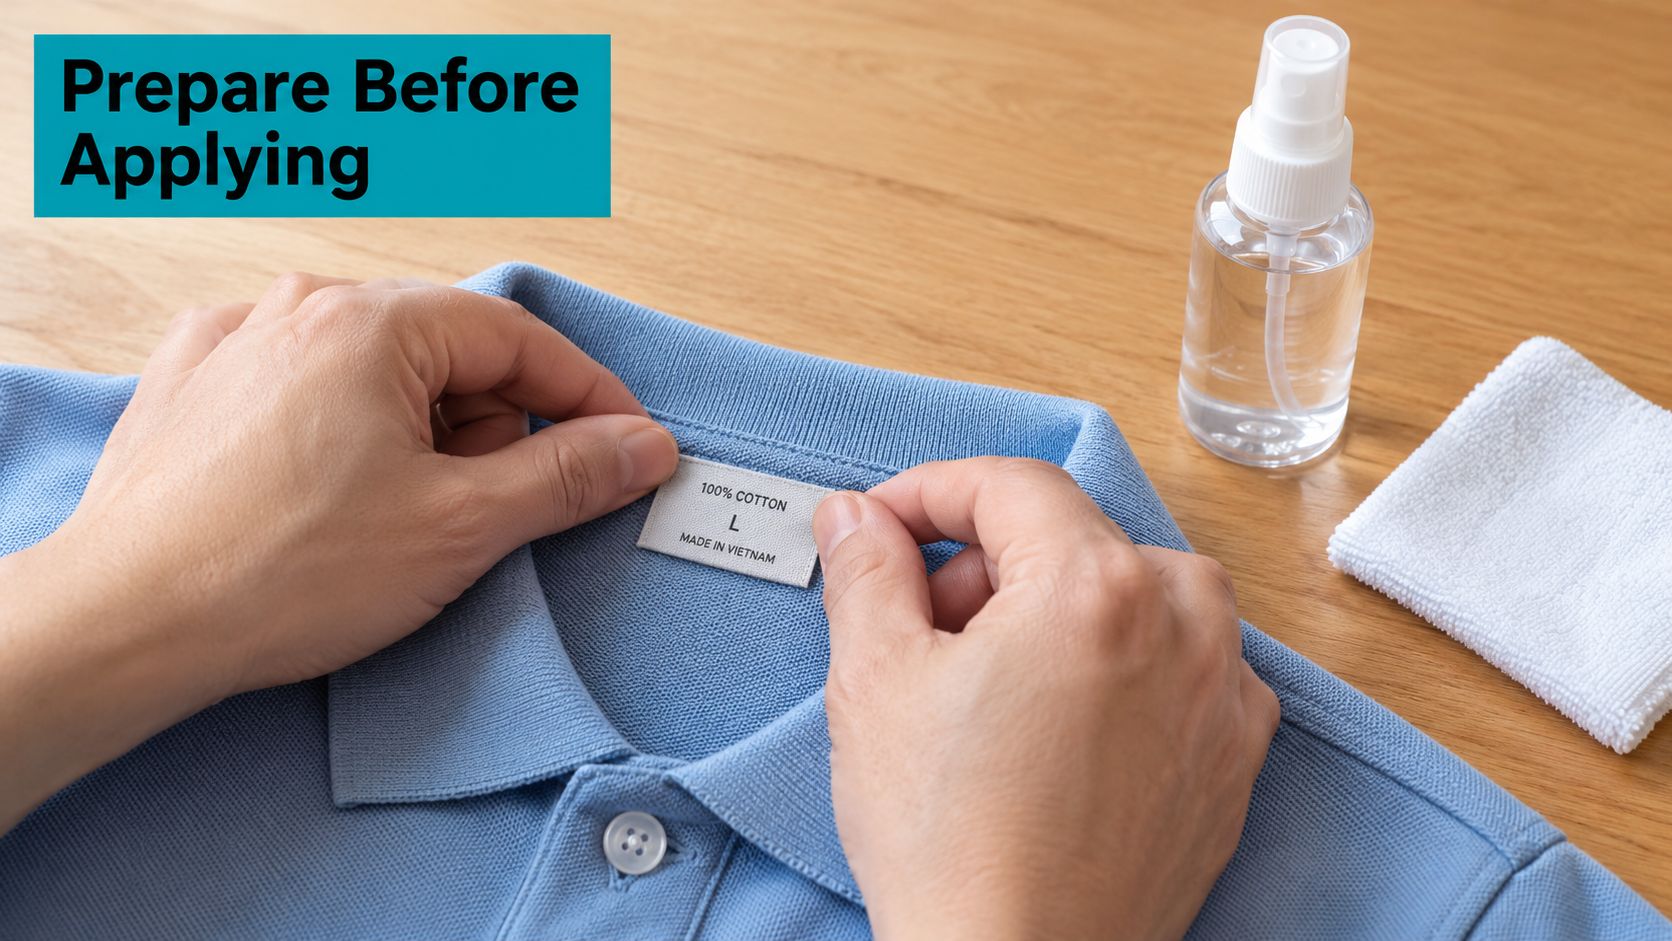
A label that peels after its first wash may have been applied to the wrong surface or before its adhesive had enough time to bond. Start by reading both the label maker's directions and the garment care label. The garment's care instructions take priority, especially if a method uses heat.
Prepare a clean, stable surface
For a stick-on label, choose a smooth care-tag area that can lie flat. Remove lint and loose residue, then let the surface dry completely. Keep the label within the tag rather than letting its edges extend onto the garment, where movement and stretching can weaken contact.
Apply an iron-on label only when the fabric and care instructions permit ironing. Set up the garment on a stable surface and follow the product's specified heat, pressure and pressing time. Don't improvise with a hot iron on waterproof coatings, heat-sensitive fibres or garments marked not to iron.
With a sew-in label, pick a place that won't rub against the wearer or interfere with a seam's stretch. Stitch through the label securely without pulling the garment out of shape. A loose stitch can snag; a label sewn into a high-friction area can feel uncomfortable.
Use the same routine across a pile
Sort garments by label method before you begin. Apply stick-on labels to appropriate care tags, group iron-on items only when their care instructions allow heat, and sew labels into pieces that need a stitched identifier. Press or stitch carefully, then leave each garment undisturbed for the period stated by the label maker before washing.
Check the finished result before the item goes into a school bag or care-home laundry. Make sure the name is readable, the label sits flat and no edge is lifting. Care-tag placement is often a practical choice because the tag is less stretchy than a hem, but it still needs to suit the garment and the product instructions.
Washing, Tumble Drying and Microwave Safety
“Washable” doesn't mean a label will withstand every cycle, detergent and dryer setting on every fabric. A school shirt may be washed frequently, while a coat may be washed less often but have a coating that limits heat. The right test is the complete combination of label, application surface, garment and laundry routine.
Read the garment care label first
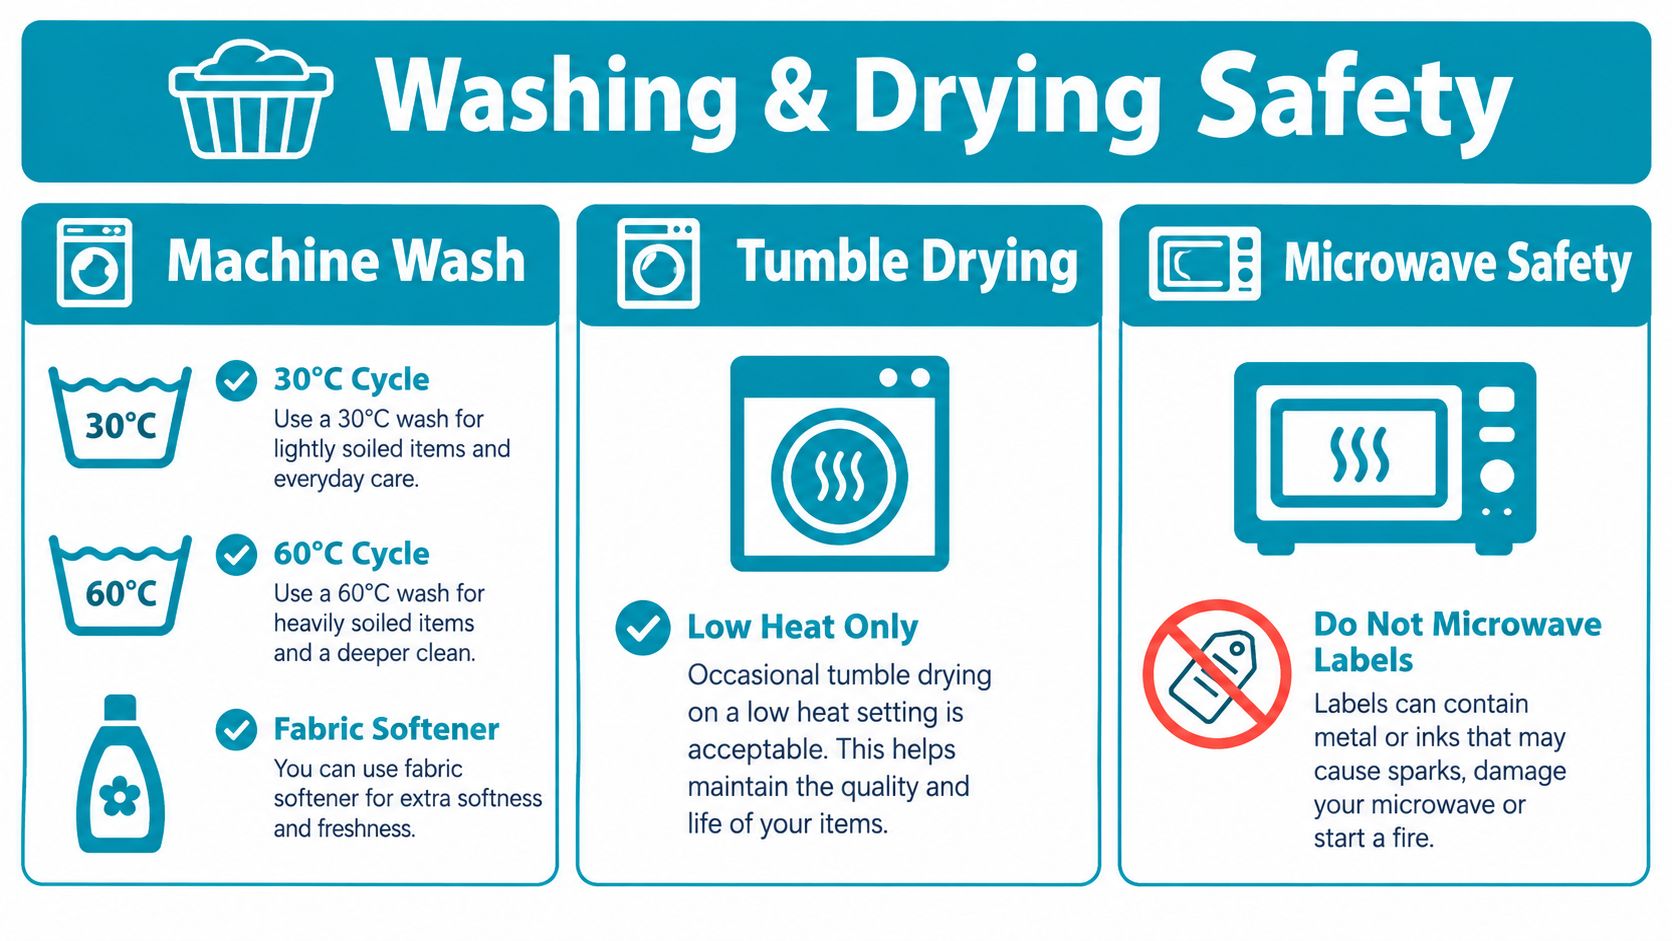
Set the wash temperature and drying method according to the garment's care instructions. Don't treat a label's claimed wash or tumble-dryer suitability as permission to exceed those instructions. Heat, detergent, fabric softener and movement can all affect how a label performs, especially if it's attached to a surface that stretches or flexes.
A laundry label's performance can also depend on the fabric's finish. A coated raincoat and a cotton school shirt don't behave the same way under heat or adhesive pressure. When you're uncertain, test one label on a similar garment before labelling the rest.
Don't confuse different safety claims
A claim that a clothing label is washable or tumble-dryer safe relates to its intended use under specified conditions. It doesn't establish that the label is safe for unrelated uses, or that it will stay attached to every fabric. Microwave safety is not a clothing-label requirement: don't put clothing or clothing labels in a microwave.
Care-home laundry needs particular care. Derbyshire County Council's procedure permits marking pens, sew-on labels or iron-on labels, requires resident clothing to carry the resident's name, and says garments should be washed at the highest suitable temperature under the garment care label. (Derbyshire County Council adult social care laundry procedure) UK textile guidance also says care information should remain readily legible throughout a textile's useful life, and label materials should withstand the indicated treatment at least as well as the garment.
For more detail on what washable claims mean in practice, consult this guide to machine-washable labels. If a facility uses shared or industrial machines, test the whole garment-and-label combination against its actual laundry process rather than relying on a product claim alone.
School and Care Home Placement Strategies
The right place for a label depends on who needs to identify the garment and how it moves through a school or laundry. A child's coat needs to be easy for a teacher to identify in a crowded cloakroom. A resident's nightdress needs to be recognisable to laundry staff without displaying more personal information than necessary.
School kit needs visible ownership cues
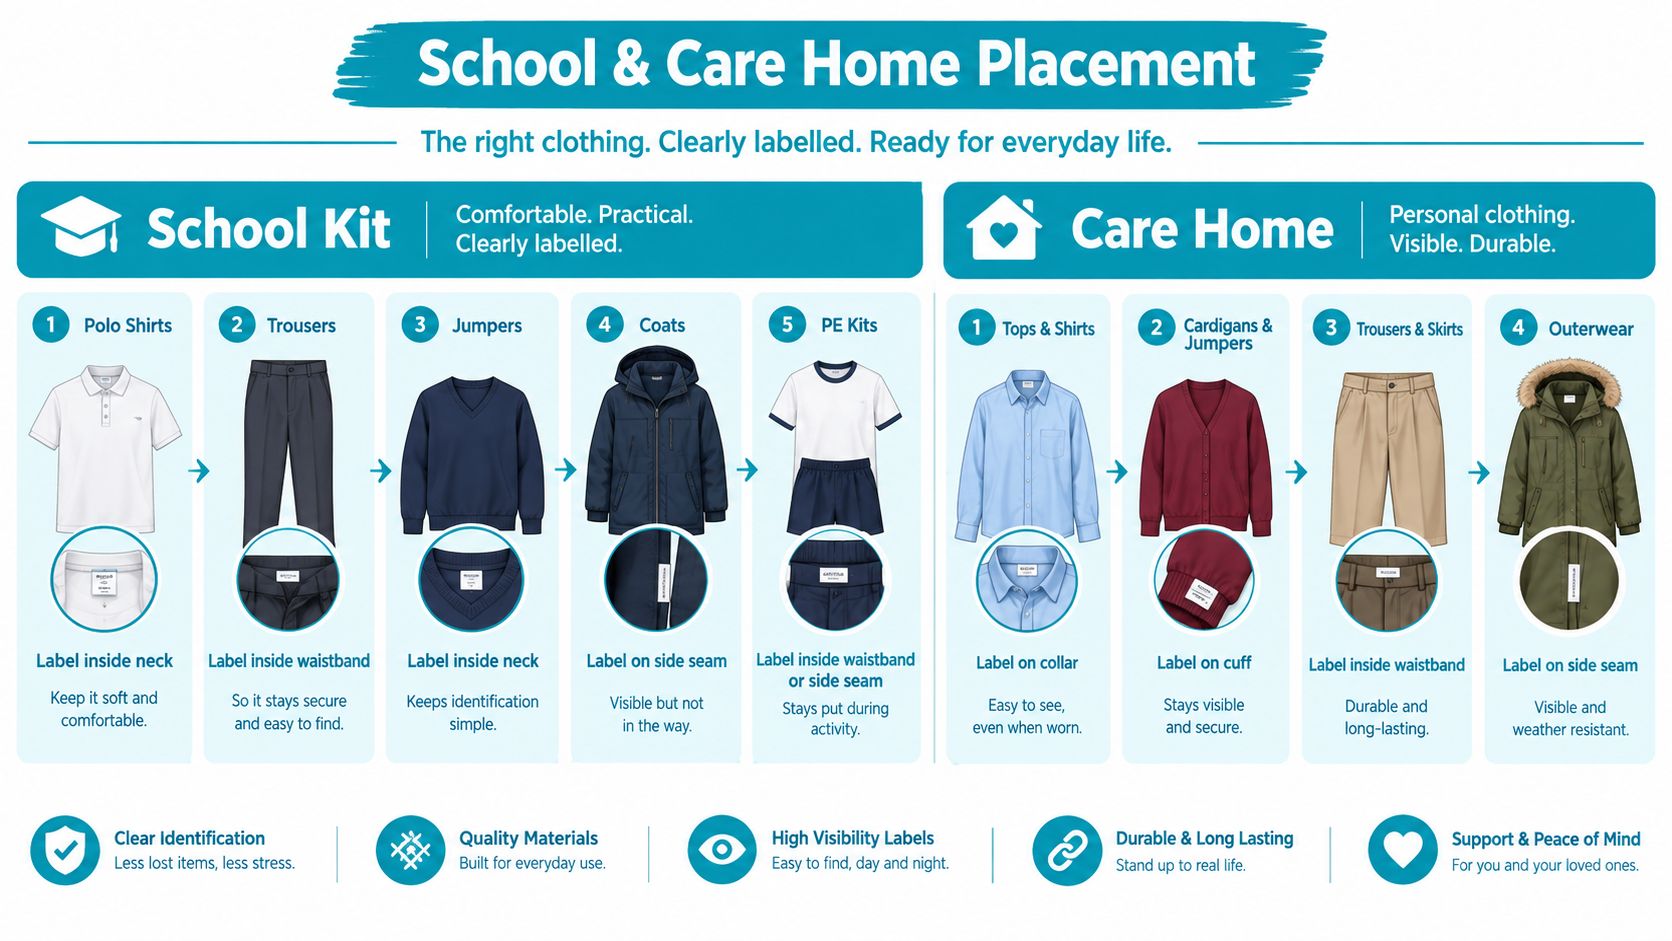
Start with the garments most likely to be taken off, left behind or mixed up. A UK primary-school survey found that 90% of schools identified outer layers as the items most likely to go unclaimed, while only 3% said most school uniform and kit was labelled. Schools reporting that at least half of parents labelled kit had a 9% severe lost-property rate, compared with 49% where fewer than one-quarter of items were labelled. These are survey associations, not proof that labels alone caused the difference, but they support prioritising coats, jumpers and hoodies. (UK primary-school lost-property survey summary)
For a polo shirt, use a suitable care tag or another stable label area. For trousers and skirts, look for a care tag or a comfortable inner waistband position. Put a jumper's label where it won't rub at the neck, and mark coats where staff can find the name when checking the inside. Give PE kit the same attention as uniform, particularly if several pupils bring similar bags or clothing.
Choose a full name if that's suitable for the school, or a surname and initial where items may be shared. Keep the information readable, but don't add contact details unless there's a clear reason.
Care-home labels need to support a process
Mark each resident's clothing before it enters shared laundry. Choose a discreet area that staff can locate consistently, such as an appropriate care tag or an interior label area. A full name may help distinguish residents with similar initials; room numbers can become unhelpful if residents move, so agree with the home on what identifiers its staff can reliably use.
Privacy and dignity matter. A label should let staff return clothing accurately without exposing personal details to visitors, and it should remain readable after washing. Ask the home about its sorting routine, acceptable label methods and responsibility for checking returned items. For more on that workflow, see this guide to clothing labels for nursing homes.
Troubleshooting Peeling, Fading and Fabric Damage
“Stick it on and forget it” is a poor plan for schoolwear or shared laundry. A label that lifts, fades or damages a garment needs a cause, not a stronger claim. Check where it was applied, whether the garment's care instructions allowed the method and whether the label stayed within the intended surface.
Diagnose the failure before replacing it
- Edges lifting: The surface may have been dusty, damp, stretchy or too small for the label. Remove a loose label if it could snag, then reapply a suitable product to a clean, dry, stable area.
- Print fading: Check whether the washing routine exceeds the label maker's instructions. If the name is no longer readable, replace the label rather than trusting it in a shared laundry.
- Residue or marks: Stop before using solvents or high heat. They can damage dyes, coatings or fibres. Follow the garment maker's care instructions and test any removal method on a hidden area.
- Cracked label on a stretchy knit: The label may be too rigid for the fabric's movement. Choose a different placement or a sew-in method if the garment permits it.
A label can look secure when applied and still fail after handling, heat or washing. Inspect it after the first wash and periodically thereafter, especially on frequently worn school shirts and shared-care garments.
Remove or replace carefully
Don't pull hard at a label attached to delicate fabric. If it's on a care tag, work slowly and stop if the tag begins to fray. For an iron-on label, avoid scraping or heating it off unless the label and garment makers give a safe removal method. Test a replacement label on a similar spare garment before treating the whole wardrobe.
Relabel after a garment repair or care-tag replacement, and whenever the printed name becomes unreadable. In a care setting, check the returned garment before it goes back to the resident so staff can catch a missing or damaged identifier promptly.
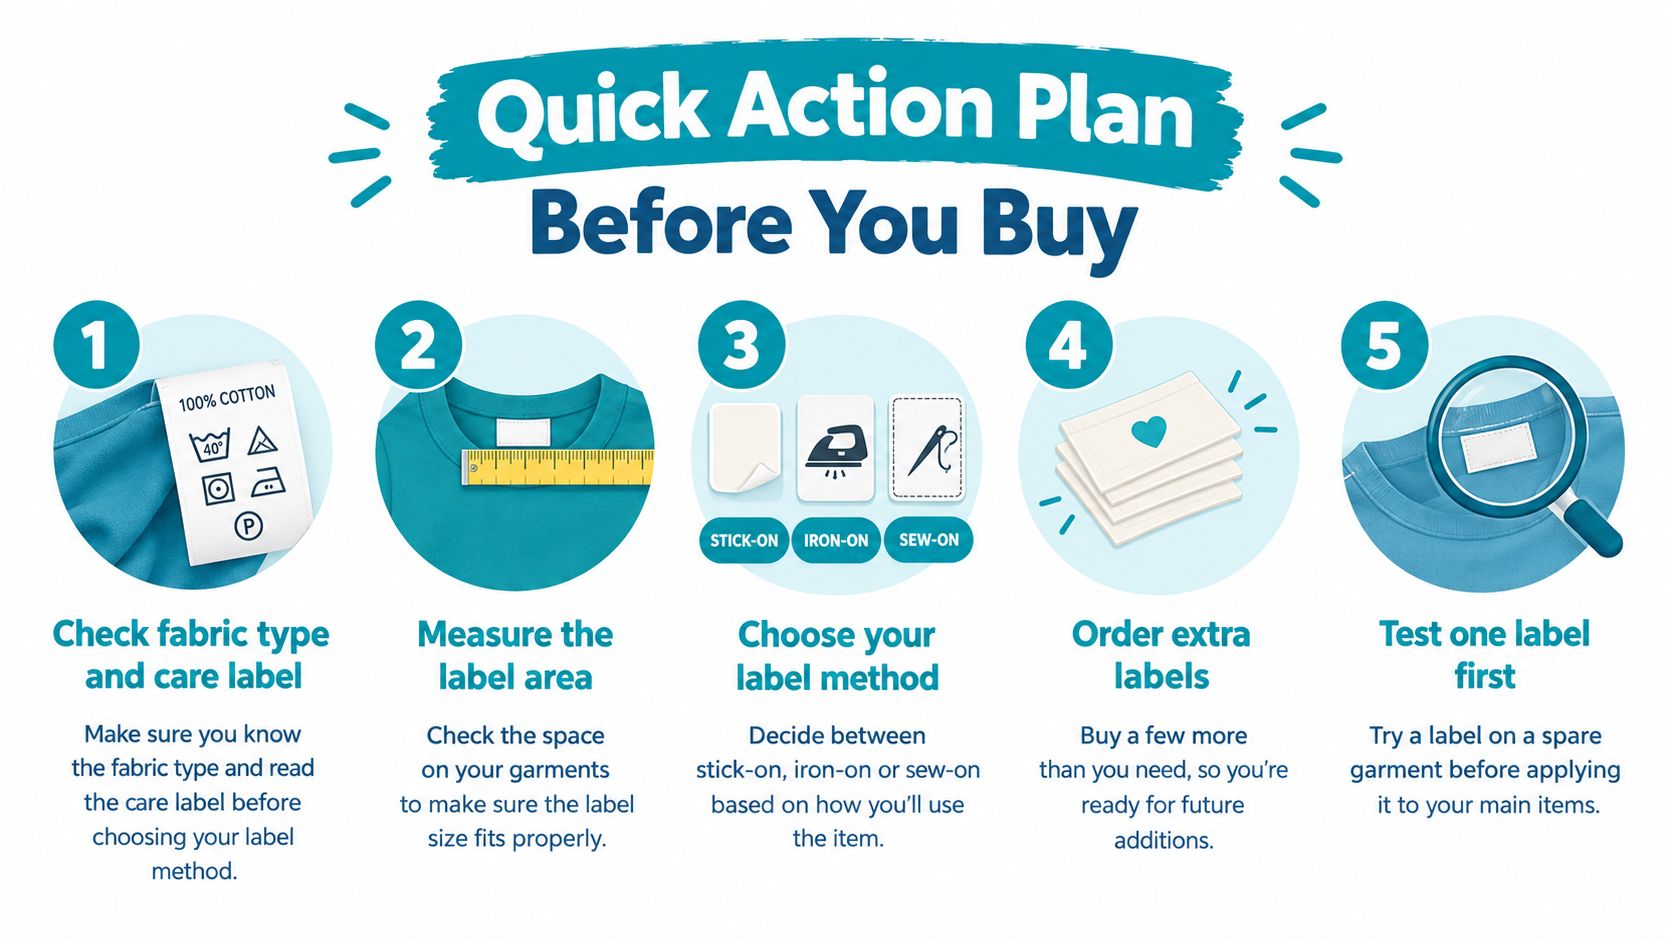
Your Quick Action Plan Before You Buy or Relabel
Use this checklist before ordering labels or working through a school or care-home wardrobe. It keeps the decision tied to the garment's fabric, laundry routine and next owner.
- Check the fabric and care label. Note whether the item can be ironed, how it should be washed and whether a coating or stretch fabric rules out a particular method.
- Choose the label type. Use stick-on labels only on an appropriate smooth surface, iron-ons only where heat is allowed, and sew-in labels or marking pens where those suit the garment and wearer.
- Pick a consistent placement. Keep labels readable and comfortable. For shared laundry, agree the location with the care setting before marking garments.
- Decide what the name should say. A full name can help staff distinguish people with similar initials; a surname and initial may suit shared school kit. Use icons or colours only as extra visual cues, not substitutes for legible identification.
- Test one item first. Apply a label to a similar garment, follow the maker's instructions and check it after washing before labelling everything.
- Plan for reuse and changes. If clothing may be passed to a sibling, favour an approach that can be removed without damaging the garment. Relabel after repairs, replacement care tags or a change in resident identification.
- Keep spares on hand. Extra labels help with new school kit, replacement garments and new residents. Recheck the wardrobe when the school year changes or a resident's clothing needs change.
Treat a label as part of the garment's care routine, not a one-off purchase. Quote My Wall offers personalised stick-on clothing labels for identifying school clothes, PE kit, coats and care-home clothing. Visit Quote My Wall to explore the available label designs and choose a set for the garments you need to identify.