
Butterfly Wall Stickers The Ultimate Guide to Decorating Your Home
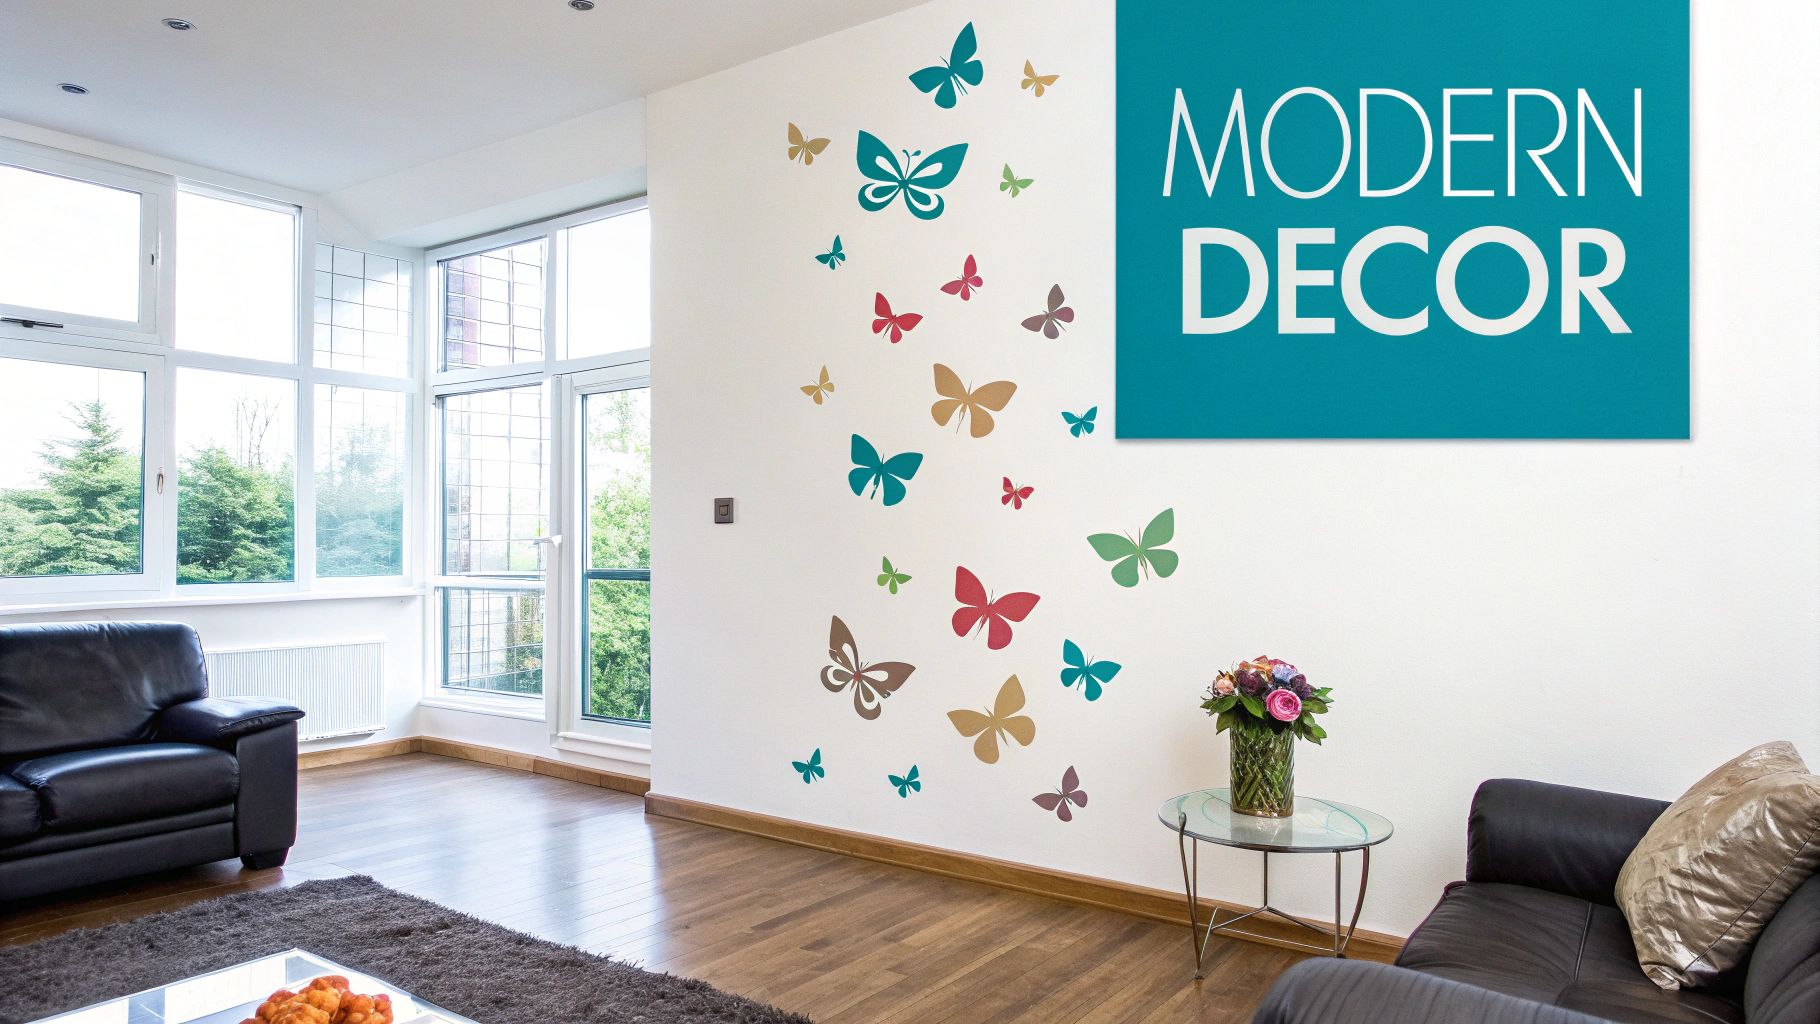
If you're looking for a simple, affordable way to sprinkle a bit of personality into a room, butterfly wall stickers are a brilliant solution. These clever decals give you a damage-free alternative to paint or wallpaper, which is why they’ve become such a firm favourite for renters and homeowners all over the UK.
Why Butterfly Wall Stickers Are Taking Flight in Home Decor
Gone are the days when redecorating meant a huge commitment of time, money, and mess. Butterfly wall stickers are all about flexible, accessible, and personal home styling. It’s best to think of them not just as decorations, but as little tools for creativity that can bring a space to life in minutes.
They offer an instant update, whether you’re putting together a magical nursery, adding a sophisticated touch to your living room, or even breathing new life into a tired old dresser. Their real charm is in their simplicity and the endless creative doors they open for DIY fans and busy families.
The Rise of Removable Decor
The buzz around these decals is part of a bigger shift in home design. More and more, UK homeowners want decor that's both stylish and non-permanent. This is a massive plus for the 35% of UK households currently renting who need options that won’t risk their deposit.
The UK wallpaper market, a close cousin to wall stickers, hit a value of USD 102.7 million in 2022 and is expected to climb to USD 154.4 million by 2030. This really shines a light on the demand for wall coverings that are easy to get up on the wall. You can find more insights into this growing UK market for wall coverings. It all points to a clear desire for affordable updates that don't need a professional decorator or a long-term commitment.
More Than Just Stickers
Forget those flimsy stickers you might remember from childhood. High-quality vinyl decals, like the ones from Quote My Wall, are designed to look as if they've been painted right onto the wall, giving you a premium finish without any of the faff.
Today's wall stickers are crafted from durable, premium vinyl designed to last for years indoors. They adhere smoothly to walls, glass, and furniture, and can be removed cleanly without leaving sticky residue or peeling paint.
This guide will walk you through everything you need to know to get it right. We’ll cover:
- Types and Materials: From realistic 2D designs to eye-catching 3D metallic finishes.
- Choosing the Right Size and Finish: How to pick the perfect scale and look for your space.
- Styling and Placement Ideas: Creative inspiration for every room, from nurseries to home offices.
- Application and Removal: Step-by-step instructions for a flawless, bubble-free finish.
Whether you're aiming for a subtle flutter of elegance or a bold, dramatic statement, you'll find all the tips and tricks here to make it happen. Right then, let's get started.
How to Choose the Perfect Butterfly Stickers for Your Space
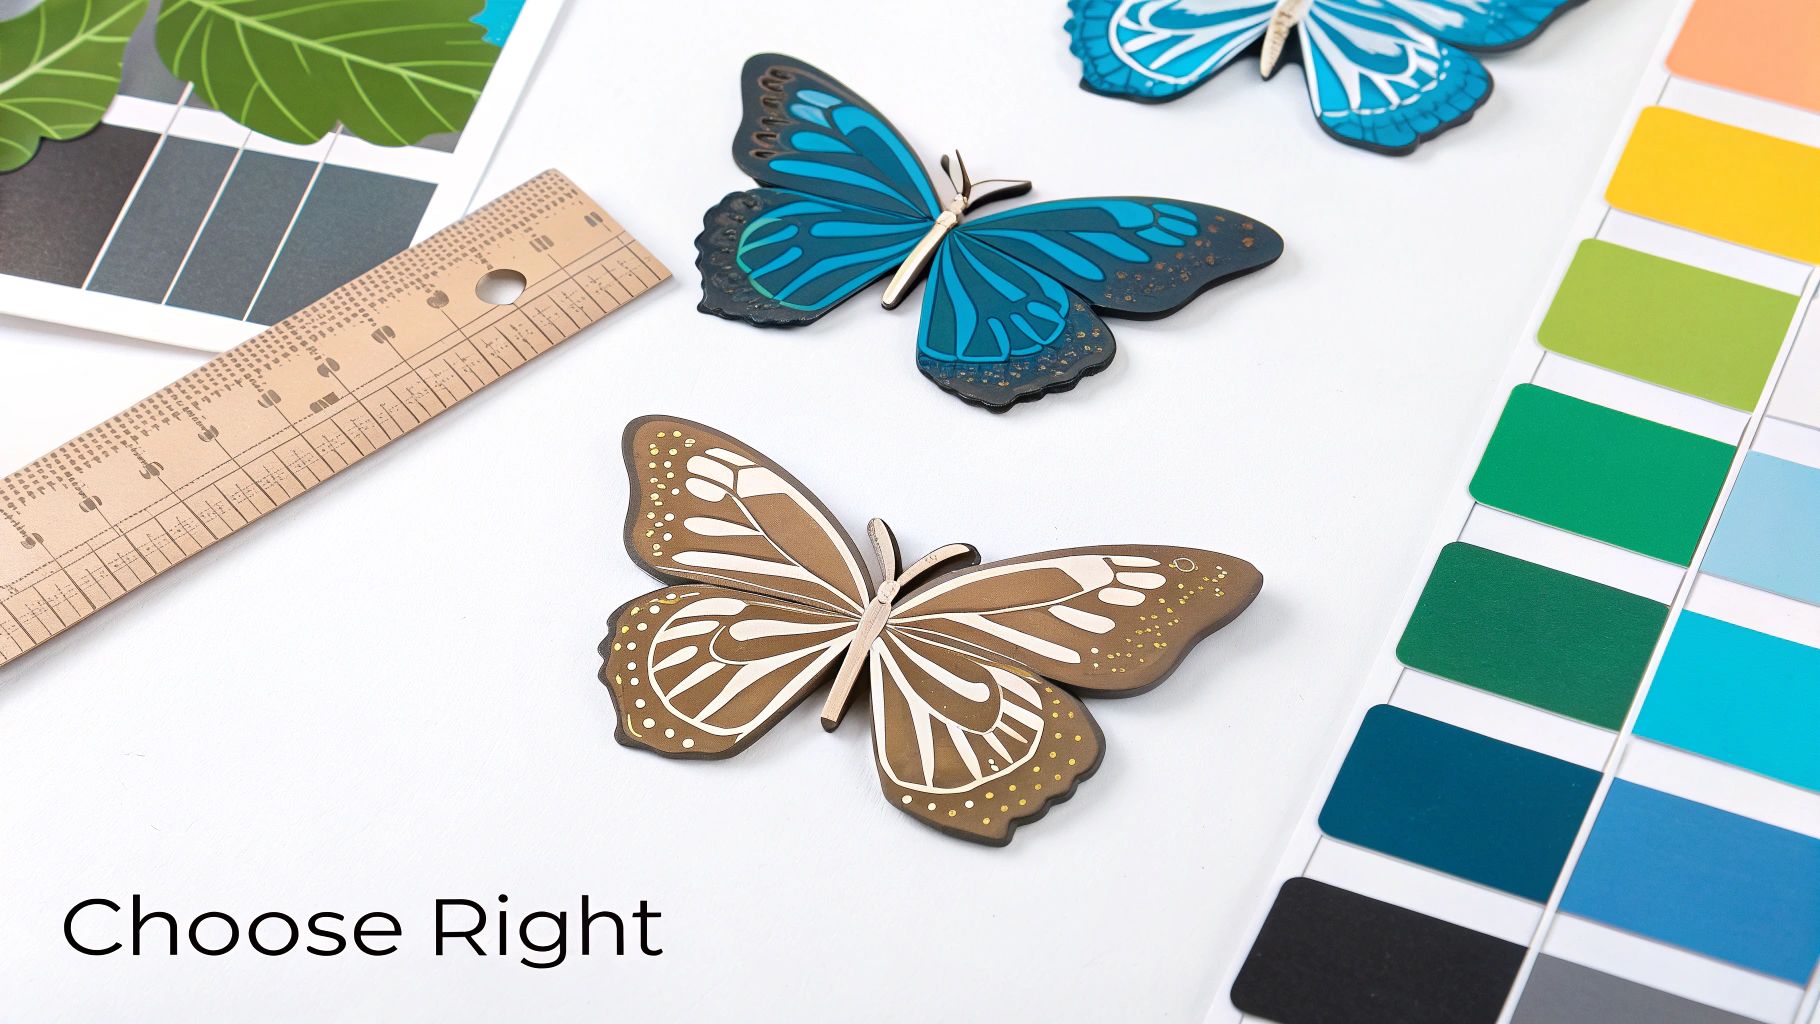
With so many beautiful options out there, choosing the right butterfly wall stickers can feel a bit overwhelming. But don't worry, the secret is simply to break it down. By thinking about the style, material, scale, and finish that will really suit your room, you can make sure your final choice feels perfectly at home.
Think of it like picking out a piece of art. You’re looking for something that not only catches your eye but also complements the overall feeling of the space. Nailing these details from the get-go is the difference between a nice result and a truly stunning one.
Matching Styles to Your Decor
First things first, let's talk aesthetics. Every style of butterfly sticker creates a completely different mood, so it’s key to find one that clicks with your room's personality.
- 2D Realistic Vinyl: These are your classic flat decals, and they’re brilliant for creating a clean, painted-on effect. If you want an intricate pattern that sits flush against the wall, almost like a modern mural but without the commitment, these are for you.
- 3D Metallic Designs: For a real touch of glamour and movement, you can't beat 3D butterflies. They’re often made from metallic card or shiny plastic, and you can gently bend their wings outwards. This creates depth and playful shadows, making them look as if they're about to flutter right off the wall.
- Watercolour Effects: If you’re after a soft, dreamy atmosphere, these stickers are ideal. They beautifully mimic the gentle, blended look of a watercolour painting, which is why they’re so popular for nurseries and calm, serene bedrooms.
A great tip for visualising how different styles will work is to create a moodboard for interior design. It’s a simple way to pull together your colours, textures, and ideas before you actually start sticking things to the wall.
Understanding Materials and Durability
Not all vinyl is created equal, and the material of your stickers has a huge impact on how they look, how long they last, and how easy they are to work with.
Most wall stickers are made from vinyl, but the quality can vary enormously. A premium-grade vinyl—like the kind we use at Quote My Wall—is specifically designed for indoor walls. It's rated to last for at least five years without peeling, cracking, or fading. It’s also much easier to apply smoothly and, crucially, to remove cleanly later on.
Cheaper, standard vinyl might seem like a bargain, but it’s often thinner, tears easily during application, and can leave behind a sticky mess or even pull off paint when you try to remove it. For a professional finish that lasts, premium vinyl is always the right call.
Getting the Scale and Size Just Right
The size of your butterflies needs to feel right for the space you’re decorating. Get the scale wrong, and you can throw the whole room off balance—making a large wall feel bare or a small corner look cluttered.
Before you even think about buying, grab a tape measure and size up the area you have in mind. A handy trick is to use small pieces of painter's tape to mark out the dimensions on the wall. This gives you a much better feel for the layout and helps you choose the right scale.
- For a feature wall: Don’t be shy! Go for a larger set or even multiple packs to create a dramatic, sweeping swarm that really draws the eye.
- For a small nook or above furniture: A smaller, more delicate cluster will add a charming accent without overwhelming the space.
- For furniture upcycling: Pick sizes that fit neatly on drawer fronts or wardrobe doors, leaving a clean border around the edges.
Think of scale in terms of impact. A large, bold swarm of butterflies makes a statement and becomes a focal point, while a few small, scattered ones add a subtle, whimsical touch.
Demystifying the Different Finishes
Finally, let's talk about the finish. The surface of the sticker—whether it’s matte, gloss, or metallic—plays with light in different ways and can completely change the final look.
| Finish Type | Best For | Key Feature |
|---|---|---|
| Matte | Walls with some imperfections; soft, modern looks | Non-reflective, so it absorbs light and helps hide minor bumps. |
| Gloss | Smooth walls; high-traffic areas; bold designs | Reflective and shiny, adding a vibrant pop and being easy to wipe clean. |
| Metallic | Accent walls and adding a touch of luxury | Catches the light beautifully, creating a dynamic, shimmering effect. |
A matte finish is hands-down the most popular choice for interior walls because it blends in so well and looks almost like paint. A gloss finish, on the other hand, can be fantastic for kids' rooms as it’s more durable and a doddle to clean. And for a bit of instant elegance, you can’t go wrong with metallic finishes like gold, silver, or rose gold.
By keeping these four things in mind—style, material, scale, and finish—you'll be able to confidently pick out the perfect butterfly wall stickers to truly bring your space to life.
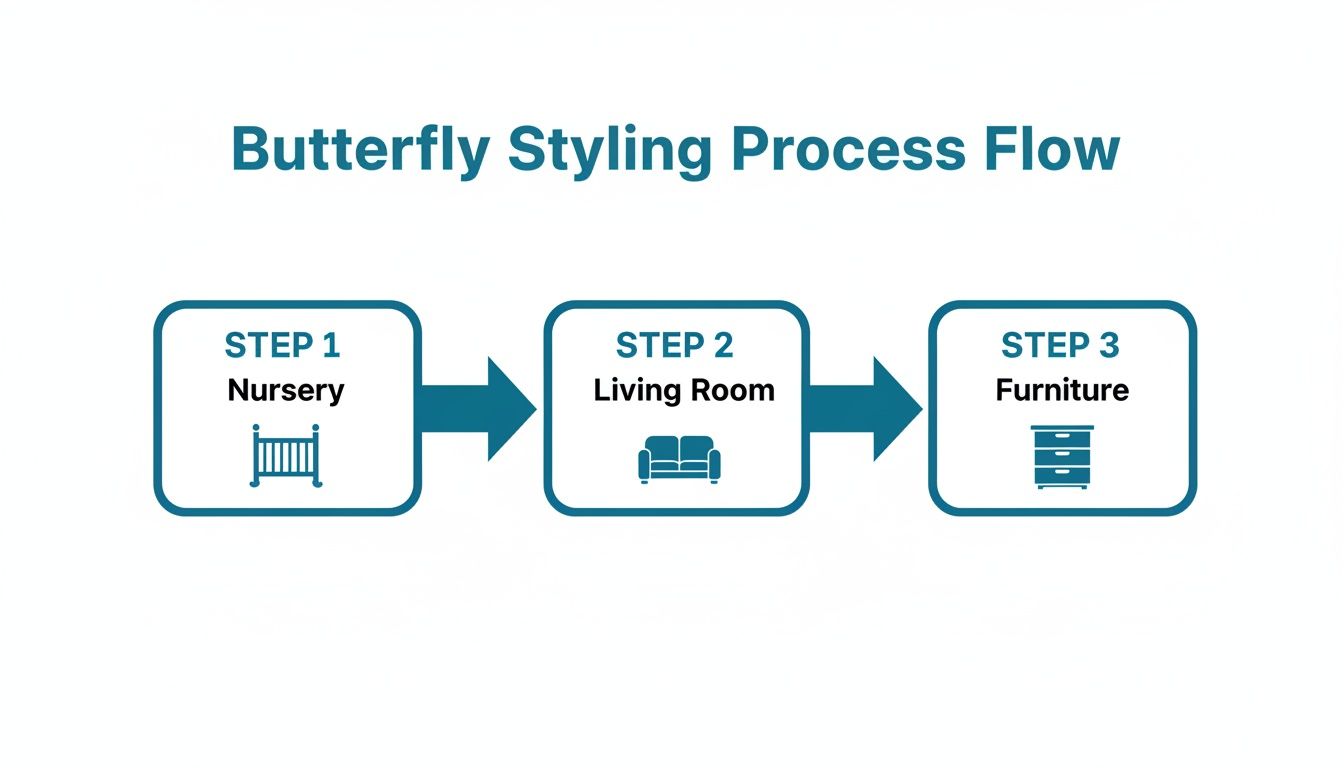
Creative Styling Ideas from Nurseries to Living Rooms
Right, you’ve picked out your perfect butterfly wall stickers. Now for the fun part: bringing them to life in your home. These little decorations are so much more versatile than you might think. They’re not just for kids' bedrooms; they can add a touch of elegance, whimsy, or modern flair to just about any room. It’s all about thinking beyond the obvious and seeing how their shape, colour, and arrangement can play off your existing decor.
Think of it like adding jewellery to an outfit. A delicate silver chain adds a subtle sparkle, while a bold statement necklace becomes the main event. It’s the same with these stickers. A few scattered butterflies can be a charming little detail, but a large, flowing swarm can turn a whole wall into a piece of art.
Creating a Dreamy Nursery Haven
Nurseries are the classic home for butterfly wall stickers, and for good reason. They just have this way of creating a soft, enchanting atmosphere that feels perfect for a little one's first room. They’ve become a real go-to for parents looking to create a space that’s both calming and stimulating.
This isn't just a fleeting trend. In 2024, UK sales for nursery decor shot up by 22%, and nature-themed designs were leading the charge. A massive 65% of parents chose nature motifs, with butterflies being a firm favourite. This choice often comes down to their soothing feel and developmental appeal—some studies even suggest these themes can boost a child's creativity by up to 18%. You can read the full research on the kids' wall sticker forecast to see just how popular they are.
Here are a few ideas that always look lovely in a nursery:
- A Gentle Cascade: Create the illusion of butterflies floating gently down from the ceiling. Arranging them in a soft, descending spiral over the cot or changing table looks absolutely beautiful.
- The Storytelling Trail: Use a trail of colourful butterflies to draw the eye towards a focal point, like a bookshelf overflowing with bedtime stories or a cosy reading nook.
- Framing the Name: Group a cluster of stickers around a personalised name sign above the cot. It creates a stunning, custom feature that feels really special.
If you’re gathering ideas for decorating a new arrival’s room, you might find some great inspiration in these inspiring newborn nursery ideas.
Enchanting Spaces for Older Children
As children get older, their tastes naturally change, but that doesn't mean the butterflies have to go. You can simply switch things up. Swap soft pastels for more vibrant colours or sophisticated metallic finishes to create a room that feels magical but also a bit more grown-up.
For an older child's room, why not create an enchanted forest theme? Pair green and brown butterfly decals with simple tree or branch stickers to make their room feel like a magical woodland escape. Another fantastic idea is to arrange the butterflies in the shape of a headboard above their bed—it’s a brilliant, low-cost way to make a real statement.
Styling Tip: For a really dynamic effect, go for 3D butterfly stickers. By gently bending their wings, you create real depth and shadows that shift with the light, making the wall feel alive and almost interactive.
Sophisticated Touches for Grown-Up Rooms
Don't fall into the trap of thinking these decals are just for kids. Styled the right way, butterfly wall stickers can bring a dose of elegance and personality to a living room, home office, or master bedroom. The secret lies in your choice of finish and being clever with placement.
In a living room, imagine a swarm of metallic gold or silver butterflies sweeping up a plain wall. Arranged in a flowing, organic curve that mimics natural flight, they become a stunning and sophisticated accent piece. It adds movement and a touch of glamour without being over the top. In a home office, a few strategically placed matte black butterflies can add a chic, graphic element to a functional space.
Upcycling Furniture with a Flutter
And don't just stop at the walls! Butterfly wall stickers are a fantastic tool for breathing new life into tired or plain furniture. It’s an incredibly cheap way to get a completely custom look.
Have a think about applying them to:
- Wardrobe Doors: A cascade of butterflies fluttering down one side can transform a boring white wardrobe into a real feature.
- Drawer Fronts: Add a single, elegant butterfly to the centre of each drawer on a chest of drawers for a delicate, coordinated finish.
- Bedside Tables: A small cluster in a contrasting colour can instantly elevate a simple bedside table from drab to fab.
Vinyl stickers stick beautifully to smooth furniture surfaces like wood, MDF, or laminate. It’s the perfect weekend project that delivers a huge visual punch, turning a forgotten piece of furniture into something you’ll love again.
Your Step-by-Step Guide to a Flawless Finish
Applying your butterfly wall stickers might seem a bit nerve-wracking at first, but it’s actually a really simple and satisfying job. With a little bit of prep and a steady hand, you can get a professional, bubble-free finish that looks like it’s been painted right onto the wall. I’ll walk you through every step, so you can get decorating with total confidence.
Think of it like hanging a picture. You wouldn't just guess and bang a nail in the wall; you'd measure up, plan the position, and make sure it's level. Getting your decals right works on the same principle—a bit of planning goes a long way.
Getting Your Surface Ready for Success
The first, and most important, step is all about the wall itself. A clean, smooth surface is the secret to getting that perfect stick, making sure your butterflies stay put for years to come.
Start by giving the area a good wipe-down with a damp cloth and a bit of mild soapy water to get rid of any dust or grease. Let the wall dry completely. If you’ve recently painted, and this is crucial, you need to wait at least three to four weeks for the paint to fully cure. Sticking them on too soon can trap moisture underneath, which can cause both the paint and the decal to peel away.
As you can see, these stickers are incredibly versatile, working just as well for a themed nursery as they do for adding a touch of elegance to a living room or even upcycling an old piece of furniture.
Pro Tip: Before you commit, it's a great idea to test a small, out-of-the-way sticker on your wall for 24 hours. This is especially smart if your walls have a slight texture or a silk/satin paint finish, as it’ll confirm the adhesive gets a proper grip.
Planning Your Perfect Layout
Once your wall is prepped and ready, resist the temptation to just start peeling and sticking. Taking a few minutes to plan your layout will make a massive difference to how it all looks in the end.
- Cut them out: If your butterflies came on one big sheet, carefully cut around each one, leaving a little border.
- Map it out: Use small bits of low-tack painter’s tape to temporarily pop the butterflies on the wall. This lets you stand back, see how it looks, and shuffle things around until you’re completely happy with the design.
- Create a natural flow: To make it look more organic, try arranging them in a gentle, sweeping curve or a scattered cluster rather than a perfectly straight line. Picture how they’d actually flutter about in the garden.
This planning stage is your chance to see exactly how it will look without any commitment. You can tweak and adjust to your heart's content!
The Application Process, Step-by-Step
With your design all mapped out, it's time for the fun part. Just take your time and work methodically, and you’ll have your butterflies up in no time.
- Peel with care: Working one butterfly at a time, gently peel the backing paper away from the vinyl sticker. Go slowly, especially around the delicate bits like the antennae.
- Position and press: Place the sticker onto its planned spot on the wall. Start by pressing down in the centre and then smoothing your way outwards.
- Smooth it down: Grab a squeegee, a credit card, or even just your fingertips and firmly smooth over the entire surface of the sticker. Always work from the middle outwards to push out any trapped air bubbles.
- Remove the transfer tape: If your sticker has a top layer of application tape, slowly peel it back at a sharp angle, keeping it flat against the wall as you go. The vinyl butterfly should stay perfectly stuck.
Don’t panic if you spot a stubborn air bubble. You can usually just lift the edge of the sticker gently to release the air and then smooth it back down. For more in-depth advice, you can find a comprehensive guide on how to apply wall stickers that covers lots of different types and techniques.
Looking After Your Butterflies: Care, Durability, and Damage-Free Removal
One of the best things about butterfly wall stickers is that you can create a stunning look without the long-term commitment of paint or wallpaper. But just because they’re easy to remove doesn't mean they won't last. With a tiny bit of care, your designs will look just as good in a few years as they did on day one.
Let's walk through how to keep them looking pristine, how long you can expect them to last, and the all-important secret to getting them off the wall without a single mark.
Long-Lasting Beauty: Just How Durable Are They?
When you’ve spent time planning and applying your beautiful butterfly display, you want it to stick around. The lifespan of your stickers really comes down to one thing: the quality of the vinyl. Premium-grade vinyl, like the material we use at Quote My Wall, is made specifically for interior walls and is tough enough to handle life in a busy family home.
It’s no surprise that peel-and-stick decor is becoming so popular. In fact, back in 2022, vinyl-based products grabbed a huge 36.22% of the UK wallpaper market. It shows people are actively choosing durable, easy-to-use options. High-quality butterfly stickers, for instance, are often made from vinyl rated to last for 3 years even when used outdoors, so you know they’ll stand the test of time inside. You can read more about the growth of the wall decor market if you're curious.
In short, opting for a quality sticker means you’re buying something that won't start peeling, fading, or curling at the edges after a few months. It's designed for you to enjoy for years to come.
Simple Care for a Vibrant Finish
Good news! Keeping your butterfly wall stickers looking factory-fresh is incredibly simple. Unlike wallpaper, which can be a nightmare to clean, these decals are wonderfully low-maintenance.
Most of the time, all you'll need is a soft, dry microfibre cloth to gently wipe away any dust. If you spot a few sticky fingerprints or smudges—inevitable in a kid's room or hallway—just dampen the cloth slightly with water and give it a careful wipe. The key is to avoid any harsh chemical cleaners or scrubby sponges, as they could scratch the vinyl or fade the colour.
The Secret to Damage-Free Removal
When you fancy a change, the last thing you want is a wall covered in sticky residue or peeled-off paint. Thankfully, taking down high-quality vinyl stickers is a completely clean and straightforward job, as long as you know the trick. The secret is to soften the adhesive first.
Here’s the simple, foolproof method:
- Gentle Heat: Grab a hairdryer and set it to low heat. Hold it about 15-20cm from the sticker and warm it up, moving the hairdryer back and forth for about 30-60 seconds.
- Lift an Edge: The warmth softens the glue, making it easy to get a fingernail or a pair of tweezers under a corner of the butterfly.
- Peel Slowly and Flat: This is the most important part. Once you have a good grip, peel the sticker back on itself at a 180-degree angle. Pulling it slowly and flat against the wall, rather than outwards towards you, is the best way to ensure the paint stays exactly where it should be.
This gentle approach leaves your walls perfectly clean and ready for your next decorating idea. For an even more detailed guide, have a look at our full post on how to remove wall stickers without causing damage.
Creating Your Own Custom Butterfly Wall Stickers
While there are thousands of beautiful off-the-shelf designs out there, sometimes you need something with a truly personal touch. This is where custom butterfly wall stickers really shine, giving you the freedom to create a feature that’s one-of-a-kind and fits your space perfectly.
Why settle for 'close enough' when you can have an exact match? Going custom means you’re not limited to what’s in the catalogue. Imagine matching the butterflies to the exact shade of a favourite cushion or a specific paint colour on your wall. It's that attention to detail that makes a room feel properly 'put together'.
Bringing Your Vision to Life
The possibilities for personalisation are almost endless. When you create your own bespoke butterfly stickers, you get to control every little detail. This makes them a fantastic option for a unique gift or for pulling a themed room together flawlessly.
Here are a few popular ideas to get you started:
- Adding Names or Initials: How about weaving a child's name into a flowing trail of butterflies? It's a magical touch for a nursery wall.
- Perfect Colour Matching: Got a specific colour in mind? Just provide a colour code or a swatch, and you can get decals that perfectly complement your existing decor.
- Creating a Bespoke Layout: You can design a specific flight path for your butterflies to navigate an awkward space, like a slanted ceiling or around a window frame.
- Mixing Styles and Sizes: Why not combine different finishes, like matte and metallic, or play with a unique size scale to create a more dynamic, textured look?
Creating custom butterfly wall stickers is like becoming the artist of your own space. You're not just picking a product; you're co-creating a piece of decor that tells a personal story.
How to Start Your Custom Project
Getting a custom project started is much easier than you might think. Many specialist suppliers, including our team here at Quote My Wall, are set up to be creative partners, helping you turn a simple idea into reality. You don't need to be a professional designer – often, a quick sketch or a clear description is all we need to get the ball rolling.
The design team will then work with you to refine your concept, send over digital proofs for you to approve, and make sure the final result is exactly what you had in mind. To get a feel for what’s possible, from simple tweaks to entirely new creations, take a look at our in-depth guide to custom vinyl wall stickers and furniture wraps. This kind of collaboration ensures your personalised butterfly wall stickers will be a stunning and meaningful addition to your home.
Your Butterfly Wall Sticker Questions Answered
So, you’re ready to bring a beautiful flutter of butterflies into your home? It’s an exciting project, but it's completely normal to have a few questions before you get started. Let's tackle some of the most common queries we get asked, so you can feel confident and ready to create something wonderful.
We’ll clear up any last-minute uncertainties, leaving you to get on with the really fun part!
Can I Use Butterfly Wall Stickers on Textured Walls?
This is a big one, especially since so many UK homes don't have perfectly smooth, plaster-flat walls. The short answer is: it depends on the texture.
Butterfly stickers will always stick best to a smooth, clean surface. However, if your wall has a very light texture—like the slight orange-peel effect left by a paint roller—you can often still get a great result. The trick is to apply extra pressure when you’re smoothing them on, making sure every bit of the vinyl makes proper contact with the wall's surface.
If you're unsure, the best thing to do is order a single sample sticker. Pop it in a discreet spot on the wall you have in mind. It's a foolproof way to test the stick before you commit to a full pack, giving you total peace of mind.
Are These Wall Stickers Reusable?
It’s tempting to think you can move them around, but high-quality vinyl butterfly stickers are designed for a single, lasting application. Think of them less like a temporary post-it note and more like a beautiful, semi-permanent piece of art for your wall.
This single-use design is precisely what gives them their staying power, ensuring they won't peel or curl for years to come. It also means that when you are ready for a change, they’ll come off cleanly without leaving that awful sticky gunk behind. You can usually get away with a little repositioning right at the beginning of the application process, but once they're smoothed down and have had time to set, they’re best left alone.
How Do I Choose the Right Colours for My Room?
Picking colours can feel a bit daunting, but it doesn't have to be. You're simply aiming for a look that feels harmonious and intentional within your existing space.
Here are three tried-and-tested approaches that always work a treat:
- Complement Your Existing Decor: Have a look around the room. Do you have a favourite cushion, a rug, or a piece of artwork with a splash of colour you love? Picking out one of those accent shades for your butterflies is a classic interior design move that guarantees everything will tie together beautifully.
- Create a Bold Contrast: If you’re after a bit of drama, go for a colour that pops against your wall. A swarm of jet-black butterflies against a crisp white wall, for instance, creates a really striking, modern statement.
- Opt for Timeless Elegance: When in doubt, you can never go wrong with metallics. Elegant gold, silver, or rose gold butterfly stickers bring a touch of sophisticated glamour that works with almost any colour scheme you can imagine.
Ready to bring your walls to life? Explore the stunning collection of high-quality vinyl designs at Quote My Wall and find the perfect butterfly wall stickers for your home today.