
Butterfly Wall Decals A Guide to Transforming Your Space
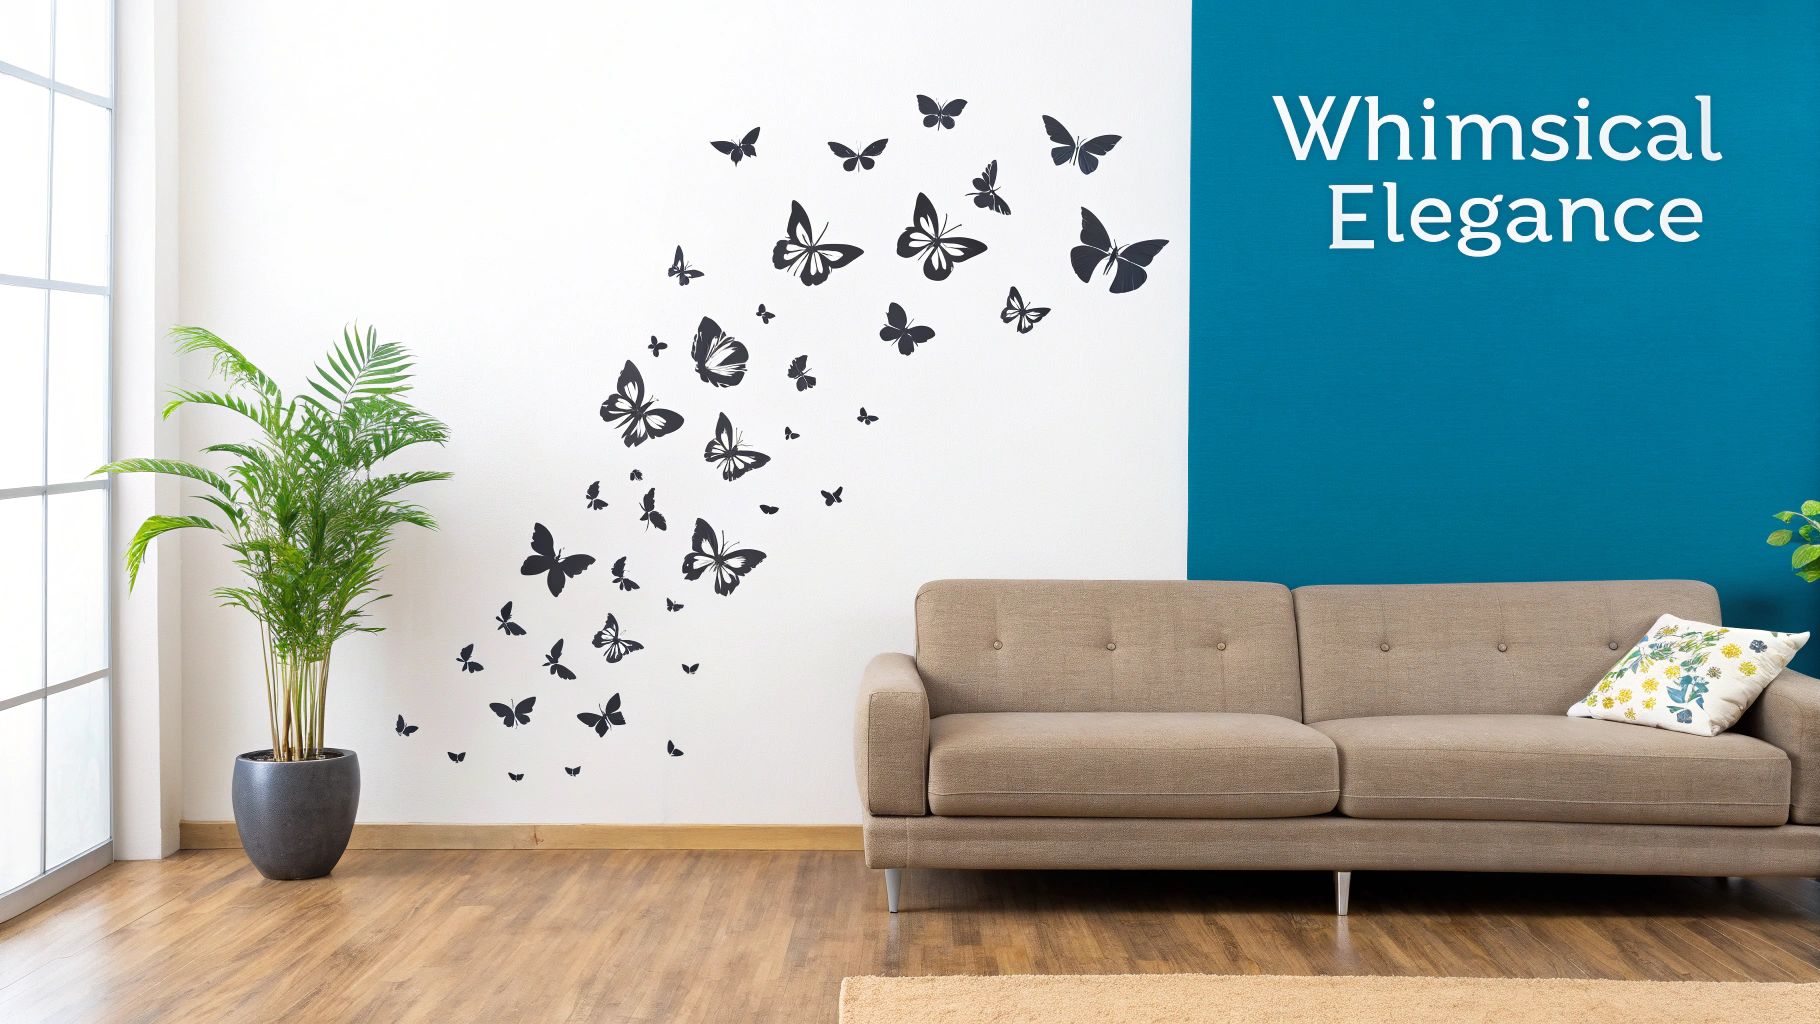
There's a simple, almost magical way to bring a touch of elegance and whimsy to a room: butterfly wall decals. These vinyl stickers give you the look of delicate, hand-painted butterflies floating across your walls. It’s a high-impact design trick without the hassle and commitment of wallpaper or paint. They’re absolutely perfect for nurseries, bedrooms, and even living rooms.
Why Butterfly Decals Are Transforming UK Homes
It's easy to see why butterfly wall decals have captured the imagination of UK homeowners and renters alike. They speak to our desire for beautiful, personalised spaces that we can update without a huge fuss. Forget the time, mess, and expense of traditional decorating methods; these decals offer an instant refresh. You can take a plain, forgotten wall and turn it into a captivating feature in less than an hour.
Their appeal goes far beyond just children's rooms, too. While they are a classic choice for creating a serene and enchanting nursery, their versatility is what makes them so popular.
- In the living room: A sophisticated swarm of black or metallic butterflies can feel like a dynamic art installation above a sofa.
- For the bedroom: A gentle flutter of pastel decals can help create a peaceful, calming sanctuary.
- In a creative space: Brightly coloured butterflies can add a burst of energy and inspiration to a home office or craft room.
This knack for adapting to different aesthetics makes them a powerful tool for anyone wanting to inject a bit more personality into their home.
The Rise of Smart, Flexible Decor
Modern living in the UK often means dealing with rental agreements that forbid painting or simply wanting the freedom to change your decor with the seasons. Butterfly wall decals are the perfect solution. They're a non-permanent design choice that delivers a huge visual impact without leaving a mark on your walls.
The growing popularity of wall decals isn't a coincidence. It reflects a much bigger trend in home decor. With over 4.5 million UK households in the rental sector, the demand for damage-free, stylish solutions has never been higher.
The market backs this up. The UK wallpaper market, which includes vinyl stickers, was worth USD 102.7 million in 2022 and is expected to climb to USD 154.4 million by 2030. When you opt for high-quality vinyl like ours, you're getting a product with a lifespan of at least five years indoors—a durable yet fully removable option. You can explore more on the UK wallpaper and decal market trends to see just how much this space is growing.
Customisation Is Key
What really makes modern wall decals special is the level of customisation now available. You're no longer stuck with whatever you can find in a shop. With a specialist like Quote My Wall, you can create a completely bespoke look that matches your vision perfectly.
This means choosing specific colours to complement your existing palette, picking the ideal size for your space, and even adding personal touches like a child's name nestled among the fluttering wings. This guide will walk you through every step, giving you the confidence to bring your creative ideas to life.
Finding the Perfect Butterfly Decals for Your Room
Choosing the right butterfly wall decals is where the fun really begins. It's not just about picking a design you love; it’s about finding the size, finish, and colour that feel completely at home in your space. The aim is to make the butterflies look like they were always meant to be there, a deliberate and beautiful part of your decor.
With so many options, it can feel a bit overwhelming at first. The trick is to start with one simple question: what’s the overall feeling you're going for? A whisper of subtle magic or a bold, dramatic statement? Your answer will be your guide for everything that follows.
Deciding on Decal Size and Scale
The size of your butterflies can make or break the final look. There isn't a one-size-fits-all answer here; it really comes down to the wall you're working with and what you want to achieve. Take a look at your space. Are you decorating a huge, empty wall, or a cosy little nook above a desk?
In a child's nursery, you might imagine a delicate trail of small butterflies fluttering up from the cot, creating a sense of gentle movement and whimsy. It adds that touch of magic without dominating the room. On the other hand, for a feature wall in the living room, a few oversized statement butterflies can become a stunning focal point, almost like a piece of modern art.
Pro Tip: Before you even think about peeling the backing paper, grab some painter's tape. Tear off pieces and stick them to the wall to mock up the sizes and positions of your butterflies. This simple trick helps you see the scale and flow in real life, so you can be confident in your layout.
Choosing Between a Matte and Gloss Finish
The finish of your vinyl decals plays a subtle but vital role. It dictates how the butterflies interact with the light in your room and the texture of your walls. Each one has a distinct feel, so it’s worth thinking about which one fits your style.
- Matte Finish: For most interior walls, this is the one you want. A matte finish has no shine, so it absorbs light and blends seamlessly into a painted surface. The result is a really sophisticated, "painted-on" look that feels intentional and elegant.
- Gloss Finish: With its shiny, reflective surface, a gloss finish is designed to catch the light. This is brilliant for adding a pop of energy, especially in a playroom or on a piece of upcycled furniture where you want the design to really stand out and make a statement.
For a cohesive look in bedrooms or living spaces, matte is almost always the superior choice. It cuts out any distracting glare and helps the decals look like they’re truly part of the wall.
Matching Colours to Your Existing Decor
This is the key to making your butterfly decals look like they were professionally styled. You want harmony, not a clash. Start by taking a good look at your room's existing colour palette—the wall paint, the fabric on your sofa, the shades in your curtains or bedding.
A brilliant technique is to choose a decal colour that picks up on an accent shade already in the room. For instance, if you have navy blue cushions, a few navy butterflies mixed in with some soft grey ones can tie the whole scheme together beautifully. For something more understated, you could go for a monochromatic look, using decals that are just a few shades lighter or darker than your wall colour.
When choosing decals, especially for nurseries and children’s rooms, the safety of the materials is paramount. It’s worth understanding what certifications like GREENGUARD Gold Certified mean. These standards ensure low chemical emissions, which gives you peace of mind about creating a healthier indoor environment for your family.
To help you decide, here’s a quick guide to matching finishes and colours to different rooms and goals.
Matching Decal Finishes and Colors to Your Room
Use this guide to select the right finish and color scheme for your butterfly decals based on your room's style and your design goals.
| Room Type | Recommended Finish | Popular Colour Schemes | Design Goal |
|---|---|---|---|
| Nursery | Matte | Soft pastels, monochromatic shades | Create a calm, dreamy, and cohesive atmosphere. |
| Child's Bedroom | Matte or Gloss | Bright primary colours, metallics | Add a fun, energetic, and playful focal point. |
| Living Room | Matte | Neutral tones, single bold accent colour | Achieve an elegant, artistic, and sophisticated look. |
| Upcycled Furniture | Gloss | Contrasting brights, metallic gold/silver | Make a statement and add a unique, eye-catching detail. |
Ultimately, the right choice is the one that complements your existing decor and brings your vision to life.
The Power of Customisation
This is where you get to be the designer. Working with a provider like Quote My Wall opens up a world of possibilities that you just don't get with standard, off-the-shelf packs. Customisation is your chance to turn a simple decorating idea into something that’s deeply personal.
Imagine creating a totally unique colourway that perfectly matches the bespoke theme in your nursery, or even weaving your child's name among a flutter of butterflies. Having that level of control ensures the final design is exactly what you pictured. If this sounds like the route for you, you can learn more about how to order personalised wall decals in the UK and start bringing those unique ideas to life.
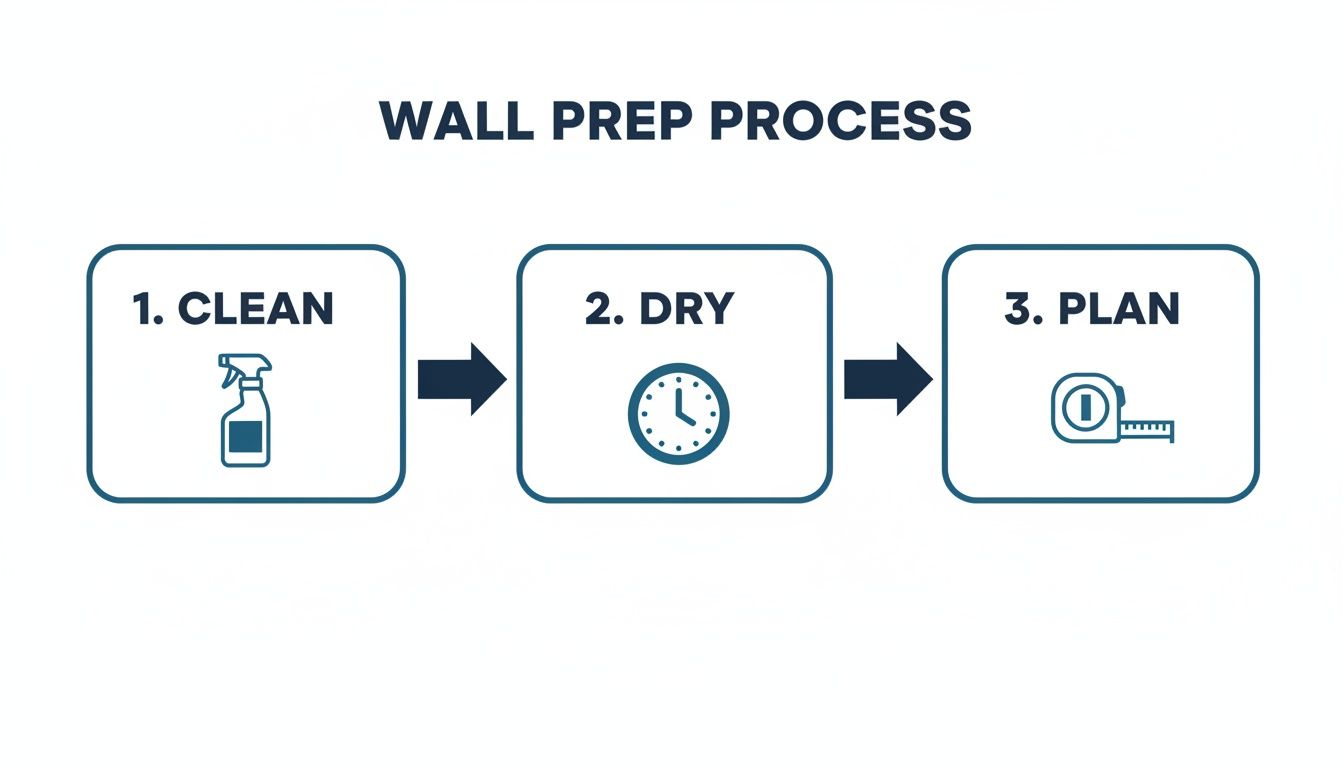
How to Prepare Your Walls for a Flawless Finish
Getting that beautiful, seamless look with your butterfly wall decals starts way before you even think about peeling off the backing paper. Honestly, the real secret to a professional, bubble-free finish is all in the prep work.
If you skip this step, it’s a bit like building a house on a wobbly foundation – it just won’t last. Think of your wall as the canvas for your art. It needs to be clean, smooth, and ready for the design.
A pristine surface is absolutely essential for the vinyl to stick properly. Over time, walls collect a surprising amount of dust, grime, and even oils from cooking or just floating in the air. This invisible film creates a barrier, stopping the decal's adhesive from getting a good grip, which is often the main reason decals start peeling at the edges.
The Cleaning Process
The good news is that cleaning your wall is dead simple. You won’t need any harsh chemicals or fancy gadgets.
- Mix a gentle solution: A small squirt of mild soap (your regular washing-up liquid is perfect) in some warm water will do the trick. Just be sure to avoid any cleaners with oils, waxes, or citrus extracts, as they can leave a residue that messes with the adhesive.
- Give it a wipe down: Grab a soft, lint-free cloth or sponge and gently clean the entire area where you're planning to place the decals. Pay a little extra attention to spots in the kitchen or near doorways, as they can get a bit greasy.
- Rinse and dry completely: Go over the wall again with a clean cloth and plain water to get rid of any soap. Now, for the most critical part: patience. The wall must be 100% dry before you do anything else. We always recommend waiting a full 24 hours to be certain all the moisture has evaporated, even if it feels dry to the touch.
A classic mistake is sticking decals on a wall that feels dry on the surface but is still holding on to a tiny bit of moisture. That trapped dampness will slowly break down the adhesive, causing your lovely butterflies to lift off. Giving it a full day is the best way to guarantee a long-lasting result.
Check Your Paint Type
Not all paints are made equal, and some of the newer formulas can be a bit challenging for vinyl decals. Paints that are advertised as "washable," "stain-resistant," or "dirt-repellent" often have additives like silicone or Teflon in them. While they’re brilliant for wiping off crayon marks, they also create a non-stick surface that can repel the decal's adhesive.
If your walls are coated in this type of paint, or if you’ve just decorated, you need to take an extra step. We always advise waiting at least three weeks for fresh paint to fully cure before applying any wall stickers. And if you’re ever left with a stubborn mark after redecorating, our guide on how to remove sticky residue from walls has some fantastic tips.
Planning Your Perfect Layout
Right, your wall is clean and dry – now for the fun part! Before you commit, take a moment to plan your design. Rushing this stage is how you end up with a layout that looks a bit wonky or unbalanced.
Your best friend here is some low-tack painter’s tape. You can tear off little pieces and stick them on the wall to mark where each butterfly will go. This lets you step back, see how it looks, and move things around as much as you like without ever touching the actual decals. Does the swarm feel too bunched up? Are they flowing in the right direction? This simple mapping trick helps you get the composition just right, so your butterfly wall decals look exactly how you imagined them.
A Practical Guide to Applying Your Decals
Right, this is where the magic happens – bringing your vision to life, one butterfly at a time. Putting up decals might seem tricky, but it’s surprisingly straightforward once you get the hang of it. With a bit of patience and a steady hand, you can get a professional, bubble-free finish that looks like it was painted on by an artist.
We want you to feel like a DIY pro from the get-go. Forget wonky placements and frustrating air bubbles; we’ll walk through every part of the process to make sure your butterflies go on perfectly.
Preparing Your Decals for Application
When your decals arrive from Quote My Wall, they’ll be safely rolled up in a tube. The very first thing to do is let them relax and flatten out.
Find a clean, flat surface – a dining table or a clean bit of hard floor is ideal. Carefully unroll the sheet with the design facing up. To help it flatten, just pop a few books on the corners. Let it sit for at least an hour, though a few hours is even better. This simple step makes the decal so much easier to handle and stops it from trying to curl up while you’re working.
Mastering the Squeegee Technique
Before you even think about peeling anything, there’s one crucial job to do. Your butterfly decal is made of three layers:
- The Backing Paper: The thick, waxy paper on the bottom.
- The Vinyl Decal: The butterfly design itself.
- The Transfer Tape: The semi-transparent sheet on top.
The transfer tape's job is to lift the delicate vinyl design off the backing paper in one piece. To make sure it has a good grip, you need to press it down firmly. We call this burnishing.
Grab a squeegee (or a credit card will do the trick). Start from the centre of the decal and work your way out, rubbing firmly over the entire surface of the transfer tape. Use consistent pressure to ensure every single part of the vinyl butterfly is securely stuck to the tape. This is especially important for intricate bits like antennae or delicate wing patterns.
Positioning and Applying to the Wall
With your decal burnished and your layout mapped out with masking tape, you're ready for the main event. Start by carefully and slowly peeling the backing paper away from the transfer tape. The best way to do this is to lay the decal face down and peel the backing paper back on itself at a really sharp, 180-degree angle.
If any part of the butterfly tries to stay on the backing paper, don't panic! Just lay the paper back down, give that spot another firm rub with your squeegee, and try peeling again.
Once the backing is off, hold the decal by the edges of the transfer tape and carefully position it on the wall, using your masking tape markers as a guide. Lightly press one edge to the wall to tack it in place.
Now, grab your squeegee or credit card again. Start smoothing the decal onto the wall, always working from the centre outwards. This technique is key because it pushes any potential air bubbles towards the edges, preventing them from getting trapped under your beautiful new butterfly.
Work methodically across the entire design, applying firm, even pressure to create a strong bond with the wall. For a more detailed video walkthrough, you can find extra tips in our full guide on how to apply wall stickers.
The Final Peel and Finishing Touches
After you’ve thoroughly smoothed the decal onto the wall, it’s time for the big reveal. The last step is removing the transfer tape, leaving just the vinyl butterfly behind.
Just like with the backing paper, the trick is to go slowly and at a sharp angle. Start at a corner and peel the transfer tape back on itself, keeping it as close to the wall as you can. If you pull it straight off at a 90-degree angle, you risk lifting the vinyl with it.
As you peel, keep a close eye on the delicate parts of the design. If a piece of the butterfly starts to lift, just press the transfer tape back down, give it a firm rub with your finger, and then continue peeling.
Once the tape is off, take a moment to admire your handiwork! If you spot any tiny air bubbles that snuck in, they’re easy to fix. Take a very fine pin or needle, gently prick the centre of the bubble, and then use your finger to smooth the trapped air out through the tiny hole. It will vanish, leaving you with a flawless finish.
Creative Ways to Style Your Butterfly Decals
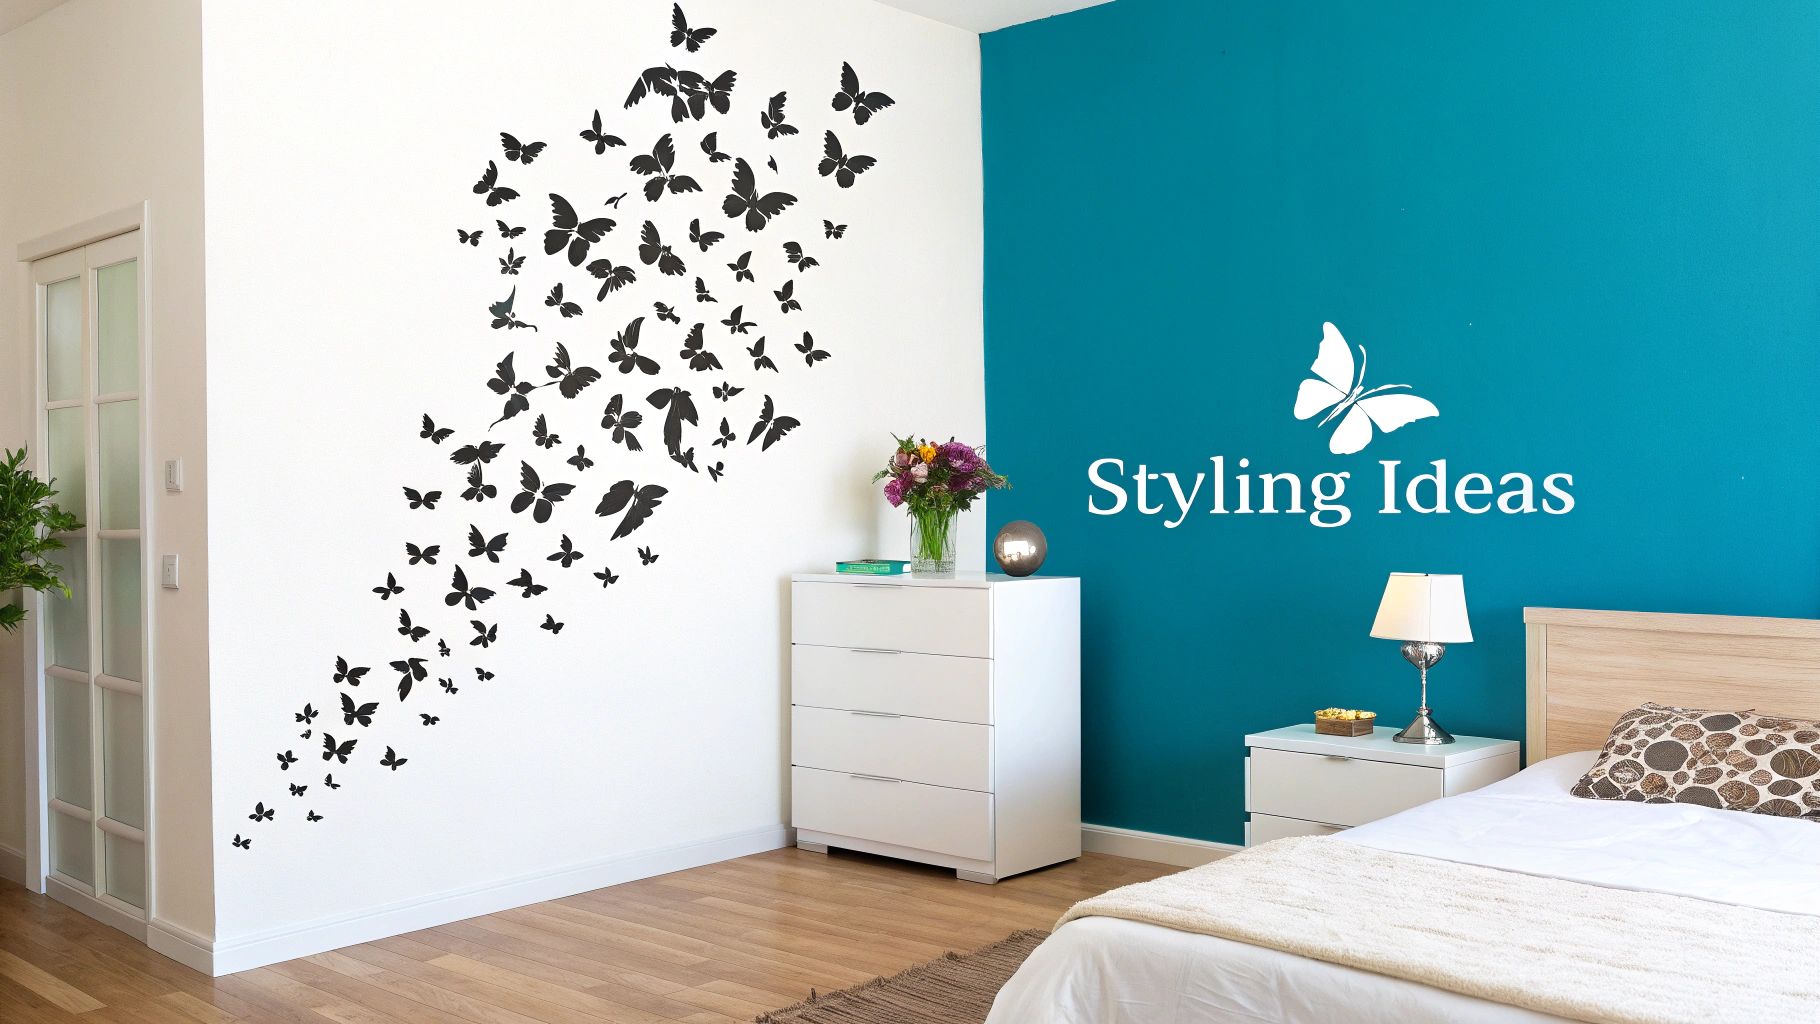
Now for the fun part! With your decals perfectly applied, the creative journey really begins. Styling your butterfly wall stickers is all about making them an intentional part of your room's story, turning a simple decoration into a design feature. They’re incredibly versatile and can create any mood you're after, from serene and dreamy to bold and dramatic.
The trick is to think beyond just sticking them on a flat wall. How can they interact with the room's architecture, your furniture, and even the light? This kind of thinking is what elevates a design from just being pretty to something truly captivating and thoughtfully put together.
Enchanting Nurseries and Children's Rooms
In a nursery, the goal is nearly always to create a calm, magical space. Butterfly decals are a classic for a reason – they bring a sense of gentle movement and wonder. A really lovely idea I've seen done beautifully is to create a "flutter" that seems to rise from behind the cot, as if they're taking flight while your little one sleeps.
For another heartfelt touch, try framing a personalised name decal with a delicate swarm of butterflies. This instantly creates a stunning focal point and makes the space feel uniquely theirs. You can play with soft pastel shades for a soothing vibe or go for a more modern, playful look with high-contrast colours.
For an older child's room, you can be a bit more adventurous. Why not transform an entire feature wall into an enchanted meadow? By mixing up different sizes and colours of butterfly decals, you can build a dynamic scene that feels alive and energetic, sparking their imagination every time they walk in.
Sophisticated Styles for Adult Spaces
Don't be mistaken, butterfly wall decals are certainly not just for kids. Styled thoughtfully, they can add an incredible layer of sophistication and artistic flair to any grown-up living space. The secret usually comes down to the colour palette and the composition.
In a living room, for example, a monochromatic swarm of black or deep grey butterflies can look like a powerful art installation. Imagine them arranged in a sweeping arc above a sofa or cascading down a narrow wall next to a window. It creates a sense of movement and drama that feels both modern and elegant.
For master bedrooms, the aim is to build a peaceful retreat. A subtle trail of metallic gold or silver butterflies catching the light can add a touch of glamour without overwhelming the space. When looking for broader inspiration, exploring master bedroom decorating ideas can help you seamlessly integrate your butterfly decals into a stylish sanctuary.
Think about how the decals can complement what you already have. Just a few carefully placed butterflies can draw the eye towards a favourite piece of art or highlight an architectural feature, like a high ceiling.
Upcycling Furniture with a Touch of Whimsy
Your creativity doesn't have to stop at the walls. Vinyl butterfly decals are a fantastic tool for upcycling and breathing new life into tired or plain pieces of furniture. It’s a brilliant, budget-friendly way to add a bespoke, personal touch to your home.
A plain white dresser, for instance, can be completely transformed. You could have a few butterflies appearing to flutter out from a drawer or clustered artfully around a handle. For a subtler effect, a single, elegant butterfly on the side of a bedside table or the front of a wardrobe door works wonders.
Here are a few ideas to get you started:
- A chest of drawers: Create a gradient effect using different shades of one colour, with darker butterflies at the bottom and lighter ones towards the top.
- A child's toy box: Turn a simple storage item into part of the decor with a burst of colourful butterflies.
- A plain bookshelf: Add a few small butterflies to the sides or along the edges of the shelves for a whimsical, custom-made feel.
Using a gloss finish on furniture projects can be particularly effective. The shine helps the design pop and adds a durable, wipe-clean surface. It’s a simple, affordable way to create a one-of-a-kind piece that's all you.
Looking After and Safely Removing Your Wall Decals
One of the best things about our butterfly wall decals is that they look fantastic for years but aren't a permanent commitment. They’re designed to be long-lasting, but when you fancy a change, they come off without leaving a mess. A little care keeps them looking vibrant, and when the time comes, a simple technique protects your walls.
Keeping your decals looking fresh is incredibly easy. A quick, gentle wipe with a soft, dry cloth is all it takes to get rid of any dust. Just be sure to steer clear of chemical cleaners or anything abrasive, as they can damage the vinyl's colour and weaken the adhesive over time.
The Damage-Free Removal Process
Whether you’re in a rental and need that deposit back, or you're just ready to redecorate, taking down your butterfly decals is a surprisingly simple job. The secret is to soften the adhesive first. This allows the vinyl to peel away cleanly, leaving your paintwork untouched.
All you'll need is a regular hairdryer.
First, set your hairdryer to a low or medium heat and hold it about 15-20 centimetres from the edge of a decal. Gently warm the vinyl for around 30 seconds, moving the hairdryer around to spread the heat evenly. You’ll feel the vinyl become softer and more flexible.
My Top Tip: Never try to rip a decal straight off a cold wall. The adhesive will be too firm, and you risk pulling off a chip of paint with it. A bit of warmth works wonders, relaxing the glue for a perfectly clean peel.
Once the decal feels warm, use your fingernail or a plastic card (like a loyalty card) to carefully lift a corner, maybe a wing tip. Get a gentle but firm grip and slowly peel the decal away from the wall.
For the best results, pull it back on itself at a 180-degree angle, almost flat against the wall as you go. This simple trick puts the least amount of stress on the paint.
If you hit a stubborn spot and feel a bit of resistance, don't force it. Just give that area another quick blast of heat with the hairdryer and try again. Patience is key! This straightforward process is exactly why high-quality butterfly wall decals are so popular—they give you a stunning, high-impact design that’s completely temporary, leaving your walls exactly as you found them.
Got a Question About Butterfly Wall Decals?
It’s completely normal to have a few questions before you start, even after reading a guide. We get it! So, let's walk through some of the most common queries we hear from customers, making sure you feel totally confident before you begin.
Can I Put Butterfly Decals on Textured Walls?
This is a really common one. While our decals will always give you the most flawless finish on a smooth, flat wall, you can often get great results on lightly textured surfaces. Think of plaster with a subtle 'orange-peel' texture – that usually works just fine.
The trick is to give the decal a little help to mould to the wall. After you’ve applied it, grab a hairdryer on its lowest heat setting and gently warm the vinyl for a few seconds. Then, take a soft, dry cloth and firmly press the butterfly into the wall's texture. This encourages it to settle into all the tiny grooves for a much stronger bond.
Our best advice? Always do a patch test first with one of the smaller, less noticeable butterflies from your set.
How Long After Painting Can I Apply Decals?
Okay, this is a big one, and getting it right is all about patience. You absolutely must wait for new paint to fully cure, which is a world away from just being dry to the touch. We always recommend waiting at least three to four weeks after painting before you even think about applying your decals.
Putting them on too early can cause a couple of major headaches. As the paint cures, it releases gases that can get trapped behind the vinyl, creating bubbles and causing the decals to peel off. Worse, the adhesive can actually fuse with the still-soft paint, which could lead to damage when you decide to remove them later on.
Remember: Curing is a chemical process. Giving it those few weeks is the secret to a perfect, long-lasting application and ensures the decals will come off cleanly when you're ready for a change.
Are Your Butterfly Wall Decals Reusable?
Our high-quality vinyl decals are designed for a single, long-lasting application. We use a specialised adhesive that forms a strong bond, ensuring they stay looking beautiful for years without any annoying peeling.
When it comes time for removal, the process involves gently warming and stretching the vinyl to break that bond. This, unfortunately, compromises the shape and adhesive of the decal. While this means they can't be reused, it’s this very design that guarantees they stay put perfectly for as long as you want them to.
Ready to bring that touch of enchantment into your home? Dive into the full, customisable collection of butterfly wall decals at Quote My Wall and find the perfect design to start your transformation. Visit us at https://www.quotemywall.co.uk today.