
Sew on Name Labels for Clothes: Sewn or Stick-On?
A label can stay attached perfectly and still fail at its job. If nobody can read the name, find it quickly or replace it when the garment changes hands, permanence isn't much help. The wider stakes are substantial: WRAP estimates that roughly 711,000 tonnes of used textiles went into residual waste in the UK in 2022. Identification won't solve textile waste, but it gives an otherwise anonymous garment a practical route back to its owner.
Choosing sew on name labels for clothes means balancing attachment, legibility, comfort and eventual removal. The useful question isn't which label lasts longest. It's where each type fails under your actual laundry routine.
Sew-On and Stick-On Name Labels Side by Side
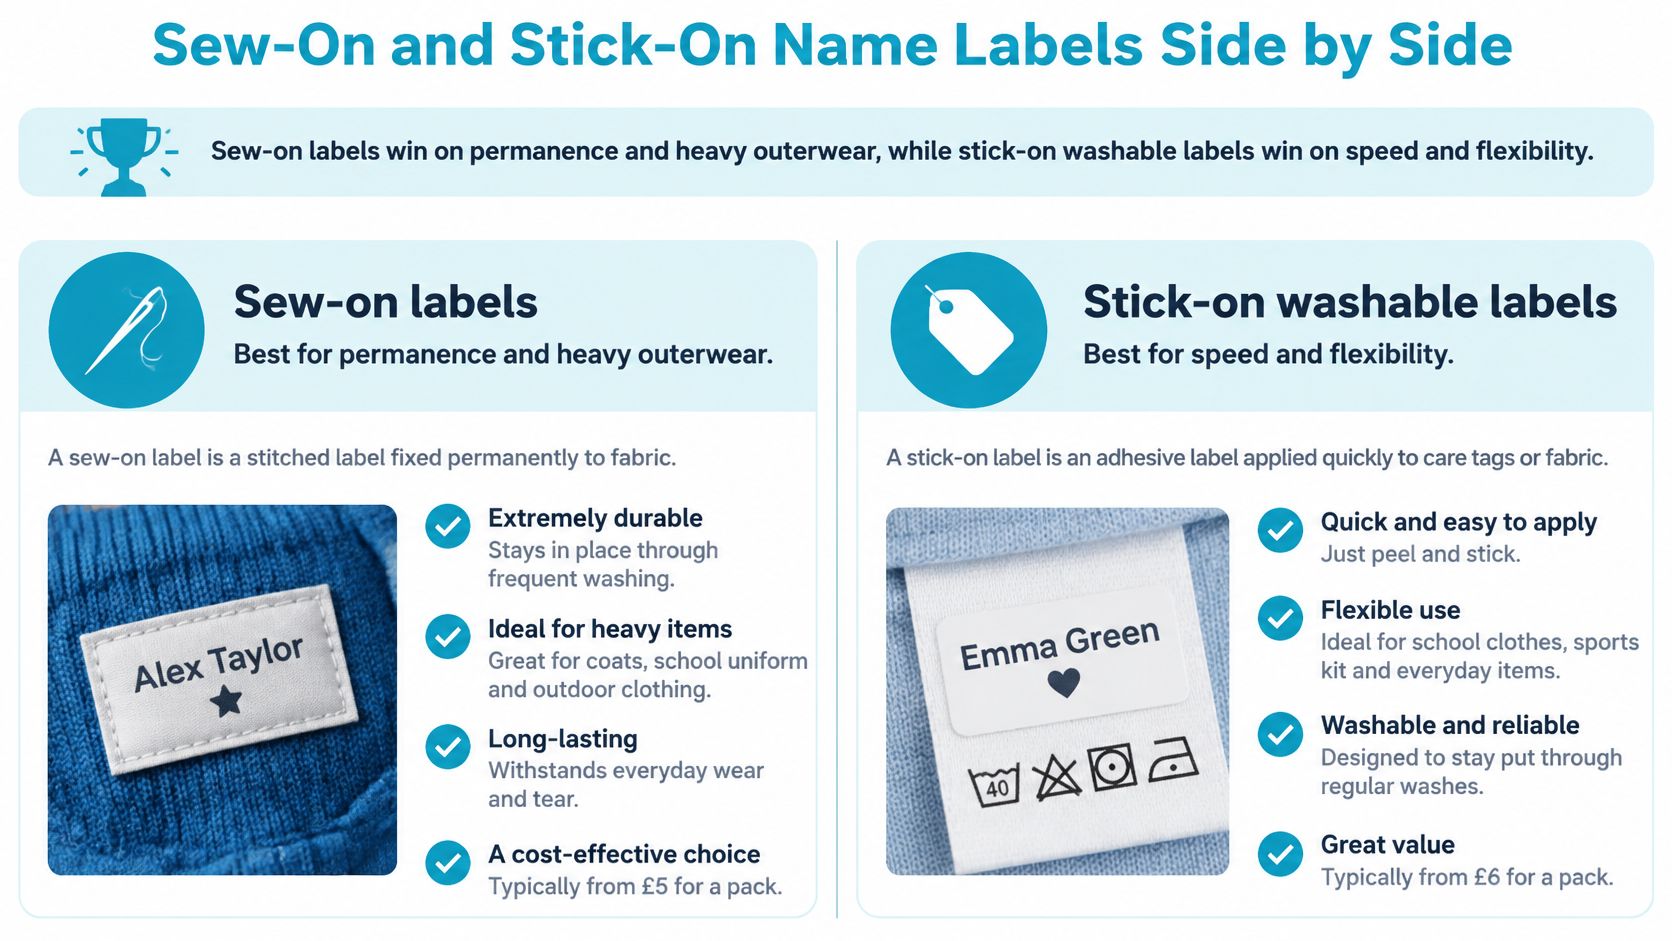
Sew-on labels win on permanence and heavy outerwear, while stick-on washable labels win on speed and flexibility. Neither is automatically the better choice for every item in a wardrobe.
A sew-on name label is woven or printed tape attached to a garment with hand or machine stitches. A stick-on washable label is a printed vinyl or fabric label with adhesive backing, pressed onto a compatible care tag or fabric surface.
Neither replaces the garment's statutory information. GOV.UK's textile-labelling guidance explains the fibre-content requirements under the Textile Products (Labelling and Fibre Composition) Regulations 2012. An ownership label identifies the wearer; a composition label identifies the textile, so leave the original information readable.
Sew-on and stick-on name labels compared
| Factor | Sew-on name label | Stick-on washable label |
|---|---|---|
| Wash durability | Strong when stitched securely through sound fabric | Good when washable, correctly positioned and fully bonded |
| Time to apply | Requires threading, positioning, stitching and finishing | Peel, position and press, followed by the maker's setting period |
| Tumble dryer | Suitable thread tolerates drying, but check the label and garment | Only where the product states it's tumble-dryer safe |
| Where failure starts | Fraying, loose stitches or fabric tearing beside the stitch line | Corners and edges lift first |
| Removal from resold clothing | Needs unpicking and can mark fabric | Can peel off but may leave residue |
| Delicate or thin fabric | Can pucker or show stitches | Adhesive may not bond to the surface |
| Best for | Long-worn outerwear and compatible shared-laundry garments | Quick school-kit labelling and frequent domestic washing |
The attachment surface matters
A securely sewn label on weak lining can tear away with the lining still attached. An excellent adhesive label on fluffy fleece may lift because it contacts loose fibres rather than a stable surface.
Treat the table as a starting prediction, not a product guarantee. The garment, label and laundering process must work together. Paying for a tougher label won't compensate for attaching it to the wrong place.
How Each Label Holds Up in the Wash
Colour-fastness testing and attachment testing answer different questions. A name can remain beautifully printed after its label has detached, while a securely attached label can become unreadable.
For procurement, ask what was tested: resistance to domestic washing, industrial laundering, colour change, staining or physical attachment. Recognised textile tests can help structure that conversation, but a fabric colour-fastness result alone doesn't prove that a finished name label will survive your laundry.
Request evidence covering the complete label, including its print, backing and recommended attachment method. The washing temperature, detergent, bleach exposure and drying process should resemble those the garment will encounter.
Where sewn labels fail
A sewn label relies on sound stitching and sound garment fabric. Loose loops catch during handling; stitches too close to a raw edge can pull through fraying tape. Dense stitching on thin material can leave a perforated line that tears under strain.
Shrinkage is another failure route. If the label backing contracts differently from the garment, the surrounding fabric may pucker even though every stitch remains intact.
Check the underside as well as the face. Rough knots, stiff backing and curled corners can make an otherwise durable label uncomfortable.
Procurement rule: Ask for evidence that matches the laundry process, not simply a claim that the label is washable.
Where adhesive labels fail
Stick-on labels rely on complete surface contact. A corner that bridges a fold gives water, friction and picking fingers somewhere to start lifting the label.
Heat and laundry chemicals can challenge an adhesive outside its intended conditions. Fabric-softener residue can also interfere with bonding during application. A label approved for ordinary domestic washing shouldn't be assumed suitable for a care home's processing routine.
Tumble-dryer and dishwasher suitability must be explicit product claims. Dishwasher resistance matters for bottles and containers, not as permission to use a more aggressive clothing wash.
For either label, run a small trial through the complete wash-and-dry routine before committing a wardrobe. Inspect the same features each time:
- Edges: Look for lifting corners, fraying and loosening stitches.
- Colour: Check whether the name remains readable and whether colour transfers.
- Backing: Look for curling, shrinkage, stiffness or separation.
Keep a washed sample beside an unused label. That makes gradual deterioration easier to spot than relying on memory.
How to Apply Each Label Correctly
Choose the attachment point before opening the pack or threading the needle. You need a flat, accessible area that won't rub, stretch excessively or hide essential garment information.
For adhesive labels, establish whether the product is intended for care tags, direct fabric application or both. A smooth care tag can be a better bonding surface than the surrounding knit, but don't cover washing instructions or fibre information.
Apply stick-on labels without weak edges
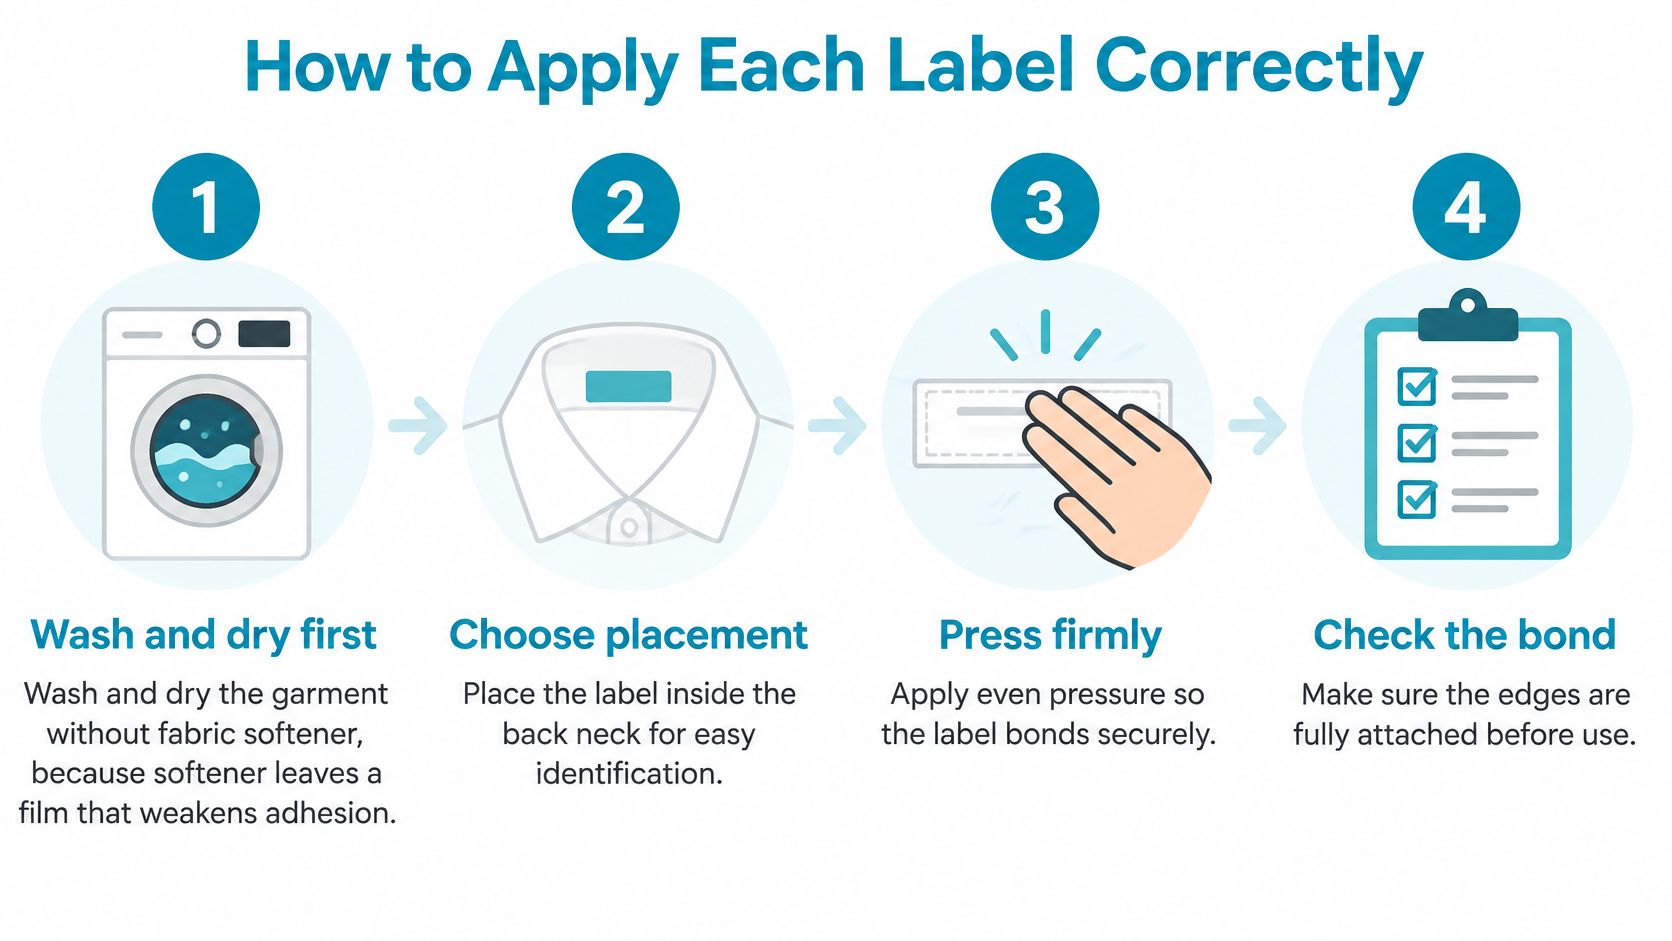
- Wash and dry the garment. Avoid fabric softener during preparation because residue can interfere with adhesion.
- Choose a consistent location. Start with the inside back neck for tops or the inside back waistband for trousers and skirts, then select a compatible flat surface there.
- Remove lint with a dry cloth. The attachment area must be clean and completely dry.
- Peel and position carefully. Keep fingers off the adhesive and smooth from the centre towards the edges to avoid trapped air.
- Press across the entire label. Use firm, even thumb pressure, paying particular attention to corners and following the product's pressing instructions.
- Allow the specified setting period. Don't put the garment straight into the wash unless the maker expressly permits it.
Sew without distorting the garment
Thread a fine needle with strong polyester sewing thread and position the label with the garment relaxed, not stretched. Sew close, even stitches around its edge, catching secure fabric or a suitable seam allowance without stitching through to the visible outer face unnecessarily. Reinforce vulnerable corners, finish with a backstitch and secure the thread neatly, keeping knots away from contact points.
Machine sewing suits sturdy labels on stable, thicker fabric, provided you can access the area without catching another garment layer. Hand sewing gives better control around narrow necklines and lined garments. Our guide to sewing labels on clothes provides further attachment guidance.
For handmade garments, distinguish a decorative maker's tag from personal identification. B-Sew Inn's handmade label by Tula Pink is a useful example of a finishing label to consider separately from the wearer's name.
Avoid attaching over a bulky seam, sewing through care instructions or pressing adhesive onto damp material. A finished label should sit flat, remain fully readable and leave the garment free to move naturally. Run a fingertip over it to find rough edges before the wearer does.
Cost, Reuse and Removing Labels from Second-Hand Clothes
The fastest label isn't necessarily the cheapest over a garment's useful life. Time spent removing an old name, repairing fabric or repeatedly replacing failed labels belongs in the calculation.
Reuse is a mainstream consideration, not a niche concern: Parentkind's uniform polling reports that 58% of parents would consider buying pre-loved uniform, while 52% say they're likely to buy it from their child's school. A sensible labelling system should accommodate the next wearer from the outset.
Make replacement possible
Sew labels onto an accessible internal area where their stitches can later be reached. Avoid burying the attachment beneath a lining or sewing through fragile outer fabric.
A surname-only label may work for siblings, but only if the school can distinguish them. First name plus surname initial offers less information than a full name, yet it still needs to identify the wearer unambiguously.
A reusable garment needs an ownership label that can change, not an old name that remains visible beneath the new one.
When removing sewn labels, use a seam ripper to cut the attachment thread, not the garment. Support the fabric and lift the label gradually rather than pulling until something gives.
For adhesive labels, peel slowly while supporting the underlying tag. Don't reach immediately for solvents or heat: either can damage printing, coatings or fabric. Test any compatible residue-removal method discreetly first.
- Cover neatly: If removal risks damage, attach an opaque matching fabric patch over the old name, without concealing care information.
- Avoid label stacks: Remove redundant layers where practical so the area doesn't become stiff and bulky.
- Plan the handover: Check that only the current wearer's identification remains readable before donating or selling.
Sewing costs application and removal time; adhesive labelling costs pack purchases and any replacement work. Sew durable garments when the attachment can be renewed cleanly. Choose removable adhesive labels when ownership changes frequently and the surface releases them without damage.
Choosing Labels for School Uniform
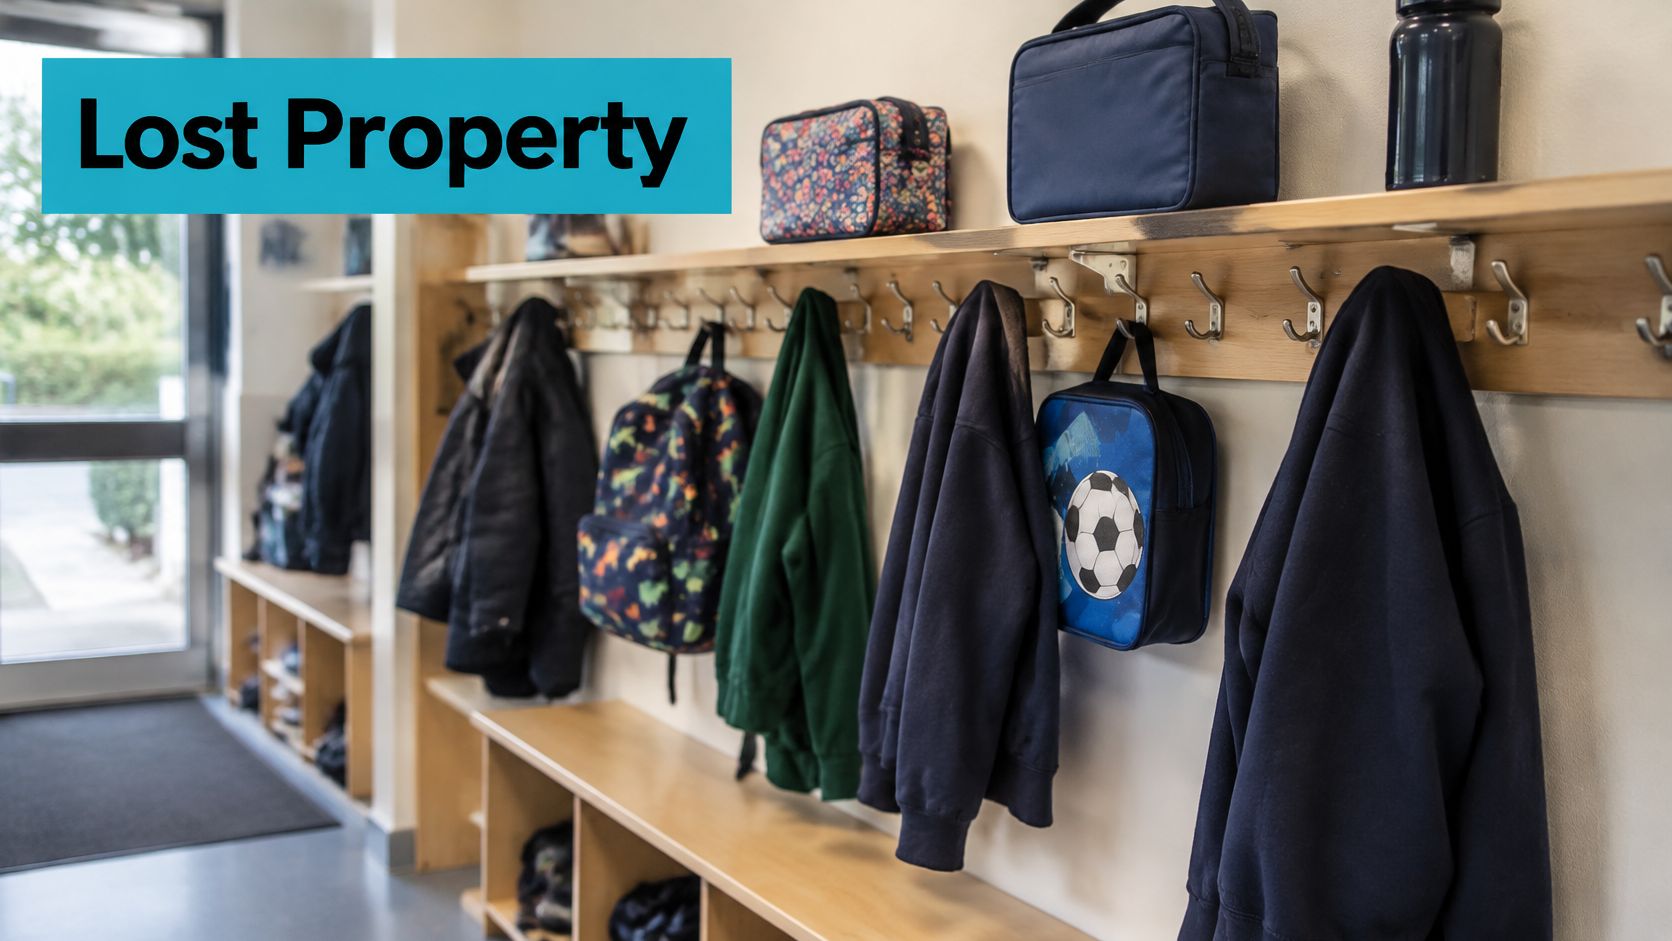
Coverage matters more than choosing an elaborate label for a favourite jumper. In a UK primary-school survey published by Stikins, almost 90% of schools considered name labels the most effective intervention for reducing lost property, yet only 3% reported that most uniform and sports kit was labelled.
That finding supports a practical priority: mark every removable item rather than concentrating all your effort on the expensive pieces. Start with jumpers, cardigans, sweatshirts and hoodies, then work through the PE bag and spare clothing.
Label type and placement for school items
| Item | Best label type | Placement |
|---|---|---|
| Jumper, cardigan or hoodie | Sew-on for long service; washable stick-on for quick weekly-kit labelling | Inside back neck |
| PE kit and T-shirts | Stick-on washable on a compatible surface | Inside back neck, above the care label where suitable |
| Trousers, skirts and shorts | Sew-on | Inside back waistband |
| Socks and tights | Stick-on washable only when approved for stretchy fabric | Inside top band of the sock or tights |
| School shoes | Shoe-compatible stick-on, after checking the internal material | Inside tongue or heel |
| Water bottles and pencil cases | Surface-compatible stick-on | Bottle base or lid; flat area inside pencil case |
Match the label to how the child uses it
Weekly washing doesn't make sewing unsuitable. It makes convenient application and verified wash performance important when you're handling a large rotation of everyday kit.
For a blazer or substantial coat, a discreet sewn label is a sensible investment of effort. For a growing child's changing PE wardrobe, washable adhesive labels reduce the work of marking replacements.
Young children may pick at exposed corners. Where that's happening, a soft sewn label with securely finished edges may be more practical than repeatedly replacing an adhesive label.
Socks deserve particular caution. Their stretch, texture and friction can defeat labels that work well on shirt tags, so don't assume a general clothing sticker is suitable.
For more garment-specific selection advice, use our guide to the best school name labels. Finish by asking your child to find and read their own label, then check that a member of staff could distinguish it from another pupil's name.
Labelling Care Home Clothes Without Mixing Up Residents
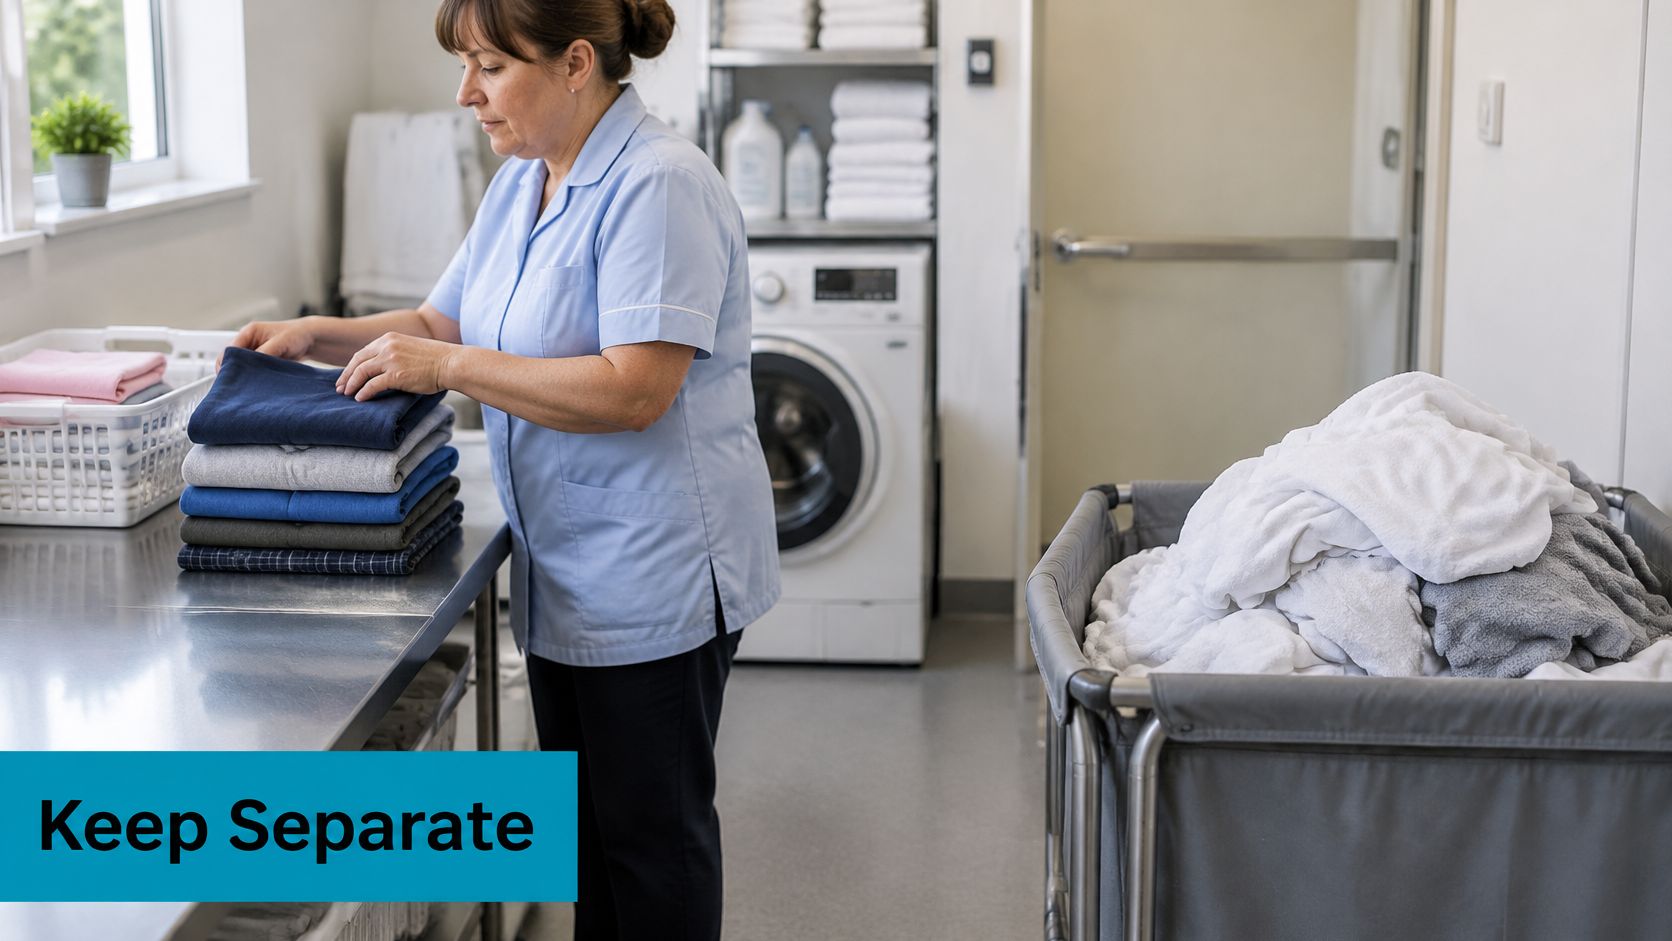
An ownership label identifies the resident; it doesn't establish that clothing has been hygienically processed. Infection control requires clean clothing and linen to remain separate from used or visibly soiled items.
The human consequences of clothing management deserve attention, including the care-setting context covered in BBC reporting. Labels must support the home's laundry segregation, garment instructions and tracking procedures, never replace them.
Set a readable placement rule
Use a predictable internal position that staff can reach without unnecessary handling. The inside back neck and waistband are useful starting points, but the finished label mustn't rub the resident, create a snag or disappear beneath overlapping tags.
Choose clearly printed or woven identification rather than relying on handwriting that may fade or become ambiguous. Agree the identifier with the home before ordering; a family nickname may mean little to laundry staff.
Care home garment placement and extra checks
| Item | Placement | Extra step |
|---|---|---|
| Tops | Inside back neck, positioned to avoid skin contact | Sew-on for daily laundry when compatible with the process |
| Trousers and skirts | Inside back waistband on a flat seam | Check the care label isn't covered |
| Socks | Inside top band or heel, avoiding pressure points | Add a second discreet identifier if attachment repeatedly fails |
| Nightwear | Inside back neck, positioned to avoid skin contact | Choose a soft label and check for irritation |
| Continence garments | Outer back waistband, away from skin | Follow the facility laundry protocol and garment construction |
| Garments shared temporarily | Approved removable stick-on on a compatible tag | Remove outdated identification and record the wearer |
Handle exceptions before clothing enters circulation
Don't stitch through a waterproof or protective layer on continence clothing without confirming that the construction permits it. A needle hole can compromise the very function the garment is meant to provide.
For residents who use wheelchairs, check labels while they're seated as well as during dressing. Waistband labels and bulky knots can become uncomfortable under sustained pressure.
Operational check: Record temporary allocation separately. A removable name label isn't a substitute for knowing who received the garment.
Where there's no suitable flat attachment area, agree a discreet secondary identifier with the laundry team rather than improvising a different system for each item. Our care-home clothing-label guide can help families prepare for that discussion.
Write the placement rule into the home's laundry procedure. Include who checks incoming garments, who replaces unreadable identification and how staff handle temporarily shared clothing.
Choose the Right Label Before Your Next Order
Choose by the garment's likely failure point, not by loyalty to sewing or adhesive. A mixed system is often the most practical answer.
- School families: Use washable stick-on labels for everyday kit when speed matters, and sew labels onto substantial blazers and outerwear.
- Hand-me-down households: Choose an accessible sewn attachment for long service, or removable adhesive where clean ownership changes matter more.
- Care homes: Favour sewn identification for permanent residents' garments when it suits the institutional process; reserve approved removable labels for temporary allocation.
Before ordering a full wardrobe's worth, trial the intended label on representative garments through your normal washing and drying routine. Include the awkward items, not just an easy cotton shirt: a stretchy sock, synthetic sports top or lined jacket can expose a poor match.
Make the product prove suitable
Where adhesive is the right choice, our Quote My Wall stick-on name labels need no sewing or ironing. They use ultra-sticky adhesive designed to stay attached wash after wash and are washing-machine, tumble-dryer and dishwasher safe.
Those features don't override a garment's own care restrictions. Apply a sample correctly, inspect it after repeated laundering and check comfort before labelling everything.
Start with a pack and a representative garment of each type. Expand the system only once the attachment, readability and wearer comfort meet your needs.
Quote My Wall offers peel-and-stick name labels for school clothes, care-home garments and everyday belongings. Visit Quote My Wall to choose a pack, then test it on your actual clothing and laundry routine before completing the wardrobe.