
Name Tags for Clothing: A Practical UK Buyer Guide
It's 8.15 on a Monday, you're holding a navy jumper that isn't yours, and your child's own jumper is somewhere in a school corridor. You've already written a name in biro once. It faded. That's exactly why name tags for clothing exist, and why picking the wrong type wastes money. Get the type, placement and wash routine right first time and you won't be buying replacements every term.
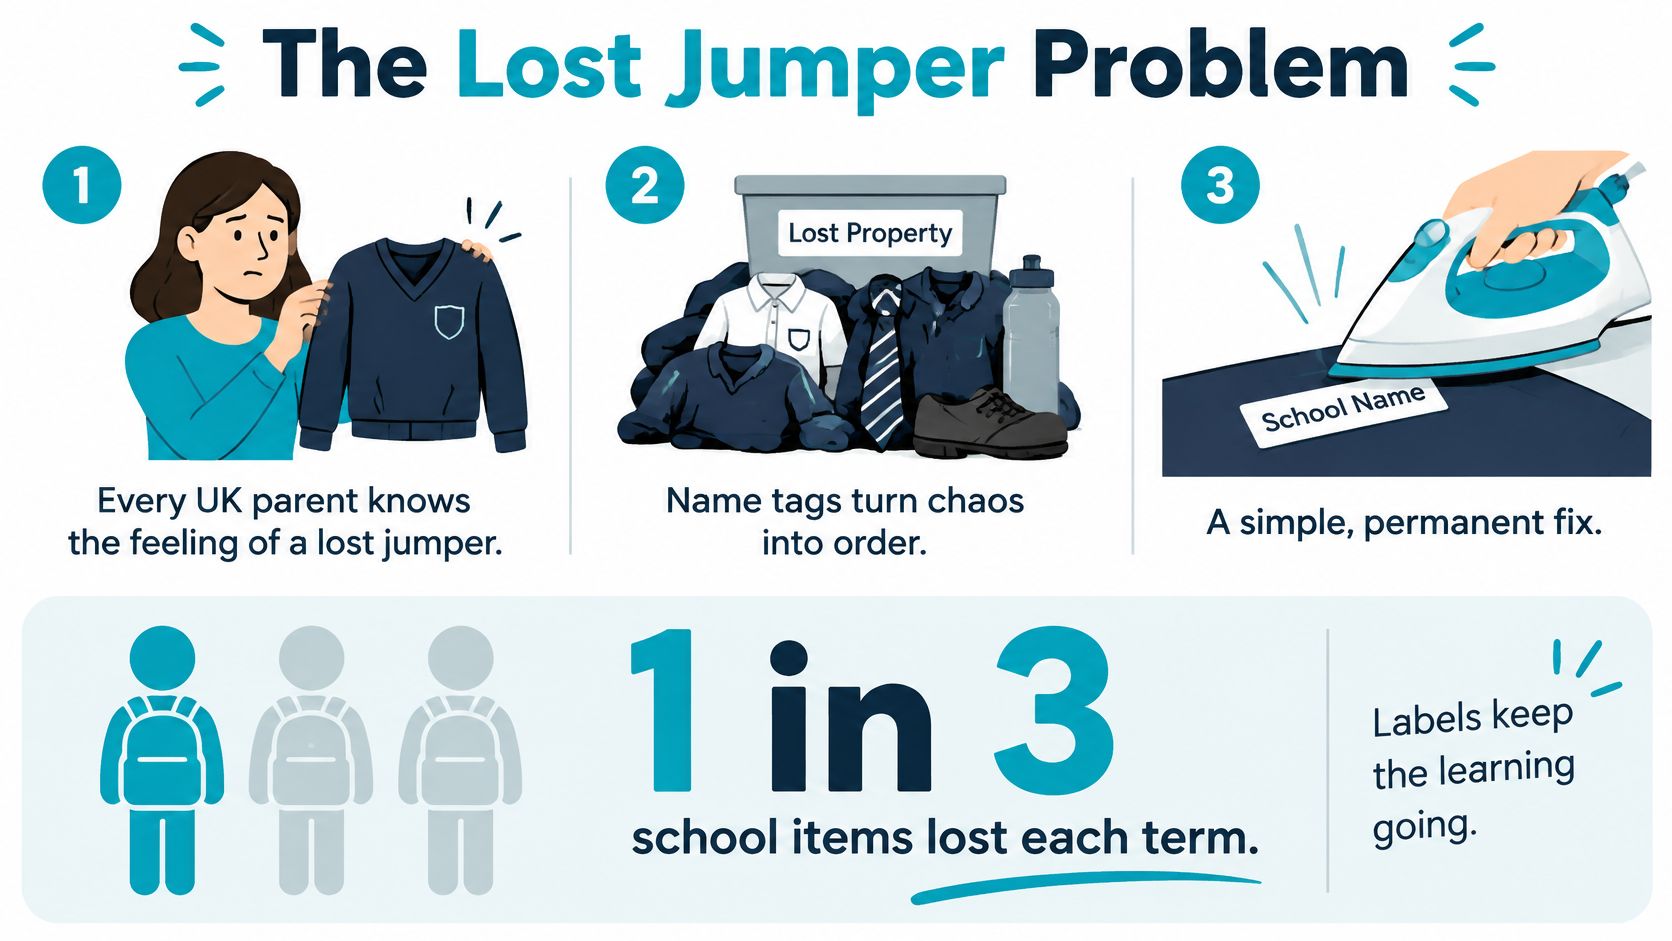
The Lost Jumper Problem Every UK Parent Recognises
You're at pick up and a teacher holds up a jumper. It looks right. So do the other identical jumpers in the box behind her. There's no name inside, your child shrugs, and you take home a garment that may belong to someone else. I've heard that story from parents more times than I can count, and it's rarely about carelessness. It's about identical uniform in a busy changing room.
The scale is not trivial. UK primary school survey data shows 98% of schools store lost property and 66% describe the problem as medium or severe, with 90% identifying top layers like jumpers, cardigans and hoodies as the items most often left unclaimed, according to the detailed Stikins school lost property survey summary. Those are industry survey figures, not government statistics, but they match what schools deal with daily. Staff can't return what they can't identify.
What a Clothing Name Tag Actually Is
A name tag is a small printed label fixed inside a garment so anyone picking it up can see the owner straight away. You'll meet three families. Iron-on labels fuse to fabric with heat. Sew-on labels are stitched into a seam. Stick-on labels bond with pressure, usually to the smooth care label already inside the garment.
Don't treat labelling as a nice extra for coats and bags only. The garments children remove most often are the ones that vanish. Hoodies come off at lunch, cardigans end up on pegs, PE tops get bundled into the wrong bag. If it leaves the body during the day, label it.
Label every detachable layer, not just the expensive coat. Cheap jumpers are replaced most often because nobody bothered to name them.
The UK has a particular problem because standardised uniform makes ownership invisible. Thirty children can wear the same colour, same cut and same size. A clear name inside turns a guessing game into a ten second job for staff, and it saves you paying twice for the same garment. That's the whole case. Everything else is choosing a label that survives your wash.
Iron-On, Sew-On and Stick-On Labels Compared
Pick by garment and laundry routine, not by what's cheapest in the basket. A label that's brilliant on a cotton polo can fail on fleece, and a label that's perfect for a hand me down coat is the wrong choice for care home nightwear washed hard and often. Here's my honest ordering for most families. Stick-on for speed, iron-on for cotton uniform, sew-on when you want it there for the life of the garment.
Iron-On Labels
Heat melts the adhesive backing and pressure pushes it into the fibres. When it cools, the label sits flat and moves with the fabric. That's why iron-on suits cotton and poly cotton school shirts, polos and sweatshirts so well. There's no raised edge for a child to pick at, and nothing scratchy against the neck if you place it properly.
The limits are real. Fleece, waterproof coatings, puffer fill and fabrics marked do not iron won't give you a reliable bond. Heat can also damage delicate synthetics. If the care label warns against a hot iron, believe it and choose another method.
Sew-On Labels
A sew-on label is stitched, usually with a woven tape folded into a seam or sewn flat inside the back neck or waistband. It's the most mechanical fix. Thread doesn't care about detergent or tumble dryer heat in the way adhesive can, so sew-on is my recommendation for blazers, coats you expect to keep for years, knitted jumpers and care home garments that face demanding laundry.
You pay in time. Sewing a full uniform set by hand is slow, and a badly placed label can rub. Put it in a seam allowance or over the care label area, not flat against sensitive skin. The payoff is permanence you can also unpick cleanly when a garment passes to a sibling.
Stick-On Labels
Stick-on vinyl labels use high tack adhesive and need no iron or needle. For most parents this is the sensible starting point, provided you stick them to the smooth care label, not straight onto stretchy, fluffy garment fabric. Care labels don't flex and shed fibres like a jumper does, so the bond lasts far longer.
They're also the easiest to remove for hand me downs. The trade off is that edges can lift if you apply them to the wrong surface, rush the curing time or subject them to laundry conditions they weren't tested for.
Clothing Label Types at a Glance
| Label type | Application | Best for | Durability trade-off |
|---|---|---|---|
| Iron-on | Hot iron, no steam, firm pressure | Cotton uniform, polos, sweatshirts | Flat and durable, fails on fleece and coatings |
| Sew-on | Needle and thread into seam | Coats, blazers, care home clothing | Most permanent, slowest to apply |
| Stick-on | Peel and press onto care label | Speed, outerwear, hand me downs | Fastest, depends on surface and cure time |
If you're labelling tonight for tomorrow, buy stick-on. If you're doing a September uniform batch of cotton, iron-on earns its keep. If the garment must survive institutional laundry for years, sew it.
How to Apply Each Type so It Actually Stays Put
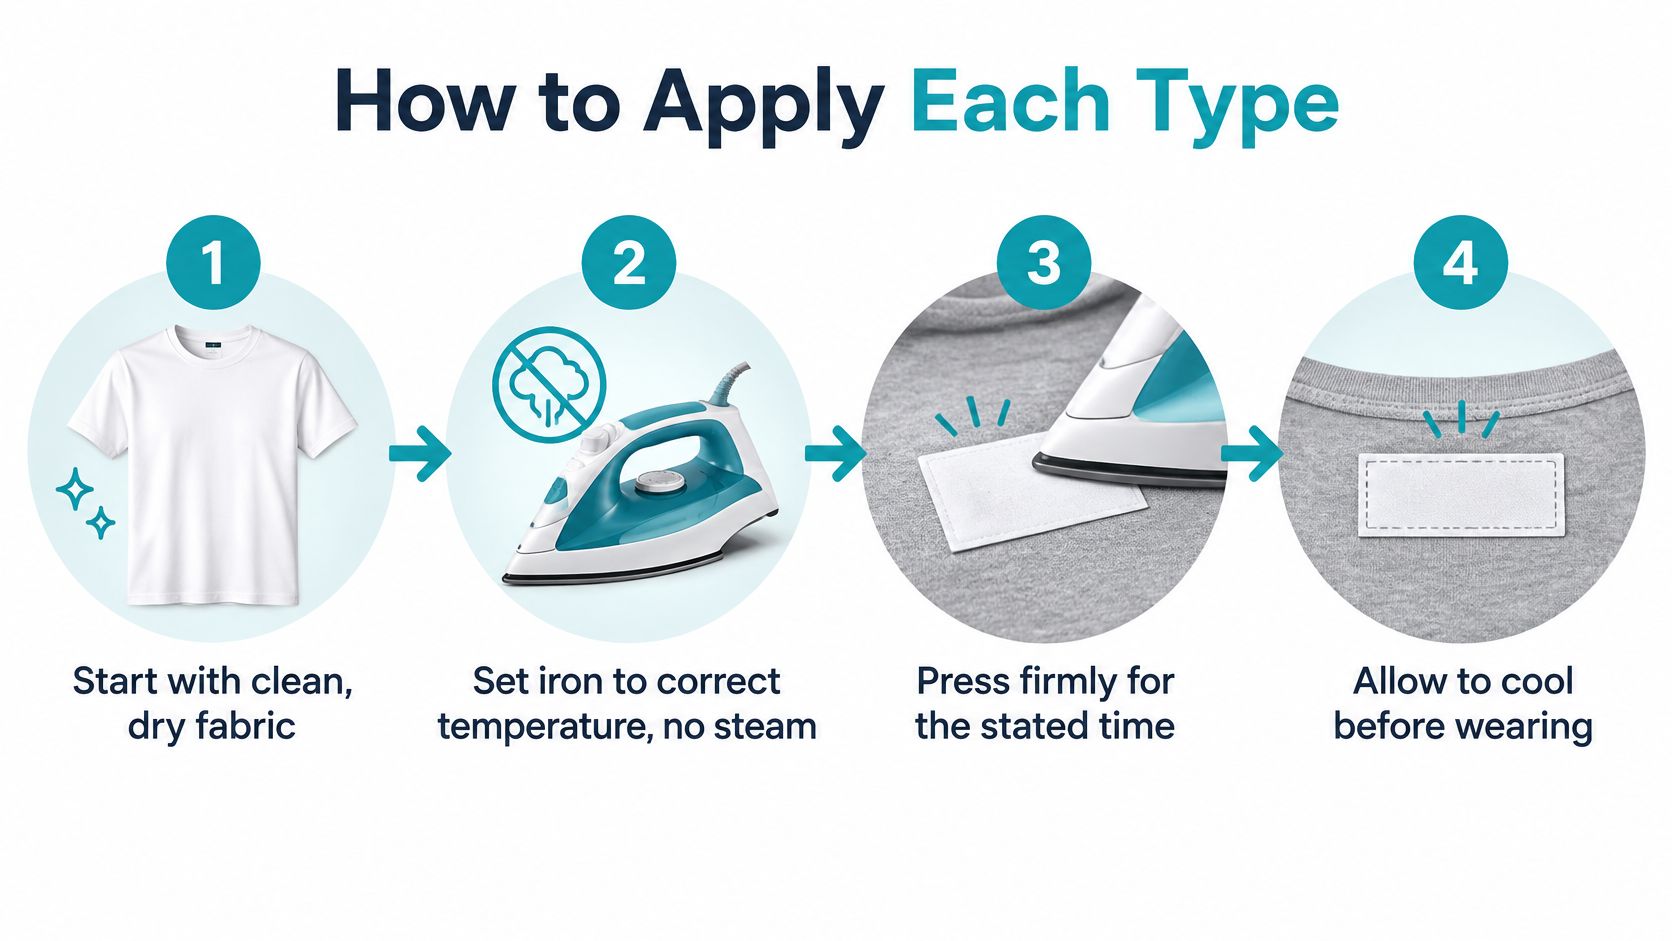
Most label failures aren't product failures. They're rushed application. Dirty fabric, steam left on, not enough pressure, washing too soon. Fix those four things and your success rate changes completely.
Iron-On Without the Guesswork
Start with a clean, dry garment on a hard, flat surface. An ironing board is too padded to give firm pressure, so use a table protected from heat. Set the iron to the temperature the label maker states, turn steam off and empty the tank if you can. Steam is the enemy because moisture stops the adhesive bonding cleanly.
Smooth the fabric, position the label, cover it with the protective sheet or baking parchment supplied, then press straight down. Don't slide the iron around as if you're ironing a shirt. Press, hold for the stated time, lift. Let everything cool completely before you peel anything back or test an edge. If a corner lifts, cover and press again rather than picking at it while warm.
Sew-On That Won't Rub
Fold a woven label into a side seam or stitch it flat over the inside care label area. Use a simple running stitch around the edge or across both short ends, then back tack at the finish so the thread can't work loose. Keep stitches small and neat. You're not upholstering furniture, you just need the label flat, secure and away from bare skin.
Stick-On and the Step People Skip
Find the care label, wipe off lint, peel without touching the sticky side and press from the centre outward. Run your thumbnail firmly over every edge. Then wait.
Practical rule: Give stick-on and iron-on labels a full day before the first wash. Washing inside that curing window is the commonest reason a good label peels.
Don't apply any adhesive label across a seam, onto elastic or onto brushed fleece. Flexing and loose fibres lift edges. Choose a stable internal spot a teacher or laundry worker will check first, usually inside the back neck, inside the waistband or on the care label itself. Visible to staff, invisible in wear. That's correct placement.
Reading Durability Claims Beyond the Marketing
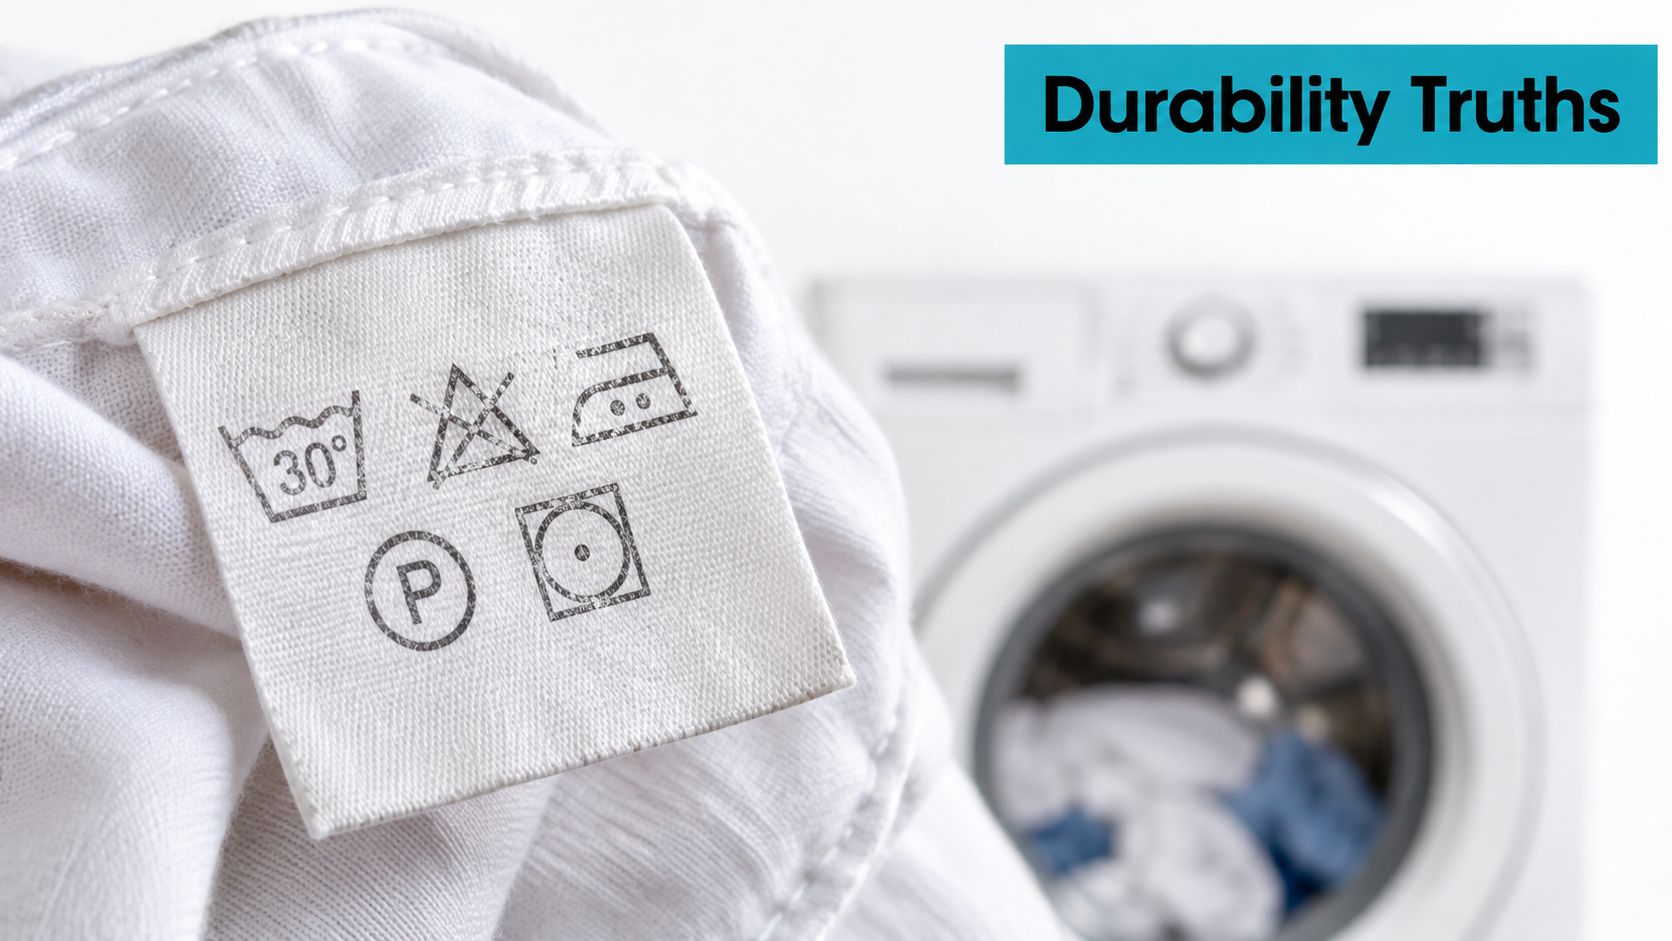
Washable is the most abused word on label packaging. It tells you almost nothing. Washable at what temperature, with what detergent, dried how, and on what fabric? If a seller can't answer those questions in plain terms, treat the claim as marketing until you've tested it yourself on one garment.
The Three Things That Kill Labels
Heat comes first. Hot water and hot tumble drying repeatedly soften many adhesives. A label that survives a gentle domestic cycle may struggle in a hotter, faster institutional wash. Tumble dryer safe should mean safe at the setting you use, not only on the lowest heat.
Detergent chemistry comes second. Strong detergents, stain removers, bleach additives and fabric softener residue can attack adhesive or leave a film that weakens grip. That's also why you shouldn't apply a label to fabric freshly washed with lots of softener. The label bonds to residue, not fibres.
Mechanical stress comes third. Garments twist, stretch and rub against drums and other clothing. Labels on seams, cuffs and elastic take constant peel force at the edges. Placement on a flat, stable area matters as much as adhesive strength.
Independent care guidance notes that sew-in or iron-on labels can be more durable than stick-on versions and recommends reviewing labels after major wash cycles, while residents' personal items should ideally be laundered separately rather than mixed, as set out in the NHS Scotland care home infection prevention manual on laundry handling. That distinction is the point. Domestic washable doesn't automatically mean validated for every care home process, including high temperatures, chemical disinfection and rapid turnaround.
Test before you commit to a wardrobe. Label two or three representative garments, put them through the wash and dry routine, then inspect edges, print clarity and comfort. If corners lift, change type or placement before you label everything. For a closer look at what waterproof should mean in practice, read the detailed guide to waterproof name labels for clothing and wash testing and apply the same scepticism to any brand, including one you already like.
Ignore irrelevant claims. A clothing label doesn't earn points for surviving a dishwasher if it peels off a care label in the wash. Judge it on fabric, heat, detergent and drying. Those four variables decide whether it's still readable next term.
Matching the Right Label to Schools, Nurseries and Care Homes
Environment decides the label. I'd kit out a primary school child, a nursery toddler and a care home resident differently, even if all three garments look like simple cotton tops. Frequency of washing, who sorts the laundry and how sensitive the skin is change the answer.
Primary Schools
You need bulk speed and instant recognition. Label jumpers, cardigans, coats, PE kit, shirts, trousers and spare clothes kept at school. Use iron-on for cotton uniform you'll wash repeatedly each week, stick-on on care labels for coats, fleece and waterproofs. Put the name where lost property staff look first, inside the back neck or waistband, in high contrast print.
Don't label only the blazer and hope for the best. PE kit is a prime offender because children change quickly and bags get mixed up. Label shorts, top, socks and trainers as a set.
Nurseries
Nursery clothing gets soaked, changed and washed constantly. Softness matters more here. Choose a flat iron-on inside cotton tops and trousers, or a stick-on on the care label where it can't rub delicate skin. Avoid stiff labels at the neck. Label the spare outfit bag as well as every garment inside it, because staff need to find the right bag in a hurry after an accident.
If you're making garments or altering nursery clothes yourself, you can find sewing labels for your projects and stitch them into seams before the clothes ever reach nursery. That works well for handmade items with no suitable care label.
Care Homes
This is the hardest test. Dignity matters, so place labels discreetly where laundry staff can find them after washing, not as a large visible badge. Comfort matters, so keep labels away from areas of direct skin friction. Process matters, so ask the home how clothing is washed and dried before choosing, then pilot a small batch on actual garments.
Labels don't replace separated laundry flows or clear staff procedures. They support them. If the home mixes personal items contrary to good practice, a label helps sorting but doesn't fix the system. For setting specific detail, see the practical guide to clothing labels for nursing homes and resident laundry before you order for a relative.
Sports clubs and dance schools follow the school logic. Label kit bags, tops, shorts, leotards where fabric allows, and hoodies above all. For workwear, favour sew-on or iron-on on sturdy cotton because garments are washed hard and handled by people who don't know your staff by sight.
Sizing, Design and Personalisation that Actually Work
Pretty labels that nobody can read are pointless. Order for the person who'll be sorting wet laundry under time pressure. That means clear text, strong contrast and a size matched to the garment, not the smallest label you can squeeze a long name onto.
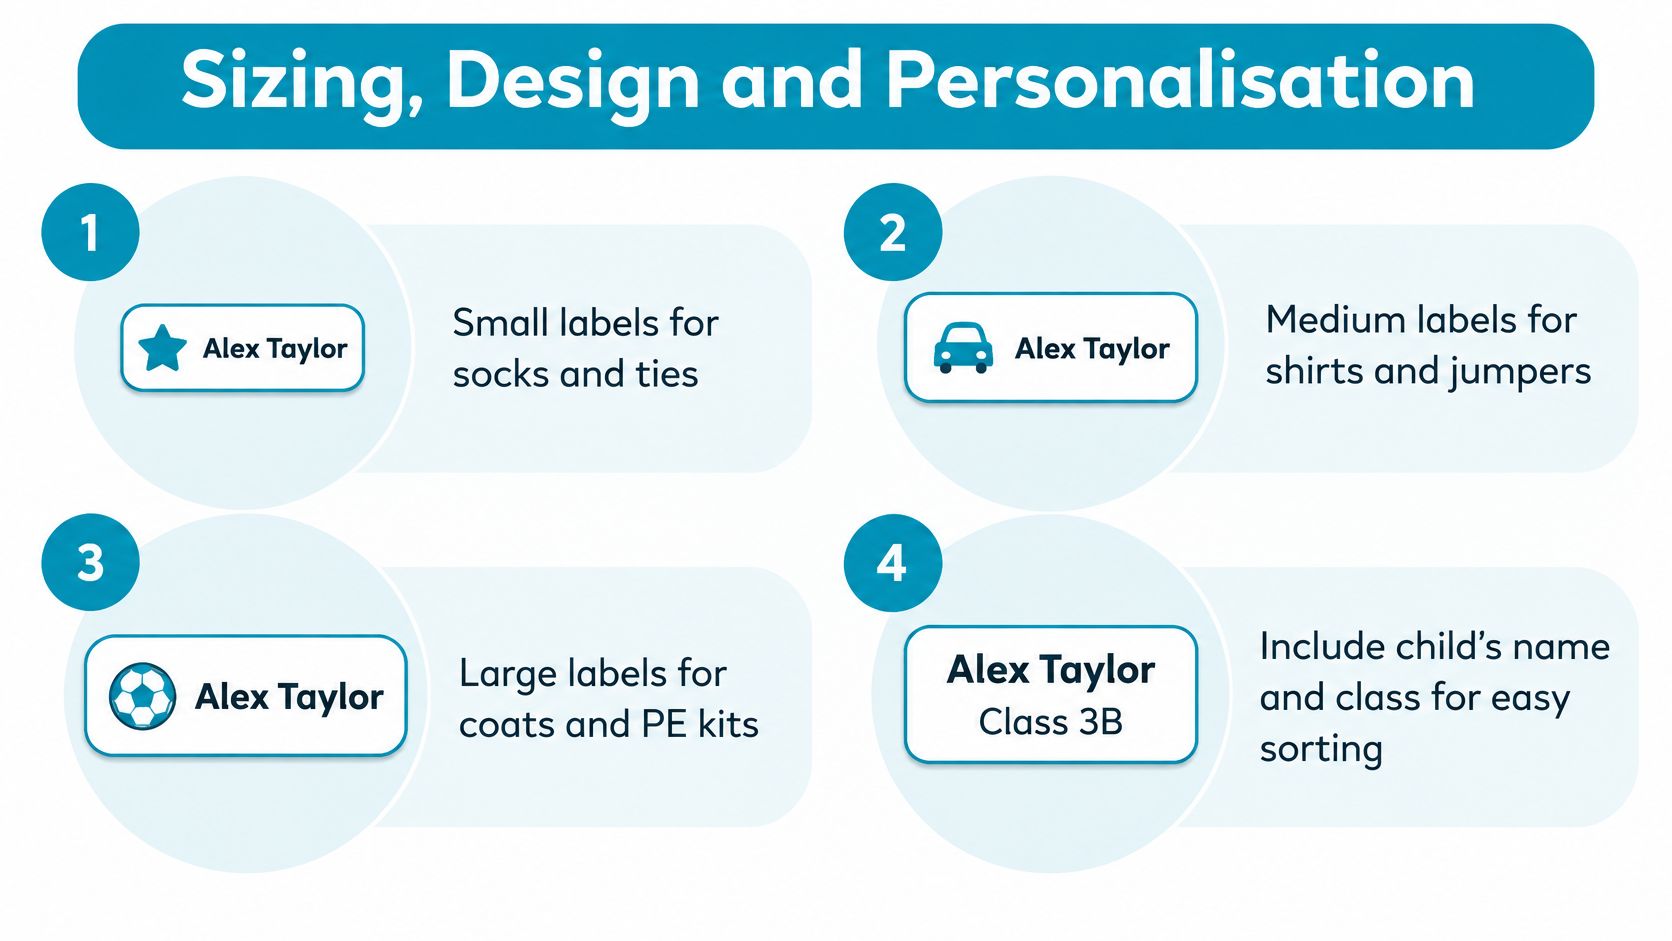
Use small labels for socks, ties and narrow care labels. Use medium labels for shirts, jumpers, trousers and PE kit. Use larger labels for coats and care home garments where staff need to read the name quickly at arm's length. If the label overhangs the care label, it's too big for stick-on use. Downsize or switch type.
For children, I recommend first name plus surname initial. It's enough for school staff to identify the owner without putting a full name on clothing that leaves the house. Add a class only if your school sorting system uses it and you're prepared to reorder when the class changes. Phone numbers belong inside bags and coats, not on every shirt.
Choose a plain, readable font over a curly display font every time. Dark text on a light background is easiest in poor light. If you're unsure, this guide to choosing fonts for name labels and readable personalisation shows why letter spacing and contrast matter more than decoration.
- Colour code siblings: One colour per child speeds up home laundry sorting even before anyone reads the name.
- Icons for pre readers: A simple picture helps a young child recognise their own label in a cloakroom.
- Keep text consistent: Use the same name format on every label so staff learn to spot it quickly.
- Order spares: New uniform, replacement PE kit and growth spurts arrive without warning.
Plan the order by wardrobe, not by pack size marketing. Count garments, add spares for new items, then buy. A shortfall halfway through labelling is how the unlabeled jumper problem starts again.
Choosing and Buying the Right Labels with Confidence
My recommendation is simple. Most parents should start with washable stick-on labels on care labels because you'll finish the job tonight. Add iron-on for cotton school uniform if you want a flatter, fabric fused finish. Choose sew-on for blazers, quality coats, hand knits and care home wardrobes where laundry is demanding and the garment will be kept a long time. Don't buy one type and force it onto every fabric in the house.
Coverage beats perfection. Among UK schools reporting that at least half of parents label school kit, only 9% classify lost property problems as severe, compared with 49% where fewer than a quarter of parents label items, according to the Stikins survey summary for parents on labelling and lost property severity. That's an observational link, not proof labels alone cause the difference, since engaged schools may also run better collection systems. The practical lesson still stands. Label the whole set, not just the costly pieces.
Quote My Wall sells personalised stick-on name labels for school and care home clothing, designed for application to existing care labels and described as washable and tumble dryer safe. Treat them like any other option. Test on a few garments through your normal wash first, check edges and readability, then complete the wardrobe if they perform.
Before you order, run this checklist.
- Count every garment: Uniform, PE kit, coats, spares and club kit, not just school shirts.
- Match type to fabric: Cotton, fleece, waterproof and knitwear may need different labels.
- Check the laundry: Home wash, nursery wash or care home process, including drying.
- Add spares and top up yearly: Keep a small supply in a drawer for new clothing.
Do the labelling in one session, respect the curing time and review a few labels after the first proper washes. You'll spend less time in lost property and less money replacing garments you already bought once. That's a result worth an evening with an iron, a needle or a sheet of stick-on labels.
Ready to stop replacing jumpers you've already paid for? Quote My Wall offers personalised stick-on clothing labels for school uniform and care home garments, alongside its wider range of vinyl and print products for the home. Visit Quote My Wall to personalise your labels, test them on a few garments through your usual wash, then label the whole wardrobe with confidence.