
Install a Kids World Map Wall Decal Like a Pro
A world map wall decal is one of the best ways I’ve found to bring a splash of colour and a dose of education into a child's room without any of the fuss. It's more than just a bit of decoration; it’s a genuine learning tool that can get them asking questions about the world. For UK renters like myself, they're an absolute godsend – a simple, completely removable way to make a space feel like home.
Choosing the Right World Map Decal for Your Space
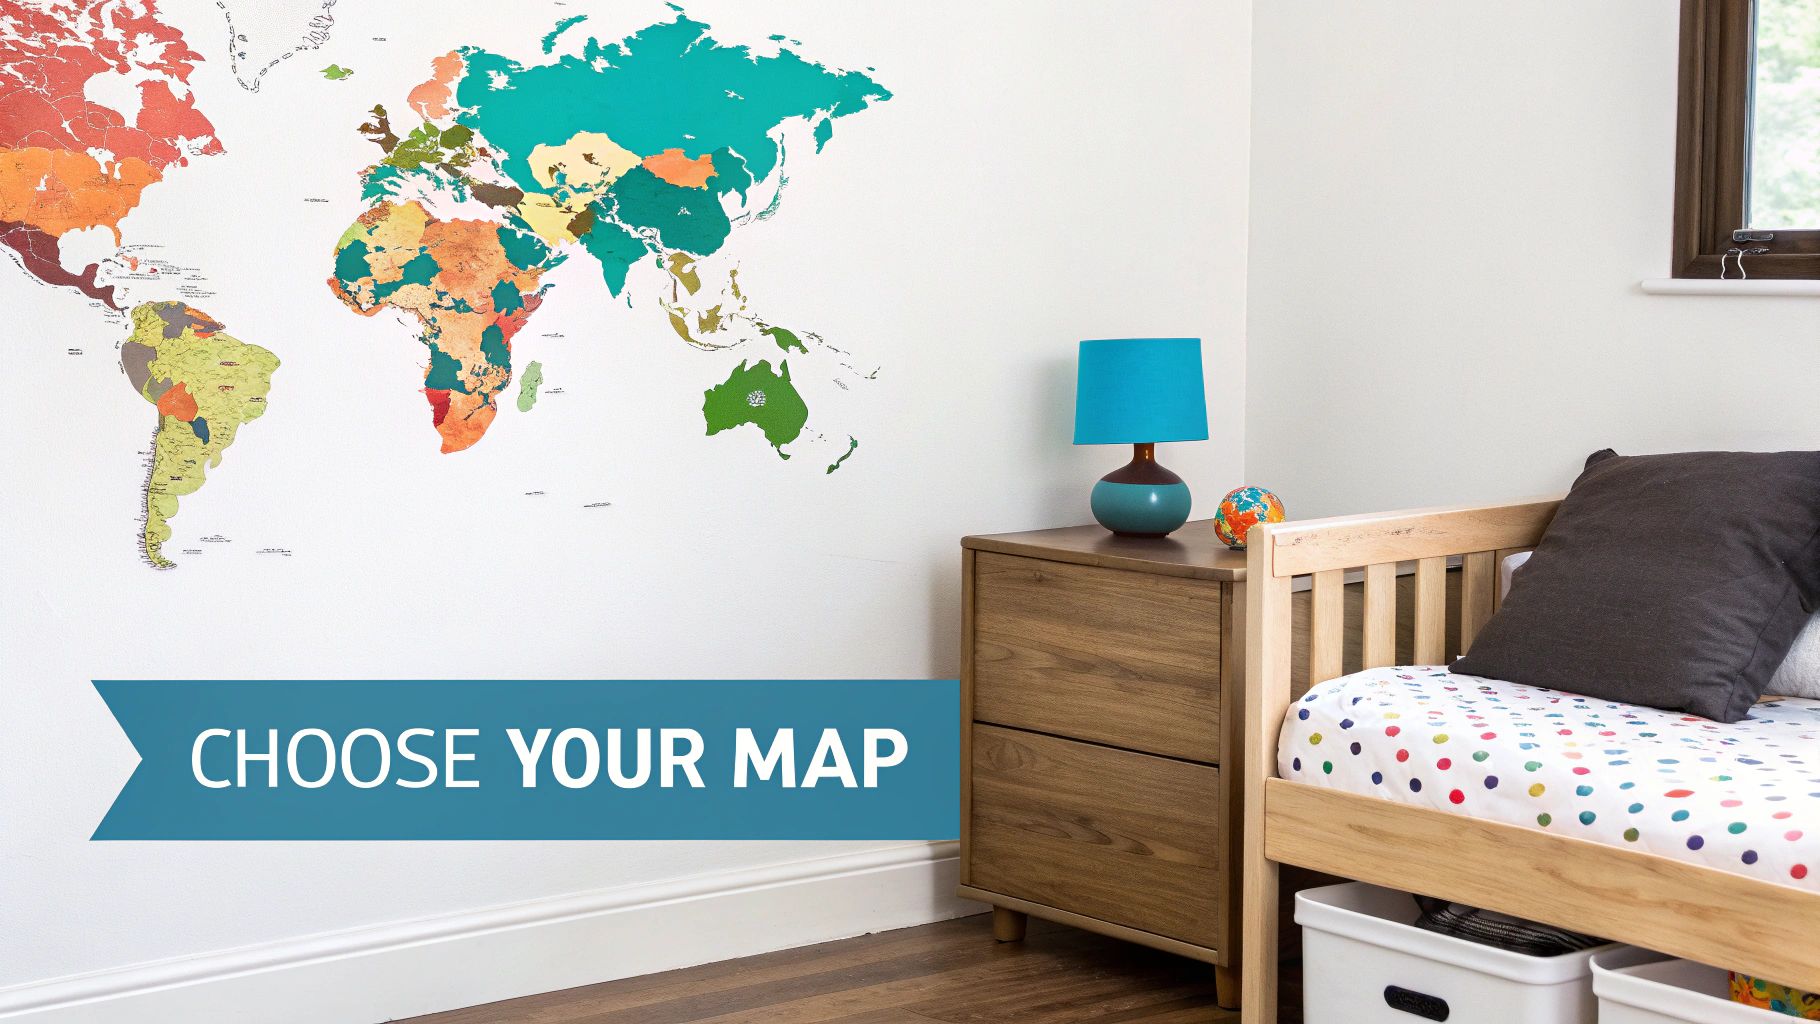
Alright, let's get down to the fun part: finding the perfect map. This is all about striking a balance between what looks great and what’s actually practical for your home. You want something that makes a statement but doesn't leave a mark, which is a top priority when there’s a security deposit on the line.
The go-to material for this is peel-and-stick vinyl. Honestly, it's a game-changer. The adhesive is just right – strong enough to stay put for years but gentle enough that it comes away cleanly from most painted walls when it’s time to move on.
Picking the Best Finish and Material
As you start looking, you'll see 'matte' and 'gloss' finishes mentioned. For a child's bedroom or playroom, I almost always recommend a matte finish. It's brilliant because it doesn't catch the light from windows or lamps, meaning no annoying glare. The map stays clear and easy to read from anywhere in the room. Gloss can look sharp, but it's just not as user-friendly in a space with lots of different light sources.
Here's a quick look at the most common decal materials to help you decide.
Decal Material Comparison for UK Homes
A quick look at common wall decal materials to help you pick the best option for your home and family's needs.
| Material Type | Best For | Removability | Durability | Typical Cost |
|---|---|---|---|---|
| Peel-and-Stick Vinyl | Renters, kids' rooms, easy application, and vibrant colours. The all-rounder. | Excellent, usually damage-free. | Very high. Wipeable and resistant to scuffs and sticky fingers. | £15 - £50 |
| Fabric Decal | A premium, textured aesthetic in living rooms or older kids' rooms. | Very good, often reusable. | Good, but can be less resistant to vigorous cleaning. | £40 - £80+ |
| Cut Vinyl | Minimalist designs (e.g., just country outlines) on smooth walls. | Good, but can be trickier to apply and remove in one piece. | High, very long-lasting. | £20 - £60 |
Vinyl is usually the winner for durability—it's wipeable and tough enough to handle daily life with kids. Fabric decals, on the other hand, have a lovely high-end, textured look but might not stand up to quite as much cleaning.
My Top Tip: Always, always double-check that the decal is made with non-toxic inks. This is going in your child's personal space, so safety is everything. Any reputable UK seller should state this clearly in their product description.
Matching the Map to Your Room and Your Child
Think about the scale of the room first. Do you have a big, empty wall that’s just calling out for a huge feature map? Or are you looking for a smaller accent to go above a desk or bed? Get the tape measure out before you click 'buy' – it really helps to visualise how it will look.
Next, think about your child's age and what will capture their imagination.
- For Toddlers (Ages 2-4): Go for maps with bright, bold colours, super-simplified continents, and charming cartoon animals dotted around the globe. It's all about sparking that initial recognition and visual fun.
- For Early School Years (Ages 5-8): At this stage, you can introduce more detail. Look for designs that clearly label countries and capital cities. You can still have the fun animals, but the educational side starts to become more of a focus.
- For Older Kids (Ages 9+): Now you can look for something more geographically accurate. Maps with flags, population stats, or even topographical details are fantastic for feeding a growing curiosity about the wider world. For a bit more inspiration on age-appropriate styles, you can browse through these examples of children's room decals.
The popularity of these decals has shot up recently, with UK sales climbing by around 35% between 2015 and 2023. You can find them for as little as £12.95 or go for a large, complex design costing over £60, so there’s really something for every budget.
How to Prep Your Walls for a Flawless Finish
Getting that perfect, bubble-free look for your new kids' world map really comes down to the prep work. Honestly, skipping this part is the biggest mistake people make, but a little effort here ensures your map looks like a professional put it up and stays that way for years. Think of it as creating the perfect canvas for your new masterpiece.
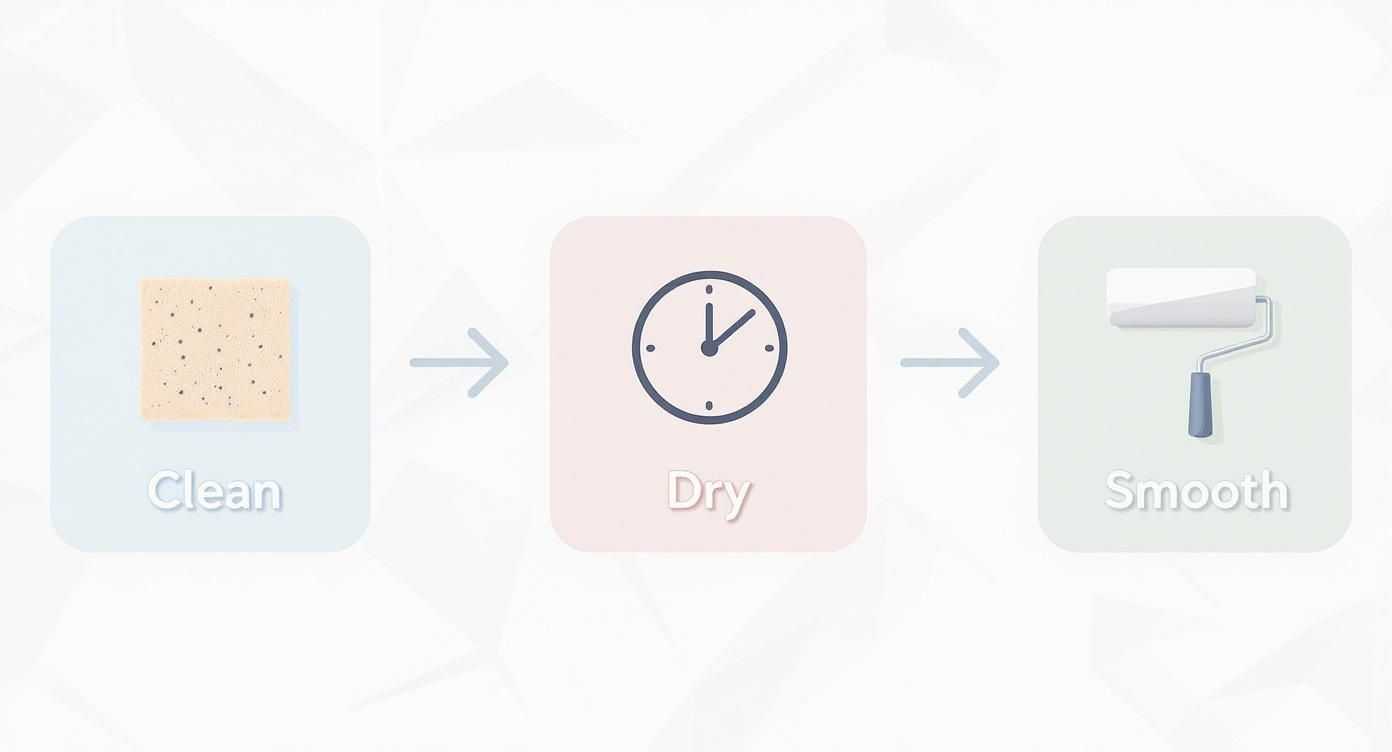
First things first, give the wall a proper clean. Even if it looks spotless, there’s always a fine layer of dust or grime that can stop the decal's adhesive from getting a good grip. Just mix a few drops of washing-up liquid with some warm water and gently wash the area with a soft sponge.
Next, wipe away any soap residue with a clean, damp cloth. You don't want anything getting between the decal and the wall. Now for the hard part: waiting. The wall needs to be 100% dry before you even think about unrolling the map. I’d give it at least 24 hours, but if the room is a bit cool or humid, wait a full 48. It’s worth it.
What’s Your Wall Like?
Most modern UK homes have plasterboard walls with a lovely smooth, painted finish – perfect for decals. But if you’re dealing with something like an old Artex finish, the decal just won't be able to make full contact. You’ll end up with air pockets and peeling edges. You might get away with a very light texture if you press down firmly, but heavily textured walls are a definite no-go.
The type of paint and how long it's been on the wall are also massive factors. A freshly painted wall needs to ‘cure’, which is just the fancy term for all the solvents evaporating. If you stick a decal on too soon, you’ll trap those gases and get bubbles that are simply impossible to fix.
Take it from me: a newly painted wall needs to cure for at least three weeks before you apply a vinyl decal. It might feel dry after a day, but the chemical curing process is still going on under the surface. Don’t rush this step!
For a truly long-lasting application, it's also smart to think about the overall health of your walls, including addressing underlying moisture issues which can ruin even the best decal job.
Get Your Toolkit Ready
Having everything you need within arm's reach turns a potentially stressful job into a smooth one. There’s nothing worse than being halfway up a ladder, wrestling with a giant sticky map, only to realise the one tool you need is across the room.
Here’s a quick checklist of what you'll need:
- A soft, clean cloth: For one last wipe-down right before you begin.
- Masking tape: This is your best friend for positioning the map and using the 'hinge' method.
- A spirit level or laser level: Because nobody wants a wonky world map.
- A squeegee or credit card: The essential tool for smoothing the decal and banishing air bubbles.
- A tape measure: To find the perfect spot on your wall.
Once you’ve got your tools and your wall is clean and bone-dry, you’re ready to get sticking.
Applying Your Wall Decal Without the Stress
Right, this is the exciting part—where your vision finally starts to take shape on the wall. I know that applying a big world map decal can feel a bit daunting. You're probably picturing wonky continents and a nightmare of wrinkles. But trust me, with the right technique, it's a satisfying job you can definitely handle.
The trick to getting it perfectly straight is a little industry secret I call the "hinge" method. It’s a game-changer. You essentially use masking tape to tack the whole decal to the wall first, so you can stand back, check your levels, and shuffle it around until it’s in exactly the right spot. It takes all the guesswork out of the equation.
The Hinge Method Explained
Once you've marked where you want your map to go, hold the decal up to the wall. Take a long strip of masking tape and run it horizontally right across the middle of the decal, making sure it sticks firmly to both the decal and the wall. This tape is now your "hinge."
With the hinge in place, you can flip the top half of the decal up and over the tape. Now, carefully start peeling the backing paper away from the vinyl, going from the top edge down until you reach the masking tape hinge. Don't pull it all off! Just peel back that top half, then grab some scissors and cut away the loose backing paper.
My Best Tip: Take your time when smoothing the decal down. Always work from the centre outwards—from the hinge up towards the top edge. This method is your best defence against bubbles because you're systematically pushing any trapped air out to the sides.
Grab a squeegee (or a credit card wrapped in a soft cloth) and start smoothing the sticky side of the vinyl onto the wall. Apply firm, even pressure, working from the hinge up and out. Once that top section is securely on the wall, you can gently remove the masking tape.
Now, let the bottom half of the decal drop down, peel off the rest of the backing paper, and smooth it onto the wall using that same centre-out technique.
Before you even get to this stage, though, remember that wall prep is everything.
As you can see, a clean, dry, and smooth surface isn't just a suggestion; it's the foundation for a decal that looks great and lasts for years.
Handling Multi-Piece Maps And Mishaps
Many of the larger, more detailed world maps come in a few different pieces to make them easier to handle. This is a huge help, but it does mean you need to pay a bit more attention to getting the alignment spot-on.
- Overlap or Edge-to-Edge? First thing's first: check the instructions. Some decals are designed to overlap by a few millimetres to hide the seam, while others need to be placed precisely edge-to-edge. Knowing which you have is crucial.
- Use Reference Points: Don't just try to eyeball it. Pick a distinct feature like a coastline, a country border, or a line of latitude on the first piece. When you bring in the second piece, focus on lining up that one feature perfectly before you commit to sticking the rest of it down. This multi-panel approach is common in lots of designs, including themed rooms with jungle wall decals.
And what if the worst happens and the decal folds over on itself? We’ve all been there. The key is not to panic. Absolutely do not yank it apart, as you’ll stretch the vinyl and ruin it.
Lay the sticky mess on a flat, clean surface. Then, very gently and slowly, start peeling the pieces apart. If it’s really stuck, a quick blast of heat from a hairdryer on its lowest setting can soften the adhesive just enough to make it release more easily.
Uh-Oh! Smoothing Out Bumps and Hiccups
Even the most seasoned DIY-er can hit a snag when applying a wall decal. Don't panic if you see a bubble or a lifting edge – most of these little issues are incredibly easy to sort out.
The most common gremlin you’ll face is the air bubble. They’re annoying, but with a bit of patience, you can get a perfectly smooth, professional-looking finish. How you tackle it really depends on the size of the bubble.
Taming Bubbles and Pesky Peeling Edges
For those tiny little bubbles, just grab your squeegee (or a credit card) and gently work the trapped air towards the closest edge of the map. It should smooth out in seconds.
What about a larger, more stubborn bubble that refuses to cooperate? A simple pin is your secret weapon here.
Gently prick the very centre of the bubble. You barely need to make a mark. Then, with your finger or the squeegee, smooth the decal down, pushing the air out through that tiny hole. The vinyl will flatten beautifully, and I promise you’ll never even see the pinprick. It’s a trick I’ve used countless times, and it works like a charm.
Another frustrating moment is when an edge starts to peel away from the wall. This is almost always down to one of two things: either a bit of unseen dust or grease was left on the wall, or the paint itself is the culprit. Some of those modern 'wipe-clean' paints have additives that vinyl just doesn't like to stick to.
To fix it, carefully lift the peeling bit, wipe the wall underneath with a cloth dampened with a little rubbing alcohol, and let it dry completely. Then, just press the decal back down, making sure to apply firm pressure.
A Quick Fix for Wrinkles
If a small wrinkle or crease appears, don't try to pull the decal off the wall. Instead, fetch a hairdryer and put it on the lowest heat setting. Gently warm the wrinkled spot for a few seconds to make the vinyl a bit more pliable, then smooth it flat with your fingers. Easy.
Why Decals are Such a Smart Choice for UK Families
These simple fixes really show why removable decals have become such a go-to for parents. The freedom to correct little mistakes without leaving a permanent mark is a massive plus, especially if you're renting.
This kind of adaptability really clicks with modern family life in the UK. With around 12.5 million children under 16 and so many of us living in flats or houses where space is precious, decals offer a brilliant way to decorate without the commitment of paint or wallpaper. You can find out more about what this means for households in studies on the UK’s demographic makeup.
Turning Your Map into an Interactive Learning Hub
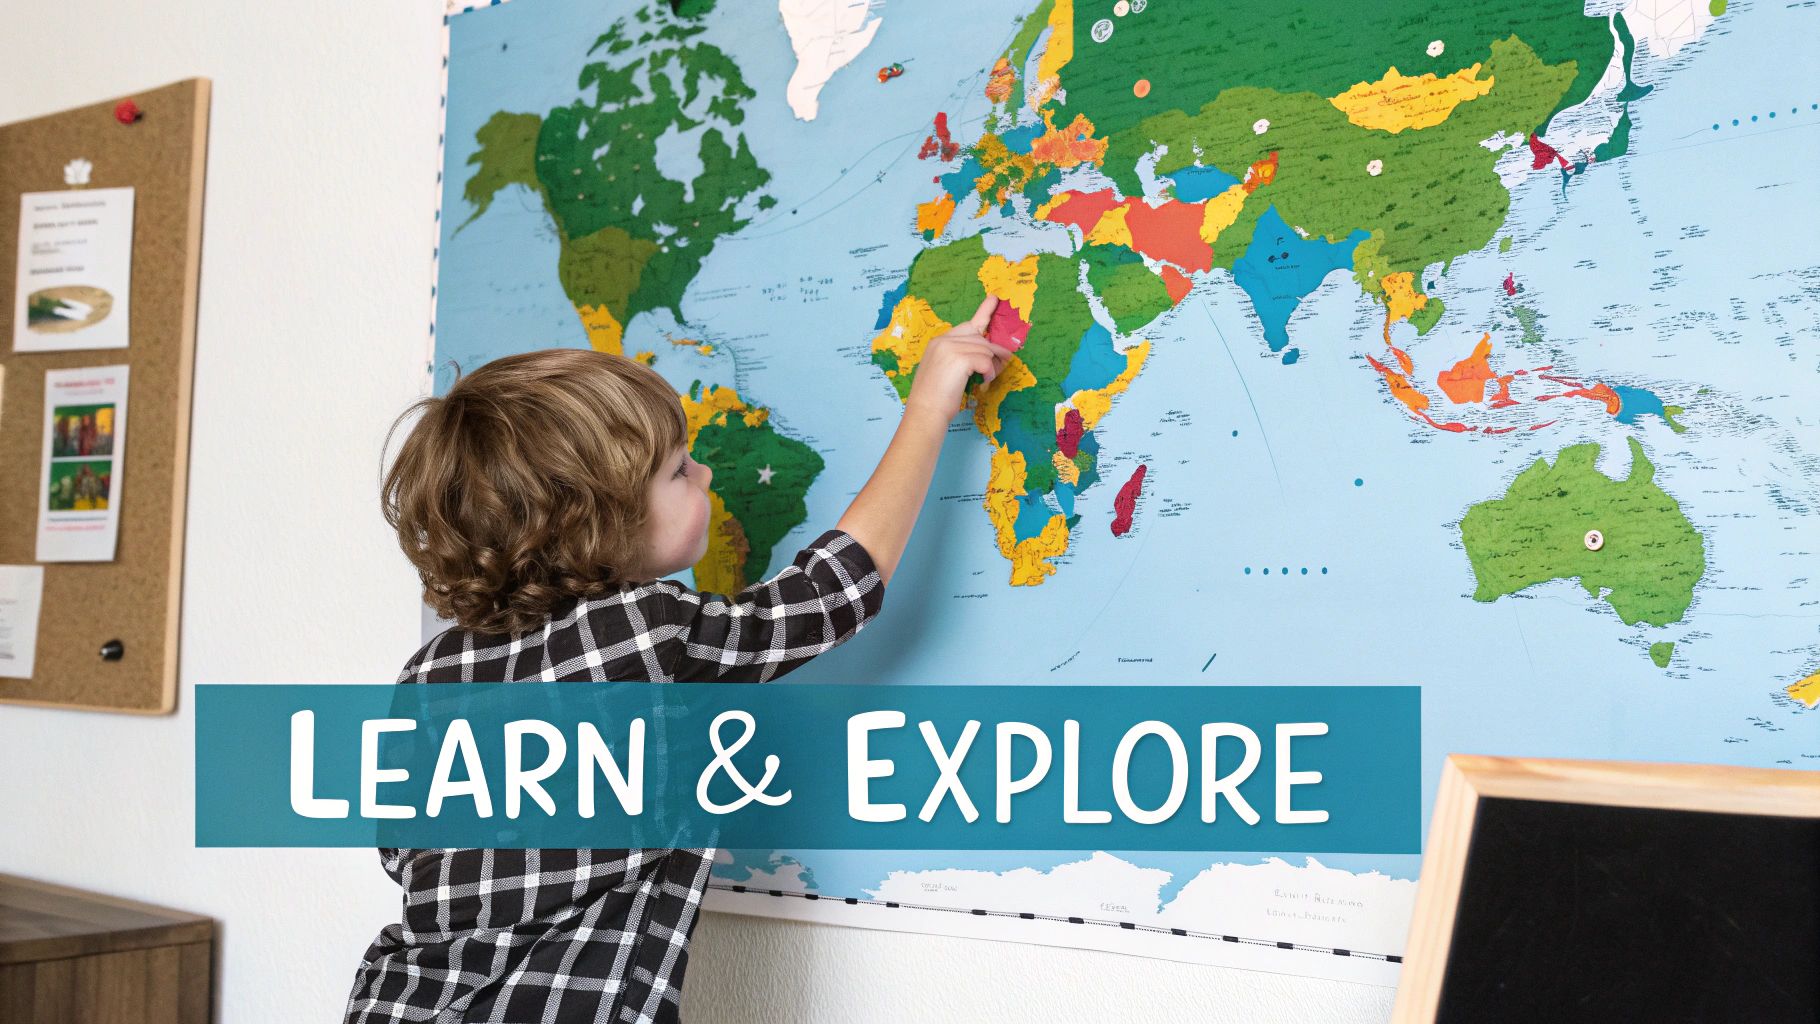
Now that your new kids' world map decal is perfectly in place, the real adventure can begin. This is so much more than a pretty decoration; it's a launchpad for curiosity, stories, and a whole lot of learning. With a few simple interactive touches, you can turn it from something they just look at into something they actively do.
One of the easiest and most effective ways to start is with small, removable stickers or pins. You could grab a few different colours and create your own little system. Maybe blue dots for places you've visited as a family, yellow for spots on your travel wish list, and red for where friends or relatives live around the globe.
This simple act of placing a sticker creates an immediate personal connection. Suddenly, it’s not just a map of the world—it’s a living record of your family's story and aspirations. It's a fantastic way to spark conversations about past holidays and dreams for the future.
Making Geography a Daily Game
To keep the fun going, try weaving a bit of geography into your daily routine. You don't need complicated rules, just simple, spontaneous challenges.
- Play "I Spy a Country" while everyone's getting ready for school. Start with easy clues like, "I spy a country that looks like a boot," or, "I spy a country where polar bears live."
- Trace Famous Journeys with a bit of string or a whiteboard marker (if your decal has a wipe-clean finish). You could follow the routes of famous explorers, historical migrations, or even the journey of a character from their favourite book.
- Start a "Fact Corner" right next to the map. A small, inexpensive chalkboard or pinboard is perfect for this. Each week, you can feature a "Country of the Week" with its flag, capital city, and a fun fact.
A world map on the wall is a constant, gentle invitation to learn. It makes geography a tangible, everyday part of your child’s world, not just a subject they see in a classroom. This kind of casual exposure is brilliant for building up that foundational knowledge without it feeling like a lesson.
To really get them thinking like a geographer, it’s worth exploring the ideas behind Cartography for Kids: Understanding Maps and Unlocking Creativity, which has some great tips for encouraging hands-on engagement.
Building Real-World Connections
These activities are especially powerful here in the UK, where boosting geographic literacy is a real focus. It’s quite shocking to learn that studies show only 53% of British adults can correctly identify England, Scotland, Wales, and Northern Ireland on a blank map.
With that in mind, it's no wonder that over 42% of UK families with children aged 4-11 are using tools like wall maps to support learning at home. It’s a brilliant way to help them understand the UK's place in the wider world and build a skill for life.
Looking After and Removing Your Wall Decal
One of the brilliant things about a kids' world map wall decal is how versatile it is. It's designed to be a beautiful feature in your child's room, but it’s not forever. When it’s time for a room makeover or if you're moving house, it comes off without a fuss. This is a massive plus, especially if you’re renting and need to leave the walls exactly as you found them.
The secret to a clean, damage-free removal isn't about pulling harder; it's about using a bit of gentle heat. This simple trick makes the whole job surprisingly easy and completely stress-free.
Taking It Down Without a Trace
The adhesive on our vinyl decals is made to be strong, but not permanent. Applying gentle heat softens this adhesive, letting the vinyl peel away from the wall without taking paint with it or leaving a sticky mess behind. Your everyday hairdryer is the perfect tool for this.
Here’s my tried-and-tested method for a clean removal:
- Warm it up: Grab your hairdryer and set it to low or medium heat. Hold it about 15-20 centimetres away from a corner of the decal and wave it back and forth for about 30 seconds. You'll feel the vinyl become warm and more pliable.
- Get it started: Once a corner is warm, use your fingernail or a plastic scraper to gently lift the edge away from the wall.
- Peel slowly and sharply: This is the crucial part. Pull the decal back on itself at a sharp angle, almost 180 degrees flat against the wall. Avoid pulling it straight out at 90 degrees, as that’s what puts stress on the paint. Slow and steady is the way to go.
- Heat as you go: As you peel, keep warming the vinyl just ahead of where you’re pulling. This keeps the adhesive soft and cooperative right to the very end.
If you hit a stubborn patch, just give it another little blast of warmth. For a more detailed walkthrough, our complete guide on how to remove a wall sticker has a few extra tips to make sure it comes off perfectly.
Dealing with Residue: It's rare for high-quality vinyl to leave any sticky stuff behind, but if it does, it's easy to sort. Just wipe the area with a soft cloth and a bit of rubbing alcohol or a mild, citrus-based cleaner.
Keeping Your World Map Looking Fresh
Keeping your world map’s colours looking vibrant couldn't be simpler. Of course, it's going to pick up a bit of dust and a few fingerprints over time, but a quick wipe is all it needs to look bright and new again.
All you need is a soft, damp cloth—a microfibre one is ideal. Gently wipe over the surface to get rid of any dust or marks. If you’re dealing with something a bit stickier, a tiny drop of washing-up liquid in warm water is perfectly safe to use.
What’s just as important is knowing what not to do. Stay away from abrasive cleaners, harsh chemical sprays, and scouring pads. These will scratch the surface of the print or even cause the colours to fade. A little gentle care is all it takes to keep your map looking as good as the day you put it up.
Ready to start your next decorating adventure? Explore the full collection of creative and educational designs at Quote My Wall and find the perfect map for your little explorer's room. https://www.quotemywall.co.uk