
A Pro's Guide to Applying Jungle Wall Decals
Welcome to the wild and wonderful world of jungle wall decals! If you're looking for a simple way to create a magical, immersive space without the faff of paint or wallpaper, you've come to the right place. These peel-and-stick designs are a fantastic choice for nurseries, playrooms, and even living areas, offering a touch of playful nature.
From whimsical monkeys swinging from vines to elegant palm leaves creating a calming corner, wall decals can completely transform a room in an afternoon.
Bringing the Jungle Indoors: Your Beginner's Guide
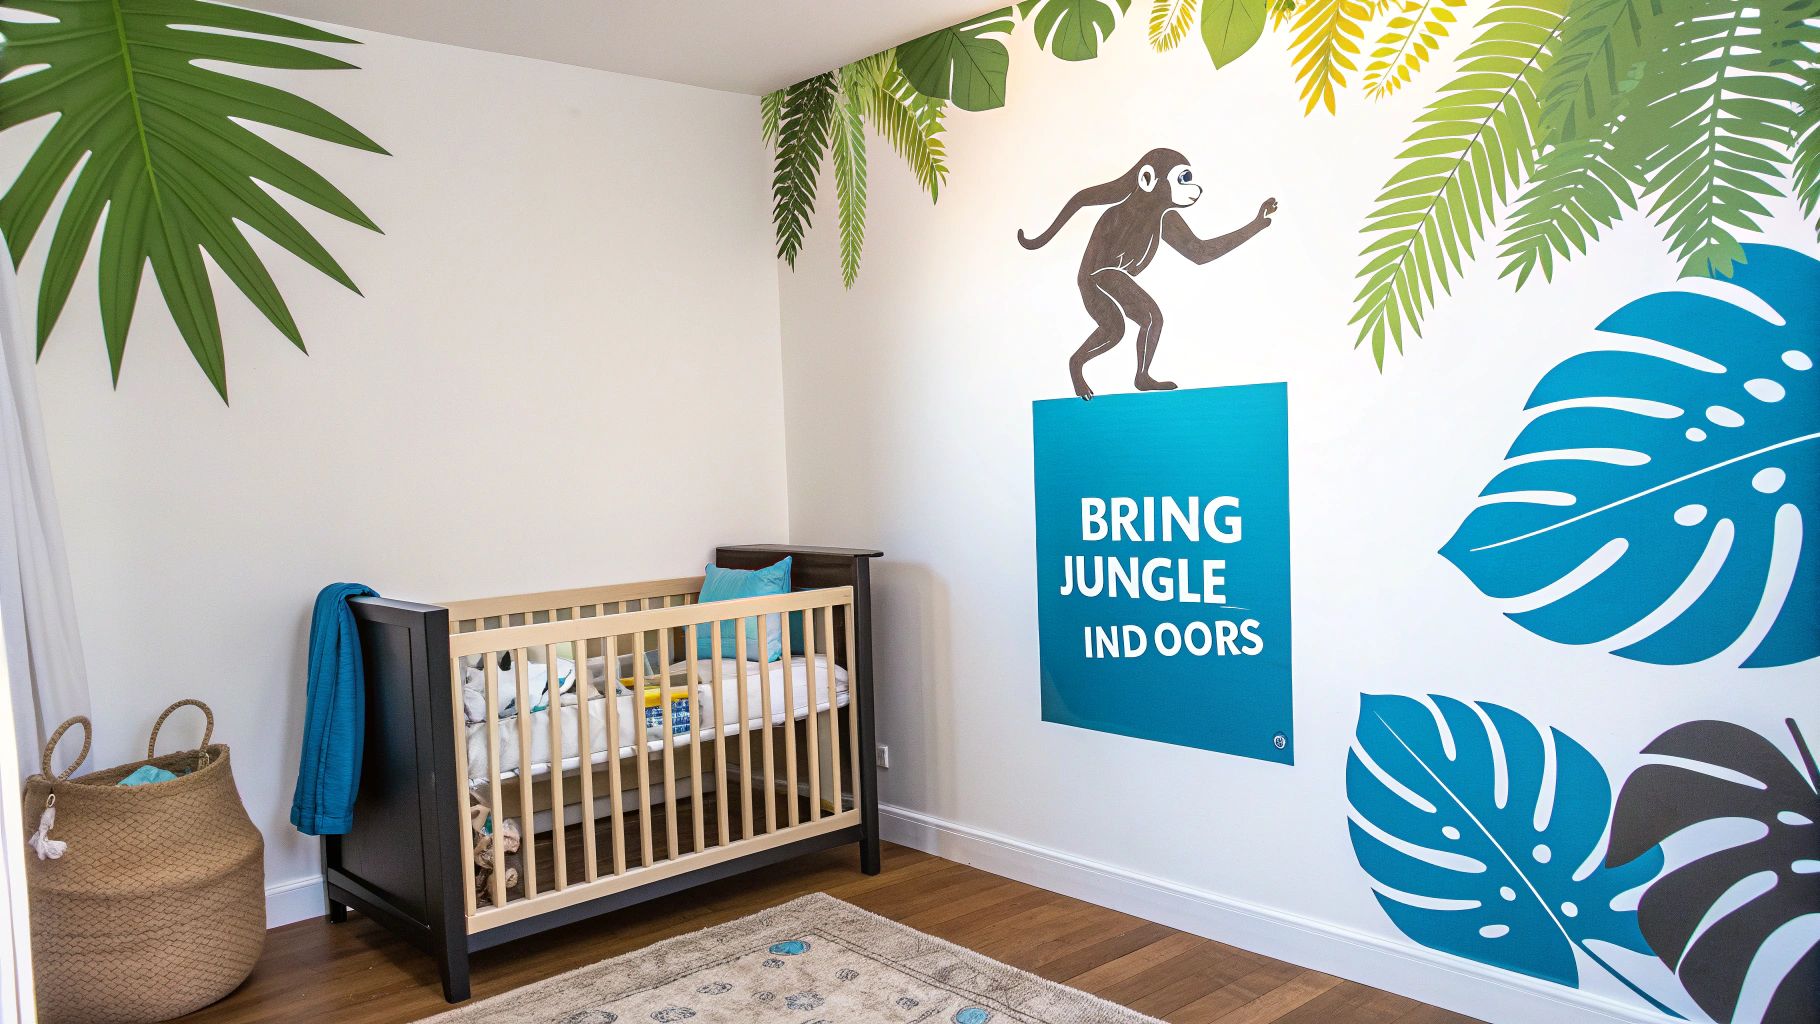
Creating a vibrant, nature-inspired room has never been easier. Jungle wall decals offer a seriously creative and renter-friendly solution to inject personality and charm onto any wall. They give you the freedom to build an imaginative world that can grow with your child or be easily updated as your style evolves.
The real beauty of these decorations is their simplicity and impact. You could design a full safari scene above a cot or just add a single, striking monstera leaf to a forgotten corner. This versatility is exactly why they’ve become a firm favourite for parents and decorators after a high-impact, low-effort design fix.
Why Choose Wall Decals Over Paint or Wallpaper?
It's no secret that personalised home décor is on the rise. The global wall stickers market was valued at around £2.4 billion in 2023, and it’s set to keep growing. This trend is particularly strong here in the UK, where more and more families are looking for unique ways to customise children’s spaces.
When you look at the benefits, it's easy to see why they're so popular:
- So Easy to Apply: Honestly, most decals are a simple peel-and-stick job. No special tools, no messy paste, and no previous experience needed.
- Damage-Free Removal: This is a big one. High-quality decals come off cleanly without leaving sticky residue or peeling off paint, which is perfect if you're renting or just love changing your mind.
- Kind to Your Wallet: Compared to the cost of wallpapering a whole room or hiring a mural artist, decals give you that custom-designed look without the hefty price tag.
Getting to Grips With Decal Materials
Not all jungle wall decals are made the same, and the material really does matter. It affects the final look, how long it lasts, and how easy it is to work with. The two you’ll see most often are vinyl and fabric.
Most decals you'll find are made from vinyl. It's a popular choice because it's durable, easy to wipe clean, and usually has a slight sheen (though you can find lovely matte finishes too). It really works best on smooth, non-porous surfaces like a standard painted wall.
Fabric decals, on the other hand, are the more premium option. They're typically made from a polyester-based material with a matte, canvas-like texture that can beautifully mimic a hand-painted mural. I've found their flexibility makes them more forgiving on slightly textured walls, and they are often repositionable, which is a lifesaver if you don't get it right the first time!
Here’s a quick look at how they stack up.
Decal Material At a Glance
| Material Type | Best For | Finish | Durability |
|---|---|---|---|
| Vinyl | Smooth, flat walls in nurseries, playrooms, and living areas. | Typically a slight sheen, but matte options are available. | Very durable and easy to clean, but can tear if not handled carefully. |
| Fabric | Slightly textured walls and for those wanting a premium, artistic look. | Matte, textured finish that looks like a painted mural. | Highly durable, tear-resistant, and often repositionable. |
Ultimately, the right material comes down to your wall's texture and the finish you're dreaming of.
My rule of thumb? For a crisp, modern look on a smooth wall, vinyl is a fantastic and budget-friendly choice. If you want a softer, more artistic feel that blends into the wall, investing in fabric is often worth it.
Armed with these basics, you're ready to start your project with confidence. For a little more inspiration on bringing the outdoors in, check out these brilliant ideas to transform your home with a natural, tree-inspired theme. Making the right choice now will set the stage for a delightful and engaging atmosphere you'll love for years.
Choosing the Perfect Jungle Decals for Your Space
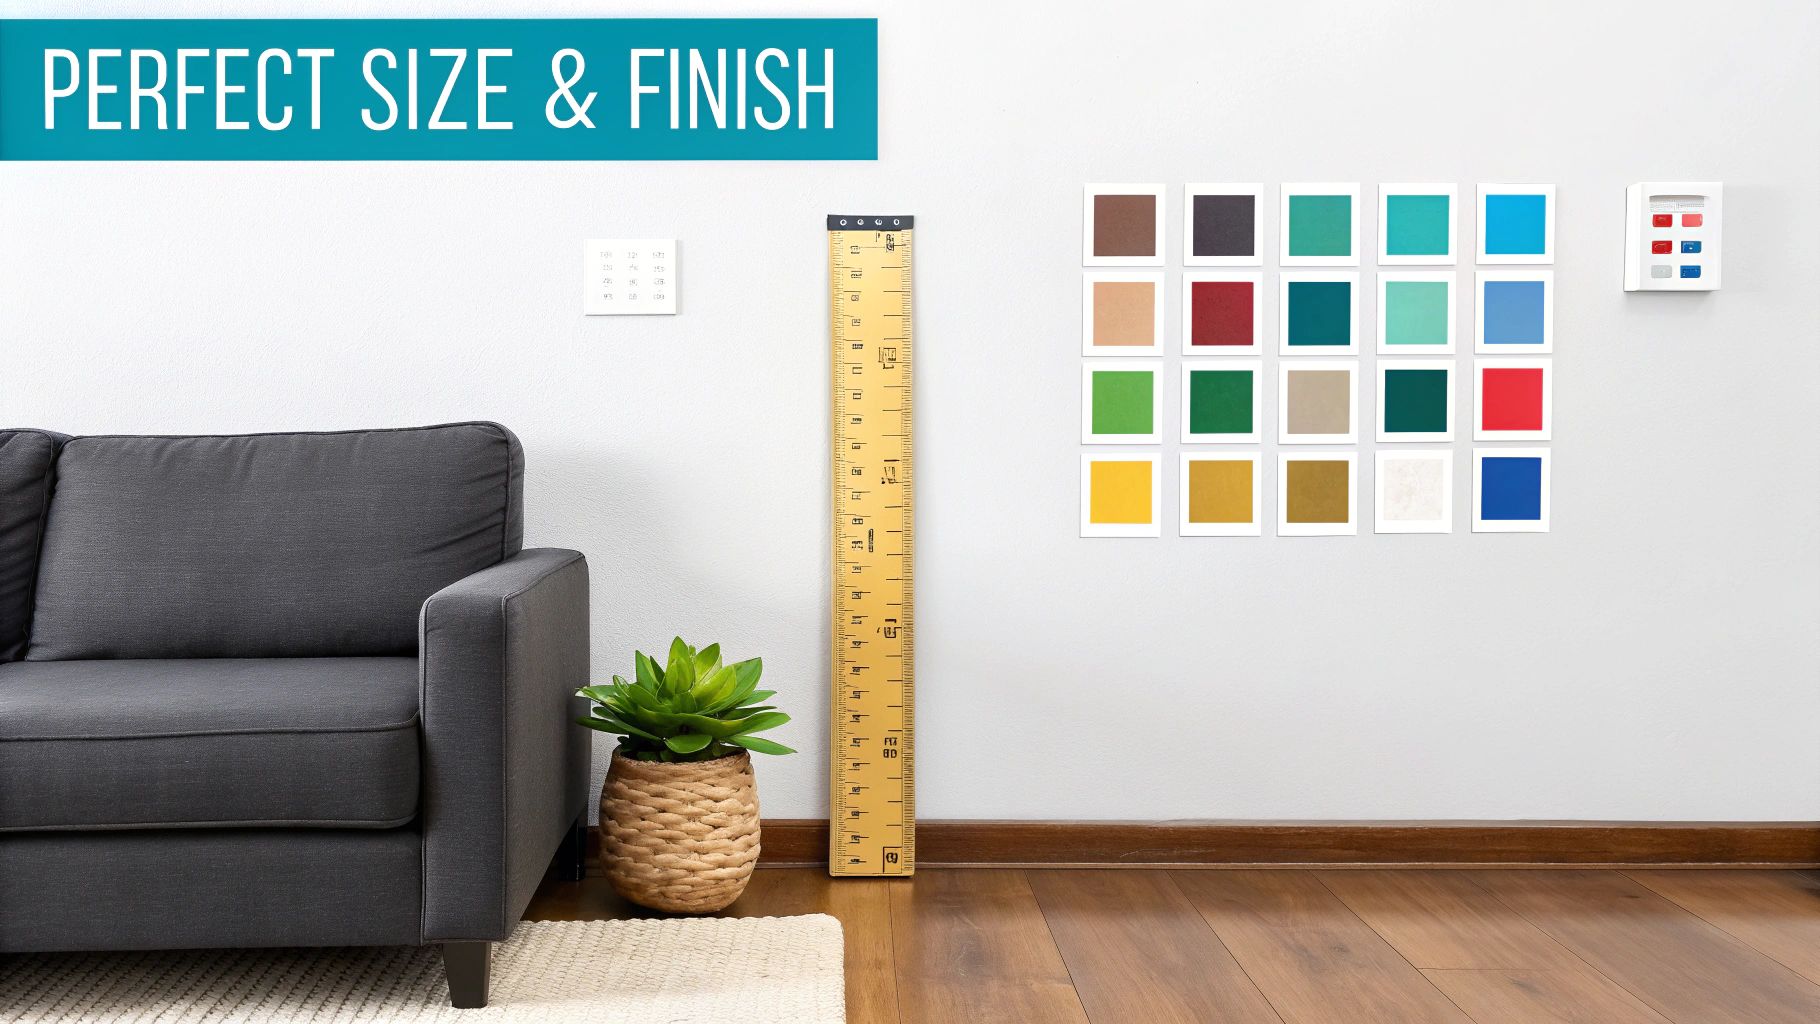
Finding the right jungle wall decals involves more than just picking a cute monkey. If you want a space that feels truly harmonious and professionally designed, you need to think about size, finish, and colour. Getting these three elements right is what separates a simple sticker job from a stunning, room-defining feature wall.
The first thing to nail down is scale. I’ve seen it time and again: people choose decals that are far too small for the wall, making them look lost and frankly, a bit of an afterthought. On the flip side, a design that's too big can completely overwhelm a smaller room.
So, before you do anything else, grab a measuring tape. Jot down the dimensions of the wall you’re working with. A brilliant little trick is to use painter's tape to block out the rough size of the main decal elements on the wall. This gives you a fantastic real-world preview of how the design will fill the space and helps you visualise whether a single statement piece or a collection of smaller decals will work best.
Finding the Right Finish and Colour Palette
The finish of your decals makes a huge difference to how they interact with the light in your room. You’ll generally find two main options: matte and gloss, and they create very different effects.
- Matte Finish: I almost always recommend a matte finish. It gives a beautiful, non-reflective, painted-on look that melts right into your wall. The result is a sophisticated, mural-like appearance that’s brilliant at hiding minor wall imperfections. Best of all, it looks fantastic from every angle without any distracting glare.
- Gloss Finish: A gloss finish has a definite shine. While it can work for certain modern or high-energy designs, be aware that it will reflect windows and lamps. This can sometimes detract from the artwork itself, depending on your room’s lighting.
Next up, the colour palette. This is what truly sets the mood. For a calm, serene nursery, think about soft, watercolour-style decals with muted greens, greys, and gentle earthy tones. If you’re designing a vibrant playroom buzzing with energy, you can go all out with bright, cartoonish animals and bold, colourful leaves.
When in doubt, look at the existing colours in your room. Pulling tones from the bedding, a rug, or the curtains is a classic designer trick to ensure your new jungle theme feels connected and intentional, rather than just stuck on.
What to Look for Before You Buy
Beyond the look, it’s crucial to check the practical details before you click 'add to basket'. The quality of the material and ink directly impacts how long your decals will last, how safe they are, and how easy they are to apply.
Always scan the product description for a few key phrases. Look for terms like "non-toxic," "child-safe," or "VOC-free inks," which are especially important when decorating a nursery or child's bedroom. This gives you peace of mind that the products are made without harmful chemicals.
Good sellers will also be clear about the material, whether it's premium vinyl or a repositionable fabric. This is where customer reviews become invaluable. They provide honest, real-world feedback on how easy the decals were to stick on, how well they stayed put, and whether they came off cleanly.
For instance, a set of large tropical leaf wall decals might have reviews praising their durability and impressive scale, giving you that extra bit of confidence. A few minutes of research here will ensure your chosen design looks fantastic for years to come.
Getting Your Walls Ready for a Flawless Finish
The secret to a stunning jungle wall decal display doesn't start when you peel off the backing paper. It actually begins with the wall itself. Getting the surface just right is genuinely the most important step for a professional, long-lasting result. It's easy to get excited and rush this bit, but trust me, taking the time to create the perfect canvas makes all the difference.
First things first, you've got to clean the wall. Even if it looks spotless, there's likely a sneaky layer of dust or grime that can stop your decal from sticking properly. A simple wipe-down is all you need. I usually mix a tiny drop of washing-up liquid into some warm water, give the wall a gentle clean, and then go over it again with a fresh, damp cloth to get rid of any soap.
Then comes the hard part: waiting. You must let the wall dry completely before you even think about applying the decal. This can take a few hours, but a little patience now will save you a lot of frustration later.
A Quick Word on Paint and Curing Times
When it comes to wall stickers, not all paints are created equal. Your decals will have the easiest time sticking to standard matte or eggshell finishes. Some of the newer paint formulas, however, can be a bit of a challenge.
- Low-VOC or Zero-VOC Paints: These are brilliant for the air in our homes, but their formulas often contain additives that can repel adhesives. This can make it tricky for your decals to get a solid grip.
- Washable or "Scrubbable" Paints: These are designed to be slick and easy to clean, which is great for mucky fingerprints! But that same non-stick quality can, unfortunately, work against your decal's adhesive.
If you’ve got one of these paint types on your walls, don’t panic! The solution is usually just a matter of time. The key is allowing the paint to "cure" fully, which is very different from it just being dry to the touch. Curing is the chemical process where the paint hardens completely. This can take anywhere from two to four weeks, so if you've recently painted, you'll need to factor this in.
Think of it like this: a freshly painted wall needs to "breathe" as solvents evaporate. If you stick a decal on too soon, you trap those gases. This is what causes those annoying bubbles and can make the corners start peeling away over time.
Giving your wall this time ensures your investment in beautiful decor doesn't go to waste. With demand for custom jungle wall stickers growing by 20-30% each year since 2020, more and more families are creating amazing spaces for their kids. A perfect application is what makes it all worthwhile.
Ultimately, a smooth, clean, and fully cured wall is your best friend here. Once you’ve got that sorted, you’re ready for the fun part. For more advice on sticker materials and making sure they’re right for your walls, have a look at our guide on choosing removable wall stickers in the UK.
Bringing Your Jungle Scene to Life: Application and Positioning
This is where the real fun begins. Your walls are prepped, your chosen decals are in hand, and it's time to transform that blank space. A great application isn't about speed; it's about patience and a few clever techniques that ensure a smooth, professional finish you'll be proud to show off.
Handling larger decals can feel a bit daunting—they have a sneaky habit of folding over and sticking to themselves if you're not careful. The trick is to resist the urge to peel the entire backing off at once. Instead, peel back just the top few inches, press that section firmly onto the wall, and then slowly pull the rest of the backing away while smoothing the decal downwards with your hand or a squeegee.
The "Hinge Method": Your Secret to Perfect Placement
For getting the position absolutely spot-on the first time, I swear by the ‘hinge method’. It might sound a bit technical, but it’s incredibly simple and works wonders, especially for bigger or more awkwardly shaped jungle wall decals.
Here’s how it works:
- Position and Tape: Place your decal on the wall, backing paper and all. When you’ve found the perfect spot, run a strip of painter’s tape across the middle, sticking it to both the decal and the wall. This is your hinge.
- Peel and Cut: Lift one half of the decal (say, the top part) and carefully peel the backing paper away until you get to your tape hinge. Now, snip off that exposed piece of backing paper.
- Smooth and Apply: Starting from the centre hinge, gently smooth the sticky side of the decal onto the wall. Work your way outwards to push out any air.
- Repeat on the Other Side: Once the first half is secure, you can remove the painter's tape. Now, lift the other half of the decal, peel away the rest of the backing paper, and smooth it down in the same way.
This simple technique gives you total control, preventing wonky lions or lopsided palm trees and guaranteeing a flawless result every single time.
Creative Layouts and Quick Fixes
Now for the best part—arranging your scene. Think about creating a little story on the wall. You could position a tall giraffe decal so it looks like it's peeking over the top of a cot or bookshelf, creating a really playful and engaging focal point for a nursery.
Another technique I love is layering. Placing a palm leaf decal so it slightly overlaps a monkey or a toucan adds a brilliant sense of depth, making the whole scene feel much more dynamic and alive. Don't be afraid to let your jungle wall decals interact with the room's features—maybe have a vine trail along a skirting board or a colourful snake slithering around a door frame.
Of course, even with perfect prep, little issues can crop up.
The most common hiccup is the dreaded air bubble. If you spot one, don't peel the whole thing off! Just take a pin or the very tip of a craft knife, make a tiny puncture right in the middle of the bubble, and then gently push the trapped air out with your finger. The hole will be practically invisible.
And what if a decal goes on slightly crooked? Don't panic. Good quality vinyl or fabric decals are usually quite forgiving. Gently and very slowly peel it back from a corner, reposition it, and smooth it back down. The key is to be slow and steady to avoid stretching the material. With these simple tricks up your sleeve, you'll be applying your new jungle decor like a seasoned pro.
Styling and Maintaining Your New Jungle Room
Your jungle wall decals are up, and the room already feels completely different, doesn't it? Now for the fun bit: pulling everything together to create a space that feels truly special. The trick is to choose accessories and lighting that complement your new feature wall, turning it from a simple decoration into the heart of the room.
Think about textures and colours that feel like they belong in a jungle. Natural materials are your best friend here. A jute rug on the floor, some wicker baskets for toys, or even soft, earthy-toned bedding can add layers of warmth and depth, making the room feel more immersive without becoming cluttered.
Lighting can also make a huge difference. Instead of a harsh overhead light, why not try a soft, warm lamp in the corner? You could even use a small, adjustable spotlight to gently highlight a favourite part of your decal scene in the evening – maybe a snoozing lion or a colourful toucan. It creates a calm, cosy atmosphere that’s perfect for bedtime stories.
Keeping Your Decals Vibrant and Fresh
The great news is that keeping your jungle wall decals looking brand new is incredibly easy. For general upkeep, all you need is a gentle dusting with a soft, dry microfibre cloth every now and then. This simple step prevents dust from settling and keeps the colours looking bright and punchy.
Of course, in a kid's room, little smudges and fingerprints are part of life. Not a problem.
- Grab a damp cloth: Just take a soft cloth, dampen it slightly with plain water, and gently wipe the mark away.
- Steer clear of chemicals: Whatever you do, don't use abrasive cleaners, solvents, or any harsh chemical sprays. They can damage the vinyl and cause the beautiful colours to fade.
This simple care routine will ensure your jungle scene remains a stunning feature for years to come. In the UK, creating these themed spaces is more accessible than ever. Prices for jungle wall stickers can range from as little as £7.95 up to £60, with many popular multi-decal packs costing around £14 to £35. It just goes to show you don’t need a huge budget to make a massive impact.
When It’s Time for a Change
One of the best things about wall decals is that they’re not forever. When your child grows out of the jungle theme or you just fancy a change, taking them down is a straightforward process that shouldn't leave a mark on your walls.
The secret to a clean removal is a bit of warmth and a lot of patience. A hairdryer on a low heat setting, held a few inches from the decal, will gently soften the adhesive. This makes it much easier to peel away without leaving that dreaded sticky residue behind.
Start at a corner and slowly peel the decal back on itself at a sharp angle. If you feel any resistance, just give it another quick blast of warmth. For a more detailed walkthrough, check out our complete guide on how to remove a wall sticker: https://www.quotemywall.co.uk/blogs/news/how-to-remove-a-wall-sticker.
With your jungle decals perfectly placed, you can start thinking about the bigger picture. If you're looking for more inspiration on how to design the whole room, you can explore some stylish nursery theme ideas that pair beautifully with a jungle backdrop.
Your Top Jungle Wall Decal Questions, Answered
When you’re thinking about bringing a jungle theme to life with wall decals, a few questions always come up. Getting these sorted before you start makes the whole experience a lot more fun and guarantees you’ll love the final look. I’ve put together the most common queries I get asked to help you get started on the right foot.
Can I Put Jungle Wall Decals on Textured Walls?
This is the big one, and the honest answer is: it depends on the texture. Your standard vinyl decals really need a smooth, flat surface to get a proper grip. If your wall has a very light texture, something like a subtle ‘orange peel’ finish, I’d strongly steer you towards fabric decals over vinyl.
Fabric decals have a bit more give and use a different kind of adhesive, which helps them hug those slightly uneven surfaces much better than their vinyl cousins.
Here's my pro tip: always, always order a small sample first. Pop it on a hidden spot on your wall and see how it holds up before you commit to a full set. It’s the only foolproof way to know for sure.
How Long Do Jungle Wall Decals Actually Last?
When they’re put up properly on a clean, dry, indoor wall, a good quality set of decals can easily look great for five years or more. The two things that will shorten their lifespan are moisture and constant, direct sunlight.
For that reason, I wouldn't recommend them for a bathroom without excellent ventilation, or on a wall that gets blasted by the sun every afternoon. The quality of the material and the adhesive is what really counts here, so spending a little more on a trusted brand is well worth it in the long run.
Are These Decals Really Safe for a Nursery?
Yes, absolutely—as long as you choose the right ones. It’s so important to pick decals that are specifically made with children in mind. Good suppliers will use non-toxic, water-based inks and materials that are completely free from nasty chemicals like phthalates.
When you're shopping, keep an eye out for these key phrases in the product description:
- Eco-friendly materials
- Child-safe or non-toxic
- VOC-free inks
For complete peace of mind, make sure every decal is pressed firmly to the wall with no lifting edges. And of course, always place them well out of your baby's reach, particularly anywhere near the cot or a play area.
Ready to create your own indoor jungle? At Quote My Wall, we offer a huge range of non-toxic, child-safe, and easy-to-apply jungle wall decals perfect for any space. Explore our collection and start your transformation today.