
how to upcycle kitchen cabinets: UK DIY guide
Tired of looking at the same old kitchen? You don't need a massive budget or a full-scale renovation to completely change the feel of the room. Upcycling your existing kitchen cabinets is one of the most effective ways to give your space a facelift. It’s a project you can tackle yourself, and the results can be genuinely transformative.
This is all about making a high-impact change without the high-end cost. We’ll walk through the best ways to get it done.
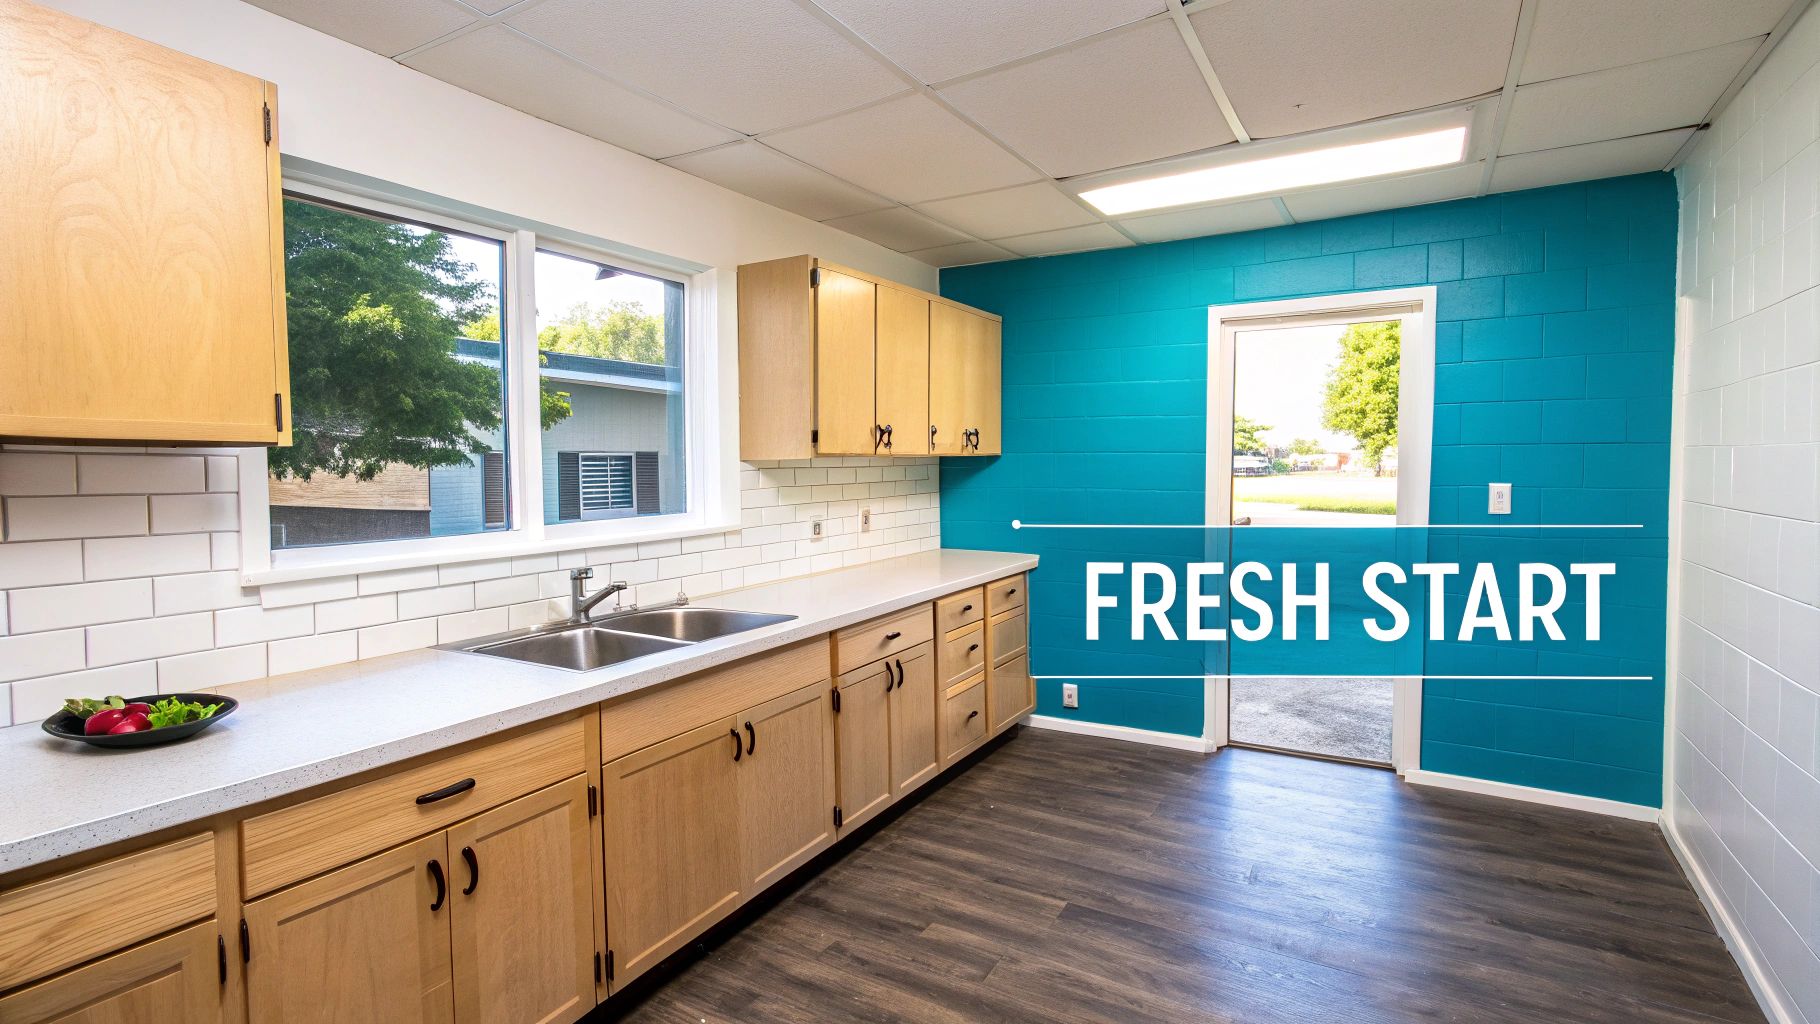
Giving Your Kitchen a Fresh Start with Upcycling
A beautiful kitchen refresh doesn't have to mean ripping everything out and starting from scratch. Honestly, some of the most impressive transformations I've seen have come from simply working with what's already there. Upcycling your cabinets is a savvy, sustainable way to reinvent the heart of your home.
Whether you're dreaming of a sleek, modern look or a cosy, country kitchen, a bit of creative effort can get you there.
This guide is your roadmap. We'll cut through the jargon and show you exactly how to breathe new life into weary cabinets, so you can achieve a professional-looking finish and make an eco-friendly choice at the same time.
Why Choose Upcycling Over Replacing?
The appeal of upcycling goes way beyond just the financial savings. It’s a chance to cut down on waste and inject your own personality into your home. Think about these major wins:
- It’s Budget-Friendly: A brand-new kitchen can set you back thousands. An upcycling project? You’re looking at the cost of paint, some new handles, or a roll of vinyl—a tiny fraction of the replacement cost.
- A Sustainable Choice: Opting to update instead of discard makes a real difference. UK households generated a staggering 191.2 million tonnes of waste in 2020 alone. By keeping your perfectly functional cabinets out of the skip, you’re doing your part.
- Total Creative Control: This is where the fun starts. You get to be the designer. Pick any colour, any finish, any style you want and create a kitchen that is uniquely yours.
- Far Less Disruption: A full kitchen tear-out can throw your home into chaos for weeks. Most upcycling jobs, on the other hand, can be done over a weekend with minimal mess and fuss.
Upcycling isn't just a budget hack; it's about adding your own story and a bit of creativity to the things you live with every day. It’s turning the functional into something fantastic.
And these techniques aren't just for the kitchen! For more ideas on transforming other pieces around your house, take a look at our guide on https://www.quotemywall.co.uk/blogs/news/how-to-upcycle-furniture.
What Can You Achieve?
The potential is huge. That dark, dated 90s oak kitchen can feel bright, modern, and airy with a couple of coats of a pale satin paint. Those plain, flat-panel doors can get a super-sleek, contemporary makeover with a high-gloss vinyl wrap. Sometimes, even just swapping out tired old knobs for smart, modern bar handles can change the entire look.
If you’re leaning towards painting, getting the prep work right is everything. For a really deep dive, it's worth reading a comprehensive guide on how to paint kitchen cabinets that covers every single step. Arming yourself with the right knowledge is the key to tackling your kitchen makeover with confidence and getting a finish you'll be proud of for years.
Choosing the Right Upcycling Method for Your Kitchen
Before you even think about picking up a paintbrush or a roll of vinyl, let's talk strategy. When it comes to upcycling kitchen cabinets, the path you choose dictates everything—your budget, your timeline, and the final look you'll be living with. It all comes down to what your cabinets are made of, how much confidence you have in your DIY skills, and the vision you have for your new kitchen.
We’re going to walk through the most popular ways to give your cabinets a facelift, from the classic lick of paint to the sleek, modern finish of vinyl wraps and the simple, high-impact swap of new handles.
First, Take Stock of Your Cabinets and Goals
Have a good, honest look at what you’ve got. Are your cabinets solid wood, MDF, or that shiny laminate from the 90s? The material is your starting point. Solid wood is a dream to work with—it can be sanded, painted, or even re-stained for a completely new feel.
Laminate or melamine cabinets are a different beast. If you want to paint them, you absolutely must use a special high-adhesion primer to get the paint to stick. On the flip side, their super-smooth surface makes them a perfect canvas for vinyl wrapping, which needs a good, flat base to grip onto.
Now, what are you trying to achieve? Is this a minor tweak or a full-blown kitchen transformation?
-
For a Major Style Overhaul: Painting is your best friend. It gives you total creative control. You can pick any colour under the sun, from a timeless off-white to a deep, moody green, and choose a finish that can stand up to the chaos of a busy kitchen.
-
For a Quick, Modern Update: This is where vinyl furniture wraps shine. You can completely change the vibe of your kitchen in a single weekend. It’s the go-to method for achieving those tricky finishes like high-gloss, super-matte, or even a convincing wood grain texture that paint just can't replicate.
-
For a Fast, Budget-Friendly Lift: Don't underestimate the power of new hardware. Seriously. Just swapping out old, tired knobs for some smart new handles can make the whole room feel more polished, and you can get it done in an afternoon.
Comparing Your Main Options
Every method has its trade-offs. There’s no single “best” way to do this—only the one that’s right for your kitchen, your wallet, and your weekend.
Painting is the tried-and-true approach. It gives you that seamless, professional look and makes it easy to touch up any scuffs or scratches down the line. The catch? It’s a lot of work. To get a finish that won’t chip the second you look at it, you have to be meticulous with the prep work: cleaning, sanding, and priming.
Vinyl wrapping is a much more modern solution. It's faster, creates way less mess, and is a fantastic option for renters since it can usually be removed without a trace. The secret to a flawless vinyl finish is patience. You have to take your time during application to smooth out every last bubble and avoid any creases.
I tell everyone the same thing: a successful cabinet upcycle is 70% preparation and 30% application. Rushing the cleaning and sanding is the number one mistake people make, and it almost guarantees the finish will fail within a year.
And finally, there's the hardware swap. It's the simplest and quickest win by a country mile. You can get it done in a couple of hours for less than £100. While it won't change the colour of your doors, it can drag their style from dated to contemporary with just a screwdriver.
Comparing Kitchen Cabinet Upcycling Methods
To make things a bit clearer, here’s a side-by-side look at how these methods stack up. Use this to help you decide which route makes the most sense for you.
| Method | Average Cost (per kitchen) | Time Commitment | Skill Level Required | Best For |
|---|---|---|---|---|
| Painting | £100 - £300 | 3-5 days | Intermediate | A fully customised, durable finish on wood or properly prepped MDF. |
| Vinyl Wrap | £80 - £250 | 1-2 days | Beginner/Intermediate | Sleek, modern looks on flat-panel doors; renter-friendly updates. |
| Hardware Swap | £50 - £150 | 2-3 hours | Beginner | A quick, high-impact style refresh on a very tight budget. |
By weighing up these factors against your own situation, you can move forward with confidence, knowing you’ve picked the perfect upcycling project to create a kitchen you’ll be proud of.
The Secret to a Professional Finish Is Preparation
It’s tempting to jump straight to the exciting part—the final transformation. But I’ve learned from years of projects that the real magic happens long before you even think about opening a can of paint. The honest truth? A flawless, long-lasting result is 90% preparation and 10% application.
Rushing these early steps is the single biggest mistake you can make. It’s what separates a project you’ll be proud of for years from one that starts chipping and peeling within a few months. Let’s get it right from the start.
Clearing the Decks and Getting Organised
First things first, you need a completely clean slate. That means emptying every single cabinet and drawer. Think of it as the perfect excuse for a good declutter, but more practically, it gets everything out of the way for the work ahead.
Next, you absolutely must remove all the cabinet doors and drawer fronts. I know it seems like a lot of hassle, but trust me, you will never get a clean, professional finish trying to paint them in place.
- Label Everything: Grab some masking tape and label each door and its matching spot on the cabinet frame (e.g., 'Above Sink Left'). This simple step will save you from a world of frustration when it's time to put everything back together.
- Bag and Tag Hardware: Pop all the hinges, screws, and handles from each door into their own small, labelled bag. You’ll be so glad you did this when you’re not hunting for that one specific screw later on.
If your project is a big one and the kitchen will be out of action for a few days, it's worth looking into the cost of furniture storage. It can be a real lifesaver for your budget and planning, especially if you're taking out entire units.
This decision tree can help you picture which upcycling path makes the most sense for your kitchen.
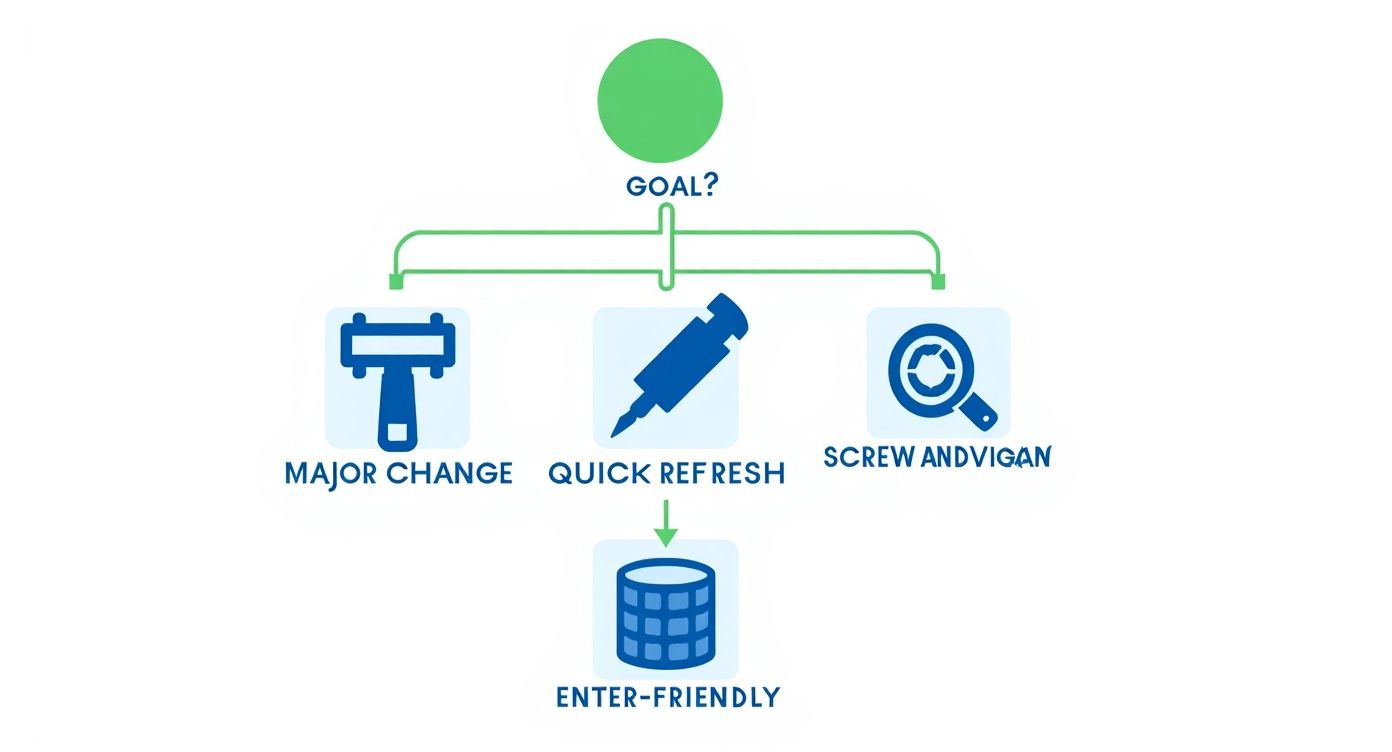
As you can see, your end goal—whether it's a huge overhaul or a quick weekend refresh—points you towards the best method for the job.
The All-Important Deep Clean
Kitchen cabinets are magnets for years of invisible grease, grime, and cooking oils. This is the arch-nemesis of any new finish. Paint and vinyl simply will not stick to a greasy surface, making this cleaning stage absolutely non-negotiable.
A quick wipe-down just won’t do. You need something that can cut through all that build-up. A solution of sugar soap and warm water is a trade classic for a reason—it’s brilliant at breaking down stubborn kitchen grease.
Pro Tip: After you’ve cleaned with sugar soap, always wipe every surface down again with a clean, damp cloth to get rid of any residue. Let it all dry completely before you even think about the next step.
Creating a Flawless Surface
With your cabinets sparkling clean, it’s time to make them perfectly smooth. Even tiny dents, scratches, or old handle holes will stick out like a sore thumb once you apply a fresh coat of paint or a vinyl wrap.
Grab a good quality wood filler and a putty knife to patch up any imperfections. Always overfill the hole or scratch just a little bit, as the filler tends to shrink as it dries. Once it’s fully cured (just follow the instructions on the tin), you can get to the most crucial part for adhesion: sanding.
Sanding does two vital jobs. It smooths out your filler repairs, and more importantly, it creates a "key" by roughing up the surface on a microscopic level. This gives the primer something to really grab onto, ensuring a strong, durable bond.
- For Wood or Painted Cabinets: Medium-grit sandpaper (around 120-grit) is usually ideal. It’s got enough bite to scuff up the old finish and create that all-important key.
- For Laminate or Melamine: Go for a finer grit (around 180-grit) to avoid scratching or damaging the surface. Here, your only goal is to knock back the glossy sheen.
Once you’ve finished sanding, the last task is to remove every single speck of dust. A tack cloth is best for this, but a slightly damp microfibre cloth will also do the trick.
Time for the Transformation: Applying Paint or Vinyl Wrap
With all the painstaking prep work behind you, we're finally at the exciting part—the bit where your kitchen actually starts to look different. This is where your vision truly comes to life.
Whether you've opted for the timeless, customisable finish of a good paint job or the sleek, modern appeal of vinyl wrap, the key ingredients now are technique and a bit of patience. Let's walk through both methods, complete with the kind of insider tips that make the difference between an 'okay' job and a finish you can be proud of.
Mastering the Art of a Flawless Paint Finish
Painting kitchen cabinets is a marathon, not a sprint. If you want a result that looks professional and lasts for years, the secret is to build up the colour with multiple thin, even coats. Slapping on one thick, gloopy layer is a recipe for disaster—it leads to drips, takes an age to cure properly, and is far more likely to chip down the line.
The tools you use are just as crucial as the paint itself. For the large, flat surfaces of your doors and drawer fronts, a high-density foam mini-roller is your absolute best friend. It delivers a beautifully smooth, almost spray-like finish that you simply can’t get with a brush. For the fiddly bits—corners, recessed details, and the cabinet frames—a high-quality angled brush gives you the precision you need.
Once your primer is bone dry, it's time for the first coat of your chosen colour.
- Start by using your brush to ‘cut in’ around the edges and any detailed profiles on the doors.
- Without delay, go over the flat sections with your mini-roller, gently blending into the brushed areas for a seamless look.
- Always try to work in the direction of the wood grain. It just looks more natural.
Now, step away. Let that first coat dry completely, following the time recommended on the paint tin. Rushing this stage is a false economy.
Once it's fully dry, give every surface a whisper-light sand with a fine-grit sandpaper (around 220-grit is perfect). This isn't about being aggressive; you're just knocking down any tiny dust nibs or imperfections. This micro-step creates a perfect key for the next coat to stick to, which is the secret to a silky-smooth final finish. Wipe away every speck of dust with a tack cloth before you even think about opening the paint tin again.
Most projects will need at least two topcoats. If you're making a dramatic change, like going from a dark mahogany to a crisp white, you might even find a third thin coat is needed for a truly solid, flawless colour.
A Quick Word on Curing vs. Drying: Your cabinets might feel dry to the touch in a few hours, but the paint needs several weeks to fully harden, or 'cure'. Be extra gentle with them during this time to avoid any frustrating dings or scratches in your brand-new finish.
Choosing the Right Paint for the Job
Your kitchen is a battlefield of steam, grease, and constant use, so your everyday wall emulsion won't survive. You need a paint specifically designed to handle the heat.
- Satin or Eggshell Finish: These are the go-to choices for a reason. They have a lovely, soft sheen that’s durable and easy to wipe clean, but it isn't so glossy that it screams about every tiny imperfection.
- Tough Formulations: Keep an eye out for paints specifically labelled "cabinet and furniture paint" or those with a tough acrylic or oil-based enamel formula. These are built to be scrubbable.
The Modern Makeover: Applying Vinyl Wrap
If you’re after a super sleek, uniform finish in a fraction of the time, vinyl wrapping is a game-changer. It’s a brilliant solution for updating flat-panel doors and an absolute lifesaver for renters who need a damage-free, reversible option. The whole process is about being methodical to avoid those dreaded bubbles and creases.
First, measure each door and drawer front, then add at least 5cm of extra vinyl on all four sides. This overlap gives you something to grip during application and gets trimmed off at the end for a razor-sharp edge.
Before you peel anything, lay your cut piece over the cabinet door just to be sure. Happy with the size? Right, let’s go. Peel back just the first few centimetres of the backing paper, carefully line up the vinyl with the top edge of your door, and press it down firmly.
Now, grab a squeegee. Working from the centre outwards, slowly pull away the backing paper with one hand while smoothing the vinyl down with the other. This steady, central-outward motion pushes any air out to the sides before it gets trapped. If a stubborn bubble does appear, you can often gently lift the vinyl and re-apply. For a tiny one, a pinprick will release the air so you can smooth it flat.
For more detailed guidance, check out our article on choosing the best vinyl wrap for kitchen cabinets.
To finish the edges, carefully fold the excess vinyl over, smoothing it down tightly. A quick blast of heat from a hairdryer will make the vinyl a bit more pliable, helping it conform perfectly around corners. Once everything is covered, use a fresh, sharp craft knife to carefully trim away all the excess for a clean, professional-looking edge.
Adding the Finishing Touches and Reassembling
You've done the hard graft—all the prep, painting, and wrapping is behind you. Now for the really satisfying part: putting it all back together and seeing your new kitchen come to life. This is where your project transforms from a collection of parts into a space you can be proud of.
Getting these final steps right is what separates a good DIY job from a great one. Don't rush it. A little patience now will ensure your cabinets look professionally finished and last for years.
Upgrading Your Cabinet Hardware
Never underestimate the power of new hardware. It's amazing how swapping out tired, dated knobs for fresh handles can completely change the feel of your kitchen. It’s the jewellery that completes the outfit.
Think about the style you're going for. Sleek T-bar pulls often suit a modern, minimalist kitchen, while classic cup handles or simple round knobs can really enhance a country-style or shaker design. It's about the look, but also how they feel in your hand every day.
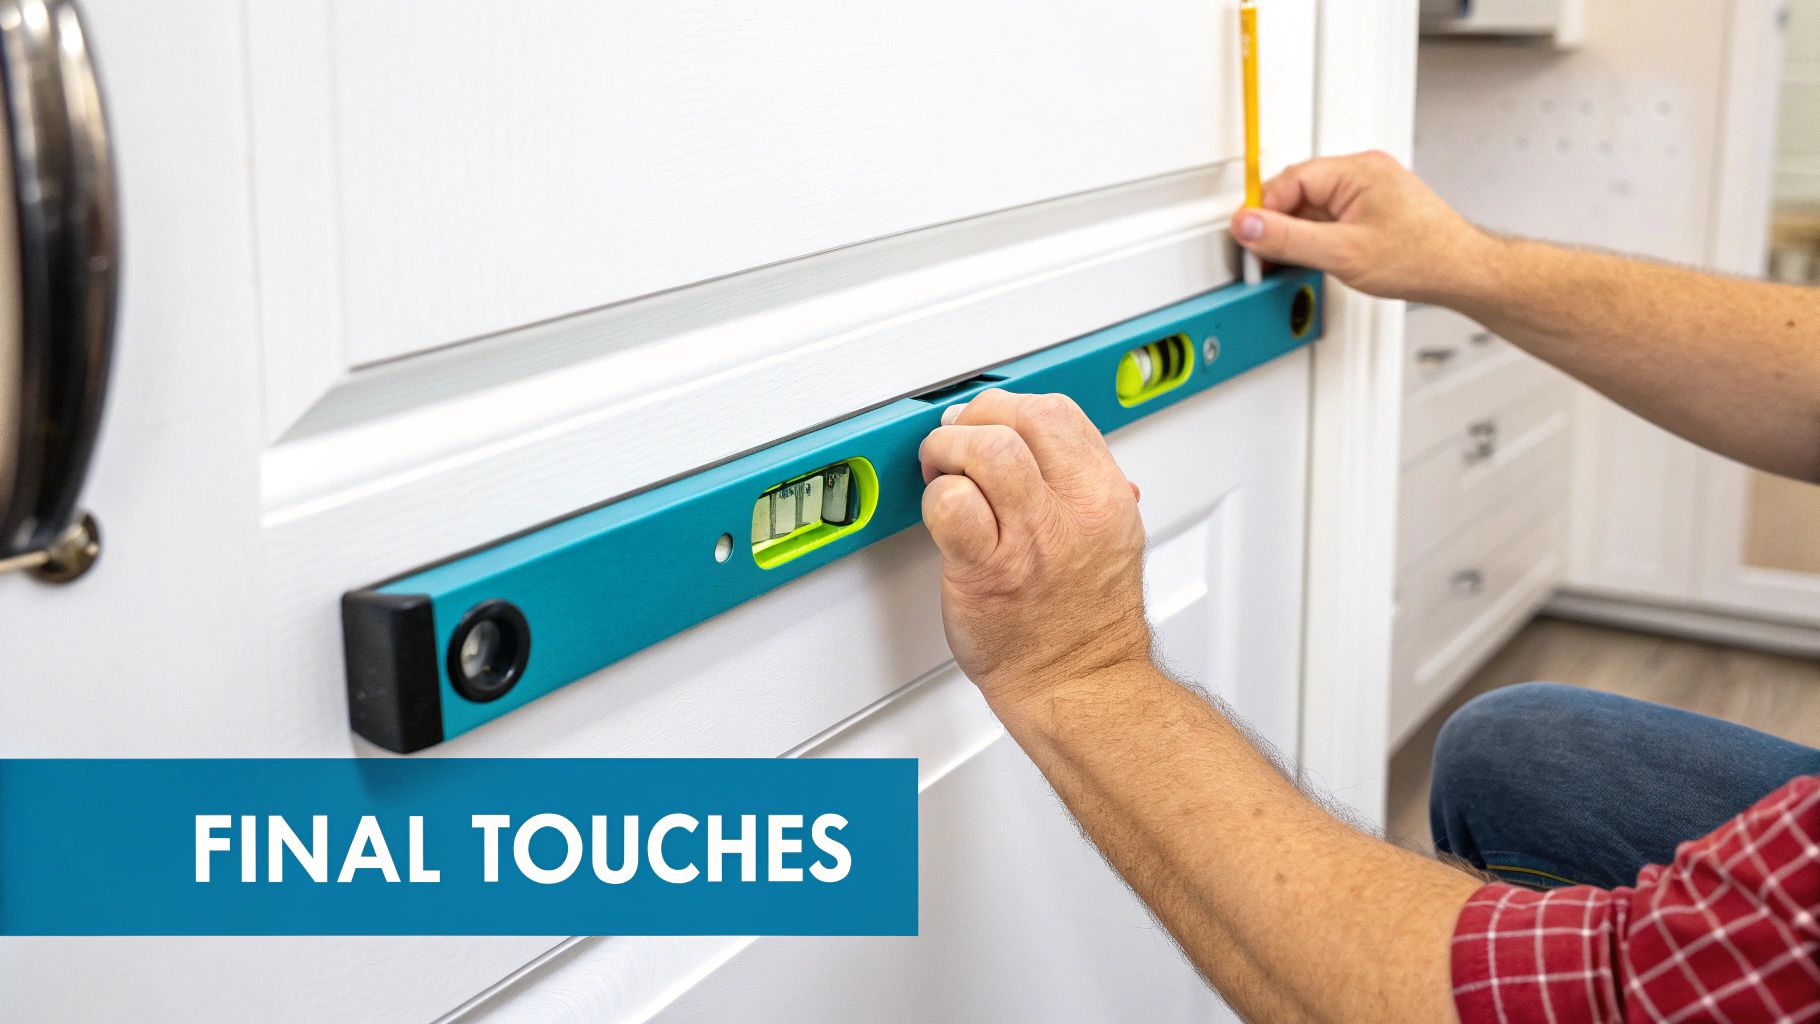
When it comes to fitting them, accuracy is everything.
- Replacing Knobs: If you're just swapping like-for-like, it's a simple job. If you're drilling new holes, take your time to measure so they all line up perfectly.
- Fitting Handles: With two holes to drill for each handle, there's less room for error. I highly recommend a cabinet hardware jig. It's a cheap tool that guarantees every handle is perfectly level and spaced correctly, saving you a world of frustration.
Top Tip: Always drill from the front of the cabinet door through to the back. This simple trick pushes any potential wood splintering to the inside, leaving the visible surface around the screw hole perfectly clean and crisp.
This focus on detail is something we're seeing more and more. The 2025 UK Houzz Kitchen Trends Study found that 31% of homeowners are mixing colours for their upper and lower cabinets to get a high-end look. This two-tone style looks particularly sharp when tied together with a great set of handles.
The Art of Perfect Reassembly
It’s time to bring your kitchen back to life. Grab those labelled doors and drawers (you did label everything, didn't you?) and let’s get them back where they belong.
The easiest way to do this is to re-attach the hinges to the doors first. Then, get a friend to help you. One person holds the door steady against the cabinet frame while the other screws the hinges back in place. Trying to juggle this on your own is a recipe for scratched paintwork and dropped doors.
Once a door is up, close it and check the alignment. Most modern hinges have little adjustment screws. You can use these to tweak the door's position—up, down, left, or right—until the gaps around it are perfectly even on all sides. That uniform spacing is the true sign of a professional job.
Why You Must Respect Paint Curing Times
This is probably the most overlooked step, but it’s absolutely vital for a long-lasting finish. It's so important to understand the difference between paint being 'dry' and being fully 'cured'.
- Dry Time: This is when the surface feels dry to the touch, which might only take a few hours. The paint is still soft and very easy to damage underneath.
- Cure Time: This is how long it takes for the paint to harden all the way through and reach maximum durability. For tough cabinet paints, this can take anywhere from 7 to 30 days.
During this curing period, treat your cabinets with care. Avoid scrubbing them with harsh cleaners and be gentle when opening and closing them. Letting the paint fully cure is what gives it the resilience to stand up to the knocks and spills of a busy kitchen, protecting all your hard work.
Your Top Kitchen Upcycling Questions, Answered
As you start planning your cabinet transformation, a few questions are bound to bubble up. I've been there myself. Getting some straight answers before you even pick up a paintbrush can save you a world of headaches down the line. Let's dig into the common queries I hear all the time.
Can I Really Do Anything with Shiny Laminate or Melamine Cabinets?
Yes, you absolutely can! Those super-smooth, flat-fronted cabinets are prime candidates for an update, but they do require a specific approach. If you just slap paint straight onto that shiny surface, I can guarantee it will peel off. It’s a classic mistake.
The secret lies in giving the new finish something to bite into. You have to create a grip where there isn't one, and that means two steps are non-negotiable:
- Scuff Sanding: You’re not trying to strip the laminate off, just knock back the gloss. A light once-over with fine-grit sandpaper (around 120-180 grit) is all it takes to create a slightly roughened texture.
- High-Adhesion Primer: This is the real game-changer. After cleaning away the dust, you need a specialist primer built for slick surfaces. It’s formulated to chemically bond to materials like laminate, creating a solid foundation for whatever you put on top.
Once that primer is on and dry, you're golden. You can paint them with proper cabinet paint or even apply a quality vinyl wrap just as you would with any wooden cabinet.
Honestly, How Long Will My Hard Work Last?
The lifespan of your upcycled cabinets comes down to two things: the thoroughness of your prep work and the quality of your materials. It's as simple as that.
A meticulously prepped and painted finish should easily last you 5-10 years under normal kitchen conditions. A well-applied, high-quality vinyl wrap can perform just as well. The finish will only fail if corners were cut. For instance, using standard wall emulsion instead of a tough, scrubbable cabinet paint is just asking for chips and scuffs within months.
Here's a pro tip that many people miss: pay attention to the paint's 'curing' time. It might feel dry in a few hours, but it can take up to 30 days for the paint to fully harden to its maximum strength. Be extra gentle with your doors and drawers during that first month.
What’s the Number One Mistake People Make When Painting Cabinets?
Without a doubt, the biggest and most heartbreaking mistake is rushing the prep. I get it – you’re excited to see that new colour transform the space. But skipping the prep is the fastest way to ruin your project.
So many people don't spend enough time cleaning the cabinets properly. Kitchens are greasy places, and years of cooking residue builds up into an invisible film that paint just can't stick to. It’s the ultimate enemy of adhesion. Failing to clean, sand, and prime properly, especially on glossy or previously painted units, means your beautiful new finish will have a weak bond and will scratch off with the slightest knock.
Trust me on this one: spending an extra day to deep clean, sand, and prime is never wasted time. Think of it as insurance for your hard work, saving you the pain of having to strip it all off and start again in a year.
Ready to give your kitchen a sleek, modern finish? At Quote My Wall, we offer a huge range of premium vinyl wraps perfect for your next furniture upcycling project. Check out our vinyl wrap collection.