
How to Remove Stickers from Walls Without Damaging Paint
Wall stickers are a fantastic way to bring some personality into a room, but let's be honest, the thought of taking them down can be a bit daunting. The trick is to gently warm the adhesive with a hairdryer and then peel the sticker away slowly, keeping it at a low angle to the wall. That simple technique, plus a bit of patience, is your secret weapon against peeled paint and sticky residue.
A Damage-Free Guide to Removing Wall Stickers
Wall stickers have become a huge hit with decorators across the UK, offering a brilliantly flexible way to personalise a space. This is especially true for the 4.7 million households renting privately, where making permanent changes just isn't an option.
It's no surprise the global market for wall stickers is set to hit USD 4,714 million by 2032, largely thanks to renters and millennials looking for temporary decor solutions.
But the fear of what happens when it's time to remove them is real. In fact, research shows that nearly 27% of commercial buyers steer clear of stickers in busy areas, worried about the damage they might cause when peeled off. If you want to dive deeper, you can explore more insights on the growing wall sticker market trends and see why getting the removal process right is so important.
This guide is designed to give you a clear, stress-free path to clean walls, tackling those common worries head-on. Will you be left with a sticky mess that just collects dust, or even worse, a big patch of missing paint? We'll show you exactly how to avoid all that.
What to Expect in This Guide
The golden rule of sticker removal? Patience and the right technique will always beat brute force. This isn't just about yanking something off a wall; it's about making sure the surface underneath stays in perfect condition.
We’ll look at why different types of walls need different approaches, helping you pick the best method for your home.
Inside this guide, you’ll find:
- The essential tools for the job (you probably have most of them already).
- Simple prep work that makes a world of difference.
- Specific techniques for painted, wallpapered, and even textured walls.
- Tips on how to get rid of stubborn residue and fix other common issues.
By the end, you'll have the confidence to decorate your space freely, knowing you can change things up whenever you like without dreading the removal day. Your walls will thank you for it.
Choosing the Right Removal Method for Your Wall Surface
Not all walls are created equal, and I've seen firsthand how using the wrong sticker removal technique can lead to a world of frustration and costly repairs. Before you even think about peeling, the first, most crucial step is to figure out what kind of wall you're dealing with. The approach for a standard painted wall is worlds away from what you'd need for delicate, patterned wallpaper.
The most common mistake people make is going at every sticker with the same method. This is usually how you end up with peeled paint, torn wallpaper, or crumbled plaster. The real key is to match your tools and techniques to the surface, making sure you remove the sticker and nothing else.
This decision tree gives you a simple starting point for most common wall types.
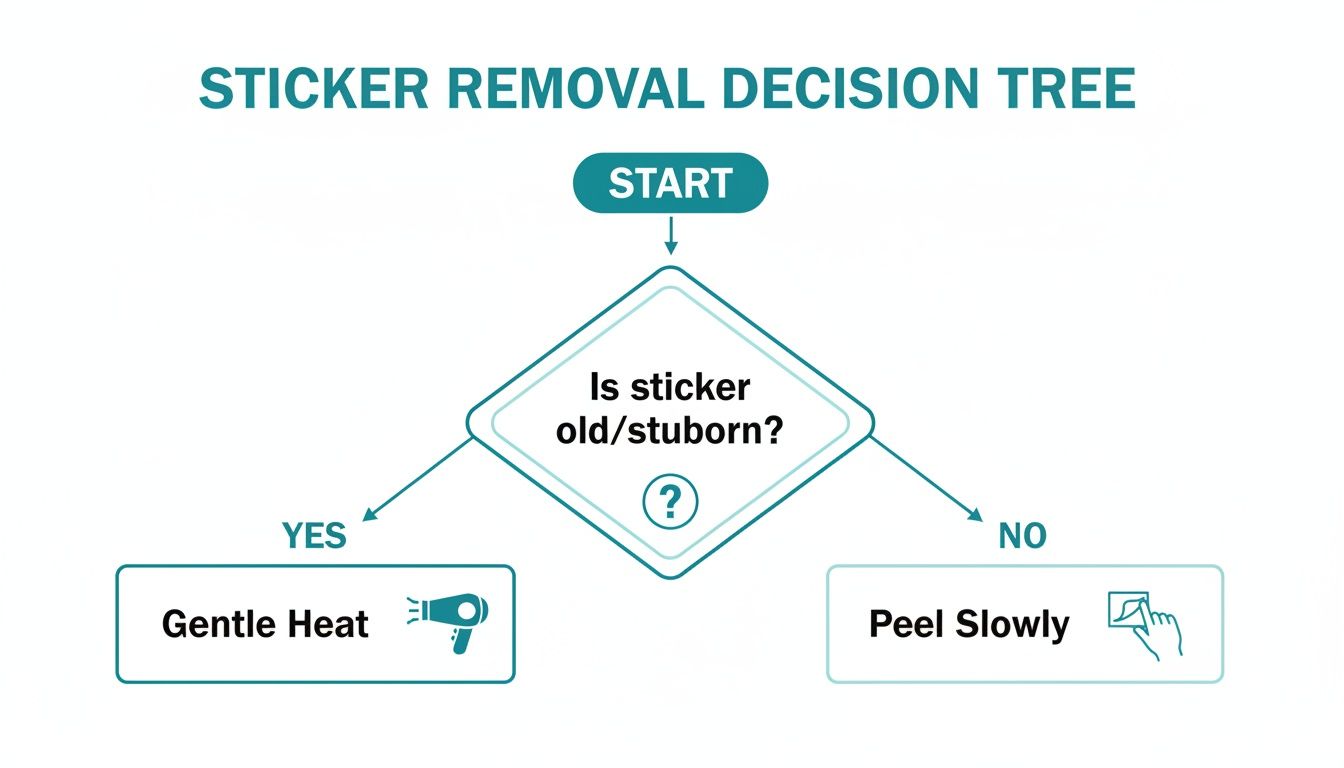
As the guide shows, for older or more stubborn stickers, a bit of gentle heat is often the best first move. Newer decals, on the other hand, might just need a slow, careful peel.
For Standard Painted Walls
Most modern UK homes have walls finished with a matt or silk emulsion paint. While these surfaces are reasonably durable, you can still damage them if you get too aggressive. For these walls, gentle heat is your best friend.
Grab a hairdryer and set it to its lowest heat setting. Hold it about six inches from the sticker and move it in slow, circular motions for 30-60 seconds. This warmth is just enough to soften the adhesive without blistering the paint, making the sticker much easier to lift. Once it's warm, use your fingernail or a plastic card—never anything metal—to gently pry up an edge and peel it away slowly.
For Delicate Wallpaper
Wallpaper is a different beast entirely; it's far less forgiving than painted walls, and removing a sticker from it demands real patience. You should avoid heat at all costs here. It can easily damage the paper or, even worse, weaken the adhesive holding the wallpaper to the wall, causing it to bubble or peel.
The goal here is a slow, methodical peel. Start by carefully lifting one corner of the sticker with your fingernail. Pull the sticker back on itself at a 180-degree angle, keeping it as flat against the wall as you can. If you feel any serious resistance or hear that dreaded tearing sound, stop immediately. Your success will really depend on the quality and age of your wallpaper.
Pro Tip: If a sticker is being particularly stubborn on wallpaper, try this. Dab a tiny amount of water on a cotton bud and gently moisten just the edge of the sticker. Let it sit for a minute to see if it helps loosen the adhesive, but be very careful not to soak the wallpaper itself.
For Textured or Plaster Walls
Textured surfaces, like old-school Artex or crumbly plaster walls, are a unique challenge because the sticker's adhesive seeps into all the little nooks and crannies. Trying to use a plastic scraper here is a bad idea—it will almost certainly cause the textured finish to flake away.
For these tricky surfaces, a combination of gentle heat and an oil-based solution often does the trick. First, warm the sticker with a hairdryer to loosen the bulk of the adhesive. After peeling off what you can, you can tackle the leftover residue by dabbing a small amount of baby oil or cooking oil onto a cloth. Gently work it into the area and let it sit for 20-30 minutes before wiping it all away with a clean, damp cloth.
Just be sure to test the oil on an inconspicuous spot first to make sure it doesn't leave a stain. Of course, by choosing high-quality, removable wall stickers UK homeowners trust, you can often avoid these tricky removal situations in the first place.
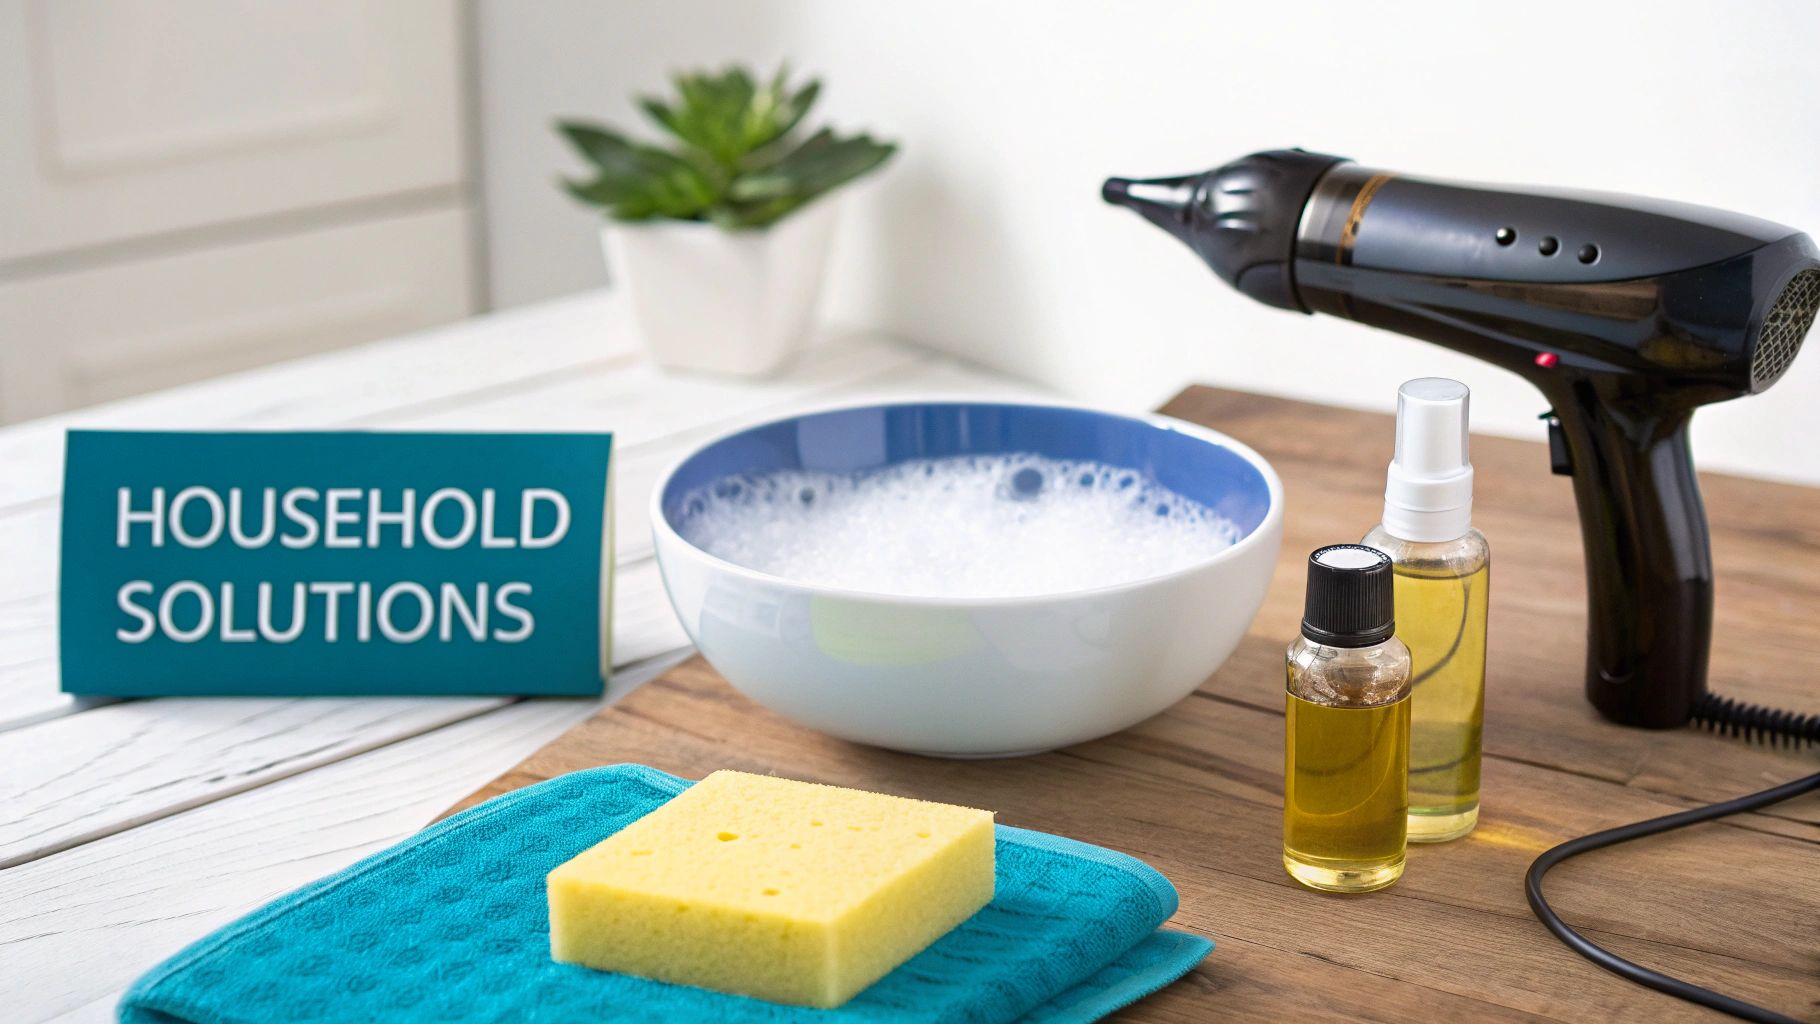
4 Household Hacks for Removing Wall Stickers
You don't need to dash out for specialist chemicals to get a clean, sticker-free wall. The truth is, your kitchen and bathroom cupboards are probably already stocked with everything you need to tackle even the most determined adhesives. Knowing how to remove stickers from walls often just comes down to using simple, everyday items the right way.
Let's walk through four tried-and-tested methods, starting with the gentlest approach and working our way up to the heavy hitters for more stubborn situations.
The Hairdryer: Gentle Heat and a Slow Peel
Your hairdryer is hands down the most valuable tool for this job. Applying a bit of gentle, indirect heat is the safest first move for most painted walls. It works by softening the adhesive's grip, making the sticker much easier to peel away without taking the paint with it.
Grab your hairdryer, pop it on the lowest heat setting, and hold it about 15 centimetres (six inches) from the sticker. Move it around in slow circles for about 30 to 60 seconds. You're aiming for warm, not hot. Once the sticker feels warm to the touch, you should be able to get a fingernail or the edge of a plastic card under a corner and slowly peel it back.
Soapy Water: The Simple Solution
For less determined stickers or that light, tacky film left behind after peeling, a bit of warm, soapy water is often all you need. This method is incredibly safe for pretty much any wall finish you can think of.
Just mix a few drops of washing-up liquid into a bowl of warm water. Dip in a microfibre cloth, wring it out well (you want it damp, not dripping), and gently wipe the area in a circular motion. This is usually enough to lift the last of the adhesive without any harsh scrubbing.
This is a skill every renter should master. With about 19% of UK households renting, getting sticker removal right is vital for avoiding deposit deductions, which can sting for anywhere between £200 and £500. Improper removal is a classic cause for wall repair disputes, so a hairdryer and some soapy water could genuinely save you a lot of money and stress. If you're curious, you can explore more UK household statistics and trends to see the bigger picture.
The Oil-Based Trick
What about those frustratingly sticky patches that soapy water just won't budge? A bit of common kitchen or baby oil can be a game-changer. Oils are fantastic at breaking down the chemical bonds in many types of glue.
Put a small amount of baby oil, olive oil, or even coconut oil on a cotton ball. Gently dab it onto the residue—don't rub—and just let it sit for 20-30 minutes. This gives the oil time to work its magic and dissolve the adhesive. Afterwards, a clean, damp cloth should be all you need to wipe the softened gunk away.
A Quick Word of Caution: Always test oil on a small, hidden spot of your wall first. While it’s fine on most modern paints, it can sometimes leave a faint mark on more porous finishes, like a matt emulsion.
A Touch of Alcohol for Tough Residue
When you've tried everything else and you’re still left with a stubborn patch of glue, isopropyl alcohol (rubbing alcohol) or white spirit can be your last resort. These solvents are very effective, but you need to be careful.
- Get some fresh air. Open a window to make sure the room is well-ventilated.
- Do a patch test. Always apply a tiny bit to an inconspicuous area first to see how your paint reacts.
- A little goes a long way. Just dampen a cotton bud or the corner of a cloth with the alcohol.
- Dab, don't scrub. Lightly press the cloth onto the residue. The solvent will do the heavy lifting for you.
- Wipe it clean. Once the gunk is gone, wipe the area with a fresh, damp cloth to clear away any remaining solvent.
By starting with the gentlest method and only moving on if you need to, you’ll be ready for any sticker situation using things you already have at home.
For a quick summary, here's a look at how these common household items stack up against each other.
Household Item Removal Method Comparison
| Method | Best For | Risk Level | Pro Tip |
|---|---|---|---|
| Gentle Heat (Hairdryer) | Vinyl stickers, most paper stickers on painted walls. | Low | Keep the heat low and moving to avoid scorching the paint. Peel at a 45-degree angle. |
| Soapy Water | Light residue, non-porous surfaces like satin or gloss paint. | Very Low | Use a microfibre cloth and ensure it's only damp, not soaked, to prevent water marks. |
| Kitchen/Baby Oil | Stubborn, thick adhesive residue that heat alone can't shift. | Low-Medium | Always patch test first. Let it sit for at least 20 minutes to fully penetrate the adhesive. |
| Isopropyl Alcohol | Very persistent, dried-on glue on durable, non-porous surfaces. | Medium-High | Use sparingly in a well-ventilated area. Essential to patch test on painted surfaces. |
This table should help you pick the right tool for the job, ensuring you protect your walls while getting them perfectly clean.
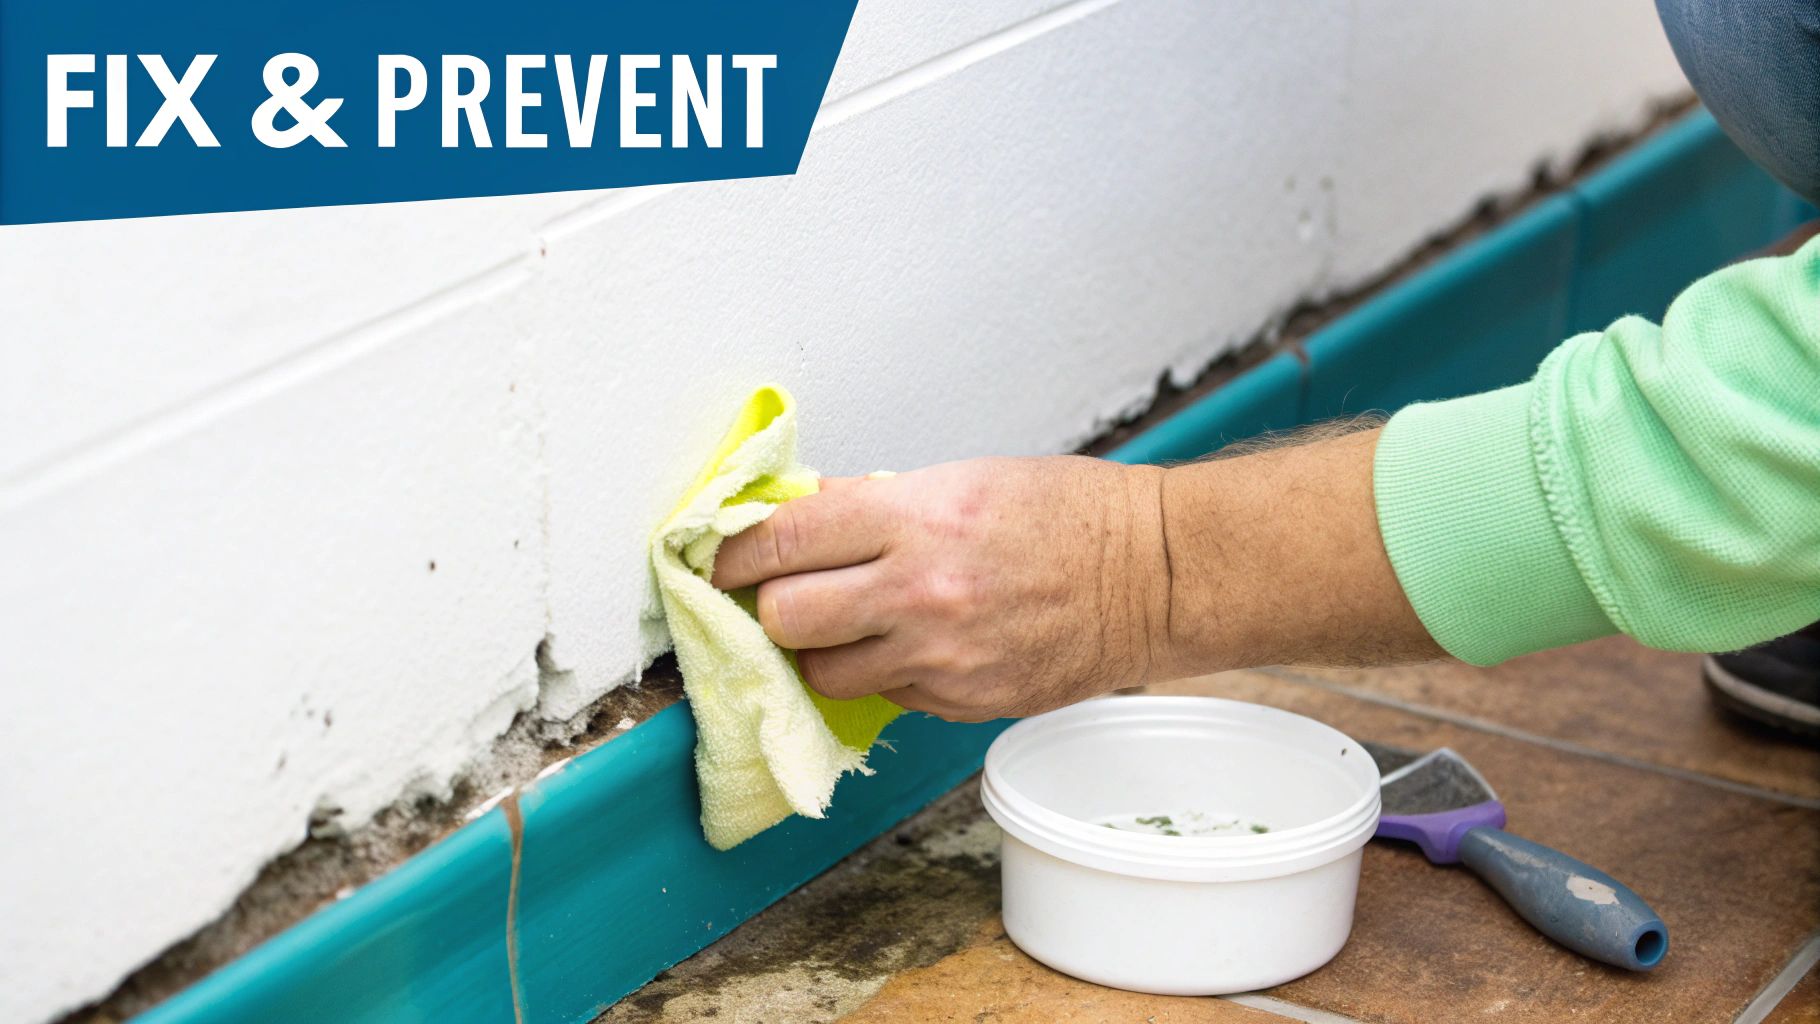
Troubleshooting Common Sticker Removal Problems
Even when you’re being careful, things can still go wrong. Knowing how to get stickers off your walls also means knowing how to handle the little disasters that can pop up along the way. Don’t panic if you see paint peeling or a stubborn, ghostly outline—most issues are fixable with a bit of patience.
The moment you spot a problem, stop. Trying to force it or peeling faster will almost always make it worse. Let’s walk through the most common headaches you might run into.
What to Do When Paint Starts Peeling
It’s a heart-sinking moment: the sticker comes away, and it brings a flake of paint with it. This usually happens if the wall wasn't primed properly before painting, or if a sticker was put on paint that hadn't fully cured.
Your first job is damage control. Stop pulling immediately and reach for your hairdryer. Gently heat the sticker and the paint around the peeled area. The warmth will soften the adhesive and reduce the strain on the paint. Next, instead of pulling away from the wall, slide a plastic scraper or an old credit card under the sticker's edge. Your goal is to separate the adhesive from the paint, not to rip it off. Take your time and reheat as you go to prevent any more paint from lifting.
Once the sticker's off, you'll probably have a small repair job. A light sanding with fine-grit sandpaper, a tiny bit of filler, and a dab of matching paint is usually all it takes to make the blemish disappear.
Getting Rid of That Ultra-Sticky Residue
Sometimes the sticker itself comes off just fine, but it leaves behind a tacky, dust-collecting patch of glue. If soapy water or a bit of oil didn’t do the trick, it’s time to bring in something with a little more oomph.
- White Vinegar Solution: A simple mix of equal parts white vinegar and warm water can work wonders. The vinegar's mild acidity is great for breaking down stubborn adhesives without being too harsh.
- Commercial Removers: A product like Goo Gone can be a lifesaver, but always do a patch test on a hidden spot first. Some solvent-based cleaners can react poorly with certain paints, causing discolouration.
If you’re facing a particularly stubborn patch, it's worth learning how to remove sticky residue from walls with more specialised methods. Having a few extra tricks up your sleeve never hurts.
Key Takeaway: The biggest mistake people make is scrubbing too hard. Whether you're using a home-made solution or a store-bought one, let the liquid do the work. Dab it on, give it a few minutes to dissolve the glue, and then gently wipe it away.
Dealing with Sticker Ghosting
"Ghosting" is that faint outline you can see long after a sticker is gone. It’s not leftover adhesive, but rather a sign of uneven ageing. The paint around the sticker has been exposed to UV light and everyday air, causing it to fade ever so slightly, while the patch under the sticker remained perfectly preserved.
Sadly, you can't just wipe this away. The easiest first step is to give the entire wall a thorough clean, which can sometimes even out the tone. If the ghosting is still really obvious, a fresh coat of paint is often the only way to truly make it vanish.
Wall Aftercare and Future-Proofing Your Decor
With the sticker and its sticky aftermath gone, a quick bit of aftercare is the final touch. All you need to do is give the area a gentle wipe-down with a clean, damp cloth. This little step clears away any remaining cleaning solution and leaves the surface looking immaculate.
Make sure you let the wall air dry completely before you even think about hanging a new picture or applying another decal. If you rush it, you risk trapping moisture, which could mess with your paint's finish or stop your next decoration from sticking properly. It’s a simple but crucial step to get your wall ready for its next look.
Now that your walls are a blank canvas again, it’s the perfect time to get inspired. Why not explore some fresh dining room wall decor ideas and give your space a complete refresh?
Thinking Ahead for Easy Removal Next Time
A little forward-thinking can save you a massive headache down the line. If you’re smart about how you apply new stickers, you’ll find removing them later is a breeze, and your walls will thank you for it.
First things first: always start with a squeaky-clean surface. A quick wash with mild soap and water, followed by a 24-hour drying period, makes all the difference. This way, your new sticker sticks directly to the wall, not to a fine layer of dust, which makes for a much cleaner peel when the time comes. For a more detailed walkthrough, have a look at our guide on how to apply wall stickers the right way.
Crucial Tip: Just painted? You absolutely must wait for the paint to cure fully before putting up any stickers. This typically takes two to four weeks. Applying a decal to fresh, soft paint is a recipe for disaster—the adhesive will bond with the paint, and you'll be peeling both off together.
Choose High-Quality Stickers
The quality of the sticker itself is probably the single biggest factor in whether it comes off cleanly. At Quote My Wall, we use premium vinyl for our wall stickers, specifically designed for easy, residue-free removal. They’re built to last for at least 5 years indoors without leaving a sticky mess behind.
This is also a win for eco-conscious families looking to reduce waste. Unlike cheap, generic adhesives that end up contributing to the 32.6 million tonnes of England's total waste in 2023, our high-tack, removable vinyl lets you personalise nurseries and living rooms without the nightmare of stubborn remnants. If you're curious about the scale of national waste, you can learn more about the UK's 2023 waste statistics on GOV.UK.
Got a Question About Removing Wall Stickers? We’ve Got Answers
Even with the best guide, there are always those little "what if" questions that pop up. Knowing the basics is one thing, but understanding the finer points is what separates a flawless finish from a frustrating afternoon. Here are some of the most common queries we hear, answered with the kind of real-world advice you need.
Can I Reuse a Wall Sticker After Taking It Off?
Honestly, it’s probably not worth the effort. Most vinyl wall stickers are made for one perfect application. The moment you start peeling one off, even if you’re incredibly gentle, the vinyl stretches slightly and the adhesive loses a lot of its initial tack.
If you do manage to get it off in one piece and try to re-stick it elsewhere, you'll likely find it doesn't lay as flat or stick as securely. For that crisp, professional look, it’s best to think of them as a one-time deal.
How Long Should I Wait Before Putting a Sticker on a Freshly Painted Wall?
This is a big one, and getting it right is crucial for avoiding damage later. You need to wait for the paint to fully cure, which is very different from just being dry to the touch. Curing is the chemical process where the paint hardens and properly bonds to the wall surface.
In the UK, most paint brands will tell you to wait at least two to four weeks. If you jump the gun, the sticker’s adhesive can meld with the soft, uncured paint. Fast forward to removal day, and you’re almost guaranteed to peel the paint right off with the sticker, no matter how good the sticker is.
A Word of Advice: Rushing this step is the single biggest reason people have trouble with paint peeling during removal. Patience now will save you a lot of hassle later.
Are Commercial Adhesive Removers Safe to Use on Painted Walls?
Products like Goo Gone or even WD-40 can be lifesavers for stubborn residue, but you have to be careful. They contain strong solvents that can be a bit too much for certain paint finishes, particularly the delicate matt and emulsion paints so common in homes.
Always, always start with the gentlest methods first – a bit of heat or some soapy water. If that doesn't cut it and you need to bring in the heavy hitters, test the product on a small, hidden spot first. Behind the sofa or a bookcase is perfect. This gives you a chance to see if it’s going to discolour or soften the paint before you use it out in the open.
Will Removing a Sticker Damage My Wallpaper?
This is a bit trickier than painted walls and definitely calls for a slow, steady hand. The golden rule here is to avoid using any heat. A hairdryer can easily scorch the paper or, worse, melt the paste holding your wallpaper to the wall.
Start by gently lifting a corner with your fingernail or a plastic scraper. The key is to pull the sticker back on itself at a 180-degree angle, keeping it as flat against the wallpaper as you peel. If it feels like you're fighting it, stop. The age and quality of the wallpaper have a huge say in whether the sticker will come away cleanly.
At Quote My Wall, we’re all about creating beautiful vinyl stickers that not only look fantastic but are also designed for clean, straightforward removal. When you start with high-quality decor, you can sidestep many of these common headaches. Feel free to explore our collection and decorate your space with confidence at https://www.quotemywall.co.uk.