

Blackout Roller Blinds for Nursery: A 2026 Safety Guide
You've got a baby who's finally drifting off, then the room brightens at 5am and that's the end of the nap. Or you've spent money on a “blackout” blind, only to find a pale line of light along the edge and a glow at the top that seems small to you, but not to a light-sleeping baby. That's the nursery problem in British homes, the blind fabric is only half the battle, and the fit around the window decides whether the room stays dark enough to work.
Why Blackout Roller Blinds Transform Nursery Sleep
A nursery can look calm and still fail at sleep. In one typical UK home, the baby settles after lunch, the blind comes down, and the room still isn't dark because summer light is pushing in around the frame. The result is obvious, short naps, early wake-ups, and a room that feels private but not properly sleep-friendly.
Blackout roller blinds for nursery windows solve the first layer of the problem fast. They block the direct light that comes through the fabric, which helps create a consistent sleep cue for naps and bedtime. That's why blackout solutions are now a default choice for many baby rooms, but the blind alone is only part of the setup. As the nursery-safety guidance from Bloc Blinds makes clear, cordless construction matters just as much as darkness.
The sleep benefit is practical, not decorative
Parents usually notice the difference most on bright mornings and long summer evenings. A darkened nursery helps the room feel separate from the rest of the house, which matters when you're trying to build a repeatable sleep routine. That's the main advantage, not just privacy.
Practical rule: if the room still looks “grey” when the blind is closed, it's not dark enough for a nursery that has to support day naps.
There's also a temperature angle. A darker room often feels calmer and less exposed, especially in south-facing spaces, although the blind alone won't fix overheating. For that, you need to think about fabric choice, ventilation, and where the blind sits relative to the window frame.
If you want a ready-made visual style reference while planning the room, view Sweet Slumber on Printano as a nursery decor example, then judge the blind separately on function, not looks.
Understanding True Blackout Performance
Parents get caught out because blackout sounds absolute, but in practice the label can mean very different things. A true blackout fabric is usually described as blocking 99-100% of incoming light through the material, while room-darkening alternatives can still pass around 10-15% or more. That difference is huge in a nursery, especially when summer daylight hangs around late in the day and arrives early in the morning. The distinction is described clearly in nursery guidance from Modern Parenting.
Fabric rating is only the starting point
A nursery blind can have excellent fabric and still perform badly once it's fitted. If the blind sits inside the recess with gaps at the sides, top, or bottom, light will still leak through. That's why I never tell parents to buy based on the word blackout alone.
It's like closing the curtains in a room with the window open. The material is doing one job, but the window assembly is doing another. If you only check the fabric spec, you're ignoring the part that wakes babies up.
The best buyers look for true blackout fabric, then ask how the blind seals at the edges. Some brands publish light-blocking claims, but the more useful question is how the blind is built and how it's intended to be mounted. If the product can't explain that clearly, it's not the one I'd pick for a nursery.
What to demand before you buy
You don't need marketing fluff. You need a blind that clearly states it's cordless, uses a reliable blackout fabric, and can be installed with the least possible perimeter light leakage. Anything less is a compromise, and in a nursery compromise usually means another failed nap.
A blackout blind that looks good in a showroom can still perform poorly in a British bedroom if the fit is lazy.
That's the point many parents miss. The fabric matters, but the room gets dark because the whole system works together, fabric, mount, and window geometry.
Child Safety Requirements for Nursery Blinds
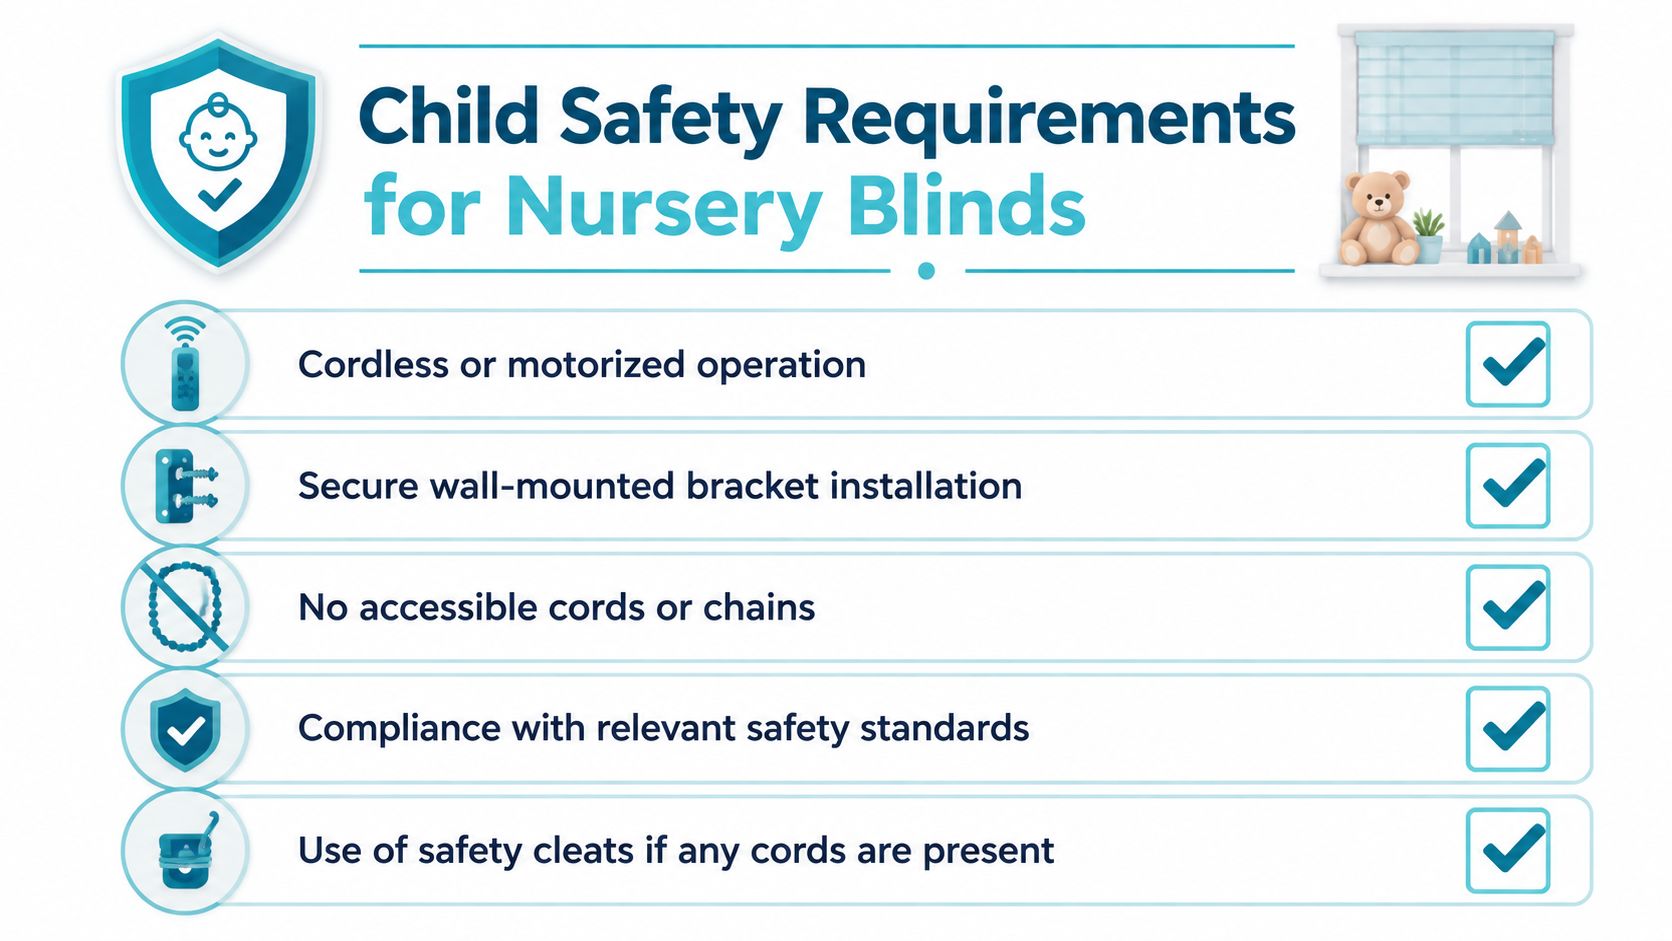
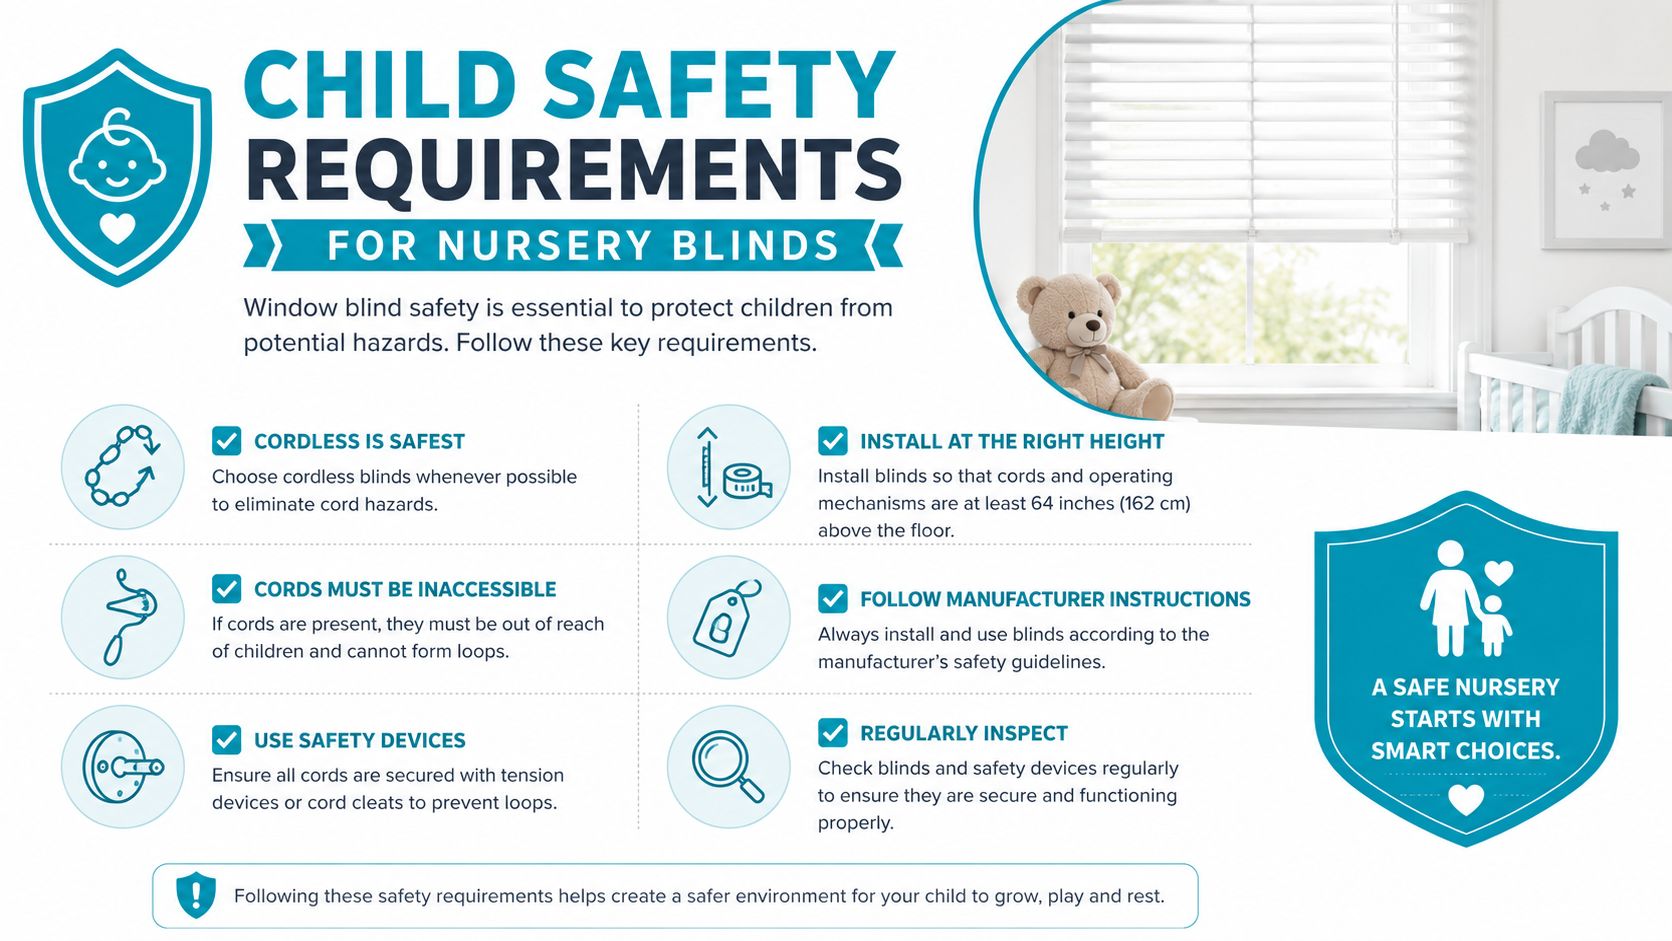
Safety comes first. A nursery blind with brilliant blackout performance is still the wrong product if it has accessible cords, chains, or awkward loops. UK nursery guidance treats cordless or motorised operation as the safer choice because corded window coverings remain a long-standing strangulation hazard for babies and toddlers, especially once they start standing and pulling themselves up. That principle is set out plainly in Bloc Blinds' nursery safety guidance.
The safe setup is simple
If you're buying for a baby's room, the blind should be either cordless or motorised. No hanging loops. No exposed chain in reach. No makeshift fixes that leave a loop dangling near the cot. That's the baseline, not the premium version.
You also need secure mounting. A loose bracket, an uneven fit, or a blind that shifts over time can create new hazards later, even if the product looked fine on day one. This is why I'm strict about checking the fixings, not just the fabric sample.
For room layouts around cots and furniture, keep the blind and any cords, if the product even has them, away from where a child can reach while standing. If you're planning the rest of the nursery layout at the same time, this cot teething rail guide is worth reading alongside your window-covering decisions, because furniture placement and window safety go hand in hand.
What to check before ordering
- Cord-free operation: choose a blind that works without an accessible cord.
- Secure brackets: make sure the fitting method suits the wall or frame.
- No reachable loops: inspect every part of the mechanism, not just the front-facing fabric.
- Safe placement: don't let the blind sit where a climbing toddler can grab it.
If the product needs a chain tensioner to feel acceptable, it's already the wrong fit for a nursery.
That's the standard I use in real homes. Good blackout performance is useful. Child-safe operation is essential.
Inside Recess Versus Outside Mount Installation
Most parents lose darkness without realising it. A blind can be sold as blackout and still leak enough edge light to matter if it's mounted badly. UK suppliers commonly show side gaps in the region of about 14-21 mm on standard blackout roller systems, with examples including a chain-end light gap of about 21 mm and an idle-end gap of about 14 mm on one product, and roughly 19 mm and 13 mm on another. Those gaps are small on paper, but they're enough to create a visible halo around the blind in the early morning. The product guidance from New Blinds spells out those light-gap realities.
Inside recess works when the reveal is deep and tidy
Inside-recess mounting can look neat, and it suits some windows. If you've got a deep reveal and the frame is square, it can be a tidy solution for privacy and basic light control. But if your goal is nursery darkness, inside mount is often the weaker option because the blind sits inside the opening and leaves the frame edges exposed.
Outside mount usually wins for nurseries
Outside mounting lets the blind overlap the window and cover more of the light path. That extra coverage is often underestimated. UK measuring advice commonly recommends around 70-100 mm of overlap on each side for outside mounts and at least 100 mm above the frame to cut top light leakage. That's the difference between a decent blind and a sleep-friendly one.
| Feature | Inside Recess Mount | Outside Mount |
|---|---|---|
| Light leakage | More exposed at the edges | Better coverage over the frame |
| Appearance | Cleaner, more tucked-in | More room-darkening, less minimal |
| Best use | Deep, square reveals | Nurseries needing maximum darkness |
| Common issue | Halo effect around the blind | Needs accurate measuring |
| My view | Fine for some rooms | Usually the better nursery choice |
If you're dealing with bay windows or uneven reveals, the inside mount often gets awkward fast. For those spaces, this dormer windows curtains guide is useful background reading because tricky window geometry changes what “good fit” really means. In a nursery, darkness beats neatness every time.
How to Measure Your Nursery Window for Maximum Darkness
Measuring is where a lot of DIY installs go wrong, and the mistake is usually simple. Parents measure the glass or the visible opening, then wonder why the blind leaves a bright outline around the frame. For nursery darkness, you're not just measuring the window, you're measuring the coverage needed to block the light path.
Measure the opening, then add coverage
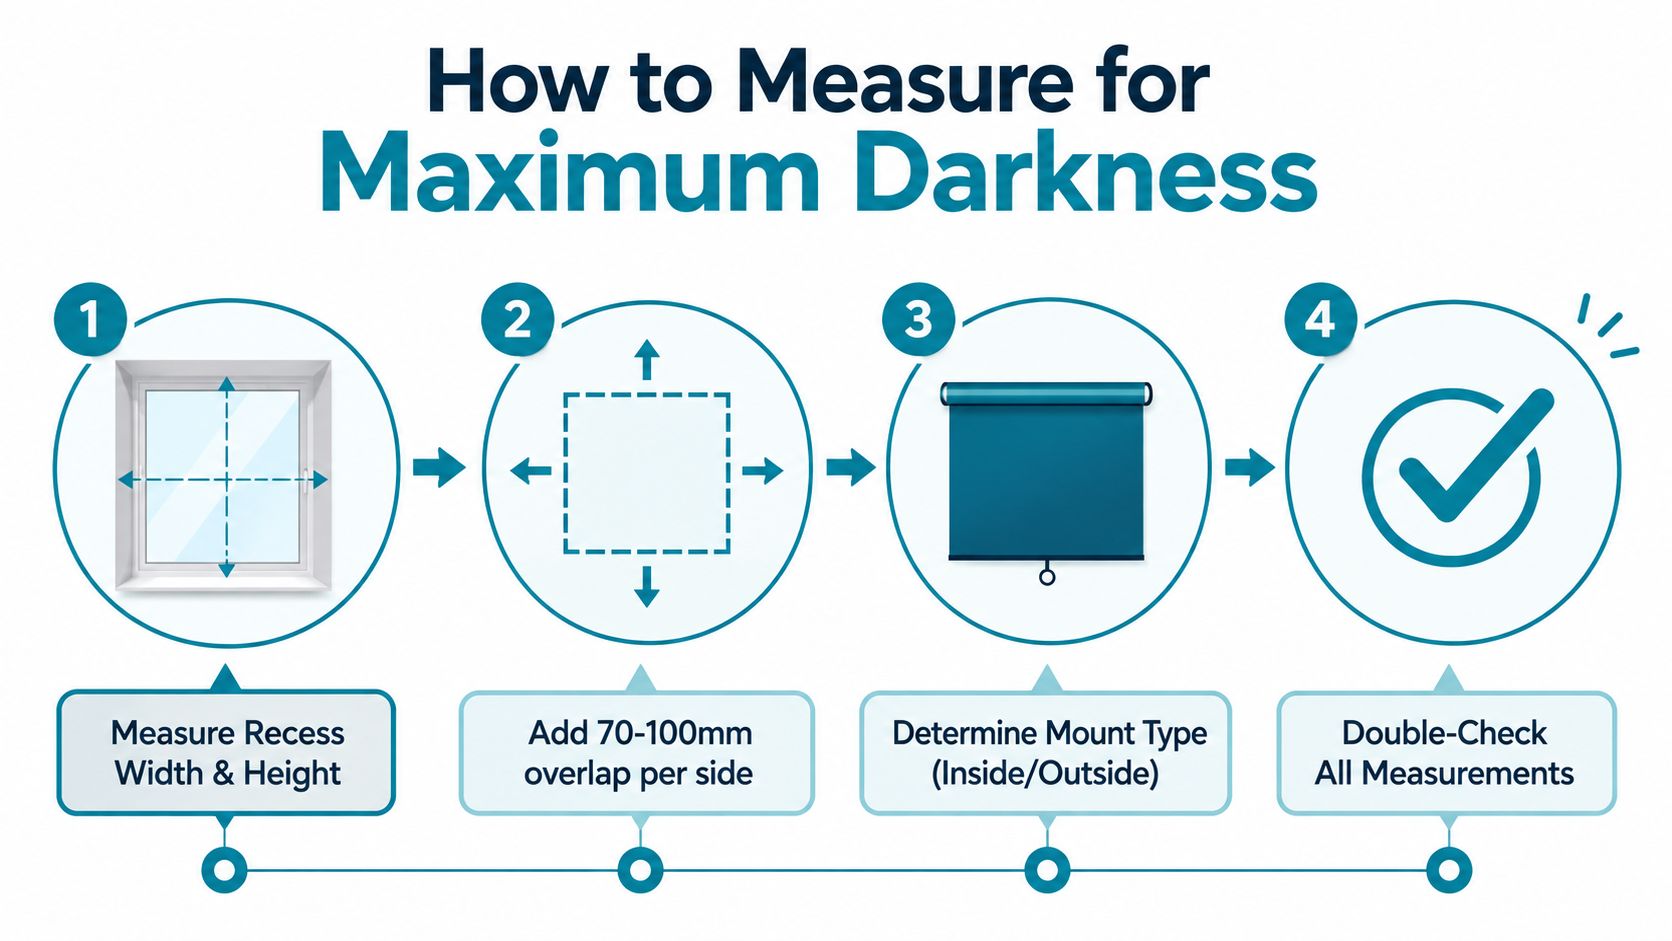
Start with the recess width and height if you're considering an inside mount. Then decide whether the room needs the blind to sit inside the frame or overlap it. For outside mounts, add 70-100 mm of overlap per side and allow at least 100 mm above the frame if you want to cut the top glow that creeps in through the headrail area.
Older UK houses make this trickier. Plaster can be uneven, reveals can flare, and corners can be out. Don't assume both sides of the window are identical just because they look that way from across the room.
Use the right measuring habit, not guesswork
Measure at three points, top, middle, and bottom, because frames aren't always perfectly square. Write everything down in millimetres. Then measure again before you order. That sounds obvious, but it's the difference between a blind that fits properly and one that leaves a bright strip of daylight where you least want it.
If you've got a difficult opening, made-to-measure is often worth it. Standard sizes can work in simple rooms, but they're a poor bet when the room shape is awkward or the reveal is shallow. I'd rather see a parent spend properly on a blind that actually covers the window than save money on a size that leaks light every morning.
The measurements that matter most
- Width coverage: enough overlap to stop side light.
- Top drop: enough height above the frame to stop the glow at the head.
- Reveal depth: enough space for the chosen mount to sit correctly.
- Obstructions: handles, vents, corners, and trim that can push the blind off line.
Measure for darkness, not for “it just fits”. Those are two very different jobs.
That rule saves more nursery installs than any sales pitch ever will.
Eliminating the Halo Effect with Layered Solutions
A good blackout roller blind can still leave a pale ring around the edge. That halo effect shows up when the recess, wall, or frame lets light slip past the fabric, and it is the bit parents notice before breakfast.
Treat the blind as one layer, not the whole answer. Side channels can block edge light, a perfect-fit frame can tighten the perimeter, and blackout curtains can cover the spill where the blind cannot seal. That matches the practical advice from The Shade Store's nursery blackout guidance, which points parents toward layered setups when one blind leaves gaps.
Use the right layer for the right problem
A standard recess with decent dimensions can often be handled by a well-measured outside-mount roller blind. A shallow, uneven, or awkward window needs more help, and side channels or a frame system close the gaps far better. If you want near-total darkness for a light-sensitive baby, add blackout curtains and accept that layering is the smarter route.
Rented homes need special thought. Heavy frame alterations may be off the table, so a layered setup becomes the practical compromise. In those rooms, I focus on coverage and reversibility, not on chasing a sealed installation the lease will never allow.
A blind that fits the window properly beats a cheaper size that leaves a strip of daylight every morning.
Keep the room clean if you're layering
Layered solutions work best when dust and buildup do not interfere with movement or fabric drape. A blind that sticks, picks up grime, or rubs the wall will hang poorly, and the light leaks get worse over time. For keeping the window area tidy and making it easier to spot where light is getting in, the Pine Country window cleaning guide is worth a look.
Window privacy film can also help on tricky panes, especially where side light comes through glass rather than around the blind. If you need a practical walkthrough, this guide to installing window privacy film shows how to add another layer without relying on the blind alone.
If the room still glows after the blind is down, do not blame the fabric first. The leak is usually at the edge, the top, or the side of the window assembly.
Darkness in a nursery is usually built, not bought, one layer at a time.
That is the honest answer. Parents who get nursery sleep right have usually sealed the halo effect properly.
Managing Heat and Ventilation in South-Facing Nurseries
Blackout solves light, but it can make parents overconfident about heat. A south-facing nursery in the UK can get uncomfortable fast, especially when the sun sits on the window for hours. If you block the light but ignore ventilation and fabric choice, you can end up with a dark room that feels stuffy.
The best approach is a balanced one. Use blackout where sleep demands it, but don't trap the room behind heavy layers if airflow is poor. Guidance from Joydeco's nursery blackout advice makes the same basic point, keep the room safe, dark, and comfortable, not sealed in a way that works against sleep.
Pick the blind for the room, not just the window
Roller blinds are good at blocking light and keeping the look simple. Cellular styles and insulating constructions do more for temperature control because they trap air. If your nursery gets hot in the afternoon, that extra insulation can matter more than a perfectly flat roller look.
I'd favour a roller blind when the main problem is daylight and the room already handles temperature well. I'd look harder at thermal-backed or cellular options when the room bakes, the window faces south, or the nursery sits above a warm floor in summer.
Ventilation still matters. A blackout blind should help the room sleep better, not turn it into a stale box. Keep the window strategy sensible, dark at sleep time, open and ventilated when the room needs fresh air.
A nursery blind should help the baby sleep, not make the room harder to live in.
That's the position I stand by. Darkness without comfort isn't a win.
Your Nursery Blackout Blind Decision Checklist
I've seen parents fall for the wrong blind because they focused on the fabric swatch and ignored the fit. The better route is simple. Start with child safety, then check blackout performance, then decide how the blind will be mounted and whether the room needs help from layered solutions. A tidy-looking blind that leaks light and has unsafe cords is still a bad buy.
Use this before you order
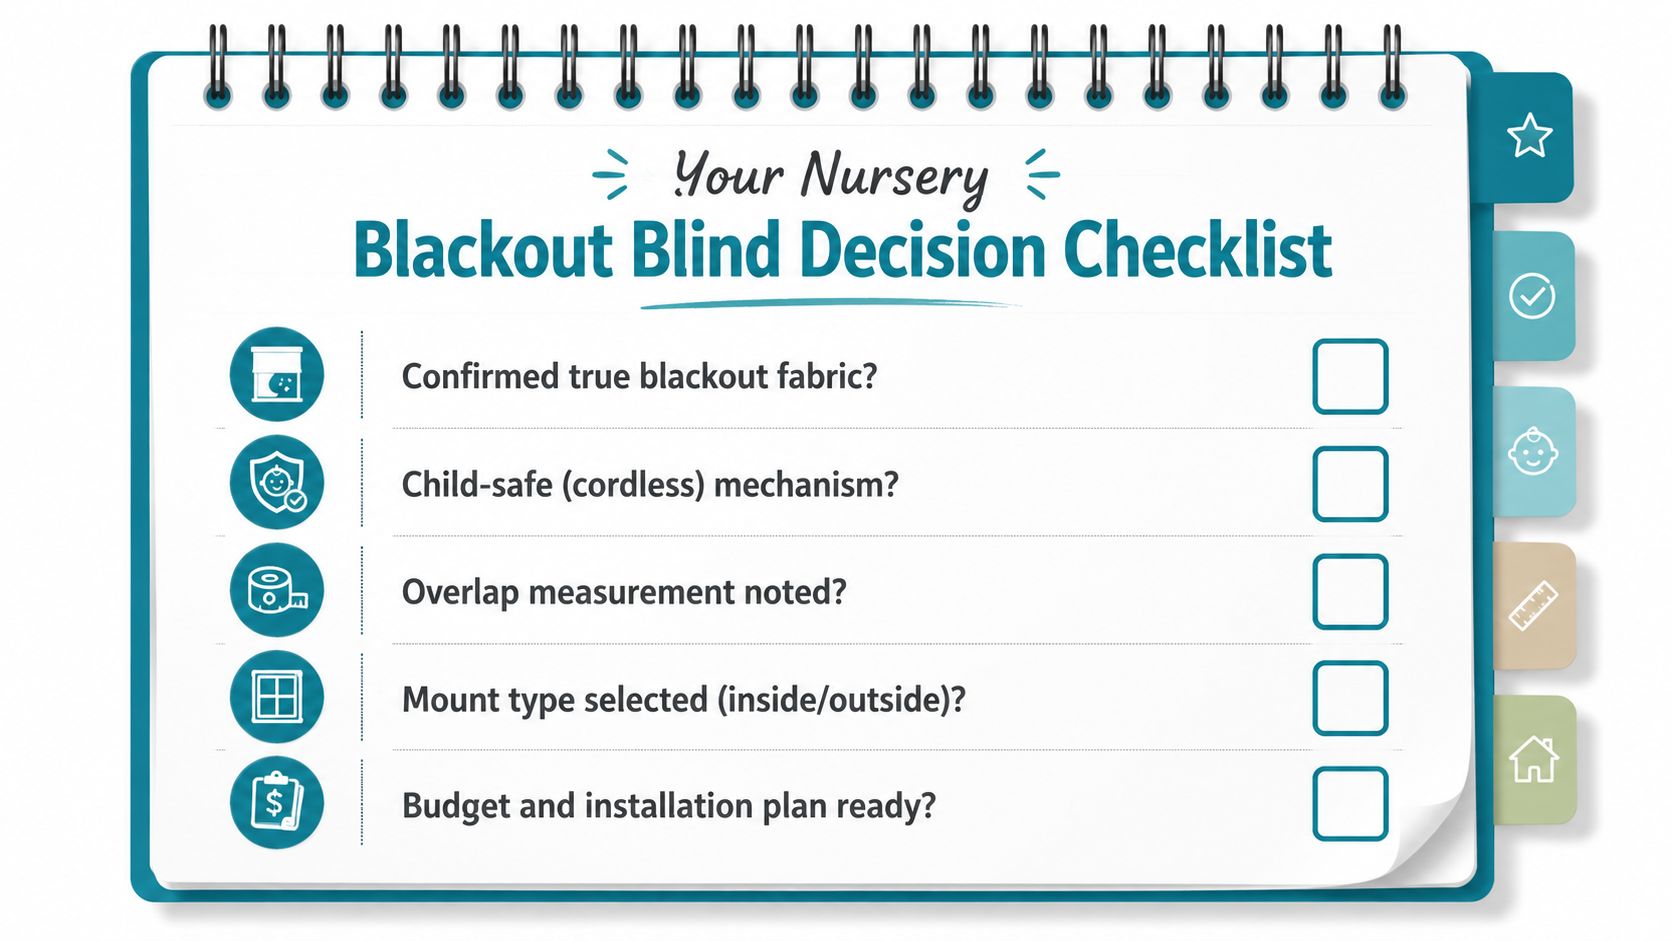
- Confirmed true blackout fabric? Don't settle for room-darkening if the nursery needs better sleep control.
- Child-safe mechanism? Choose cordless or motorised for a baby room.
- Overlap measured? Check the window coverage, not just the glass size.
- Mount type selected? Decide inside or outside before you buy.
- Installation plan ready? Be honest about DIY skills, wall type, and bracket placement.
Cleaning is straightforward for most roller systems, a gentle dusting and a light wipe when needed, but don't let maintenance distract you from the main decision. The blind has to fit the room properly first. Styling comes after function, and in a nursery that order matters.
If you want a quick rule to finish on, use this one. Choose cordless, choose true blackout, and choose the mount that gives the most coverage, not the neatest brochure look.
Quote My Wall is a useful place to start if you're shaping the rest of the nursery while you sort the window treatment, especially if you want easy wall stickers, nursery prints, or other room details that work alongside a blackout blind. Visit Quote My Wall to explore nursery decor that helps the room look finished without getting in the way of sleep.