

Acrylic Wedding Signs DIY: Complete Guide
You're probably at the point where the wedding details are multiplying, the quote for signage looks higher than expected, and the idea of making your own acrylic sign starts sounding sensible. That's the right moment to slow down and treat the sign as more than a pretty object on a mood board. A good acrylic wedding signs DIY project has to survive cutting, cleaning, lettering, transport, weather, and the final five minutes before guests arrive.
Why DIY Acrylic Wedding Signs Make Sense and When They Don't
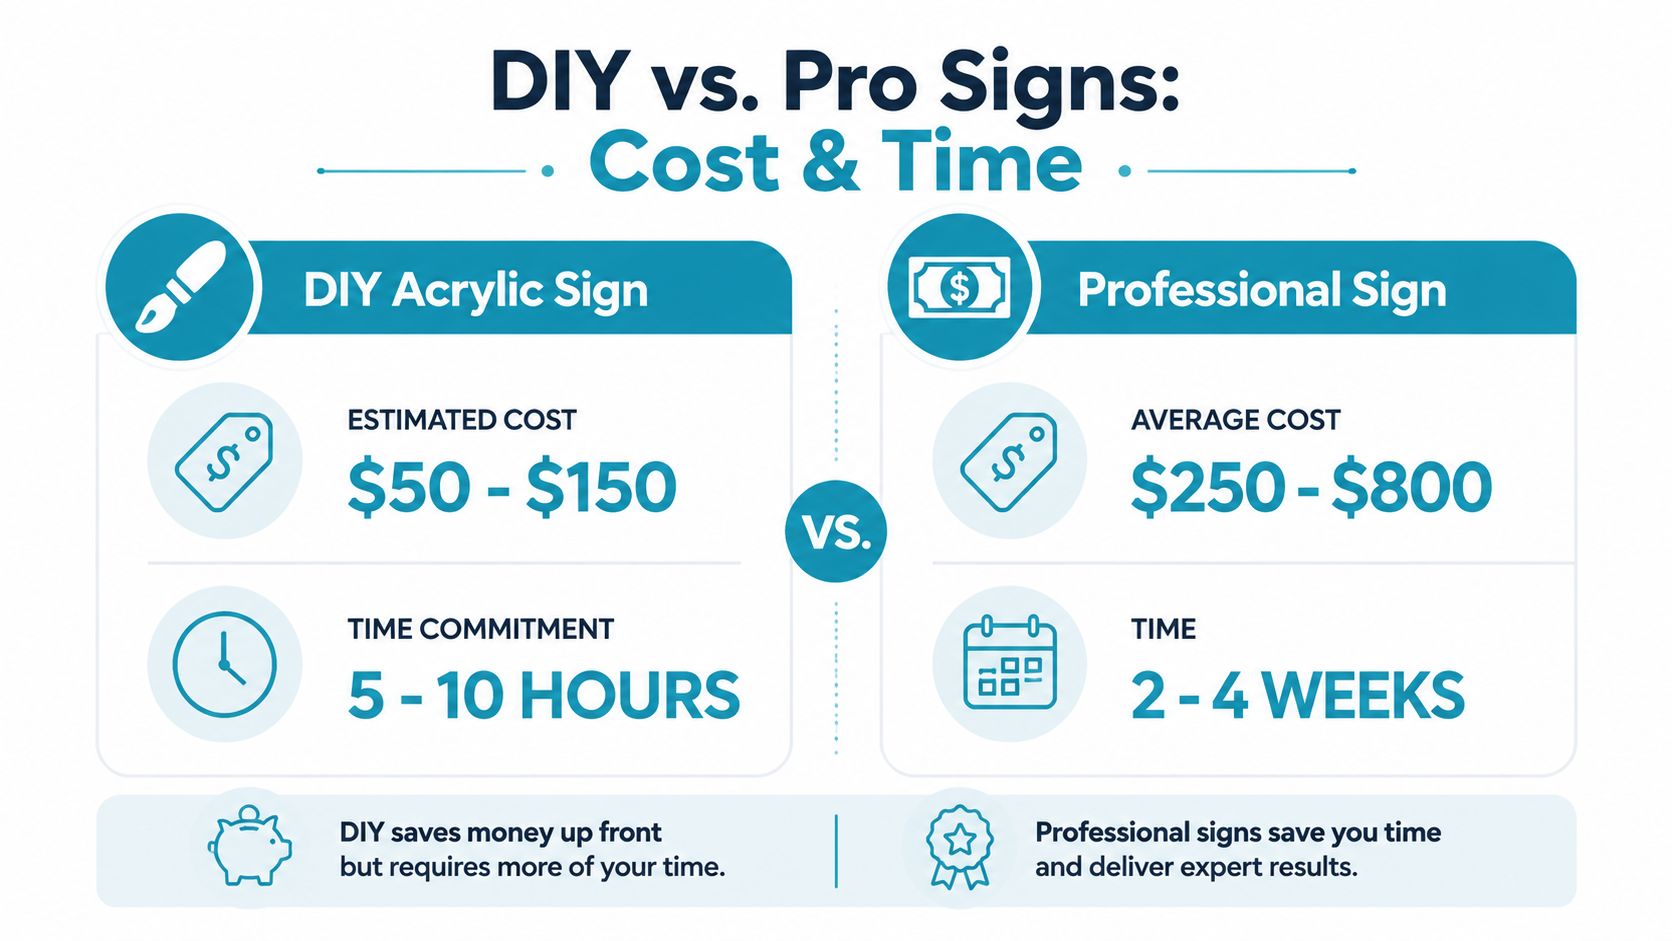
Acrylic signs make sense when you're trying to keep signage inside the broader wedding budget rule of 2–3% of the total wedding budget for signage, because that gives you a practical ceiling before the project starts eating into other priorities like flowers or photography. A DIY acrylic welcome sign is often estimated at $50–95 per sign for materials, while custom versions sit around $150–400 for a welcome sign and $200–500 for a seating chart, with total signage spending often landing around $400–1,500 across the event, according to the cost breakdown in this wedding sign budgeting guide. That gap is real, but it only matters if you can do the work cleanly and on time.
For UK couples, the question isn't whether DIY is cheaper in theory, it's whether the finished sign fits a modest share of the budget without turning into a weekend of avoidable mistakes. A useful framing is to compare your total wedding spend against a source like sample destination wedding budgets so you can see whether signage should be a light touch or a more prominent line item. If your plan needs one statement welcome board and a simple table plan, DIY can be the smarter move. If you need multiple coordinated panels, the time cost starts to matter as much as the materials.
When DIY stops being the better option
The cost gap narrows fast when the sign is oversized, highly reflective, or needed on a tight timeline. A mirrored finish, for example, raises the stakes because every fingerprint and alignment issue shows immediately. If you're also juggling venue access, courier timing, and rehearsal changes, the risk of a rushed build can outweigh the savings.
Practical rule: if you'd be upset enough to remake it, commission it.
For readers comparing a handmade route with a commissioned one, the internal guide on custom acrylic signs is a useful reference point because it helps you see what a professional finish is really buying you, not just what it costs. DIY is strongest when you want a polished result, have a clear design, and can tolerate a little workshop friction. It's weakest when perfection is essential and the schedule is already tight.
Materials and Tools You'll Actually Need
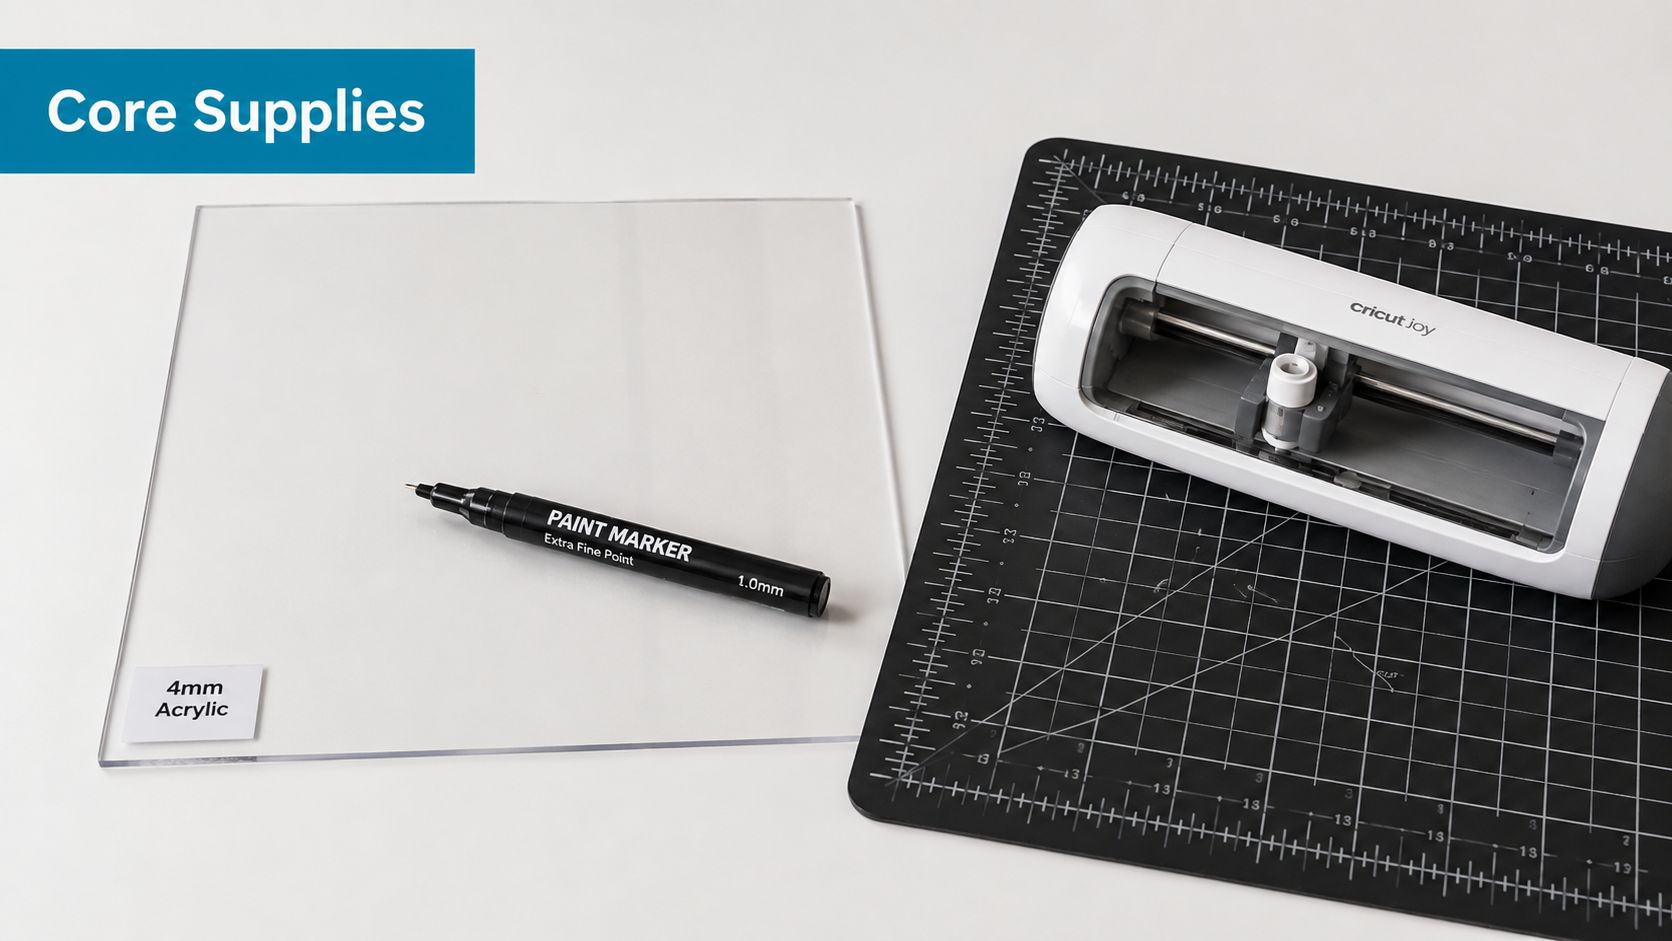
Start with the acrylic itself, because that decision drives everything else. For a wedding welcome board, 4 mm acrylic is the practical default when the sign needs to stand safely on an easel or frame, which matches the UK supplier guidance in the brief. Thinner sheets are easier to move but feel flimsy, while thicker sheets can look substantial but cost more and become less forgiving to handle. Choose clear if you want the lettering to feel crisp and floating, frosted if you want softness, and mirrored only if you're ready to handle fingerprints carefully and accept a more demanding finish.
Buy for the method, not the craft drawer
The lettering method decides the rest of the shopping list. If you're using vinyl, you need permanent or removable adhesive vinyl, transfer tape, a weeding tool, a squeegee or scraper, and a clean ruler or tape measure. If you're lettering by hand, a paint pen can be enough, but it's less forgiving on large text and it depends heavily on your line control.
Cleaning supplies matter more than most beginners expect. A lint-free cloth and isopropyl alcohol or window cleaner do the work, because acrylic shows dust, static, and residue quickly. Kitchen roll leaves fibres behind, and that becomes annoying the moment the light catches the panel. A cutting machine such as a Cricut or Silhouette helps if you're doing intricate typography, but it's optional if you're happy ordering pre-cut lettering or keeping the text simple.
Keep the kit tight. If an item doesn't help you cut, clean, align, or mount the sign, you probably don't need it.
A few extras are worth considering only when the sign design calls for them. Standoffs suit wall displays or floating effects, while an easel is the obvious choice for a welcome board on arrival. A light box can help with tracing if you're hand-lettering, but it's not essential. The aim is a working kit, not a full craft studio built around one event.
Preparing the Acrylic Panel the Right Way
Most bad acrylic signs don't fail at the lettering stage, they fail earlier, when the panel is handled like ordinary plastic. Acrylic usually arrives with protective film on both faces, and that film is the only thing keeping the surface clean until you're ready. Leave it on for every dry fit and layout check, then remove it only when the panel is cleaned and the artwork is ready to go down.
Clean, then clean again
The sequence matters. Put the sheet on a flat, dust-free surface, remove the film only at the final working stage, then wipe the surface with window cleaner or rubbing alcohol and a lint-free cloth. That removes static dust and fingerprints before they become trapped under vinyl or paint. If you're using the back of the panel, the same rule applies there too. Any residue left behind can spoil adhesion and leave the lettering edges looking rough.
Cutting and edge finishing come next if you need to size the sheet yourself. Thin acrylic can be scored and snapped cleanly, while thicker material usually needs a jigsaw with a fine-tooth blade for a safer result. Once cut, edges can be refined with progressively finer sandpaper for a smoother feel, or polished further if you're comfortable with the technique. That's not cosmetic fluff, it affects how the sign feels in hand and how finished it looks from the aisle.
A sign that looks perfect on the worktop can still fail if the panel carries dust, static, or a cloudy edge.
Work cleanly and don't rush the film removal. The biggest mistake is peeling too soon, then trying to re-clean a naked sheet in a room full of airborne fluff. The second-biggest mistake is assuming the final wipe is optional. It isn't. With acrylic, preparation is part of the finish.
Choosing Your Lettering Method
The best lettering method depends on how much control you want, how steady your hand is, and how much failure you can tolerate. For most couples, vinyl transfer is the default because it gives a sharp, professional look without needing freehand confidence. Paint pens suit simple designs and calligraphy-style lettering, especially if one person is already comfortable writing on slick surfaces. Reverse appliqué on the back of clear acrylic creates the printed-inside-glass effect people like for sleek modern wedding styling. Adhesive-backed printed vinyl is the fast route for complex layouts, icons, or multi-line seating charts.
Compare the main methods before you commit
| Letter method | Skill level | Approx. cost | Best for |
|---|---|---|---|
| Vinyl transfer | Moderate | Low to moderate | Clean welcome signs and seating charts |
| Paint pens | Easy to moderate | Low | Hand-lettered messages and simple layouts |
| Reverse appliqué | Moderate to advanced | Moderate | Clear acrylic with a polished, layered look |
| Printed vinyl | Easy | Moderate | Detailed graphics and fast turnaround |
Vinyl is the safest balance of clean finish and repeatability, especially if you're already using a machine or ordering cut letters. Paint pens are cheaper and can look lovely, but they demand a steadier hand and they show hesitations more clearly. Reverse appliqué is elegant, yet it adds another layer of planning because you're designing for the back of the panel and thinking in reverse. Printed vinyl saves time when the design is detailed, but it can feel less handmade.
For readers who don't want to wrestle with machine settings, the process guide on how to apply vinyl stickers is a sensible reference for the transfer stage. That's the point where many first-time makers lose fine serifs or lift tiny letters by accident. If you'd rather buy precision-cut lettering than troubleshoot blade pressure, that's a valid call. The right method is the one whose failure mode you can live with.
Sizing, Templates and Alignment
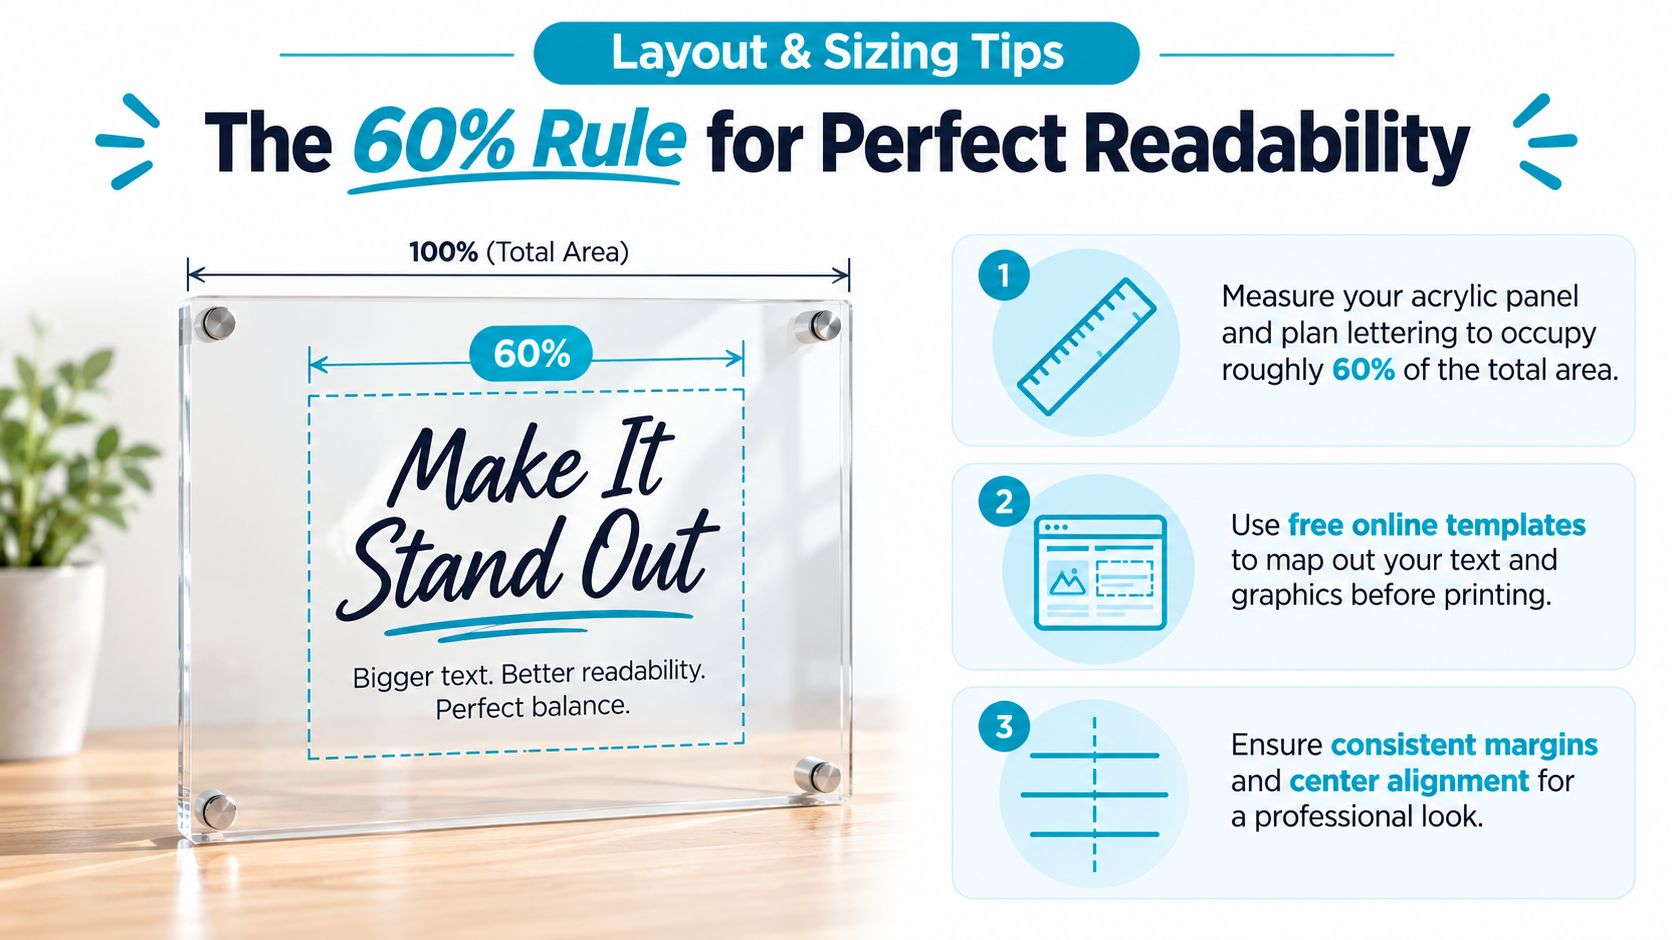
Acrylic only looks expensive when the lettering sits in the right place. The quickest way to make it look crowded is to fill every spare centimetre with text, while the quickest way to make it look lost is to undersize the wording. A good rule is to let the lettering occupy roughly 60% of the panel width and keep it 5–8 cm clear from the edges, which gives the design space to breathe without looking underfilled.
Build the layout before touching the panel
Make a full-scale paper template and test it against the acrylic before you commit to vinyl. Mark the centre line, the top and bottom alignment points, and any key baseline for names or dates. A hinge method with low-tack tape helps long phrases land where they should, because you can secure one edge, lift the lettering, and lower it in a controlled way rather than guessing.
Align to the centre first, then adjust spacing. Eyeballing the whole layout is how good lettering ends up looking slightly off.
For clear acrylic, the back is usually the working surface because the wording reads correctly from the front and stays protected by the sheet itself. That means you're often applying the vinyl in reverse order from how it's viewed. It feels strange the first time, but it protects the face of the sign from scratches during handling. Check the spacing between lines carefully, especially if the wording stretches across several lines. A sign that looks balanced in a mock-up can feel top-heavy once it's mounted.
Dry-fitting is the last safeguard before anything becomes permanent. Tape the paper template up, step back, and check how it reads from a normal viewing distance. If the sign is for a venue entrance, it needs to make sense in one glance. If the spacing feels cramped in the template, it'll feel worse on the acrylic.
Mounting, Finishing and Display
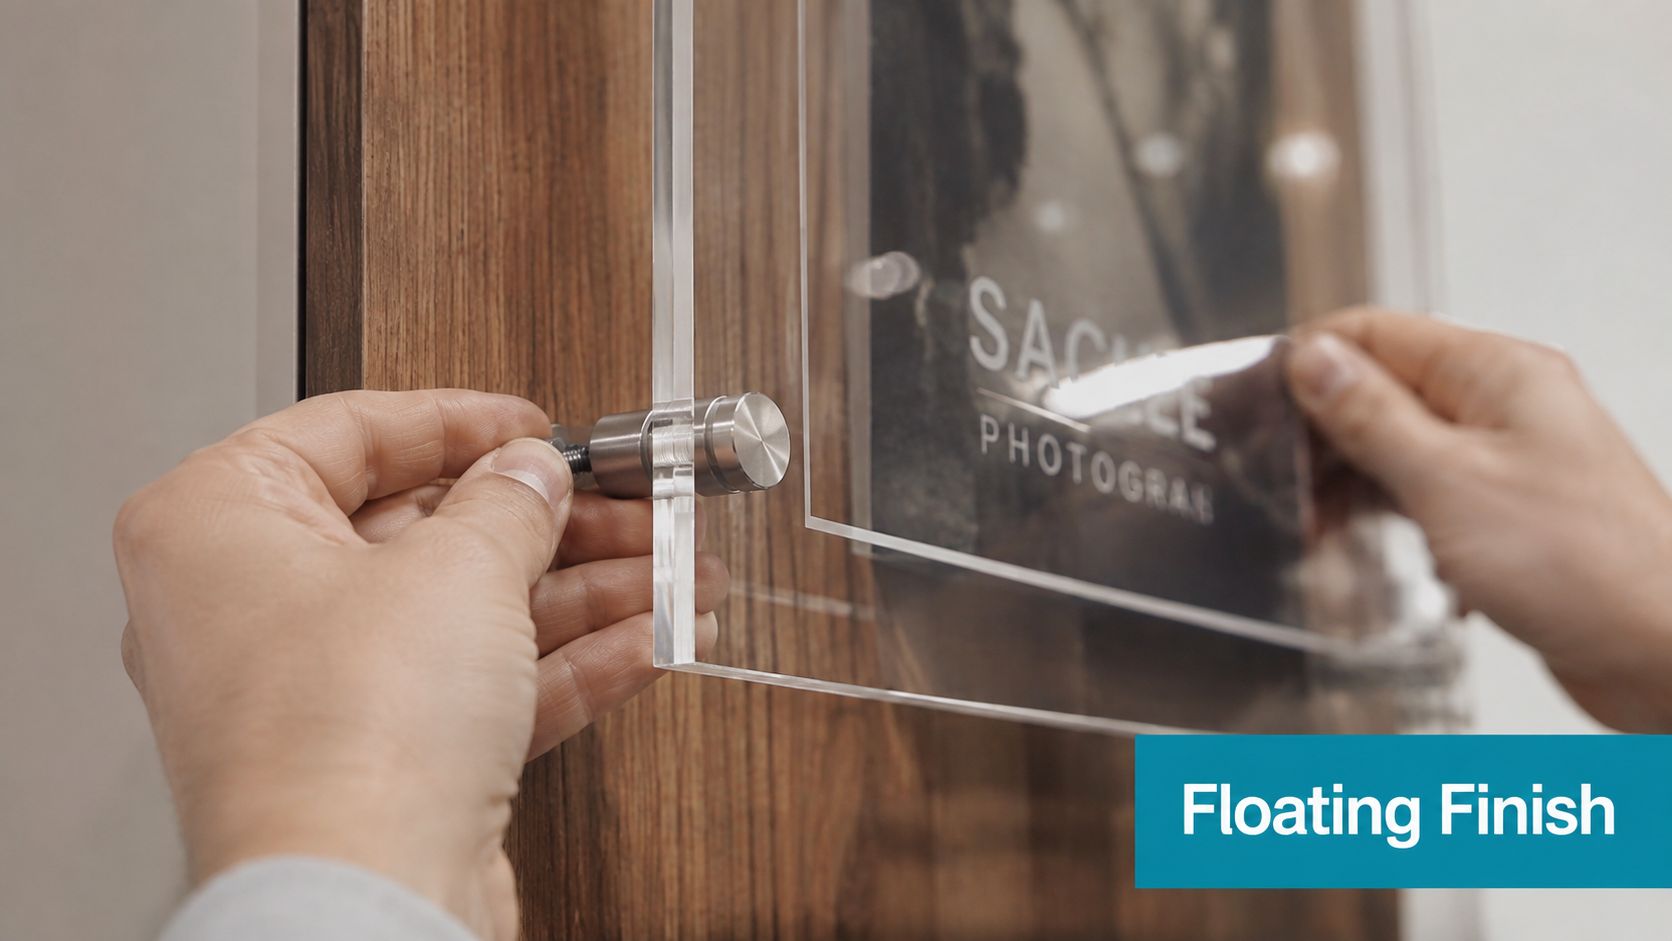
A finished panel isn't wedding-ready until it stands properly and survives the journey there. That means choosing the display hardware with the same care you used for the lettering. Standoff mounts create a floating, contemporary look for wall or frame displays, while an easel is the usual option for a welcome board. If the sign is sitting outdoors or on uneven ground, add non-slip feet or use a heavier support system so it doesn't wobble the moment someone walks past.
Match the mount to the weight and setting
An easel should suit the panel, not just the photo on your mood board. A 4 mm sheet has more rigidity than the thinner bargain options, but it still needs a stable base if it's freestanding on arrival. If the sign is going into a timber frame, drill-and-screw fixings can look neat and secure, provided the holes are planned before final lettering. For mirror-style or layered displays, the support should disappear visually without feeling flimsy.
Finishing touches make the difference between handmade and half-done. If you've used a paint pen, a clear sealant spray can help protect the marking, but test it first on a spare piece because not every finish behaves the same. Wipe fingerprints from the front face with a clean soft cloth, not a rough towel. Then wrap the sign in acid-free tissue for transport so the surface doesn't pick up scuffs or static dust in the car.
If the sign needs a QR code for directions, menus, or seating information, it helps to design the display around it early rather than cramming it in at the end. The layout resource on Wedding QR codes is a useful companion if the sign needs to do more than greet guests. Keep it readable, keep the mount stable, and transport it flat if the format allows. That's how a sign survives the last mile and still looks intentional when it reaches the venue.
Troubleshooting and When to Call It
The ugly problems usually show up after the sign looked fine on the worktop. Vinyl lift often appears at the edges after a warm day or a few hours in transit, especially if the panel was rushed or the surface wasn't perfectly clean. A low-heat hair dryer can help re-adhere lifting vinyl, but only if the adhesive is still sound. Trapped bubbles are another common issue, and the pin-prick release trick works best when the bubble is tiny and local, not when the whole layer is misapplied.
Paint pens can streak on frosted acrylic if the hand speed is inconsistent, and mirrored acrylic exposes every fingerprint the moment you touch it. Static is a real nuisance too, because it attracts dust right after cleaning and can ruin a fresh-looking panel seconds before the venue team takes it out of the car. If residue gets left behind during film removal or transfer tape leaves a tacky patch, the cleaning advice in this sticky residue guide is useful in principle, even though acrylic needs a gentler touch than a wall surface.
Know when to stop rescuing the piece
DIY stops making sense when the timeline gets too tight. If the sign is needed in under 10 days, or if the wording runs to more than 30 words, the risk of rework starts climbing fast. Very large seating charts are a similar problem, because one small misalignment becomes obvious at scale.
Commission it if: the finish has to be flawless, the format is complex, or you don't have a spare panel to practice on.
There's no shame in abandoning a rescue mission. If a panel is scratched, warped, or visibly misaligned, the cleanest answer is often to remake it or hand it off. The best DIY result is the one that still looks deliberate from a few steps away, not the one that absorbed every hour you had.
If you want a cleaner route from idea to finished sign, visit Quote My Wall and explore vinyl-led options that suit weddings, acrylic signs, and custom event styling. If you'd rather skip the last-minute stress and work with a shop that understands vinyl, cut lettering, and polished presentation, Quote My Wall can help you get there without turning the week before the wedding into a workshop marathon.