
Choosing and Applying a Wall Sticker Quote Like a Pro
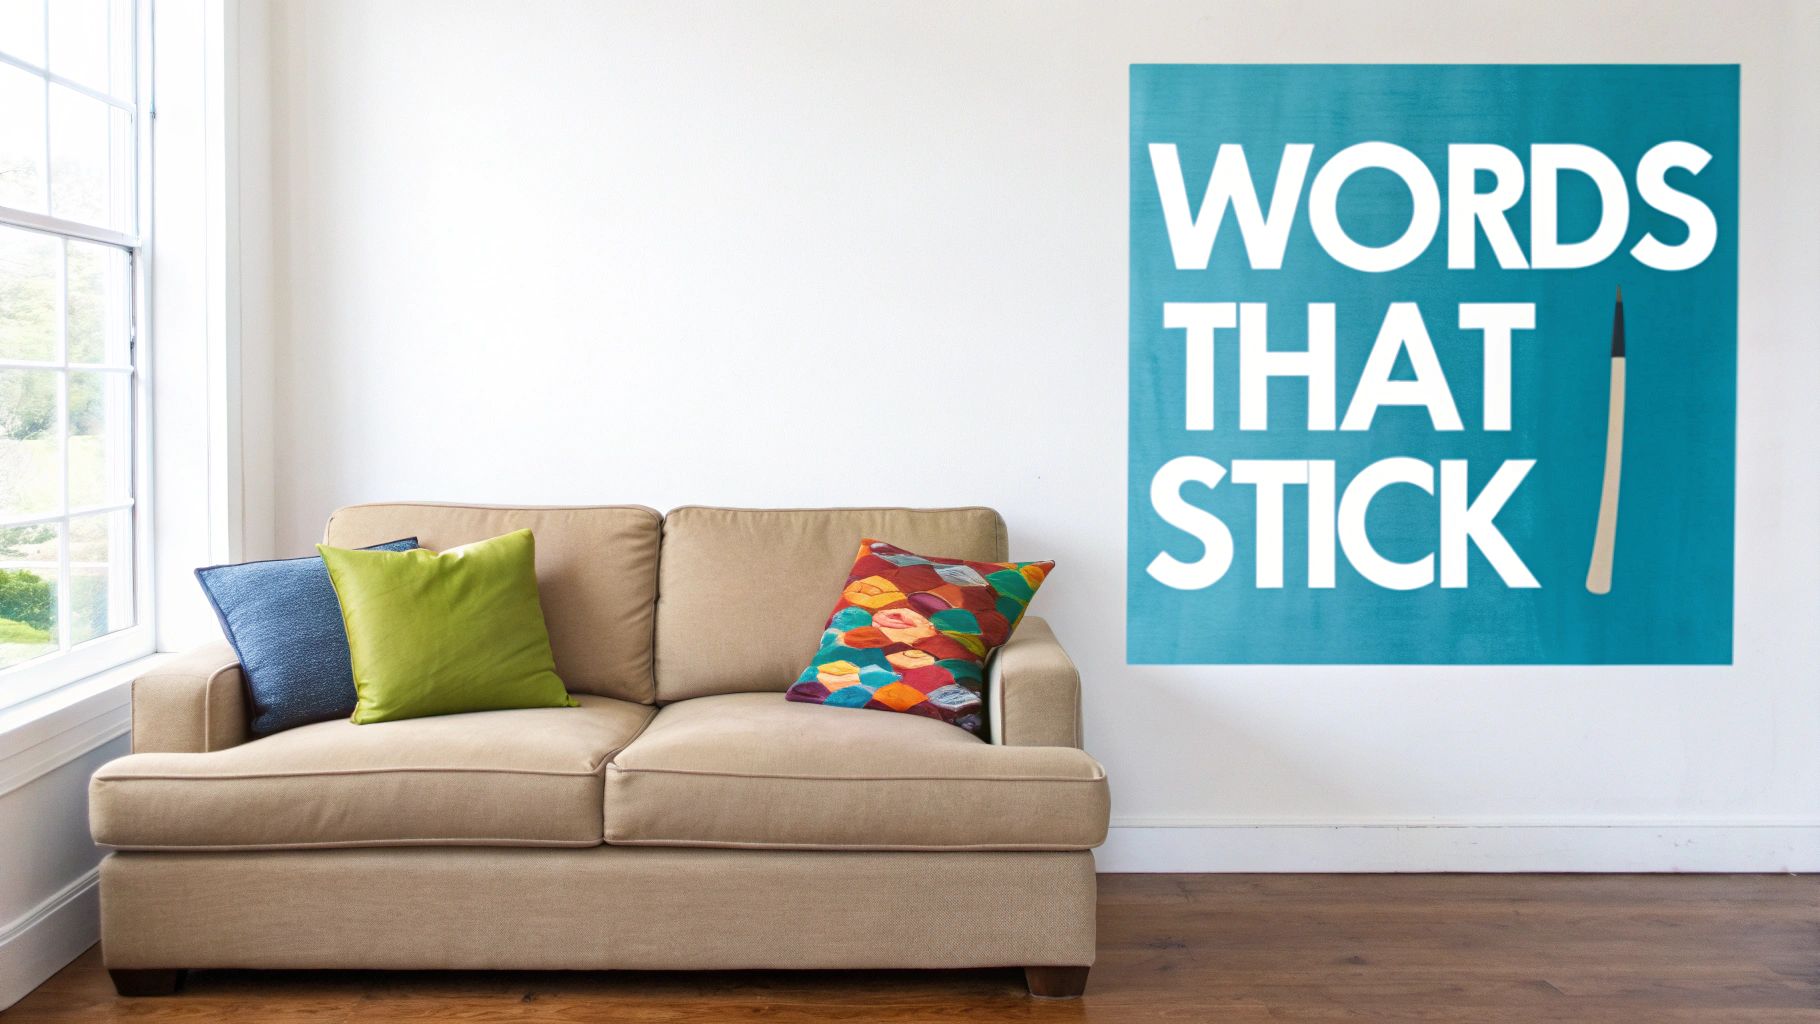
More than just a decoration, a well-chosen wall sticker quote is one of the easiest and most affordable ways to inject some real personality into a room. Think of it as a piece of art that speaks, giving you a powerful way to make a space your own without the long-term commitment of paint or wallpaper.
Why Words on Your Wall Matter
So, you're ready to personalise your home in a simple yet striking way? Wall sticker quotes are a fantastic opportunity to fill your space with a bit of motivation, style, or just a touch of your unique personality. I've seen countless installations, and in this guide, we'll go beyond the basics to share some of the practical insights I've picked up along the way.
You'll soon see how the right quote can completely change the feel of a room—setting a relaxed mood in the living room, sparking creativity in a home office, or adding a sweet, playful touch to a nursery.
I'll walk you through everything, from picking a design that actually complements your existing decor to applying it so flawlessly it looks like it was professionally painted on. Let's forget any past frustrations with peeling corners or trapped air bubbles; my goal is to help you make this DIY project a stunning success.
Getting the Lingo Right: Sticker vs. Decal
You’ve probably heard people use "sticker" and "decal" as if they're the same thing, but there's a subtle difference that really matters when it comes to getting it on the wall correctly. While both are adhesive designs, a wall quote is technically a decal.
What does that mean? It means it has three distinct layers: a paper backing, the vinyl lettering itself, and a clear transfer tape over the top.
Here's the key takeaway: You peel and apply a simple sticker, but you apply and peel a decal. That transfer tape is the magic ingredient, holding all the individual letters and parts of your design in perfect alignment as you move them from the backing paper to your wall.
This clever three-layer system is what makes it possible to apply really intricate designs, delicate script fonts, or spaced-out words as one seamless piece. You're not trying to place each letter individually like you would with a standard sticker; a decal transfers only the design itself onto the surface.
This process is what gives you that clean, professional finish, making it look as though the quote was painted right onto the wall. Understanding this from the start is the first step towards a perfect application. It makes a huge difference in how you prep your wall and handle the decal during installation, ensuring every single letter adheres just right. We’ll get into the nitty-gritty of that process later in the guide.
How to Find Your Perfect Wall Sticker Quote
Choosing the right quote is about so much more than just filling an empty wall; it's about finding words that genuinely complete a room's story. This isn't a decision to be rushed. The best wall sticker quote feels like it was always meant to be there, resonating with the room’s purpose and your own personal style for years to come.
Before you even think about fonts or colours, take a moment to consider the atmosphere you want to build. An energising mantra might be just the ticket for a home gym, but in a bedroom, you'll likely want something more calming and restful. Just think about who uses the space and the feeling you want those words to spark each time someone glances at them.
Matching the Design to Your Decor
Once you’ve settled on the right tone, the real fun begins: bringing the design elements—font, finish, and colour—into the picture. These details are what will make your quote feel like an integral part of your design scheme rather than just something stuck on the wall.
For instance, a sleek, sans-serif font in a matte black finish can lend a sharp, modern edge to a minimalist living room. On the other hand, an elegant script font with a subtle gloss finish might be the perfect, sophisticated touch for a more traditional space. The finish itself is crucial. A matte finish soaks up light, giving it a seamless, painted-on look that’s very popular. A gloss finish, however, reflects light and can create a more dynamic, eye-catching effect that really pops.
To help you decide, let's break down how the finish and font style can work with your room's existing lighting and decor.
Choosing Your Sticker Finish and Style
| Feature | Matte Finish | Gloss Finish | Script Font Style | Block Font Style |
|---|---|---|---|---|
| Best For | Walls with direct sunlight or bright artificial light to avoid glare. | Rooms with lower, ambient light where a bit of reflection adds depth. | Creating an elegant, personal, or romantic feel. | Making a bold, modern, or minimalist statement. |
| Look & Feel | Understated and sophisticated. Looks like it's painted directly onto the wall. | Sleek and polished. Can look more like a decal but has a modern sheen. | Flowing and artistic, can be harder to read from a distance. | Clear, strong, and highly legible. Great for impact. |
| Room Pairing | Living rooms, bedrooms, and offices. | Kitchens, bathrooms, or feature walls you want to highlight. | Nurseries ('Sweet Dreams'), dining rooms ('Bon Appétit'), master bedrooms. | Home offices ('Get It Done'), gyms ('Push Your Limits'), hallways. |
Ultimately, your choice here will define how the quote blends with or stands out from its surroundings.
Pro Tip: Before you commit, do a quick font test. Type out your quote in a few different styles, print it out, and use a bit of masking tape to stick it to the wall. It’s a simple step, but seeing how the font’s weight and style balance with your furniture is a complete game-changer.
If you're curious about what goes into making these decals, understanding the nuances of vinyl sticker printing, design, and application can give you a real appreciation for the quality and help you make a more informed choice.
Where to Find Quality and Inspiration
Thanks to a boom in personalised home decor, you’re spoilt for choice when it comes to finding your ideal wall sticker. The UK market is buzzing with options, from big-name retailers to thousands of independent sellers on platforms like Etsy who often specialise in beautiful, custom designs.
When you start browsing, here are a few places to look:
- Curated Collections: Lots of UK-based online shops have fantastic ranges of pre-designed quotes, often sorted by room or theme. They’re a brilliant source of inspiration if you’re not sure where to start.
- Custom Design Services: For something truly personal, why not work with a designer? This is perfect for family names, a meaningful date, or that inside joke that always makes you smile.
- Independent Marketplaces: Sites like Etsy are a treasure trove of unique, handcrafted designs from small businesses. The best part is you can often chat directly with the creator to tweak a font or get the size just right.
Getting Your Wall Ready for a Flawless Finish
The real secret to a professional-looking wall decal isn't just in the application itself; it's all in the groundwork you do beforehand. This prep stage is what guarantees your wall sticker quote will look like it was painted on and stay put for years. Trust me, skipping these steps is the number one reason DIY projects go wrong.
The biggest enemies of good adhesion are dust, grease, and—surprisingly—new paint. Even a wall that looks perfectly clean can have a microscopic layer of grime that stops the sticker's adhesive from getting a proper grip. A fantastic guide on getting this right is learning how to prepare your walls like a pro, as the principles are almost identical.
For most walls, a quick wipe-down with a cloth, a bit of mild soap, and some water is all you need. Steer clear of any harsh chemical cleaners, as they can leave a residue that interferes with the adhesive. The most important part? Make sure the wall is completely dry before you even think about unpacking the decal.
The Patience of Paint
Here’s a classic mistake I see all the time: applying a sticker to a freshly painted wall. The paint might feel dry to the touch within a day, but it hasn't fully "cured" or hardened. If you stick a vinyl decal on too soon, it can lead to bubbling, peeling, and it might even pull the paint right off the wall when you eventually remove it.
A newly painted wall needs a solid two to three weeks to cure properly before you even think about applying a sticker. This gives all the solvents in the paint time to evaporate, leaving you with a stable, non-reactive surface.
I know it feels like a long time to wait when you're excited to finish your room, but this patience is crucial for the life of both your decal and your paintwork.
Gathering Your Tools of the Trade
Having the right bits and pieces on hand makes the whole process so much easier and far more accurate. You don't need a massive toolbox; most of these are things you probably already have lying around the house.
Here’s a quick checklist of what to grab:
- Measuring Tape: Essential for getting your quote perfectly centred.
- Spirit Level: Don't even attempt this without one! Nothing screams 'DIY job' like a wonky line of text.
- Pencil: To make a few light guide marks on the wall that you can easily erase later.
- Masking Tape: This will be your best friend for positioning. You'll use it to hold the decal in place while you step back and decide on the perfect spot.
- Squeegee or Credit Card: You need something with a firm, flat edge to smooth the decal down and work out any pesky air bubbles.
Pro Tip for Perfect Placement
Before you peel anything, here’s a little trick I swear by. Use masking tape to lightly tack the decal to the wall, with its backing paper still fully intact.
Now, just leave it there for a day or so. Live with it. See how it looks when you walk into the room, or when you’re sitting on the sofa. This simple visualisation trick lets you check the height and alignment from every angle, so you can be 100% confident in its position before you commit. It’s the difference between a good result and a perfect one.
Getting Your Quote on the Wall: A Smooth and Simple Guide
Let's be honest, unrolling a large wall quote can feel a bit daunting. But trust me, getting it from the tube to your wall is much easier than it looks. The secret isn't brute force; it's a bit of patience and a clever technique that puts you in complete control.
The whole thing is essentially a three-layer sandwich: the paper backing, the vinyl letters themselves, and the clear transfer tape that holds everything together. The goal is to move the vinyl from the backing to your wall without getting into a sticky mess.
It all comes down to one simple trick: creating a "hinge" with masking tape. This little bit of prep work stops you from having to wrestle a giant sticky sheet in one go. Instead, you can work in manageable sections, ensuring every letter bonds perfectly with the wall.
This simple visual shows the essential prep you need to do before you even think about peeling anything back.
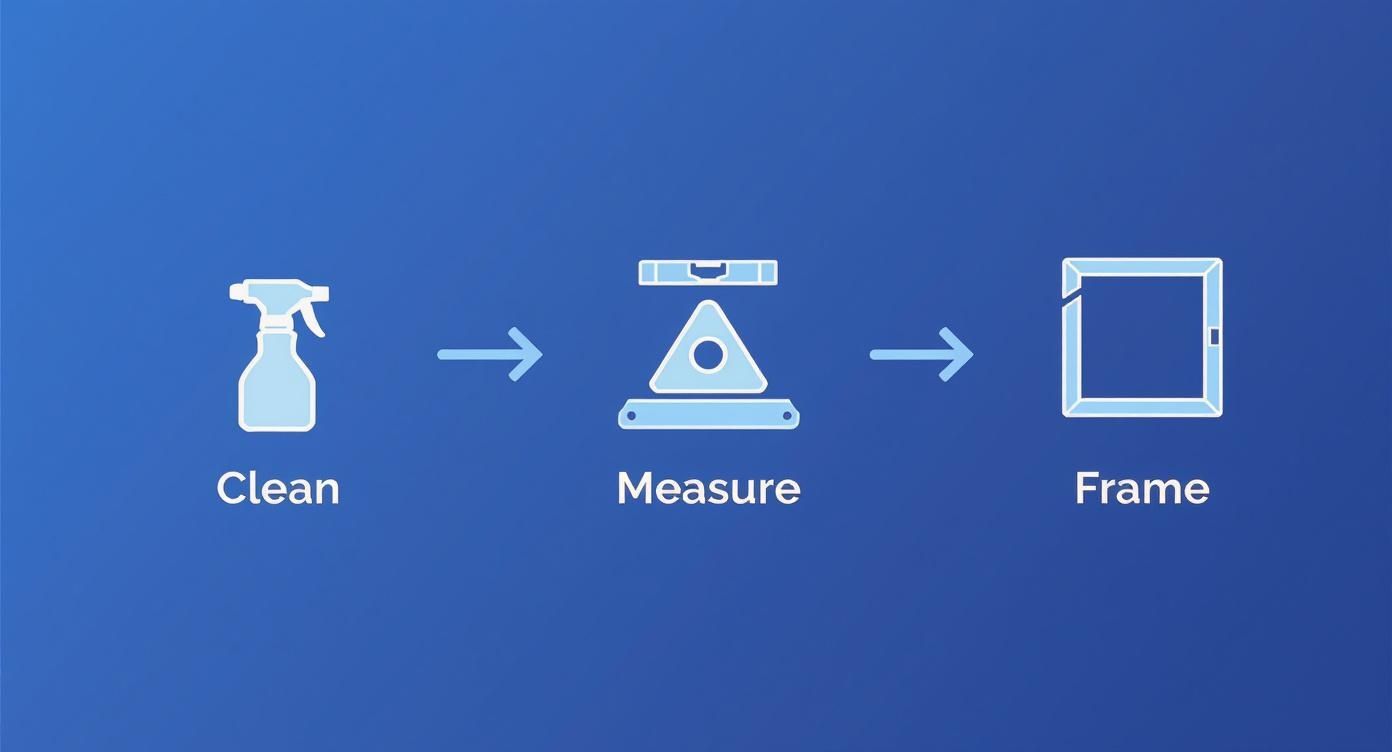
As you can see, getting the wall clean and your placement spot-on is the foundation for a flawless, professional finish.
The "Hinge Method" is Your Best Friend
Once you've cleaned the wall and have your quote positioned exactly where you want it, grab some masking tape. Run a single, long strip horizontally right across the middle of the decal, sticking it firmly to the wall on either side.
This piece of tape is your hinge. It holds the entire sticker in place so you can work on the top and bottom halves separately. It's the one step that single-handedly prevents the decal from folding over and sticking to itself—a real headache you want to avoid.
With the hinge secure, you can lift the top half of the decal and carefully peel the white backing paper away from the clear transfer tape, stopping when you reach the masking tape in the middle. Now, just snip off that loose piece of backing paper with a pair of scissors.
Firm Pressure is Key
Grab a squeegee (a credit card works just as well) and start applying the top half. Begin at the centre, right next to your tape hinge, and work your way up and out. Use firm, overlapping strokes to smooth the vinyl onto the wall. This action is crucial because it pushes out any tiny air bubbles and creates a solid bond between the adhesive and the wall. Don't rush it!
When the top half is secure, you can gently remove the central masking tape hinge. Now, just repeat the process for the bottom half. Let it hang down, peel away the last of the backing paper, and squeegee from the middle down and out.
Before moving on, give the entire quote one last firm rub-down with your squeegee, paying close attention to the edges of all the letters. For more detailed tips and troubleshooting, our guide on how to apply wall stick on quotes goes even deeper.
Pro Tip: Give it a rest. Before you even think about the final peel, let the vinyl sit on the wall for 10-15 minutes. This short pause allows the adhesive to really grab hold, making the next step a breeze.
The Big Reveal: That Satisfying Final Peel
This is the best part. Start at one of the top corners and begin to peel the clear transfer tape away. The trick here is to pull it back on itself at a sharp 180-degree angle—think low and slow. Don't pull it straight out from the wall.
This technique keeps the vinyl letters firmly planted where they belong while the transfer tape releases cleanly.
What if a letter tries to come away with the tape? No problem. Simply stop peeling, press that section firmly back onto the wall with your thumb, give it another rub, and then continue peeling slowly.
Once the tape is completely off, step back and admire your work. You'll be left with a crisp, clean quote that looks like it was painted right onto the wall.
Styling Wall Quotes Throughout Your Home
A great quote sticker can do more than just fill a blank space; it can completely elevate a room. But the real magic happens when you style it thoughtfully, making it feel like it was always meant to be there.
It's about more than just finding an empty wall. Think of a big, elegant quote anchoring the space above your sofa, its font and colour picking up on the tones in your cushions and throws. Or picture a cluster of smaller, fun, food-themed phrases creating a unique gallery wall in your kitchen. The goal is to weave the quote into the fabric of your room.
Creating a Nursery Haven
When decorating a nursery, a wall quote adds a beautiful layer of warmth and personality. My advice? Skip the predictable spot high above the cot. Instead, bring it down to a more intimate height, perhaps near the changing table or beside the rocking chair where you'll spend so many precious moments.
A classic like "Sweet Dreams Little One" in a soft, looping script instantly creates a soothing vibe. If you're going for something a bit more playful, try tucking a whimsical quote amongst other decorations, like floating shelves filled with favourite books and cuddly toys. This kind of layering makes the sticker feel like a natural part of the room's story. For more inspiration, you can discover more ideas for using wall stickers with quotes in our dedicated style guide.
Sophistication in the Living Room
The living room is the heart of most homes, so your choice of wall quote should really set the tone. Placing it above the main sofa is a popular choice for good reason, but always think about balance. If you have a long, linear quote, consider pairing it with taller, vertical art on the nearby walls to create a sense of visual harmony.
For instance, a sleek, minimalist quote in a dark, dramatic colour can be beautifully counterbalanced by a tall floor lamp or a hanging plant in the corner. This simple trick encourages the eye to move around the room, making the whole design feel more cohesive and complete.
Styling Tip: Don't let your quote float in isolation. A pro tip is to make sure its colour is echoed in at least two other items in the room. This could be a vase, a cushion, or even a small detail in a rug. It's a simple trick that ties everything together effortlessly.
Unconventional Spaces with Big Impact
Sometimes the most memorable placements are the ones you don't see coming. A friendly "Hello" in an entryway makes a wonderful first impression, while a motivational phrase like "Conquer the day" in a home office can provide a much-needed boost.
Even a laundry room can be transformed with a bit of humour—think "The laundry is looking at me dirty again." It's these personal touches that make a house a home.
The UK's love for personalising spaces is undeniable. In 2022, the wall art market, which includes these versatile stickers, was the industry's largest segment, holding a revenue share of 34.59%. This trend towards affordable, customisable decor shows just how much we value making our spaces uniquely ours. By thinking a little differently about placement, you can turn any nook or cranny into a corner of inspiration.
Your Wall Sticker Questions, Answered
Even with the clearest instructions, you're bound to have a few questions when you're trying something new. From tricky textures to worries about removal, let's clear up some of the most common queries about wall sticker quotes. Getting these answers upfront can make all the difference.
How Long Will My Wall Sticker Last?
This is probably the number one question we get asked, and the answer is usually a pleasant surprise. When you apply a quality vinyl quote indoors on a clean, suitable surface—away from the harsh effects of direct sunlight or moisture—it can easily last for five years or more. They’re an incredibly durable and long-lasting choice for decorating your home.
Can I Reuse a Wall Sticker?
It's a shame, but unfortunately, most vinyl wall stickers are a one-time deal. The process of removing them involves carefully heating and peeling the vinyl, which inevitably stretches the letters and weakens the adhesive. It's best to think of them as a permanent fixture until you're ready for a change, and then plan for a fresh one if you move or redecorate.
Tackling Tricky Surfaces and Removals
What about applying a sticker to a textured wall? Yes, you often can, but it does require a bit more patience. Vinyl loves a smooth surface. If your wall has a light texture, like a common "orange peel" finish, you just need to apply more firm, even pressure during application. Really work that squeegee over every part of the design, especially the edges.
For heavily textured or bumpy walls, however, a wall sticker might struggle to get a good grip and could start to peel away over time.
When you're ready for a new look, taking the sticker off without damaging your paintwork is simpler than you might think. The trick is to use a hairdryer on a low heat setting, holding it a few inches from the vinyl. This softens the adhesive, letting you get a fingernail under an edge and slowly peel it back on itself.
For a full step-by-step guide, have a look at our post on how to remove a wall sticker safely.
It's clear the UK has a real passion for personalising our homes. With an estimated per capita spend on wall decorations of around USD 16.90, the demand for bespoke items like custom quotes is booming. This has created a brilliant market where independent creators can really shine. Learn more about the trends in the wall decor market.
This trend just goes to show how popular these simple but effective decor pieces have become for making a house feel more like a home.