
A Parent’s Guide to Stickers for Childrens Room Decor
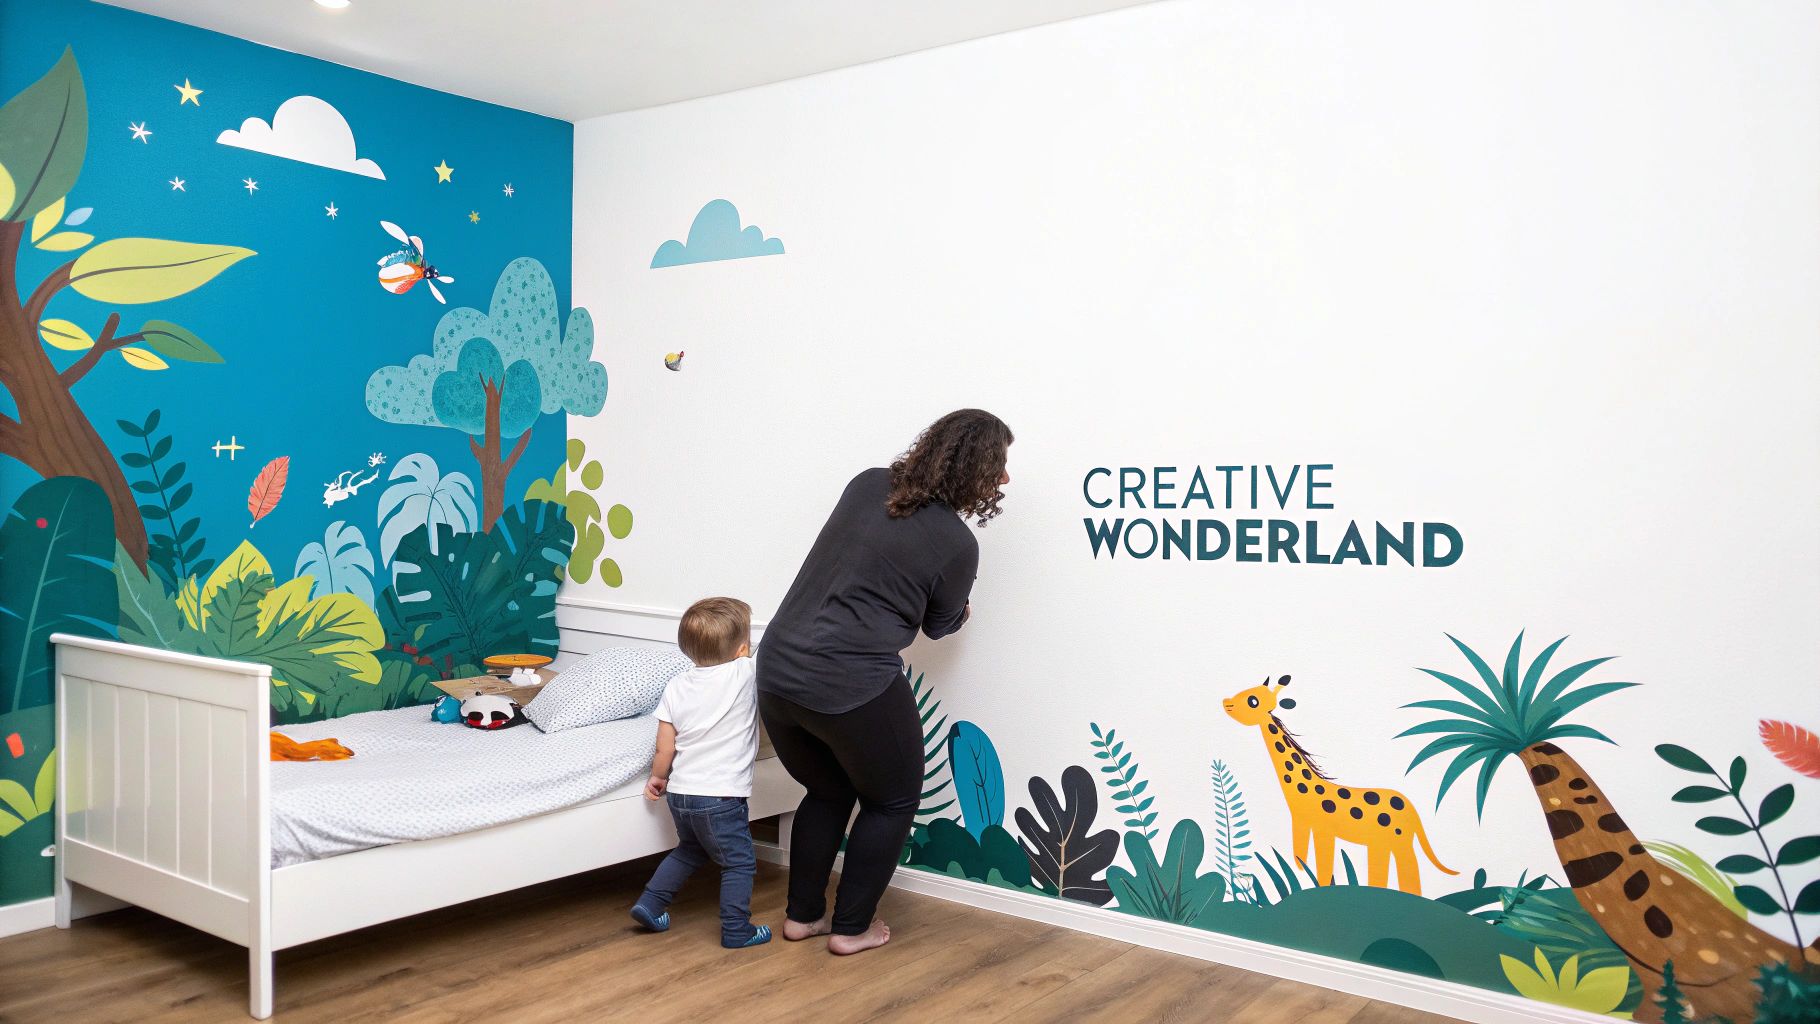
Ever thought about transforming a plain, boring wall into a vibrant jungle, a dreamy starscape, or a whimsical forest with just a peel and a stick? That’s the magic of modern stickers for a childrens room. They offer a wonderfully simple, fun, and budget-friendly way to create a space that grows right alongside your child, serving as the perfect damage-free alternative to paint or wallpaper.
Turn a Simple Room into a Creative Wonderland
Wall stickers have come a long way from the simple dots and stars of the past. Today, they're a powerful tool for parents who want to inject personality and imagination into a child’s bedroom or playroom, all without the commitment of permanent decorations. It’s best to think of them as flexible, creative building blocks for your child’s environment.
This move towards temporary, engaging décor isn't just a fleeting trend. It reflects a growing understanding that a child's surroundings can have a real impact on their development. In fact, research shows that a huge 70% of parents believe a well-decorated room can positively influence their child’s creativity and mood.
A Growing Trend in UK Homes
The popularity of these peel-and-stick solutions has absolutely soared across the United Kingdom. More and more, parents are looking for non-permanent ways to update their kids’ spaces. This has fuelled a market growth of 5.5% annually between 2019 and 2030.
Easy-to-use vinyl decals now hold a massive 60% of the market share, prized for their safety and simplicity. And with over 40% of UK purchases happening online, it's never been easier to find the perfect design.
This guide is your complete roadmap to mastering the art of wall stickers. We'll walk you through everything, from choosing the safest materials to achieving a flawless, professional-looking application. If you’re ready to start gathering ideas for transforming your child's room into a creative haven, you can explore various nursery wall art options.
By the end, you'll feel confident and inspired to kick off your own decorating project, creating a magical space your little one will absolutely adore.
Choosing the Perfect Wall Stickers for Your Child
Diving into the world of stickers for a childrens room can feel a bit overwhelming at first. There's a brilliant jungle of colours, themes, and materials out there, and you want to get it just right. So, where do you start?
The secret is to focus on what truly matters. We’ll begin with safety—the number one priority for any parent. Once that’s sorted, we can get to the fun part: picking designs that reflect your child’s personality and fit beautifully with the rest of their room.
Prioritising Safety Above All Else
When you’re decorating a space for your little one, especially a nursery, safety comes first, no questions asked. The first thing to look for on any product page is confirmation that the stickers are non-toxic and VOC-free.
VOCs, or Volatile Organic Compounds, are chemicals that can sometimes be released into the air from household products. Choosing VOC-free options is a simple way to help ensure the air in your child’s room stays clean and healthy.
Good quality materials are also a must. Trustworthy UK suppliers will always use premium vinyl or fabric made specifically for indoor use, meeting all the necessary safety standards. Always have a quick scan of the product description for these details before you buy. And for the tiniest occupants, a common-sense tip is to place stickers well out of reach of a cot or bed, just to be on the safe side.
If you want to read more about this, we’ve put together a full guide on what to consider when buying nursery wall stickers.
Matching Themes to Your Child's Age
One of the best things about wall stickers is how they can adapt as your child grows. The dreamy, soft theme that’s perfect for a baby might not hit the mark for a dinosaur-obsessed seven-year-old. Thinking about their age and interests is key to creating a space they’ll genuinely love spending time in.
-
For Babies and Toddlers (Ages 0-3): Think gentle and soothing. High-contrast patterns are great for developing eyes, so simple shapes, soft pastel animals, or a sprinkle of clouds and stars create a wonderfully calm atmosphere for a nursery.
-
For Pre-schoolers (Ages 3-5): This is when their imagination really takes off! You can bring their world to life with themes like lush jungles, friendly dinosaurs, magical fairy tales, or a busy construction site. This is also a fantastic age for educational stickers—an alphabet, numbers, or a colourful world map can turn their wall into a fun, interactive learning tool.
-
For Older Children (Ages 6+): Now, it’s all about their personality. Whether they’re into bold superhero logos, detailed space scenes with planets and rockets, elegant floral patterns, or their favourite sport, wall stickers let them put their own stamp on their room. It becomes their space.
Understanding Different Sticker Materials
You might be surprised to learn that not all wall stickers are made the same. The material makes a big difference to the final look, how long it lasts, and whether you can move it around later. Getting to know the main types will help you find the perfect match for your walls and your wallet.
Think of it like choosing paint. A glossy finish gives a totally different feel and works better on certain surfaces than a matte one. It's the same with vinyl and fabric stickers—each has its own strengths.
To make it easier, let's break down the most common materials available.
Comparing Wall Sticker Materials for Your Child's Room
The material you choose will affect everything from the look and feel to the practicality of your wall stickers. This table compares the top options to help you decide what’s best for your family’s needs.
| Material Type | Best For | Key Features | Average Cost (UK) | Safety Notes |
|---|---|---|---|---|
| Vinyl Decals | Smooth, painted walls for a crisp, painted-on look. | Durable, wipe-clean, widely available, and cost-effective. | £15 - £40 | Look for phthalate-free vinyl from reputable sellers. |
| Fabric Stickers | Walls with a slight texture; perfect for reusability. | Soft, matte finish. Often repositionable and tear-resistant. | £25 - £60 | Generally considered a premium, non-toxic option. |
| Reusable Decals | Renters or anyone who loves to redecorate often. | Can be peeled and reapplied multiple times without losing grip. | £20 - £50 | Check material is non-toxic (often fabric-based). |
Here in the UK, vinyl decals are a huge hit, making up around 60% of the market because parents love how durable and sleek they look. It’s also interesting to see that 55% of UK parents are choosing educational themes, like alphabet sets, to give their kids a fun head start on learning.
By thinking about safety first, matching the theme to your child’s passions, and picking the right material, you're all set. You’ll be able to choose stickers with confidence and turn a simple decorating job into a creative project that leaves you with a beautiful, personal, and safe space for your child to dream big.
Planning Your Wall Sticker Layout and Design
A fantastic wall sticker design doesn't just happen by chance—it’s the result of a little bit of clever planning. Before you even think about peeling off that backing paper, taking some time to map out your layout will elevate your project from a simple decoration to a stunning feature wall. This planning stage is actually a fun, creative process in itself, and it’s the secret to getting a truly professional-looking finish.
Think of yourself as an interior designer for a day. You wouldn't just slap paint on a wall without testing a colour swatch first, right? The same logic applies here. Planning your sticker placement makes sure everything fits perfectly, looks balanced, and turns that brilliant idea in your head into a beautiful reality.
Measure Twice, Stick Once
First things first: get to know your canvas. Grab a tape measure and jot down the height and width of the wall space you want to transform. This is absolutely crucial if you're working with a large sticker set or a mural-style decal, as you need to be certain it won't end up looking too cramped or too lost in the space.
Once you have your wall’s dimensions, check them against the sticker sizes listed on the product description. Knowing the exact measurements helps you visualise the scale properly and guarantees your chosen design will have the impact you’re hoping for.
Choosing Your Design Strategy
With your measurements in hand, it’s time for the fun part: deciding on the overall look you want to achieve. There are generally two popular approaches when using stickers for a childrens room, and each one creates a completely different vibe.
-
The Focal Point: This is all about creating one central, eye-catching feature. A large, detailed sticker—like a magnificent tree, a whimsical animal scene, or a personalised name decal—is placed somewhere prominent, like above the cot, bed, or desk. This strategy is brilliant for making a bold statement and drawing the eye to a specific part of the room.
-
The Scattered Pattern: If you're after a more playful and dynamic feel, a scattered pattern is perfect. This involves arranging lots of smaller, individual stickers—think stars, polka dots, or jungle leaves—across an entire wall or even all around the room. It creates a wonderful sense of movement and makes the space feel more immersive and fun.
If you’re still brainstorming how to arrange your decals, you can find some wonderful kids' wall stickers ideas and selecting tips to help you lock in a design direction.
The Painter's Tape Trick
Here’s a simple but incredibly effective pro tip: use painter's tape or washi tape. Before you commit to sticking anything down for good, cut small pieces of tape to the rough size of each sticker and place them on the wall where you think the decals should go.
This technique is a complete game-changer. It lets you step back, see the whole picture, and easily tweak the spacing and positioning until you’re 100% happy with the balance. It completely removes the guesswork from the final application.
You can even live with the tape mock-up for a day or two to see how it looks in different light. This tiny step builds so much confidence and prevents any of those "I wish I'd moved that one an inch to the left!" moments later on.
Working Around Room Features
Let's be realistic—most rooms aren't perfect, blank canvases. They have windows, light switches, plug sockets, and furniture that you have to contend with. The trick is to see these not as obstacles, but as part of the design itself. A well-planned layout integrates these features seamlessly.
For instance, you could have a vine sticker that looks like it's growing around a window frame, or a cheeky animal peeking out from behind a bookshelf. For scattered patterns, just arrange your stickers naturally around outlets and switches, making sure they don't cover anything important. Planning ahead allows you to incorporate these fixed elements into your theme, making the final design look intentional and beautifully composed.
A Step-by-Step Guide to Flawless Application
Turning a pack of stickers for a childrens room into a stunning feature wall is much easier than it looks. You don’t need to be a DIY pro to get a professional, painted-on finish. With a little bit of prep and a few simple tricks, you can sidestep those frustrating air bubbles and wrinkles for good.
Forget about messy glue or complicated tools. All you really need are a couple of household items and a dash of patience. Let's walk through how to turn this into a fun, rewarding project.
Preparing Your Wall for Success
The secret to a sticker that stays put for years is all in the prep work. Think of it like painting a room – you wouldn't just slap a new coat over a dusty, dirty wall, would you? Your wall stickers need a clean, smooth surface to really grab hold and look their best.
Start by giving the wall a quick wipe with a soft, damp cloth to get rid of any dust or grime. Then, let it dry completely. This part is crucial; applying a sticker to a damp wall is a sure-fire way to find it peeling at the edges a week later.
You'll also want to think about your paint. Stickers love smooth walls with a satin or semi-gloss finish. They can work on matte paint, but if you've just decorated, you need to give the paint time to cure. As a rule of thumb, wait at least two to three weeks after painting before applying any decals. This gives the paint a chance to fully harden.
The Essential (and Simple) Toolkit
You can put the professional toolbox away. Honestly, you've probably got everything you need lying around the house already.
- A Soft, Dry Cloth: Perfect for cleaning the wall and smoothing down the sticker once it's on.
- A Squeegee or Credit Card: This is the key to pushing out air bubbles and getting a really firm bond with the wall.
- A Spirit Level (Optional): If you're putting up a long quote or a large, precise design, this will be your best friend.
- Painter's Tape: As we mentioned, this is brilliant for trying out positions without committing.
With your wall clean and your simple tools at the ready, you’re all set for the fun part.
This visual guide neatly summarises the planning you should do before you even think about peeling off the backing paper.
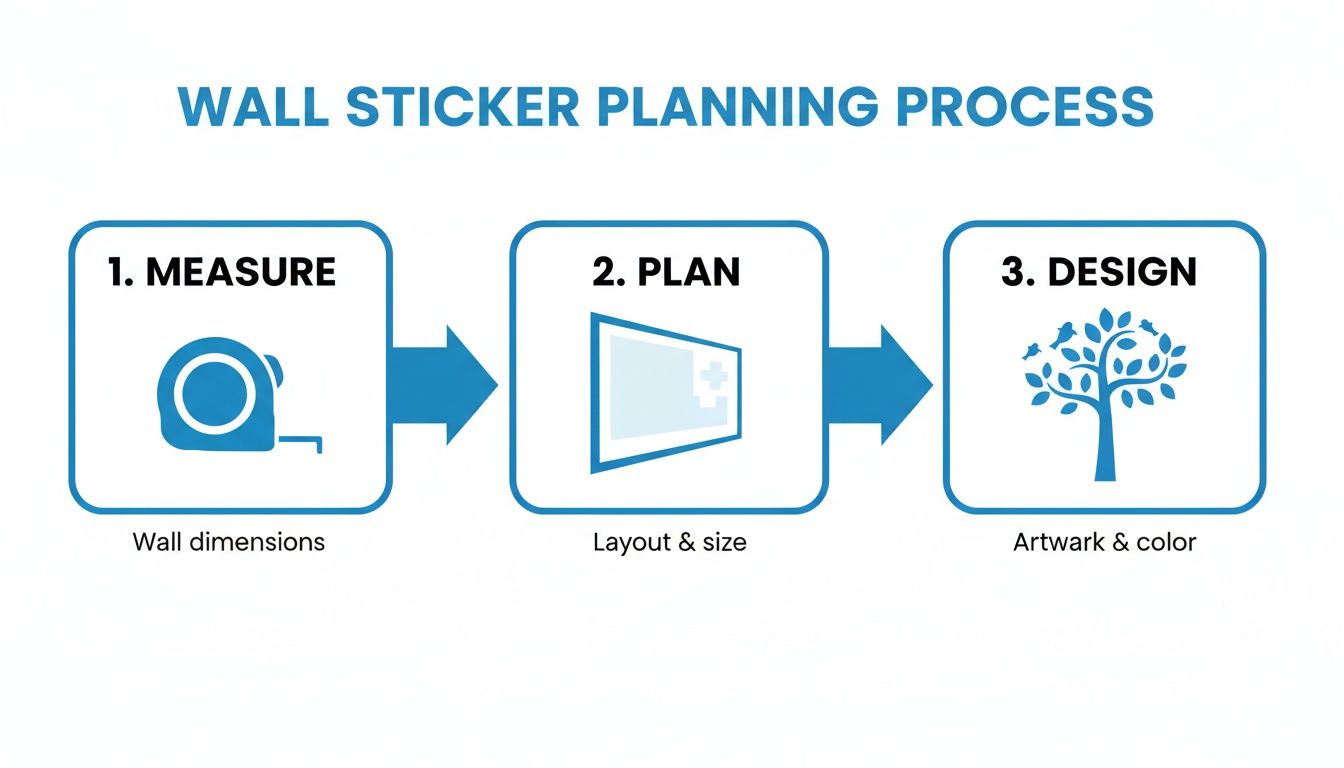
Following this simple Measure, Plan, and Design flow helps ensure the final result is exactly what you pictured.
Mastering the Hinge Method for Large Decals
Big wall stickers can feel a bit intimidating. What if it sticks to itself or goes on crooked? Don't worry, there's a brilliant trick called the "hinge method" that makes it practically foolproof. It lets you apply the design smoothly, one section at a time.
-
Position the Sticker: Once you've found the perfect spot (using your painter's tape mock-up), run a horizontal strip of tape across the middle of the sticker, fixing it to the wall. This tape is your 'hinge'.
-
Peel the Top Half: Gently peel the backing paper away from the top part of the sticker, right down to the hinge. You can now snip off this loose piece of backing paper.
-
Apply the Top Half: Grab your credit card or squeegee. Starting from your centre hinge and working your way up and out, smooth the top half of the sticker onto the wall. Go at a 45-degree angle to push any air bubbles out towards the edges.
-
Remove the Hinge: Now the top is securely in place, you can carefully peel off the painter's tape hinge.
-
Apply the Bottom Half: Lift the bottom half of the sticker and peel off the rest of the backing paper. Just like before, smooth it down from the middle outwards until the whole thing is perfectly applied.
This methodical approach gives you complete control. It systematically eliminates the risk of large, trapped air bubbles and ensures even the biggest, most intricate designs go on perfectly straight and smooth.
Quick Fixes for Common Issues
Even when you're super careful, a small problem might pop up. Don't panic! Most of these little hiccups are incredibly easy to sort out.
If you spot a stubborn little air bubble, just take a pin and prick a tiny, almost invisible hole in the centre of it. Then, use your finger or the credit card to gently push the trapped air out. The vinyl will flatten down, and you'll never even know the pinprick was there.
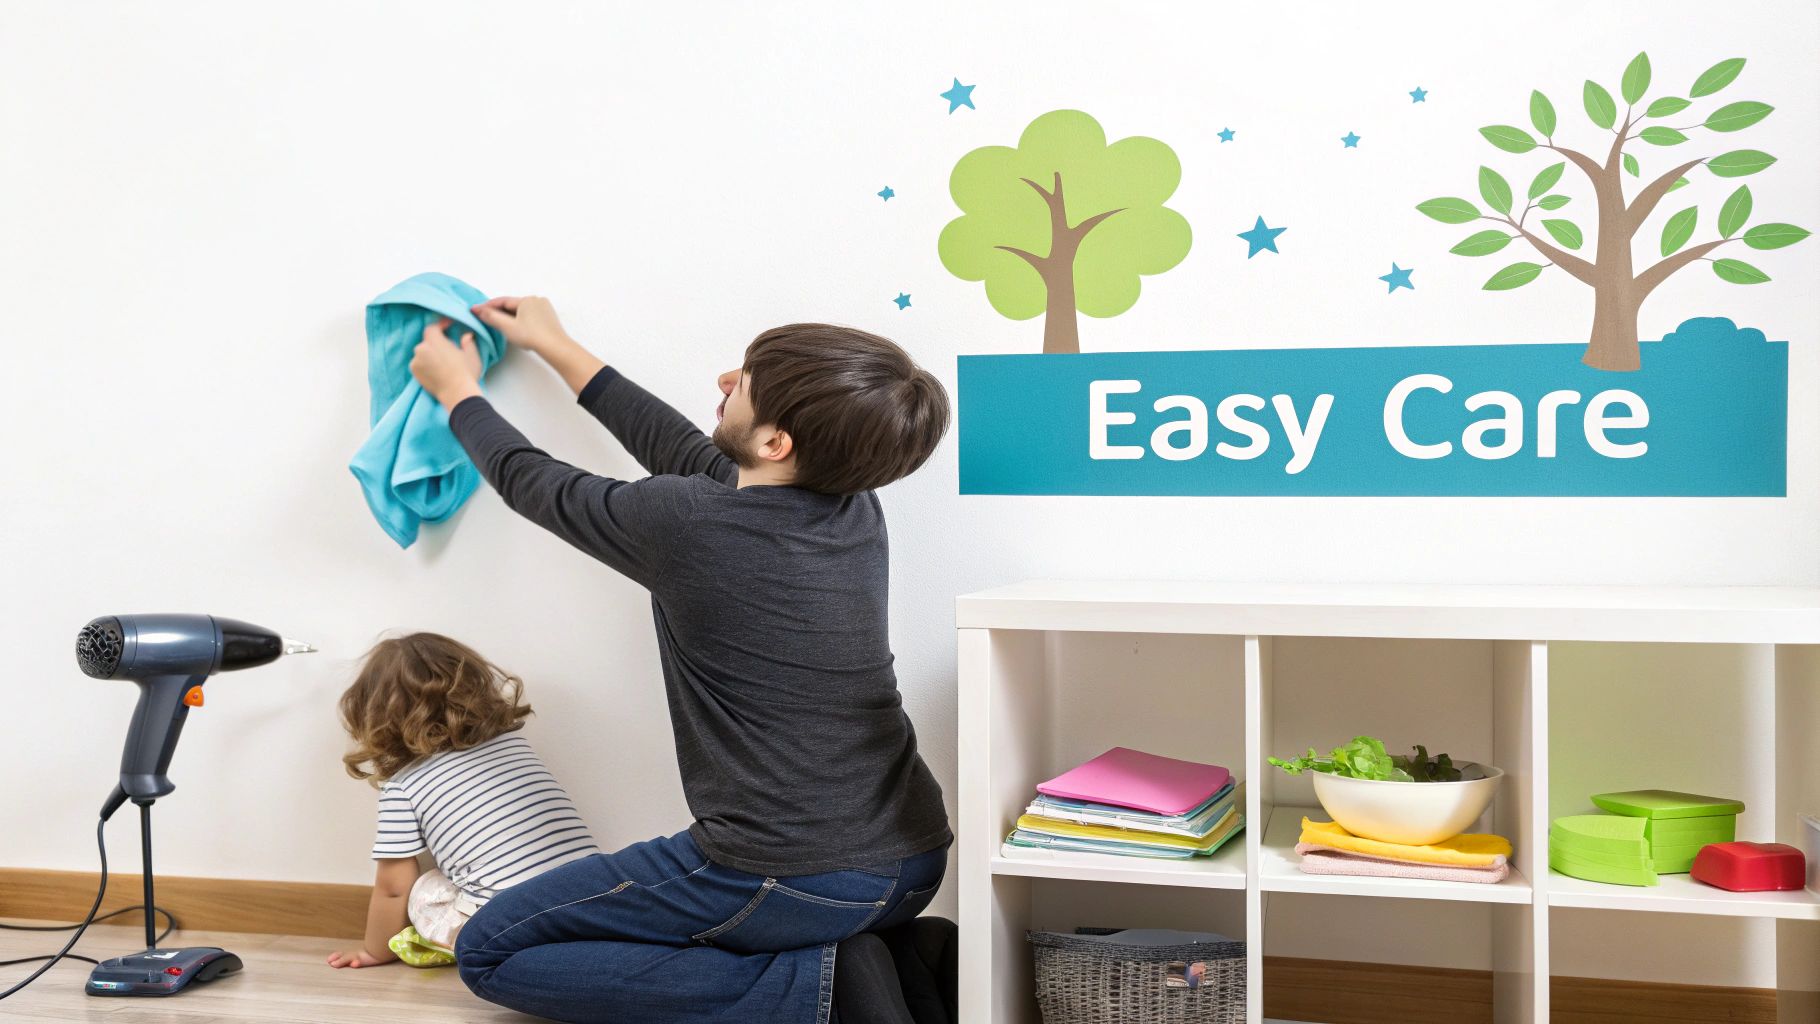
For any edges that don't seem quite stuck down, a quick blast with a hairdryer on a low heat setting can work wonders. The warmth helps to reactivate the adhesive, creating a much stronger bond.
Keeping Your Wall Decals Looking Fresh and New
So, you’ve put the finishing touches on your child’s room, and the new wall stickers look fantastic. The good news? Keeping them that way is incredibly easy. Unlike wallpaper that needs careful handling, high-quality stickers for a childrens room are built for real life and require very little fuss to stay looking vibrant for years.
A little bit of care goes a long way, and you'll be surprised at how simple it is to maintain that just-applied look.
Gentle Cleaning for Lasting Colour
Let’s be honest, kids' rooms get messy. Sticky fingers and accidental splatters are part of the fun. Thankfully, cleaning your decals is no big deal. The golden rule is to be gentle.
Grab a soft cloth (microfibre ones are ideal) and dampen it slightly with plain water. Gently wipe away any smudges or dust without scrubbing. That’s it! Avoid any harsh chemical sprays or abrasive sponges, as they can scratch the surface or cause the beautiful colours to fade. While you're at it, it's always handy to know how to safely remove crayon marks from walls for those other little artistic moments.
A Quick Fix for Peeling Edges
Every now and then, you might spot a corner or edge starting to lift, especially in rooms where the temperature fluctuates. Don't panic! This is a simple fix.
Your secret weapon here is a hairdryer. Set it to low heat and hold it about 15-20 centimetres from the peeling section for just a few seconds. This gentle warmth is all it takes to reactivate the adhesive.
Once it's warm, use your thumb or a soft cloth to press the sticker firmly back onto the wall. The bond will be restored, and it’ll look as good as new.
Damage-Free Removal When It's Time for a Change
One of the best things about wall stickers is that they aren’t forever. When your little one is ready for a new theme or you just fancy a change, taking them down is completely stress-free and won’t ruin your paint.
Start by warming the decal with a hairdryer on a low setting. This softens the adhesive, making it peel away cleanly without leaving residue. Then, just get a fingernail under an edge to lift it.
Once you have a good hold, pull the sticker back on itself slowly and flat against the wall. Think of it as peeling it back at a 180-degree angle, rather than pulling it straight out. This is the pro technique for ensuring the paint underneath stays perfect. For a step-by-step video and more tips, check out our full guide on how to remove a wall sticker. Your walls will be left clean and ready for their next adventure.
Shopping Smart for Wall Stickers in the UK
So, you're ready to buy some wall stickers for your child's room. Fantastic! But knowing where to look can be the difference between a quick win and a frustrating experience. Choosing wisely isn't just about finding the most adorable design; it's about getting something that's safe, good quality, and won't leave you feeling out of pocket. Let’s walk through some practical, UK-specific tips to help you buy with total confidence.
One of the first choices you'll face is whether to buy from a UK-based company or a seller from overseas. While a bargain from halfway across the world can look tempting, sticking with a reputable UK business often saves a lot of headaches in the long run, especially when it comes to shipping, support, and safety.
Why Buying from UK Retailers Matters
Opting for a UK-based supplier gives you an instant advantage. For starters, products sold here have to meet strict safety standards, which gives you real peace of mind when you're decorating a space for your little one.
A key thing to look for is the UKCA (UK Conformity Assessed) marking. This little symbol is your assurance that the product meets the UK's health, safety, and environmental protection rules. You might not see it on every online photo, but a good UK seller will be able to confirm their products are compliant, which is a massive green flag.
Beyond the crucial safety aspect, there are some really practical perks:
- Faster Shipping: No more waiting weeks for a package to arrive from the other side of the world. Your stickers should be with you in just a few days.
- Easier Returns: If something isn’t right, sending it back to a UK address is so much simpler than navigating international returns.
- Clear Communication: Need to ask a question? You won’t have to worry about time zones or language barriers getting in the way.
The UK is a big player in the kids' decor world. It’s a key part of Europe's market, with online shopping making up over 50% of sales. It's estimated that a whopping 65% of UK parents with kids under 10 have already used or are planning to use wall stickers. In fact, searches for children’s decor on sites like Amazon UK have shot up by 30% each year since 2022. If you're interested, you can discover more insights about the UK wall sticker market.
Decoding Product Descriptions Like a Pro
To avoid that sinking feeling when your order arrives and isn't what you expected, get into the habit of reading product descriptions properly. A detailed listing is nearly always a sign of a seller who cares. Don't just be wowed by the pretty pictures; dig into the details to make sure the stickers are right for your space.
Here’s what to look out for:
- Material: Is it vinyl? Fabric? Something else? Keep an eye out for reassuring words like 'non-toxic' and 'phthalate-free'.
- Dimensions: Always check the exact size of the individual stickers, not just the sheet they come on. Good sellers provide measurements in centimetres, so you can grab a tape measure and see exactly how they’ll look on the wall.
- Finish: Does it have a matte or a gloss finish? A matte finish often blends in beautifully and looks more like a painted mural. Glossy stickers, on the other hand, can be a bit more robust and easier to wipe clean.
- Suitability: The description should tell you what kind of surfaces the stickers will work on. Does it need a perfectly smooth wall, or can it handle a bit of texture?
Know Your Rights as a UK Consumer
It's always good to remember that when you buy anything in the UK, you’re protected by some pretty strong consumer laws. Knowing your rights means you can act with confidence if things don’t go to plan.
The most important law on your side is the Consumer Rights Act 2015. In a nutshell, it says that goods must be of satisfactory quality, fit for the purpose they were sold for, and exactly as the seller described them.
What does this mean for you? If your wall stickers turn up damaged, refuse to stick to the wall as promised, or are a totally different size to what was listed online, you have a right to sort it out. That could mean a full refund, a repair, or a replacement. The first step is always to contact the seller directly, but it’s reassuring to know that the law has your back.
Right then, let's tackle some of the common questions that pop up when you're thinking about wall stickers for a child's room. We've covered a lot, but a few final queries often come to mind just before you take the plunge.
Getting these details ironed out will give you the confidence to get started and create something truly special.
Are Wall Stickers Actually Safe for a Baby’s Nursery?
Yes, they absolutely can be, but you have to choose wisely. The key is to look for stickers specifically marked as ‘non-toxic’ and ‘VOC-free’. Any reputable UK brand will use high-quality vinyl or fabric that meets strict safety standards, so you can rest easy.
For complete peace of mind, make sure to place stickers high up on the wall, well out of reach of a curious baby in their cot. It’s a simple step that eliminates any potential choking hazard, ensuring the nursery is both beautiful and completely safe.
Will They Stick to My Textured Walls?
This is probably one of the most frequent questions I hear, and the honest answer is… it depends. Standard vinyl stickers love a smooth, clean, flat surface – that's how they get that seamless, painted-on look. They can sometimes manage on a very light texture, like an 'orange peel' finish.
But for anything more pronounced, like old-school popcorn plaster or rough Artex, they'll really struggle to get a good grip. In these cases, fabric-based decals are a far better bet. They're more flexible and can mould themselves to slightly uneven surfaces much more effectively. Always have a quick read of the manufacturer’s recommendations before buying.
How Long Will Wall Stickers Last?
When you put them up properly, good quality indoor wall stickers can look great for years. You can easily expect them to last for three to five years or more without any peeling or fading. The only thing that might shorten their life is constant, direct sunlight, which can cause the colours to soften over time.
One of the best things about them, though, is that they’re made to come off cleanly. When your child outgrows the design or you just fancy a change, they should peel away without pulling off properly prepared paint or leaving that awful sticky gunk behind. It’s what makes them such a brilliant choice for renters or anyone who gets the redecorating bug every few years!
Ready to create that magical space for your little one? Go and explore the huge range of high-quality, safe, and beautiful designs at Quote My Wall. Find the perfect wall stickers for your children's room today and let the fun begin.