
Laundry Labels on Clothes: Types and How to Apply
You're kneeling beside a lost property box after school, lifting out five identical navy jumpers. None has a name, or the name washed off in week two, so you're guessing by size and hoping for the best. That's where good laundry labels on clothes earn their place. One label tells you who the garment belongs to. The other tells you how not to ruin it, and both need to stay readable through the wash you'll use.
What Laundry Labels on Clothes Are For
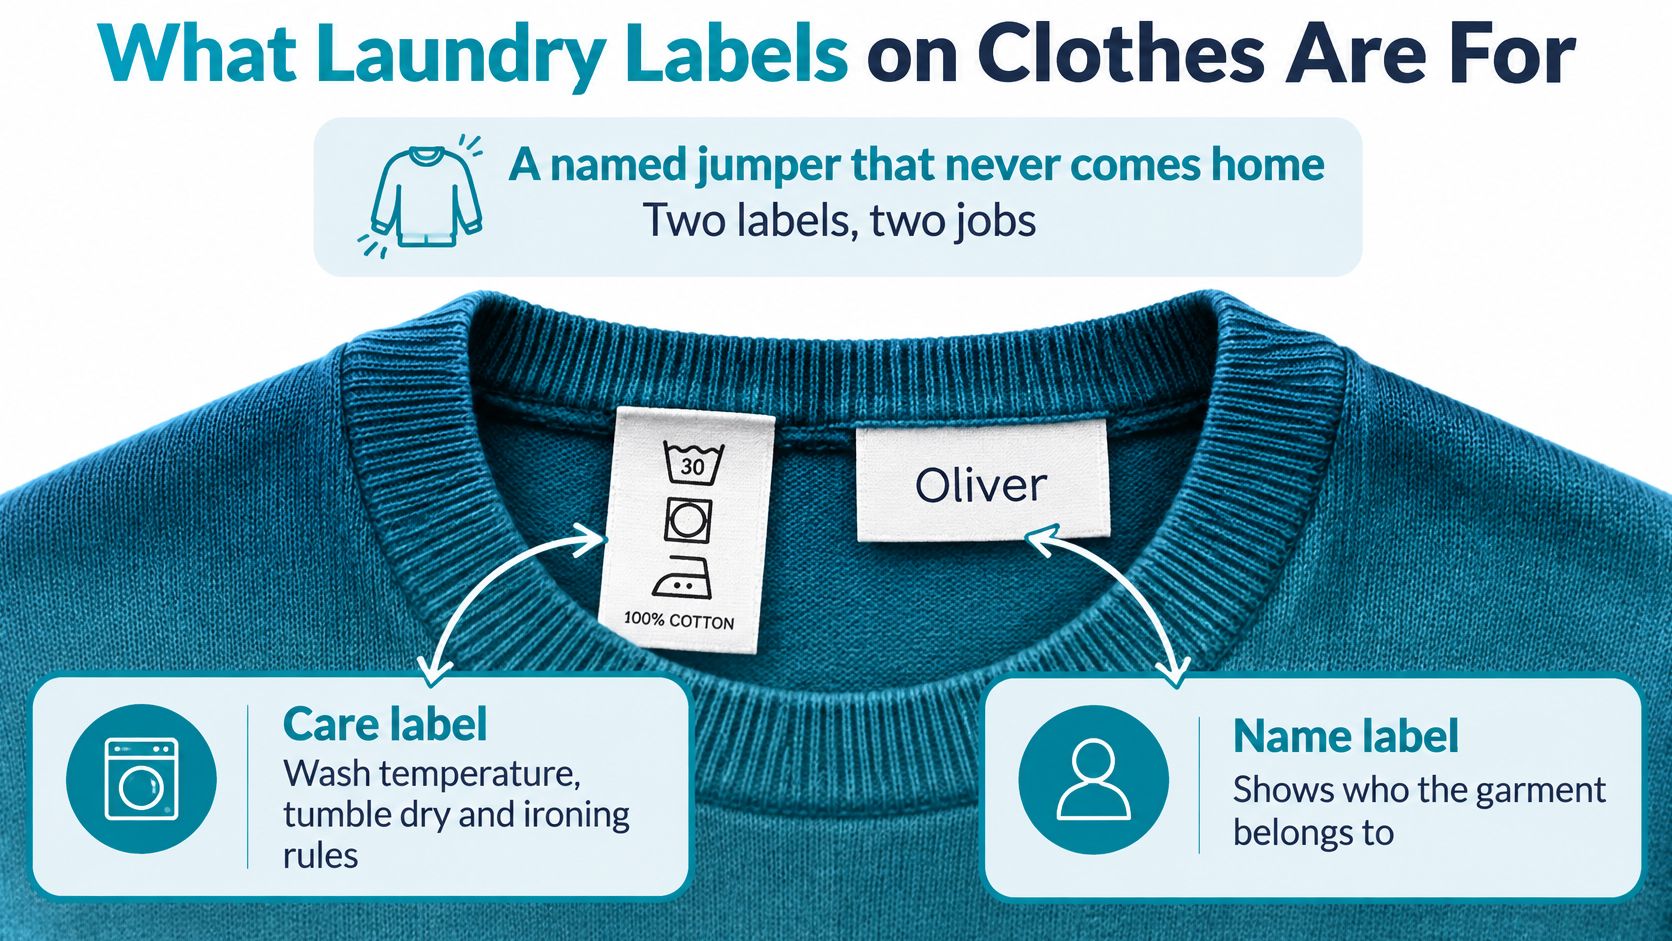
Take that named jumper that never comes home. There are usually two labels doing different jobs in the same collar, and muddling them up causes most problems.
The maker's care label is the rulebook. It sets the limits for washing, bleach, drying, ironing and dry cleaning. The name label is an identity tag you add afterwards, so a parent, teacher or care worker can sort identical navy kit in seconds.
Reading the Rulebook in Plain Terms
The number inside the wash tub is a ceiling, not a target. It means wash at that temperature or below, not that you must reach it. One bar under the tub means use a gentler cycle with less agitation, and two bars mean gentler still.
A cross through a symbol means don't do that process at all. A crossed tub means no washing in a domestic machine. A crossed dryer symbol means air dry instead. If you ignore those limits, you can shrink knitwear, fade colour, stretch elastane out of shape or work a name label loose at the edges.
Why Readable Labels Matter
Many value the guidance, but fewer fully understand it. In a UK-wide survey of 1,000 adults aged 18 to 65 conducted through the Ipsos Access Panel between 2 and 11 December 2024, 82% considered clothing-care labels and their symbols useful when looking after garments, according to the UK Fashion and Textile Association report on care label usefulness.
That same reporting notes a gap from a large international study of 6,000 consumers, where only 59% of UK participants said they understood all or most care-instruction labels, and just 27% of UK respondents always or nearly always checked care instructions when purchasing clothes.
A name you can read prevents a mix-up. A care label you can read prevents the damage that happens when you guess.
So keep both jobs separate in your head. Read the maker's rules first, then add a name that doesn't hide them. Choosing the right type of name label comes before any pressing, ironing or stitching.
Stick-On, Iron-On and Sew-On Compared
For laundry labels on clothes, you probably need a name on a garment you already own, not a woven brand label for a new clothing line. The verdict is simple. Choose stick-on for speed on a flat woven spot, iron-on only where heat is allowed, and sew-on when adhesive won't hold.
Which laundry label to put on clothes
| Label | How it attaches | Best on | Main risk | Choose it when |
|---|---|---|---|---|
| Stick-on high-tack vinyl | Peel and press, no heat | Cotton, polycotton, stable collars and hems | Lifts on heavy stretch, waterproof coatings and silicone prints | You need names on school or care-home clothes quickly |
| Iron-on | Heat from a domestic iron | Firm cotton and woven uniforms that allow ironing | Scorch, melted synthetics, glue show-through | The care label permits ironing and the fabric is not coated |
| Sew-on woven tape | Hand or machine stitch | Workwear, wool, coated sports kit | Slow to apply, neck itch, stitch holes | Heat or adhesive will not hold through the real wash |
| Maker's care label | Already sewn in | Every regulated garment | Fades, is cut out, or gets covered by a name | You must read it first and leave it visible |
What Each Row Means in Practice
Stick-on high-tack vinyl needs no heat. You peel off the backing, place the label and press it firmly onto cotton, polycotton or another stable woven area. Good spots include the inside of a waistband, a hem or the flat side of a shirt collar. It's the fastest way to label a kitchen table full of uniform before term starts.
It fails where the surface works against adhesive. Heavy stretch pulls at the edges, waterproof coatings stop it gripping, and silicone prints on sportswear shed it. A stick-on label on a football shirt print isn't a pressing problem. It's the wrong product for that surface.
Iron-on labels use heat to melt a glue layer into the fibres. They can work well on firm cotton, but the same heat can scorch polyester, melt nylon or leave a shiny glue shadow on thin fabric. Only use one if the garment's care label allows ironing, and test on a hidden seam first. The same caution applies to decorative transfers, so it's worth reading guidance on attaching and caring for jacket patches before you put a hot iron near coated or synthetic fabric.
Sew-on woven tape survives the roughest treatment because stitches don't depend on surface grip. It's the fallback for wool jumpers, coated sports kit, raincoats and heavy workwear. The trade-off is time, plus possible itch if you stitch tape right against the neck. Place it on an inner seam or hem instead. If you're new to stitching names in, this guide to sewing labels on clothes covers hand and machine methods.
Don't treat the maker's care label as a fourth choice you can remove. It's already there, and your job is to work around it. Cover it with a name and you've lost the instructions you need for the next wash.
How to Press On a Stick-On Label
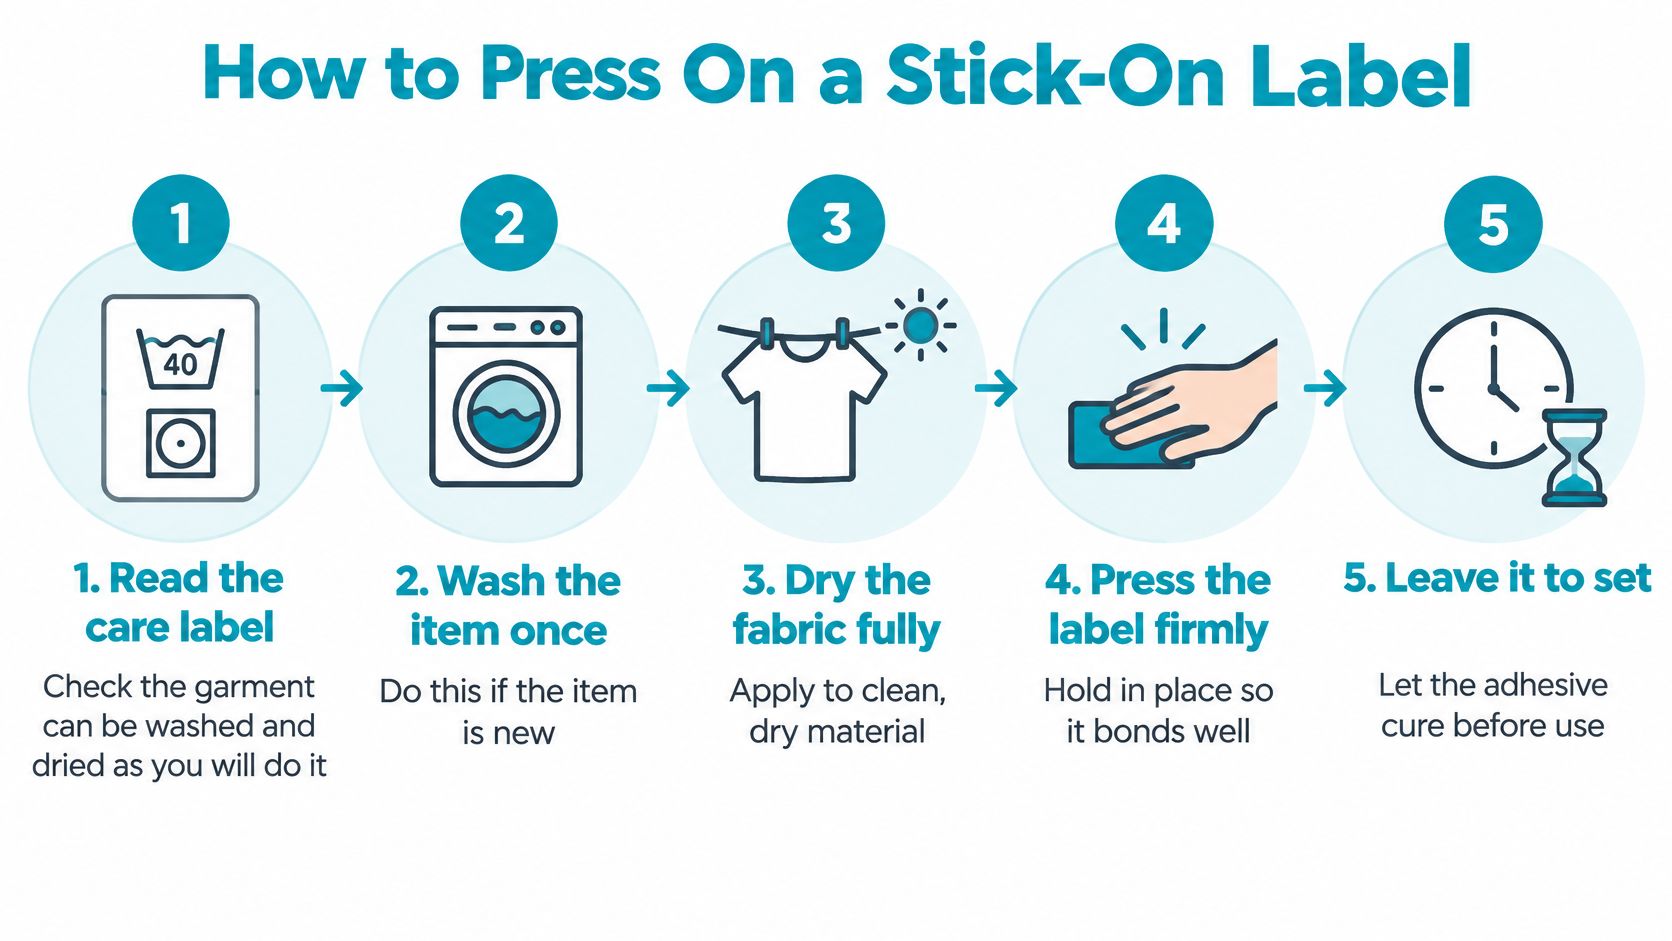
A stick-on label only lasts if the fabric, the spot and the press are right. Follow the steps in order, because each one prevents a specific failure.
The Nine Steps in Order
- Read the care label first. Confirm the garment can be washed and dried the way you'll do it. The mistake to avoid is labelling first and discovering later that it can't go in the dryer you use every day.
- Wash new items once. New school shirts and cardigans often carry finishing chemicals that sit between the fabric and the adhesive. One wash clears them away.
- Pick a flat, low-stretch spot. Choose the side of an inner collar, a side seam allowance, a hem or the inside of a waistband. Place the name beside the care label, not on top of it.
- Avoid problem surfaces. Keep clear of printed graphics, waterproof coatings, fluffy fleece and anywhere the label would rub directly against skin all day. Adhesive needs a stable woven surface to grip.
- Check the spot is clean, dry and at room temperature. Damp fabric, fabric conditioner residue and a cold garment straight from a drawer all weaken the bond. Let the item dry fully and warm up first.
- Peel the backing without touching the adhesive. Hold the label by its edges. Skin oils on the sticky side reduce grip, especially at the corners.
- Press from the centre outward. Lay the label down once, then press firmly with your fingers for about 15 to 30 seconds. Work the edges down last so they seal flat with no air pockets.
- Leave it to bond. Wait for the maker's stated cure time, commonly overnight, before the first wash. Washing too soon is the commonest reason a corner lifts the next day.
- Wash inside out. Follow the garment's most restrictive symbol. Turning the item inside out reduces friction against the drum and other clothes.
Two Worked Examples
Say you're labelling a school polo shirt. The size and brand are printed inside the neck, so don't cover that print. Put the name label flat on the inner side seam instead, where the fabric is woven, stable and away from the neck.
Now say it's a care home cardigan. Staff need to read the name while sorting a pile, without unfolding every garment. Place the label on a stable inner facing where it shows as soon as the cardigan is opened, but doesn't sit against the resident's neck.
Check it worked: The edges lie flat, the name is readable at arm's length, and every care and fibre detail is still visible.
If any of those three fail, fix it now rather than after the first wash. A label that's half sealed today will be in the washing machine filter next week.
Washing and Drying the Label Must Survive
Judge a name label against the garment's full care sequence, not one gentle wash. Heat, water, detergent, agitation, tumbling and ironing all stress the adhesive and the printed name in different ways.
UK guidance treats the care label as a process specification. The UKFT guidance on labelling and care symbols explains that the wash tub number indicates the maximum temperature, while one or two bars underneath require progressively milder mechanical action. A 40°C maximum doesn't mean a 60°C cycle is acceptable, because exceeding the limit can accelerate colour loss, elastane damage and dimensional change.
Care symbols and what they mean for a name label
| Symbol | What it means | Effect on the name label |
|---|---|---|
| Tub with number | Maximum wash temperature | Choose a label rated for that heat; a 40°C limit is not cleared for 60°C |
| Tub with one bar | Reduced mechanical action | Prefer a gentle cycle to limit edge wear on the adhesive |
| Tub with two bars | Least mechanical action | Hand-wash style cycle gives the lowest stress on the label |
| Crossed-out tub | No domestic washing | Do not home-wash; check the seller's durability claim against professional processing |
| Triangle with cross | No bleach | Bleach fades printed names, so keep the label away from bleach cycles |
| Square with circle, crossed | No tumble drying | Air dry; a tumble-dryer-rated label still needs flat drying where this is crossed |
| Iron with dots | Ironing allowed | Only iron-on labels can be heat-applied; stick-on labels must not be heated |
| Crossed-out iron | No ironing | Do not heat the garment; use stick-on or sew-on only |
Matching Claims to Your Real Wash
Temperature plus tumbling is a hard combination. It shrinks cotton, tires elastane and works a label edge loose wash after wash. So test a school uniform label against repeated 30°C or 40°C cycles and tumble drying if that's how your household really dries kit on a Sunday night.
Care home clothing may meet warmer validated washes. That doesn't clear you to push a wool or elastane garment past its stated limit for infection control without checking the fibre first. The garment's limit and the laundry process both have to fit.
Match any durability wording, including washable, tumble dryer safe or dishwasher safe, to this garment rather than to a mug or a lunchbox. A vinyl label that survives a dishwasher still needs to flex with fabric and survive detergent. Before you buy, compare the claim with your own symbols using this guide to clothes care labels.
Habits That Protect Cloth and Label
- Wash inside out: It reduces drum abrasion on both print and fabric surface.
- Don't overload the drum: Crushed clothes rub harder and crease label edges.
- Skip bleach unless the symbol allows it: Bleach attacks dyes and printed names together.
- Air dry when the dryer symbol is crossed: No label rating overrides the garment's own limit.
One successful wash isn't proof. The label should still be flat and legible after a full school term or after the care home's normal laundry cycle has run many times.
Common Label Problems and Fixes
The complaint usually arrives after the first wash. You pull a shirt from the machine and one corner of the name label has lifted and curled. Work out why before you stick on another one, because the same mistake will lift the replacement too.
Laundry label faults and what to do
| What you see | Likely cause | Fix |
|---|---|---|
| Corner lifting after washing | Stretch, damp fabric, light pressure or washing too soon | New label on a flat woven spot, firm press, wait overnight |
| Name covers care or fibre text | Label laid on the maker's label | Move it to a side seam, hem or collar side and leave symbols visible |
| Peels off sports kit or a coat | Waterproof coating or silicone print | Sew a woven tape on a stable inner seam instead |
| Print faded or cracked | Bleach, high heat or drum abrasion | Wash inside out on the allowed cycle and replace if unreadable |
| Sticky patch after removal | Iron-on glue or a cheap adhesive | Warm soapy water; test alcohol only on colourfast cloth |
| No care label left in the garment | Cut out or worn away | Use the gentlest likely cycle and avoid high heat until the fibre is known |
Reading the Diagnosis
Edge lift points to the surface or the press. Stretchy ground pulls away from a stiff label, a damp shirt stops the adhesive gripping, light finger pressure leaves the corners unsealed, and washing before the bond has cured finishes it off. Don't try to rescue a lifted corner with extra pressing after a wash, because grit and detergent are already under it. Start with a fresh label on a flat woven area.
A name that covers size, fibre or care symbols needs to come off. Those details aren't decoration. You need the fibre content to judge heat, and you need the symbols every time the garment is washed by someone else. Move the name to the seam or hem where it helps rather than hides.
Peeling on football kit or a waterproof coat is different. The problem isn't your technique, it's the coating or silicone print, which adhesive can't grip. Switch that one item to sew-on tape on a stable inner seam, away from the coated outer surface.
Fading, Residue and Missing Care Labels
Faded or cracked print usually means bleach, a hotter dryer than the garment allows, or heavy abrasion in an overloaded drum. Wash inside out on the allowed cycle, and replace the label once the name is hard to read in normal light. A name nobody can read in lost property isn't doing its job.
Sticky residue after removing an iron-on label is leftover glue, not dirt. Start with warm soapy water and a soft cloth. Only try a small amount of alcohol on a hidden spot first, and only if the fabric is colourfast.
A faded or cut out care label needs caution, not guesswork. Follow the most delicate fibre you think is in the garment, keep the temperature low, avoid bleach and high heat, and don't invent a hot wash. Replace a failed stick-on label rather than layering a second one on top, because the new adhesive will only grip the loose label underneath.
School Clothes, Care Homes and Uniforms
Labelling one shirt is easy. Labelling a whole pile that six other children, residents or staff also own is the difficult task.
For primary school, plan a set per child covering shirts, jumpers, PE kit, coats and lunch bags. Use the same name spelling every time, so a lost property box is searchable and a teacher isn't matching three versions of one name. Reception kit is washed often at 30°C or 40°C and tumbled in many homes, so a high-tack stick-on on polycotton is the sensible default. Silicone print football shirts are the exception, and they need sew-on tape on an inner seam. This round-up of the best school name labels helps you compare formats by garment.
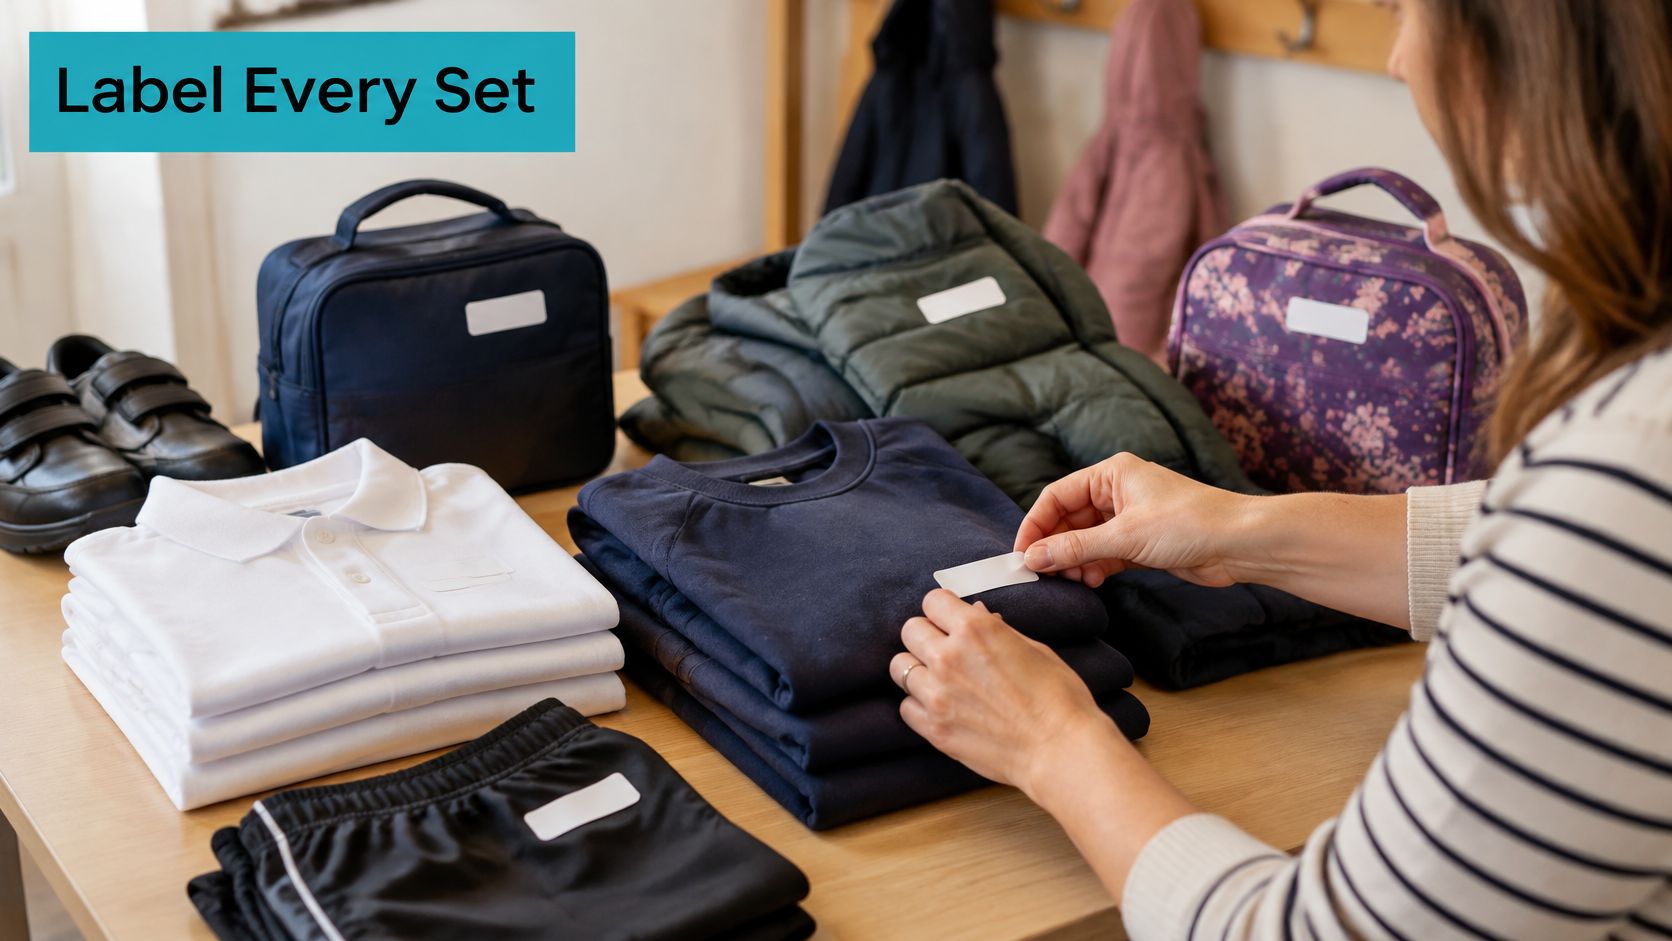
In care homes, staff sort many similar cardigans quickly, and garments may go through a warmer validated wash. A short, high contrast name on a stable facing beats tiny script every time. The label has to stay readable after that regime, not just look neat on day one.
Fibre content explains why identical looking items can't share a cycle. The GOV.UK guidance on textile labelling states that fibre composition is mandatory under the Textile Products (Labelling and Fibre Composition) Regulations, and it notes that garments made from components with different fibre contents must identify each relevant composition. Cotton, polyester, wool and elastane respond differently to heat and mechanical stress, so a site infection control rule shouldn't push a wool or elastane garment past its material limit without validation.
Uniforms and workwear sit between the two settings. A hotel or salon tunic in firm polycotton can take a stick-on label inside the waistband or hem. Heavy, coated or frequently boil washed workwear should be sewn instead.
Plan the Pile Before You Start
- Count the garments for each child, resident or staff member.
- Group them by wash temperature and drying method, not by colour alone.
- Assign stick-on or sew-on to each group, then label one group at a time.
Buyer Questions Answered
Can a label go in the tumble dryer? Yes, if the garment's dryer symbol allows tumble drying and the seller's durability statement covers it. If the dryer symbol is crossed, air dry the garment, then check the label still lies flat before the next wear.
Do I need an iron to make a stick-on label stick? No. Stick-on labels bond with firm finger pressure and a cure period, and heat can melt the adhesive, scorch the fabric and leave residue. Ironing is only for iron-on labels, and only on garments whose care label permits it.
What if a label lifts at one corner? Replace it rather than layering a second stick-on over the failed one. The adhesive underneath has already lost grip and collected wash residue, so the new layer will lift in exactly the same place.
Can one label type work across all my clothes? Not usually. Stick-on suits flat cotton and polycotton, while sew-on suits coated sports kit and wool, so order by garment group instead of buying one type for everything.
Buy for the hardest garment in each pile, not the easiest one.
Order Labels That Match the Wash
Turn your garment groups into an order, and check the details before you pay.
- Ask for a short name. Add class or room only if the narrowest collar has room, because long lines shrink the type until it's unreadable in lost property or a laundry basket.
- Choose high contrast and a plain typeface. Pick a size small enough for a child's collar yet readable at arm's length under bright laundry room lighting.
- Order by garment group. Use stick-on labels for flat polycotton schoolwear and care home cardigans, and sew-on tapes for coated PE tops and wool.
- Check each durability statement against your own care symbols. Include tumble drying in that check, and don't rely on any claim you can't match to a specific garment in your pile.
- Confirm spelling, quantity and size before paying. Measure the narrowest collar, hem or waistband in the pile, because that's the spot the label has to fit.
One stick-on option sold by Quote My Wall can be shortlisted for the stick-on group, provided its durability wording is checked against the actual garments you're labelling.
- Label one test shirt first. Run it through one real wash and dry on your normal cycle, check the label is legible and lying flat, then label the rest of the order with confidence.
Quote My Wall sells personalised stick-on clothing name labels for school uniforms and care home clothing, alongside its vinyl wall stickers, prints and furniture wraps. If you're labelling a new term's worth of kit or a resident's wardrobe, check the label size and durability wording against your garments' care symbols, then visit Quote My Wall to order a set and test it on one shirt first.