
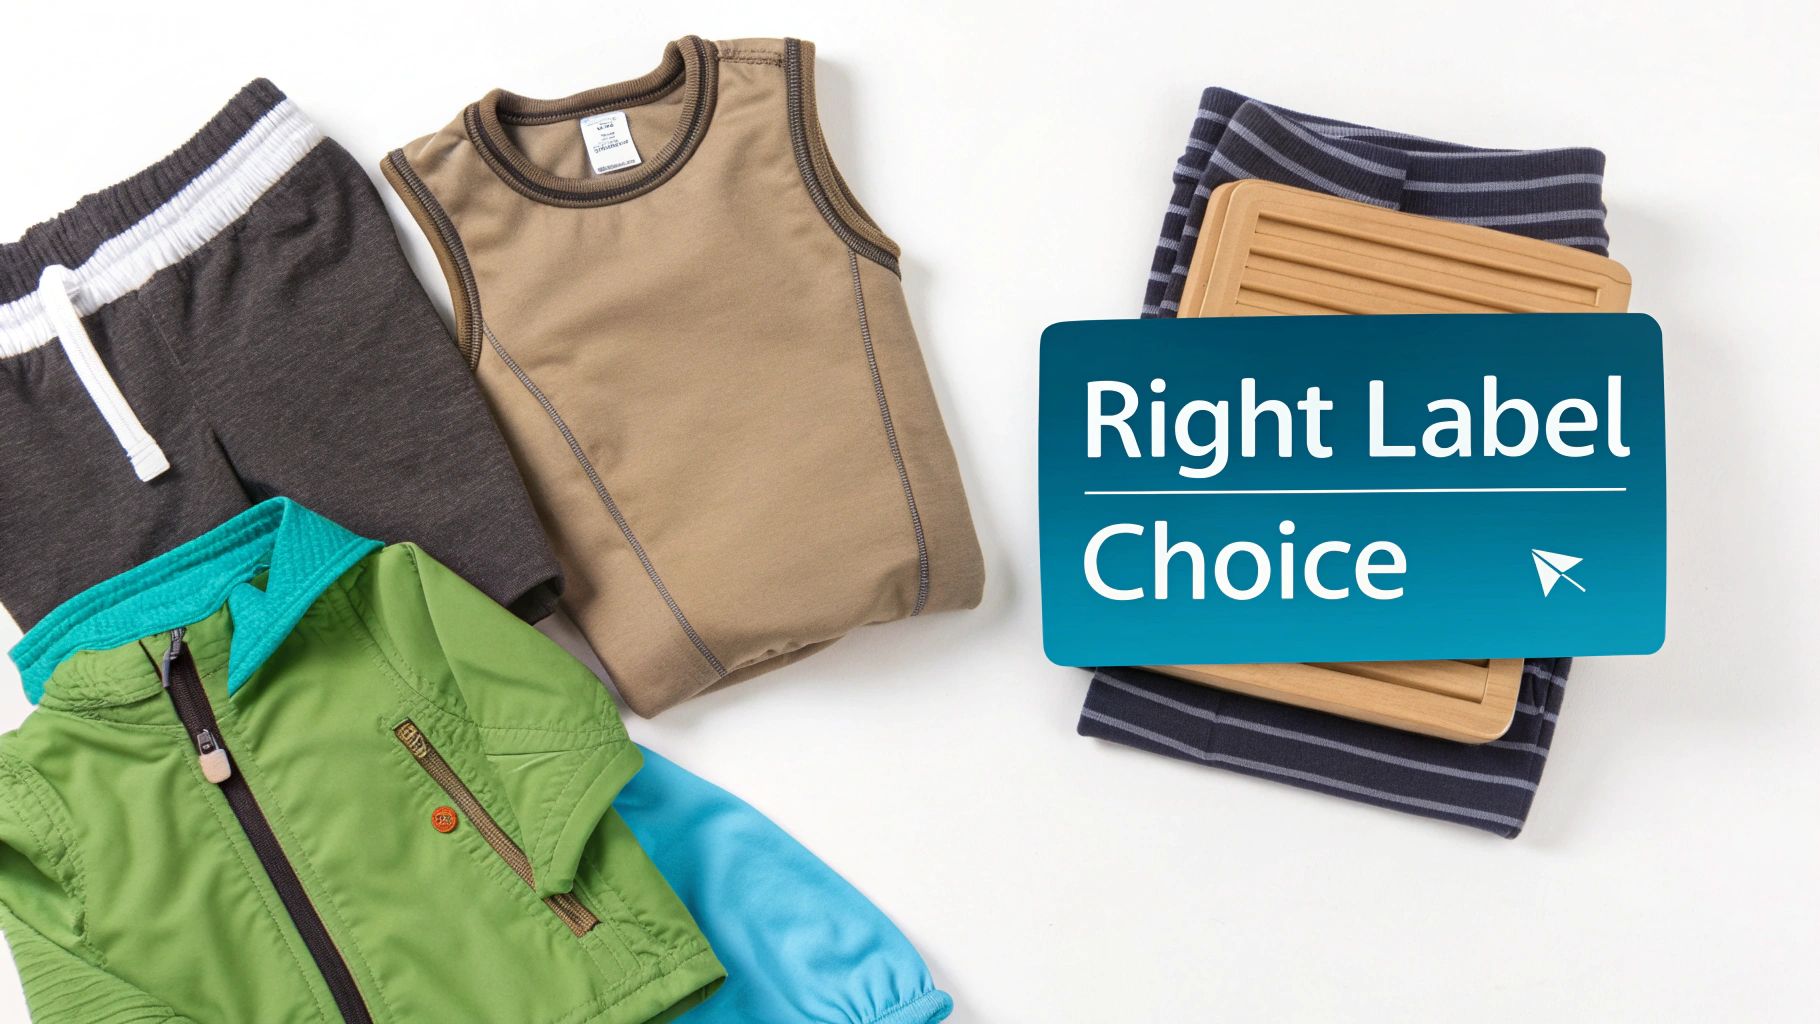
Your Guide to Perfect Iron On Names
Choosing the right iron-on name labels is the crucial first step. Get this right, and your labels will last through countless adventures and wash cycles. The secret isn't just in the application; it's about matching the label to the fabric and its purpose.
For instance, a stretchy PE kit needs a flexible vinyl-based label that can move with the fabric. On the other hand, a standard cotton school uniform will do best with a more traditional woven or printed label, balancing comfort and serious durability. Making the right choice from the start is what prevents those annoying issues like cracking, peeling, and skin irritation.
Choosing the Right Iron On Names for Your Gear
Before you even plug in the iron, let's talk about the labels themselves. The job the garment has to do should be your guide. A label destined for a nursery jumper, which will be worn all day and washed almost as often, needs to be incredibly soft against the skin but tough enough to handle the spin cycle without fading or fraying.
In contrast, if you're just labelling a rarely-used item like a book bag or a swimming towel, durability is less of a concern, giving you a bit more freedom with material choice. Always think about the item's life cycle. For school uniforms that are going to see hundreds of washes, investing in a high-quality, resilient label isn't just a good idea—it's essential.
Matching Labels to Fabric Types
The single most important factor here is the material of the garment you’re labelling. I’ve seen it happen time and again: someone applies a stiff, non-stretch label to a flexible fabric like Lycra, and it cracks and peels off after the very first wear. It's a classic mistake you can easily avoid.
To help you get it right every time, here’s a quick breakdown:
- Cotton & Polycotton Blends: These are the easiest and most forgiving fabrics. Think school shirts, trousers, and jumpers. Most standard printed or woven iron-on names will work beautifully here.
- Stretchy Synthetics (Lycra/Spandex): For PE kits, swimwear, and even those pesky socks that always go missing, you absolutely need a flexible vinyl transfer. These are specifically designed to stretch right along with the fabric, which means no cracking.
- Delicate Fabrics (Wool/Silk): Honestly, iron-on labels are a no-go for these materials. The high heat required for application can easily scorch or permanently damage the delicate fibres. For these items, you're much better off exploring a different solution, like these stick-on name labels for clothes, which offer a safer alternative.
Choosing the right material for your labels is half the battle. This quick comparison should help you pinpoint exactly what you need based on the clothes you're labelling.
Comparing Iron On Name Label Materials
| Material Type | Best For Fabrics | Durability | Application Feel |
|---|---|---|---|
| Woven Polyester | Cotton, Polycotton, Denim | Very High | Soft, traditional feel, slightly raised |
| Printed Satin | Cotton, Polycotton, Fleece | High | Silky smooth, flexible, minimal texture |
| Vinyl Transfer | Stretchy Synthetics (Lycra), Nylon | Excellent | Very thin, stretches with fabric, seamless |
| Flock Transfer | Cotton, Polycotton, Sportswear | Good | Velvety, suede-like texture, raised |
As you can see, matching the label's properties to the fabric's behaviour is key for long-lasting results.
Thinking About Font, Size, and Personalisation
Readability is everything. That fancy, cursive font might look beautiful on the screen, but if a teacher can't read it from a few feet away, the label isn't doing its job. I always recommend a clear, bold, sans-serif font, particularly for items belonging to younger children. Size is just as important—make sure the name is large enough to be spotted easily in a chaotic pile of identical school jumpers.
Personalisation goes deeper than just picking a colour, too. For some, adding a little icon can make an item instantly recognisable to a pre-reader. The name itself carries so much weight. In fact, UK trends show that names are a core part of how we express our identity, with many people officially changing them to better reflect who they are. This just goes to show how much personal significance we attach to our names.
Choosing the right label isn’t just about what sticks; it’s about what lasts. Consider the fabric's stretch, the garment's purpose, and the wearer's comfort to find the perfect match that will survive the school year and beyond.
While our focus here is on heat-applied labels, it's good to have other options in your toolkit. For items where an iron just isn't suitable, you could explore a guide to perfect DIY stickers for alternative ways to personalise your gear.
Prepping Your Garments for a Flawless Bond
The secret to an iron-on name that lasts? It has far less to do with the final press and everything to do with what you do beforehand. Most people skip these prep steps, which is exactly why they end up with peeling corners and bubbled letters after a couple of washes.
Taking a few extra minutes now will save you a massive headache later.
First things first: always wash and dry any brand-new clothes before you even think about applying iron on names. New garments are often coated with chemicals like sizing or starch to keep them looking crisp on the hanger. These invisible residues are the enemy of a good bond, preventing the label’s adhesive from properly gripping the fabric fibres.
Washing gets rid of all that, leaving you with a clean slate. It’s a bit like trying to stick tape to a dusty shelf – it just won't hold properly.
Create the Perfect Application Surface
Once your garment is clean and bone dry, it's time to create the right environment for the heat transfer. Here’s a pro tip: your standard padded ironing board is often the secret culprit behind failed applications. That soft, cushioned surface actually works against you, absorbing the pressure you need for a firm, even bond.
Instead, find yourself a solid, heat-resistant surface. A sturdy wooden table or a kitchen worktop works brilliantly. Just pop a folded tea towel or a Teflon sheet down first to protect the surface from the iron's heat. This gives you the firm foundation you need.
Another game-changer is pre-heating the spot where the label will go.
Simply press your hot, dry iron on the fabric for about 10-15 seconds. This little blast of heat gets rid of any sneaky, lingering moisture and smooths out wrinkles, making the fabric perfectly flat and warm, ready to welcome the adhesive for a truly professional finish.
Why Every Detail Matters
Following these preparation steps is what gives your labels the strength to withstand daily life and endless laundry cycles. A well-prepped garment allows the adhesive to melt deep into the fibres, creating a bond that’s as tough as the clothing itself. For more advice on making sure your labels hold up, you can find some great tips on creating fully machine washable labels that last.
Here's a quick checklist to mentally run through before every application:
- Is the garment clean? It must be freshly washed and dried, no exceptions.
- Is my surface firm? Ditch that wobbly, padded ironing board.
- Is the fabric pre-heated? A quick press removes moisture and warms the area.
- Is my iron set correctly? Always use a dry iron (no steam!) at the right temperature for the fabric.
Getting these little details right transforms the process from a bit of a guessing game into a reliable method for perfectly applied iron on names, every single time.
Getting the Iron-On Application Just Right
Alright, you’ve prepped your garment and you’re ready for the main event. This is the part that makes all the difference, turning a good application into a great one that looks professional and, more importantly, stays put. Forget the vague instructions on the packet; let’s get into the details that really matter.
Positioning the label is your first hurdle. A slightly crooked name can be infuriating to look at later, but you don't need any fancy tools to get it straight. Just use the garment’s existing seams—like a collar or a shoulder seam—as your guide. Place the label, take a step back, and have a proper look. Trust me, your eyes are often the best judge of what’s straight.
Dialling In the Perfect Heat and Pressure
This is where things often go wrong. It's easy to assume "high heat" is the best setting, but the right temperature depends entirely on the fabric you're working with. A sturdy cotton school shirt can take a lot more heat than a synthetic PE kit, which can easily melt or scorch if the iron is too hot.
Always start by setting your iron to the specific fabric type. If your iron just has dots instead of names, here's a rough guide:
- Cotton/Linen setting: Ideal for 100% cotton and most polycotton blends.
- Wool/Silk setting: A much safer bet for delicate synthetics. It's always a good idea to test a hidden spot first, just in case.
- Synthetics/Polyester setting: This is the one you'll want for most modern sportswear fabrics.
Here’s a critical tip: make sure the steam function is turned off. Steam is the arch-enemy of adhesive; it introduces moisture that stops the label from bonding properly.
When you're ready to press, apply firm, even pressure. Don't just let the iron rest on top. You need to lean into it, making sure every part of the name gets the same amount of heat and force.
Think of it like trying to get butter to soak into warm toast. You're not just melting the adhesive onto the surface; you're melting it into the fabric's fibres. Gentle, steady pressure is the key. Hold it firmly in place for the recommended time, usually 15-20 seconds, without wiggling the iron around.
If you’re interested in the science behind different application methods, this beginner's guide to heat transfer printing is a brilliant resource for understanding the fundamentals.
This visual guide breaks down the essential prep work you should do before you even think about applying the label.
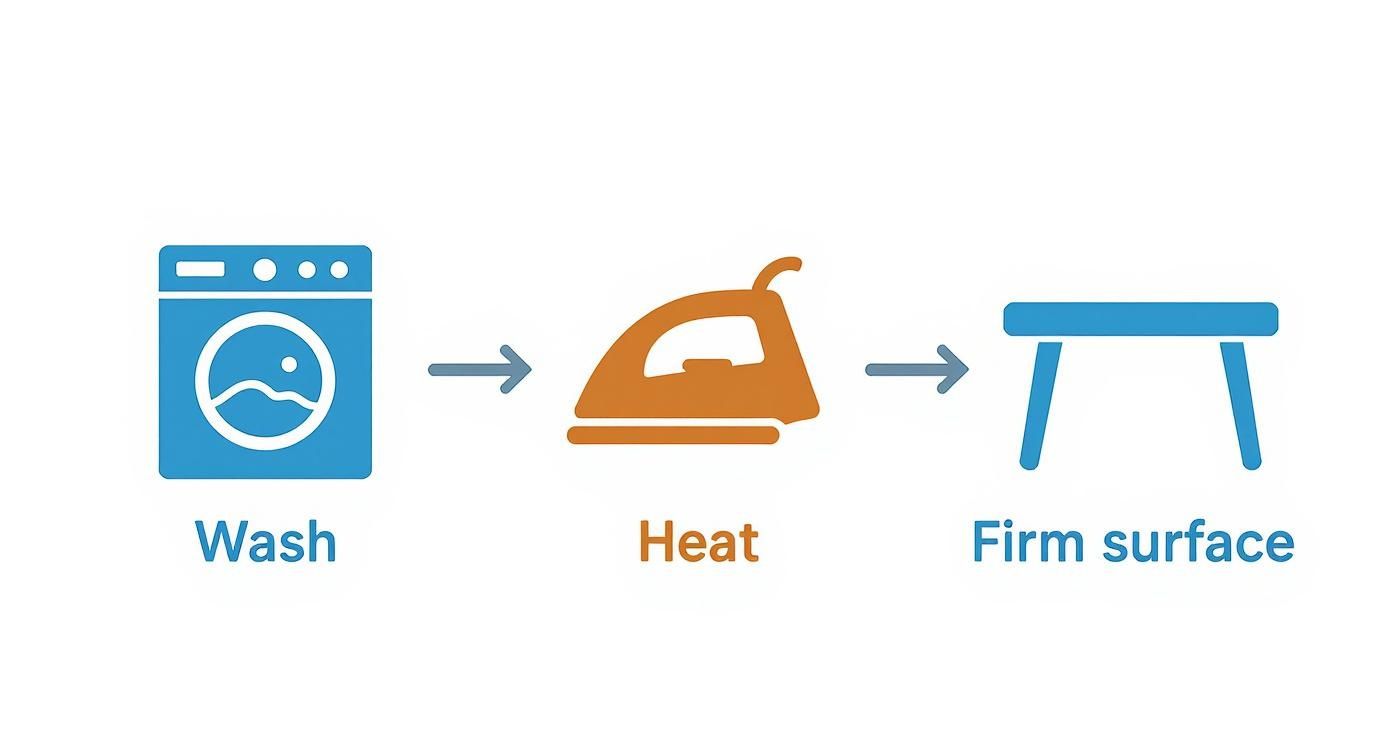
Each of these steps—washing, heating, and using a firm surface—helps to eliminate potential problems that could cause your iron on names to fail.
The Make-or-Break Moment: Peeling Hot or Cold
After you've applied the heat, you're at the final, crucial step: peeling away the backing paper. Labels are designed to be either hot-peel or cold-peel, and getting this wrong can undo all your hard work. Always check the instructions that came with your labels.
- Hot-Peel: This means you peel the backing paper off immediately, while everything is still hot. It's quite common for vinyl transfers used on stretchy fabrics.
- Cold-Peel: With these, you have to be patient and wait for the label and the garment to cool down completely before peeling. If you try to peel a cold-peel label while it's still warm, you’ll probably pull the name right off with it.
Nailing these application details is what separates a quick fix from a permanent solution. If you find yourself working with different kinds of transfers, you might also find our guide to applying iron on clothing decals useful, as it covers a broader range of styles and materials.
Making Your Labels Last: The Aftercare Guide
Getting your iron-on names perfectly applied is a great start, but the real test is making sure they stay put, wash after wash. The secret to keeping them looking sharp and firmly attached lies in what you do after you’ve put the iron down.
It all boils down to a few simple laundry habits that protect the adhesive bond you’ve just created.
The most crucial rule? Patience. After you’ve applied the label, you absolutely must wait at least 24 hours before washing the garment for the first time. This isn't just a suggestion; it’s the golden rule. This waiting period gives the heat-activated adhesive the time it needs to fully cure and properly bond with the fabric fibres. Washing it too soon is the number one cause of labels peeling off.
Think of it like letting superglue set. You wouldn't start pulling at it while it's still tacky, and the same principle applies here. Giving the adhesive that uninterrupted time to cool and harden makes all the difference for a bond that lasts.
Smart Laundry Habits for Longevity
Once that initial curing period is over, a few small tweaks to your laundry routine will keep those labels looking pristine. The inside of a washing machine can be a surprisingly rough place, so your goal is to minimise friction and heat.
The single best thing you can do is turn the garment inside out before it goes into the machine. It’s such a simple step, but it’s incredibly effective. It shields the label from rubbing against other clothes, zips, and buttons, which can easily scuff the surface and catch the edges.
Here are a few more tips I’ve learned over the years:
- Keep it cool: Always wash at 40°C or lower. Hot water can soften the adhesive, making the label much more likely to peel or lift at the corners.
- Ditch the harsh stuff: Fabric softeners and bleach are the enemies of adhesive. They can break it down over time, weakening the bond. A good, gentle detergent is all you need.
- Careful stain removal: If you get a stain near the label, be sure to apply the stain remover around it, not directly on top of it.
Following these simple laundry practices means you're not just washing clothes; you're actively protecting the names you so carefully applied. This is how you make sure they stay clear and secure for the entire school year, and often well beyond.
Drying Techniques to Prevent Damage
How you dry your labelled items is just as important as how you wash them. The intense heat of a tumble dryer can be just as damaging as a hot wash, sometimes causing labels to crack, fade, or even melt.
Whenever you can, air-drying is by far the safest bet. Just hang it on the line or on a rack. If you absolutely have to use a tumble dryer, make sure you select a low-heat setting.
And a final word of warning: never, ever iron directly over a label that’s already been applied. The heat will melt the vinyl and ruin both the label and your iron. If the area around the name needs a press, either turn the garment inside out or place a tea towel over the name tag as a protective barrier.
Just as names themselves evolve—with classics like Gladys and Doris disappearing from modern birth lists in the UK—your labels will also fade away if not cared for. It’s fascinating to see how name popularity has shifted in the UK over the decades, a great reminder that without a bit of care, things don't last.
Common Iron-On Hiccups and How to Fix Them
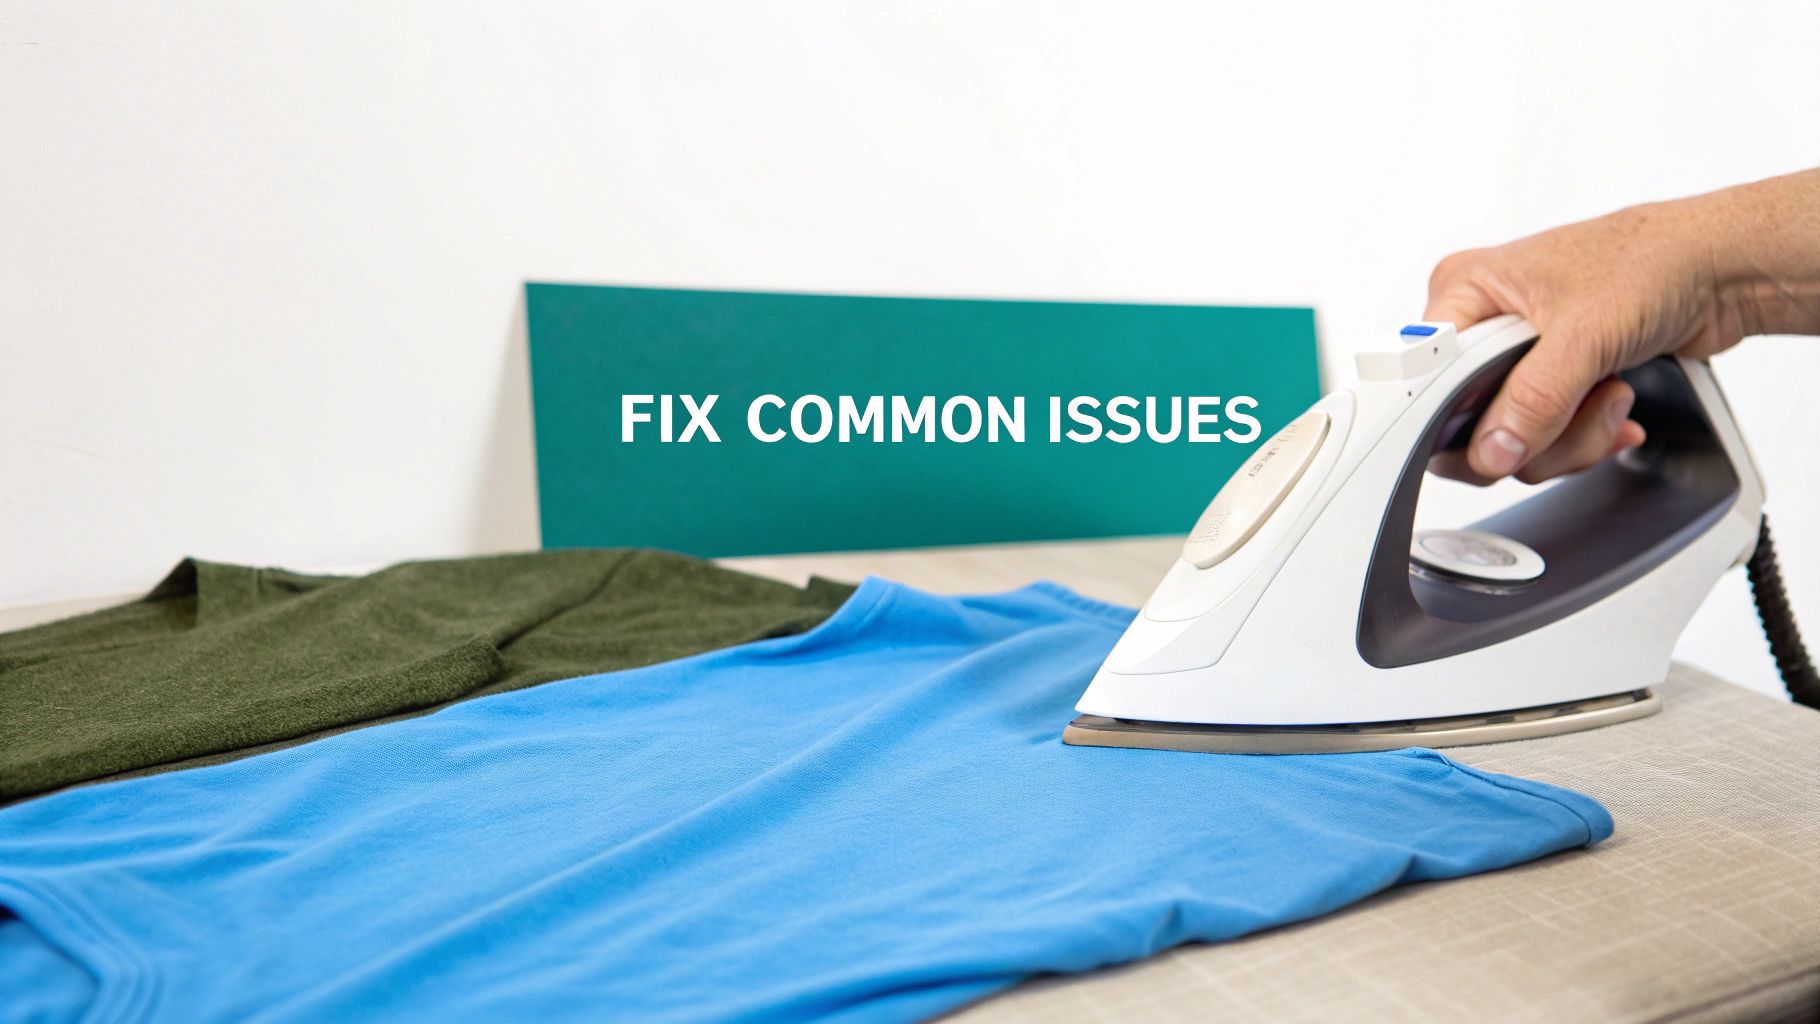
Even when you follow the instructions perfectly, things can sometimes go a bit sideways. It’s a familiar frustration: you’ve done everything by the book, but a stubborn corner refuses to stick, or a letter looks wrinkled. Don't worry, it happens to everyone.
The good news is that most of these little mishaps are surprisingly easy to fix, usually with just a little extra heat and patience. Think of this as your go-to guide for rescuing your project. Once you know how to spot and solve these common issues, you’ll feel much more confident with every label you apply.
Why Are the Corners and Edges Lifting?
This is, without a doubt, the most frequent problem people run into. You go to peel away the backing, and a corner of your iron on name just hasn’t stuck properly. In almost every case, the reason is simple: that specific spot didn't get enough consistent heat and pressure.
It’s easy to do. The centre of an iron is often hotter than its edges, or we might not apply as much force around the perimeter of the label. Thankfully, the fix is just as simple.
- First, place your baking parchment or a thin cotton tea towel back over the label. This is crucial to protect it from the direct heat of the iron, which can scorch the fabric or melt the label.
- Next, use just the tip of your hot, dry iron and press down firmly only on the lifted corner. Hold it there for a solid 10-15 seconds.
- Let the area cool down completely before you try to peel it again. If it's still not stuck, repeat the process.
This targeted approach delivers a concentrated burst of heat right where it’s needed. It reactivates the adhesive on that one spot without over-cooking the parts of the label that have already bonded perfectly. It’s a quick and reliable trick of the trade.
What to Do About Bubbles and Wrinkles
Seeing a bubble or a wrinkle under your freshly applied name can feel deflating. This usually points to one of two things: either the iron was a bit too hot for the fabric, causing the adhesive to bubble up, or the pressure wasn't applied evenly, which trapped a pocket of air.
A less obvious culprit is hidden moisture in the garment. This is exactly why that pre-heating step is so important—it gets rid of any dampness that could turn into steam and create bubbles under your label.
If you’ve already got a bubble, you can often salvage it. Cover the label with parchment paper and press firmly with the iron for a few seconds, gently trying to smooth the bubble out towards the nearest edge.
The Label Is On, but It's Crooked
So, you’ve peeled back the paper and realised the name is completely wonky. What now? Unfortunately, once that adhesive has fully set, trying to move the label is nearly impossible without potentially damaging the garment. This is one situation where prevention is really the only cure.
Always take that extra minute to check your placement. Step back, look at it from a few different angles, and use seams, collars, or hems as your guide to get it perfectly straight. If you're not confident holding it steady, a small piece of heat-resistant tape can be used to anchor one side of the label while you press the other.
A Quick Troubleshooting Guide
Sometimes you just need a quick answer. I’ve put together this table to help you diagnose and fix the most common problems you might encounter.
| Problem | Likely Cause | How to Fix It |
|---|---|---|
| Edges won't stick | Insufficient heat or pressure on the corners. | Cover with parchment paper and re-press just the edge with the tip of the iron for 10-15 seconds. |
| Label is bubbling | Iron was too hot, or fabric contained moisture. | Ensure you pre-heat the garment. If a bubble appears, try to smooth it out under parchment paper with the iron. |
| Label looks faded or melted | The iron was set too high for the label material. | Always start with a lower temperature and increase if needed. Unfortunately, this is hard to reverse. |
| It’s completely crooked | Misaligned before heat was applied. | This is preventative. Always double-check placement and use garment seams as a guide before ironing. |
Hopefully, this little chart saves you a bit of time and frustration. With a bit of practice, applying these labels will become second nature, and you'll know exactly what to do if any of these minor issues pop up.
Got a Question About Iron On Names?
Even after reading the instructions, it's natural to have a few questions. You want to get it right, especially when you're permanently applying a label to a favourite piece of clothing. Let's run through some of the most common queries we get, so you can feel completely confident.
Think of this as your go-to guide for those last-minute "what if" moments. We’ll cover everything from the right tools for the job to fixing any little mishaps.
Can I Use a Steam Iron to Apply the Labels?
This is a really common question, and the answer is a firm no. You absolutely must use a dry iron. Steam is the enemy of the adhesive; the moisture it creates stops the glue from forming a strong, lasting bond with the fabric. It's the number one reason labels bubble or start peeling off prematurely.
So, before you even switch the iron on, make sure the water tank is completely empty and the steam function is turned off. You need consistent, dry heat to properly activate the adhesive and fuse it into the clothing fibres.
How Do I Get an Old Iron On Name Off?
Removing an old label is definitely doable, but it calls for a bit of patience. You can't just rip it off. The secret is to gently reheat the label to soften the adhesive underneath.
Lay a thin cloth or a sheet of baking parchment over the old label. With your iron on a hot, dry setting, press down for about 10-15 seconds. While it's still warm, take a pair of tweezers, grab a corner, and carefully peel the label away. You might need to give it another quick press with the iron to get it all off. Just be aware that on some fabrics, you might see a faint mark or a little residue where the label used to be.
A Little Tip From Experience: Go slowly and be gentle. If you pull too hard, you risk stretching or even damaging the fabric. The idea is just to warm up the glue enough for the label to let go without a struggle.
Will These Labels Work on Stretchy Sportswear?
Yes, they will, but you have to use the right kind! This is a classic mistake people make with PE kits or swimwear. Standard iron-on labels are too stiff for high-stretch materials like Lycra and will just crack and peel off after a few wears.
For anything stretchy, you need a label that's built for it. Look for flexible vinyl transfers, sometimes called stretch labels. They’re designed to move and stretch with the fabric, so the name stays put no matter how much your child is running, jumping, or swimming.
Can I Iron Over a Label After It’s Been Applied?
It's much better if you don't. The direct heat from an iron can easily melt the vinyl or the adhesive again, which could cause the name to smudge, stick to the bottom of your iron, or even lift off the garment completely.
The best practice is to always iron the item inside out. If you really have to iron the outside, make sure you place a protective layer – like a clean tea towel or a piece of baking parchment – over the iron on name first. This acts as a barrier, shielding the label from the intense heat.
Ready to create labels that are made to last? At Quote My Wall, we have a fantastic range of durable, easy-to-apply name labels perfect for school uniforms, care home clothing, and all your family's gear. Check out our collection and get your labelling sorted today.