
Clothing Labels Name: How to Choose, Apply and Wash
You're sorting clean uniform when you find a jumper that might not be yours. The size looks right, but the name has washed away, and there's another identical jumper somewhere in the school's lost-property box. Choosing clothing name labels is really about avoiding that uncertainty, without damaging garments you'll want to hand down or sell.
The useful choice isn't just stick-on versus iron-on. It's readable identification, suitable placement and a label you can maintain or replace throughout the garment's useful life.
Which Label Suits Each Garment
Say a school blazer passes to a younger sibling after several school terms. Its label needs to stay readable while the first child owns it, then come off or accept a replacement without spoiling the lining. A permanent bond isn't automatically the most economical answer.
Best label type by garment
| Garment | Best label type | Why | Avoid |
|---|---|---|---|
| School blazer | Sew-on, or heavy-duty iron-on where pressing is permitted | Sew-on stays secure but can be unpicked for hand-me-downs | Stick-on inside a lining seam that gets pulled |
| PE kit in polyester | Iron-on or stick-on rated for synthetics | Suitable products work within the fabric's heat and surface limits | High-heat ironing on shiny synthetics |
| Waterproof coat | Sew-on on an existing internal tab, or tested stick-on | Avoids heating the coating or puncturing the waterproof shell | Iron-on on coated fabric |
| Socks and underwear | Small woven or fabric-rated stick-on label | A small label interferes less with stretch | Large iron-on across stretching fabric |
| Care-home fleece | Stick-on tested on a smooth internal tab | Keeps adhesive away from loose pile | Untested iron-on on heat-sensitive fibres |
| Second-hand or uniform bank stock | Replaceable durable stick-on or sew-on | Allows ownership details to change | Marker pen alone as the identification system |
The replacement cost makes this worth considering. In April 2025, the UK Government's school-uniform announcement reported average uniform costs of £343 for primary school and £442 for secondary school, with one in five schools having increased their required branded items over the previous year.
Choose for the garment's next owner
Before buying, ask whether the garment will change owners, how frequently you'll wash it, and whether its fabric is coated, stretchy or heat-sensitive. Compare clothing label materials against those needs, not just the pack price.
For garments supplied to consumers, the government's textile-labelling guidance requires fibre-composition information, with responsibilities resting on manufacturers and retailers. An ownership label doesn't replace that information. Preserve the original details when adding a name.
Practical rule: Choose sew-on for valuable garments that will change owners, tested stick-on for suitable everyday surfaces, and iron-on only where the garment and label instructions permit the same pressing conditions.
How to Order and Personalise Name Labels Without Waste
Consider a pupil whose spare uniform is already in the wash. A jumper left at school can mean buying another just to get through the week. Naming the spare matters just as much as naming the garment worn on Monday.
In England, 86% of parents and carers reported that at least one uniform item had to be branded or meet distinctive school requirements, according to the Department for Education's 2023 Cost of School Uniforms Survey. That makes counting required garments a better starting point than choosing a decorative label design.
Build the order around actual clothing
- Count what you own. Include spare uniform, coats, PE kit and clothing kept at nursery. Add an allowance for replacements rather than ordering an oversized batch.
- Choose a naming format. A full name helps distinguish school pupils with matching initials. A nursery may accept a first name and surname initial; a care setting should use its agreed identifier.
- Prioritise readable print. Choose strong contrast and a plain typeface. Check the preview at its actual printed size, not enlarged on your phone.
- Measure the available space. A narrow waistband tab needs a different shape from a broad neck tab.
- Test a sample where available. Use the garment type you wash most, not the easiest fabric in the drawer.
- Check the final text. Confirm spelling, surname and capitalisation before approving personalised artwork.
For a family using a uniform bank, removable sew-on blazer labels and tested stick-on PE labels make a sensible combination. Nursery clothing benefits from an easily recognised design alongside readable text, while care-home orders need consistent identifiers across different fabric groups.
Order for the garments you actually use, not for an imagined wardrobe.
Review these common mistakes when ordering name labels before approving your order. Test the chosen format first, then order the personalised batch once you know the text fits and the attachment suits your laundry routine.
How to Apply Stick-On and Iron-On Labels Step by Step
A label that lifts after its first wash hasn't necessarily failed because the adhesive is weak. Dampness, residue, an unsuitable surface or incomplete contact can all undermine the bond. Prepare the placement area before peeling anything from its backing.
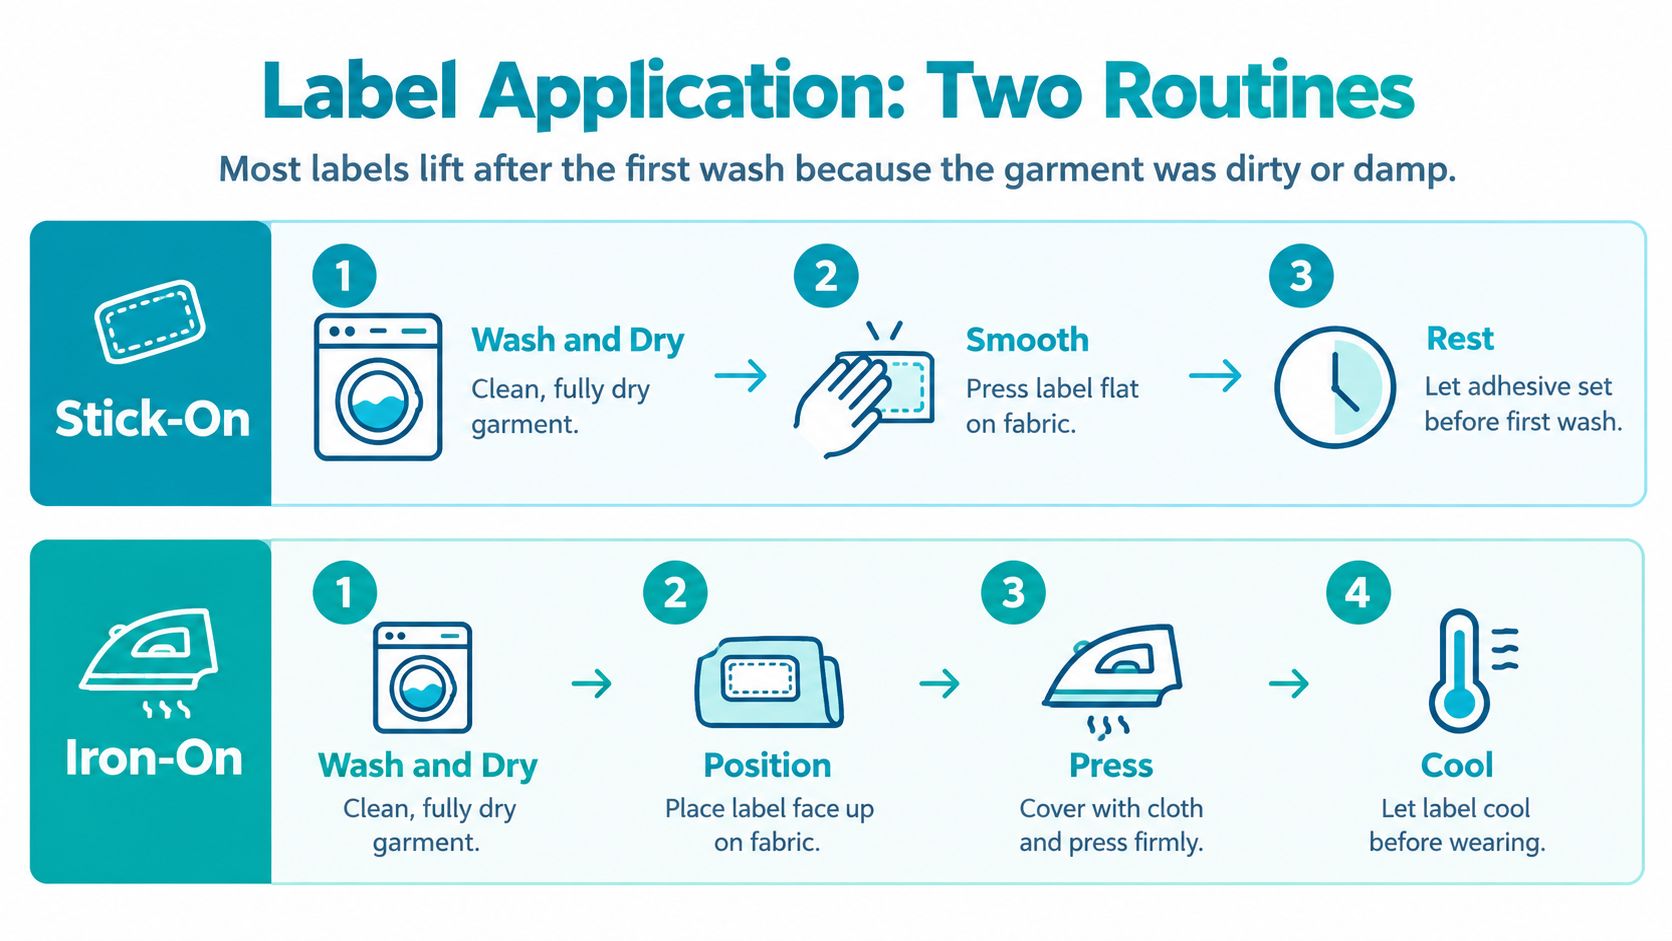
The application routines below show the different jobs of pressure and heat.
Stick-on labels
- Wash and dry the garment. Avoid fabric softener during preparation because it can leave residue on the attachment surface. Let the garment cool after drying.
- Find the approved surface. Some clothing stickers are designed for smooth garment tabs rather than direct application to fabric. Check the product instructions before choosing the position.
- Remove contamination. Clear lint and old adhesive without soaking the area in solvent. If you've cleaned it with water, wait until it's completely dry.
- Apply without touching the adhesive. Hold the edges, position the label flat and press from the centre outwards. Use a fingertip or a smooth plastic card without snagging the fabric.
- Inspect every edge. Remove bubbles and make sure no corner bridges a fold. Leave the label undisturbed for the product's stated bonding period before washing.
Don't assume a stronger push will make an unsuitable label grip fleece pile. Change the surface or the attachment method instead.
Iron-on labels
- Check both sets of instructions. The label's required pressing temperature must be compatible with the garment's permitted ironing temperature. If they conflict, choose another method.
- Prepare a firm pressing surface. Flatten the fabric and position the label away from seams, elastic and decorative finishes.
- Use the specified protective layer. Apply the supplied sheet or a pressing cloth as directed. Turn steam off unless the label manufacturer specifically instructs otherwise.
- Press without sliding. Use the stated pressure and application time. Moving the iron can shift the label before its adhesive has bonded.
- Follow the cooling and peeling instructions. Some carriers peel warm and others cold. Don't guess, because lifting the carrier at the wrong stage can disturb the transfer.
If an iron-on corner remains loose, repeat the permitted pressing process under its protective covering. Never iron a stick-on label to repair it. Applying to damp material, dragging the iron and bridging a stretching seam are all avoidable errors, but there's no universal temperature or pressing time that suits every label.
Where to Place Name Labels on School and Care Clothing
Parents and laundry staff tend to check familiar places first. A consistent location makes identification quicker than hiding a label somewhere inventive, particularly when garments look alike.
Name label placement by garment
| Garment | Label position | Keep clear of |
|---|---|---|
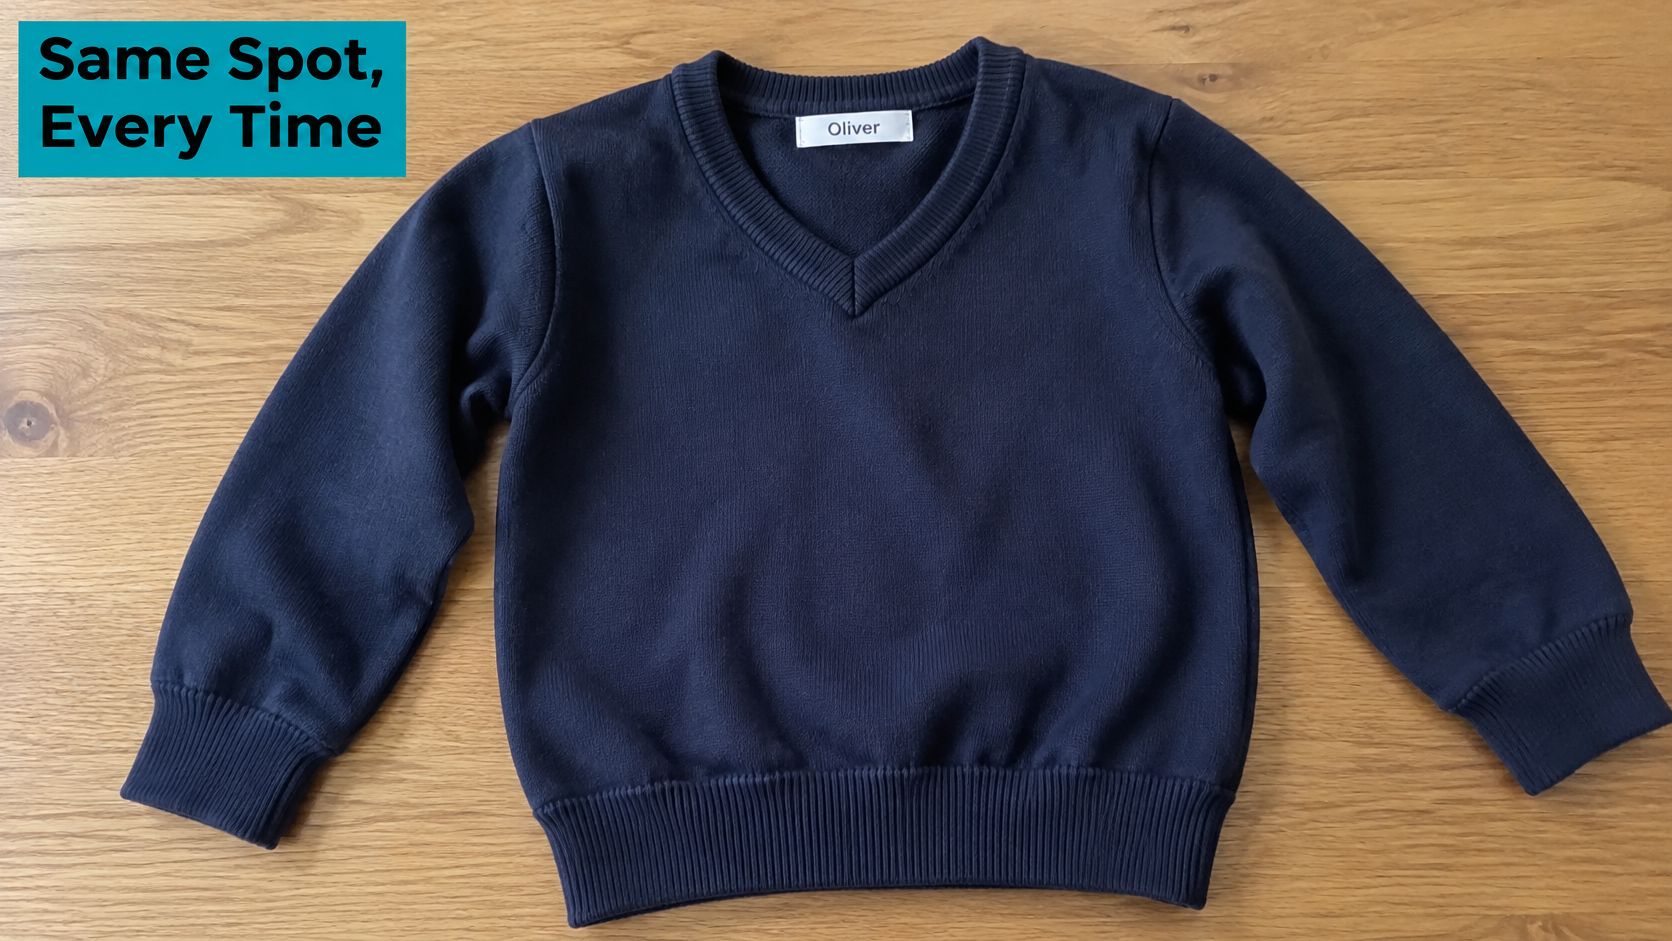
| School jumper or cardigan | Inside back neck, below the neck tab | Fibre-composition and care information |
| School trousers or skirt | Inside back waistband | Care label and size tab |
| PE shirt or polo | Inside back neck or hem near the side seam | Fibre-composition information and stretching seams |
| Socks | Inside cuff, using a small suitable label | Elastic and heel seam |
| School shoes or trainers | Inside heel lining or tongue | Stitched logos and removable insoles |
| Coat or jacket | Inside back neck, with another at the inside hem if useful | Padding and zip tape |
| Care-home cardigan or fleece | Inside back neck and inside front hem | Composition information and loose brushed pile |
The back-neck position is easy to find when a jumper is folded or hanging.
Keep information and comfort intact
Choose a blank part of an existing tab, or a separate suitable position beside it. Don't cover printed composition or washing instructions, including information on the reverse of a folded label. Check blended garments and garments with separate linings before deciding that a tab is expendable.
Position also affects comfort. A stiff label against the neck can irritate the wearer, while one across a waistband's elastic can restrict stretch and lift at the edges. For a person with sensitive skin, check the finished garment while they're wearing it rather than judging comfort from the label alone.
On waterproof outerwear, don't stitch through the shell merely to reach the preferred position. Use an existing internal tab or suitable lining area, provided the attachment won't compromise the garment.
A useful position is easy to find, comfortable to wear and clear of information someone will need later.
After application, inspect the garment from normal reading distance. Confirm the name is readable, the original garment information remains accessible and the label lies flat when the fabric moves.
Washing, Drying and Making Labels Last by Fabric
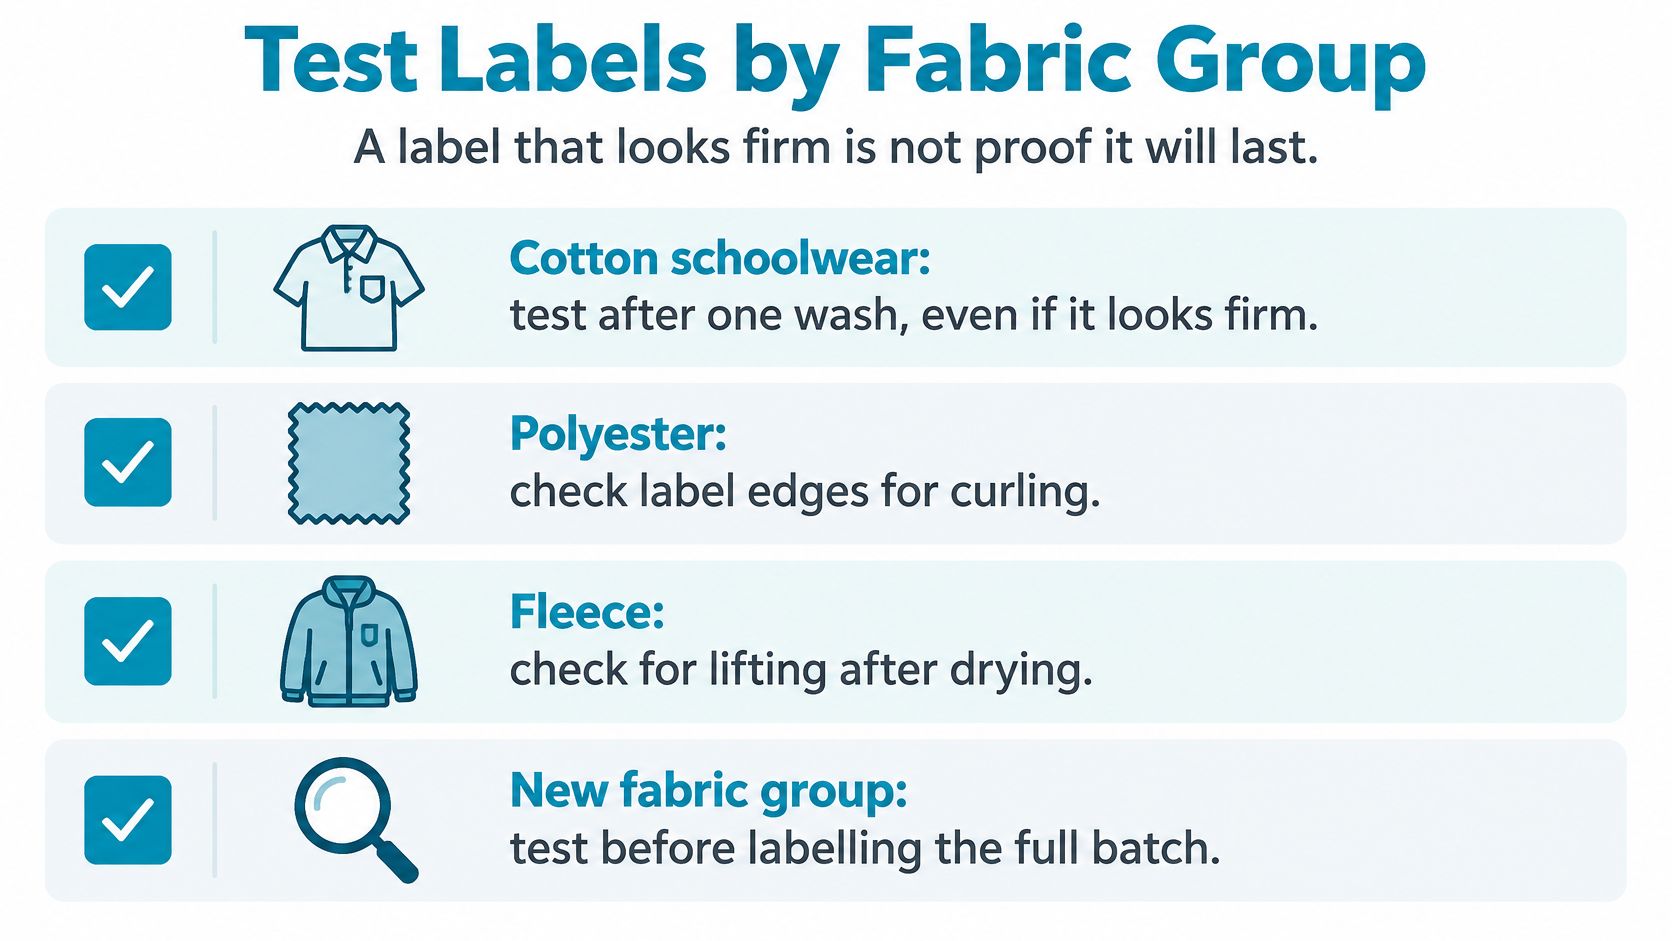
A label that looks secure on cotton can curl on polyester or lift from fleece. Appearance before washing isn't a durability test. Test the combination of label, attachment surface and laundry process you intend to use.
Fabric groups and label tests
| Fabric group | Typical garments | Test before a full batch | Failure to record |
|---|---|---|---|
| Cotton and cotton blends | Polos, T-shirts, school shirts | Repeated permitted washes, plus tumble drying where authorised | Edge lift and print loss |
| Polyester and sports fabrics | PE kit, sports tops | Detergent exposure at the maximum permitted wash temperature | Curling and transfer to adjacent fabric |
| Fleece and brushed knits | Cardigans, fleeces | Approved wash route and drying method | Fuzz beneath the edge and lifting |
| Coated or waterproof fabric | Raincoats, shell jackets | Specified cool or hand-wash route | Poor grip or marks on the coating |
| Heat-labile personal clothing | Residents' own garments | Approved low-temperature process without exceeding care limits | Fading, distortion and loss of legibility |
Use the fabric groups as a checklist rather than assuming a successful cotton test covers everything.
Test the real laundry route
- Sort representative garments into normal-wash, low-temperature and heat-sensitive groups.
- Apply samples consistently, recording the label product, attachment surface and application method.
- Repeat the approved wash process, including normal detergent and permitted drying.
- Inspect after each cycle, checking edges, print, curling and transfer onto neighbouring fabric.
Keep a simple record rather than relying on memory. For care-home batches, include the application date and enough product information to identify which labels were used.
The adult-social-care infection-prevention guidance distinguishes clean, used and infectious laundry and recognises that heat-labile personal clothing may not tolerate high-temperature processing. Don't exceed a garment's care limits to accommodate its name label; the laundry lead needs an appropriate route for that garment.
Sports shirts with printed names and delicate finishes need similar care. Mystershirt's guidance on keeping collectible shirts in great condition is a useful companion when deciding how to handle football shirts without compromising their existing decoration.
During sorting, check readability as well as attachment. Set aside garments with ambiguous identification for resolution before returning them to an owner.
Care-Home Naming, Privacy and Tracking Routines
81% of surveyed care homes had lost or misplaced laundry on their premises, and 10% described this as frequent, according to a 2025 report in The Carer citing care-home survey findings. Strong adhesive alone can't resolve a process in which staff don't know whose initials they're reading or where a garment should go.
Choose the naming system before ordering labels:
- Full name: Clear for staff, but exposes more personal information in shared handling areas.
- First initial and surname: A practical compromise, provided nobody has a conflicting identifier.
- Room number: Quick to read, but unreliable as a sole identifier when residents move.
- Coded identifier: Less revealing, but only useful if authorised staff can access an accurate matching record.
Consistent sorting and return arrangements make those identifiers useful.
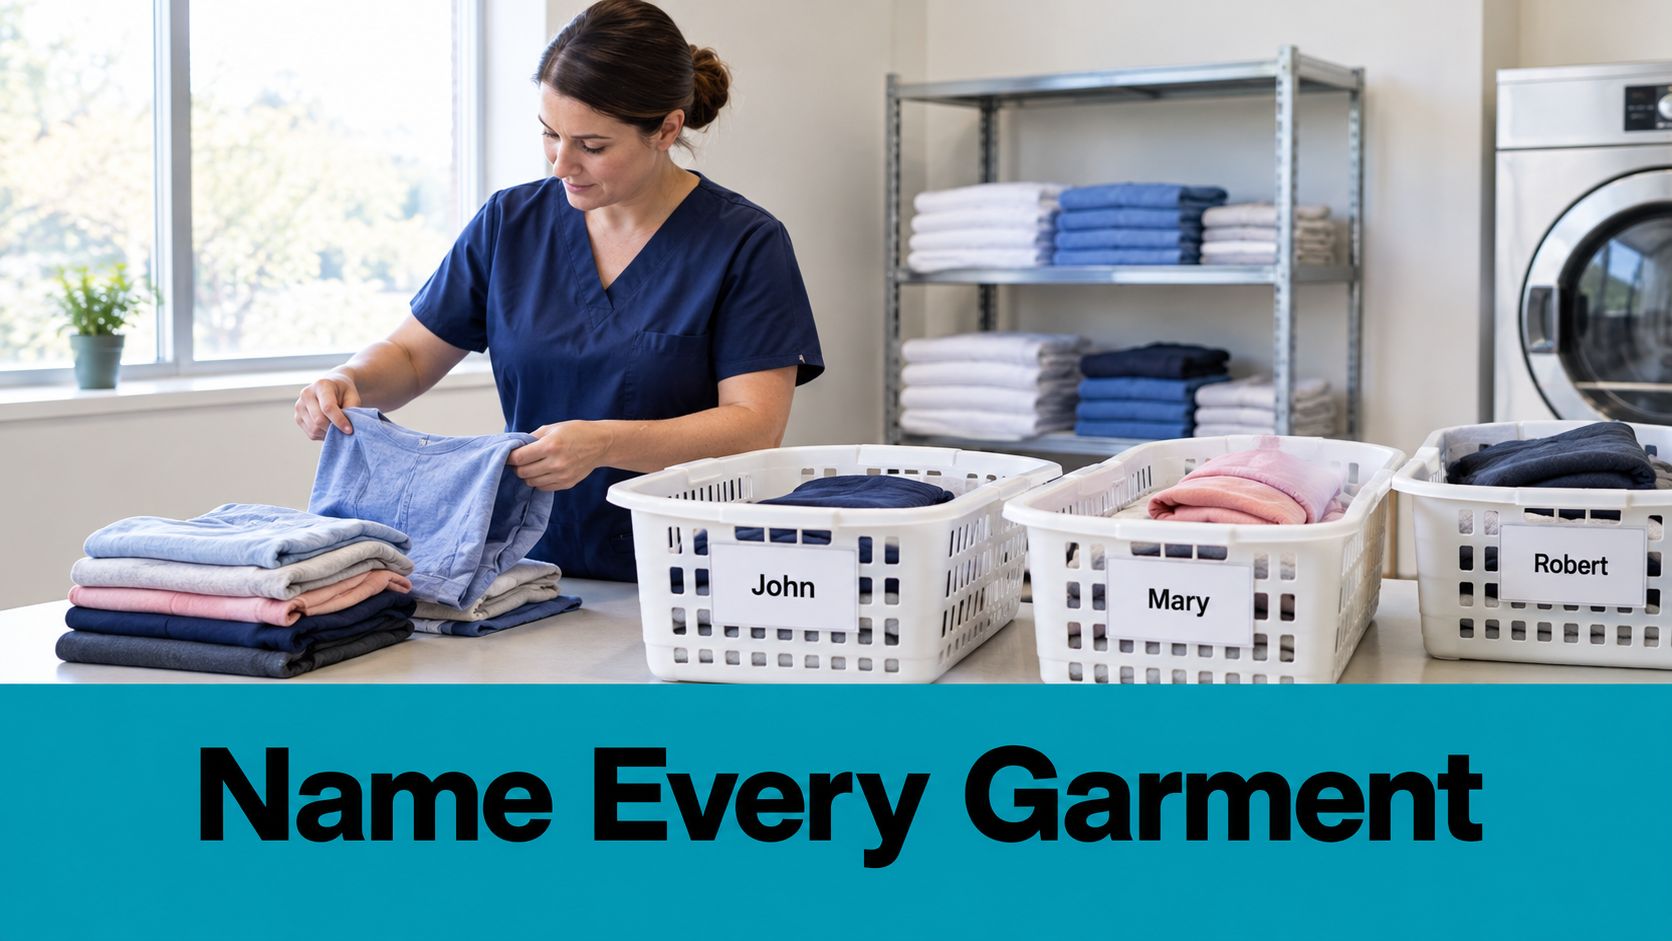
Make identification part of admission and return
Durability and reliability aren't the same thing. An attached label still fails operationally if staff can't read the print, distinguish similar identifiers or access the resident's record. Check contrast under the laundry room's actual lighting.
Use a documented routine for personal clothing:
- On arrival: Agree identification with the resident or representative, label garments and record an inventory.
- Before communal washing: Check identifiers and separate unresolved items from the normal return process.
- After changes: Update records and labels when a resident's name, room or destination changes.
- Before return: Match the identifier to the resident, not merely to the basket's location.
- Before donation: Remove or securely replace old ownership details and check that only the current identifier remains visible.
Include visiting and temporary staff in the routine. Guidance on clothing labels for nursing homes can help frame product selection, but the home still needs its own naming policy, inventory and responsibility for resolving unidentified garments.
Common Questions About Name Clothing Labels
Can I use a marker pen instead?
A fabric marker can provide temporary identification, but don't assume it will remain readable throughout repeated laundering. For school or communal laundry, choose a tested label system and inspect it regularly.
How long should I wait before washing?
Use the bonding period stated on the label pack. Don't apply a sticker immediately before putting the garment into the machine, and don't substitute a general waiting time for product-specific instructions.
What if a label starts lifting?
Check whether it's stick-on or iron-on before attempting a repair. Replace a contaminated sticker; only repress an iron-on label where its instructions permit it, and replace either type if the name is damaged.
Do name labels replace fibre labels?
No. Keep the name beside or below the garment information, with both readable and accessible.
Can I label a waterproof coat?
Yes, preferably on a suitable internal tab. Avoid heating the coating or stitching through the waterproof shell, and test any adhesive placement first.
How do I remove an old name?
Unpick sew-on stitches with a seam ripper, keeping its blade away from the garment. For adhesive labels, follow the removal instructions and test any treatment on a hidden area; stop if the coating, print or fibres begin to lift.
Is a label enough without a care-home laundry process?
No. Someone must check the identifier, match it to a current record and return the garment correctly. An unreadable or unrecognised name needs resolving, not guessing.
Quote My Wall offers personalised stick-on clothing name labels for school uniform and care-home garments. Visit Quote My Wall to choose your text, size and design, then test the labels on your usual garments before naming the full wardrobe.