
A Parent's Guide to Childrens Bedroom Decals in the UK
Children's bedroom decals are a brilliant, budget-friendly way to completely transform a room without the fuss and commitment of paint or wallpaper. Think of them as high-quality, self-adhesive stickers designed for walls that can be easily applied and removed. This makes them absolutely perfect for creating magical, personalised spaces that can change and grow right alongside your child.
Instantly Create A Magical Kid's Room
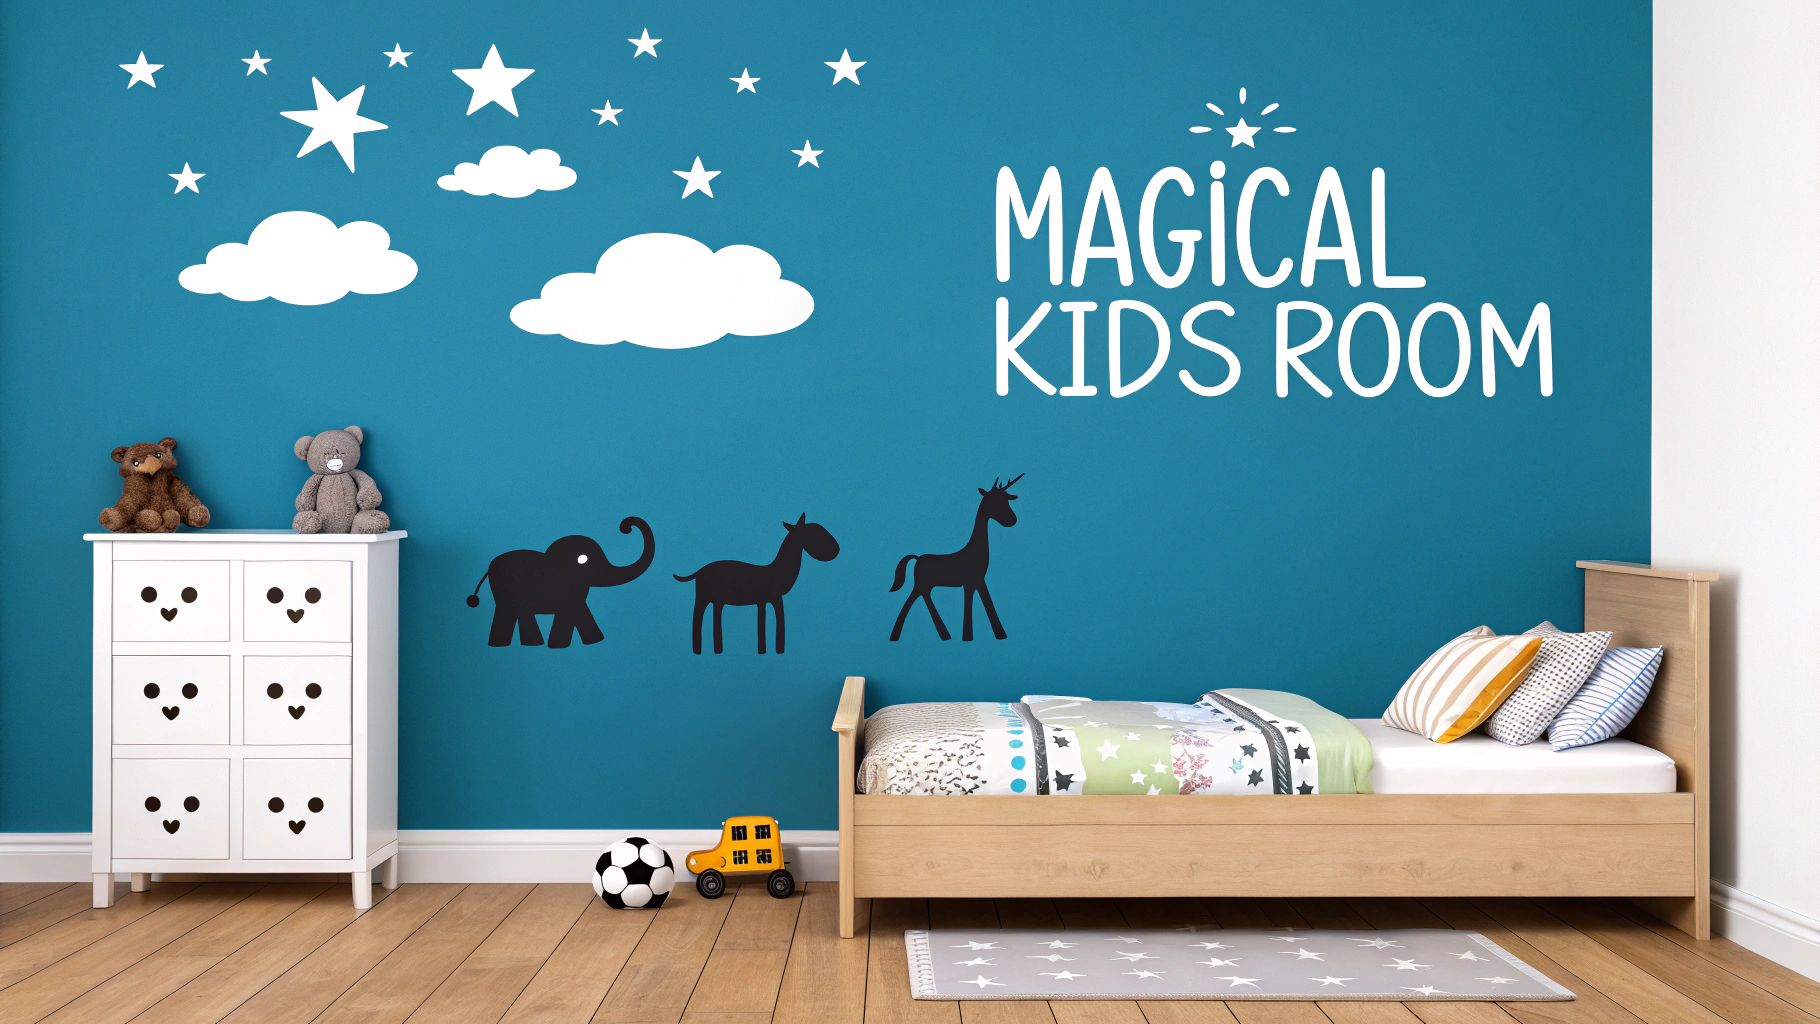
Forget the paint fumes, the messy wallpaper paste, and the daunting permanence of traditional decorating. Children's bedroom decals have become a secret weapon for modern UK parents, offering a simple yet powerful way to inject personality and fun into a child's personal sanctuary. They're more than just stickers; they're flexible, artistic tools that let you design a room your little one will absolutely adore.
This guide is your complete roadmap to the world of wall decals. We'll cover everything from picking the right materials to mastering a flawless, bubble-free application.
Why Decals Are a Decorating Game-Changer
The magic of wall decals really lies in their simplicity and adaptability. You get an incredible return on a small investment of time and money, which is why they've become a go-to for parents wanting a stylish update. Their popularity comes down to a few key advantages that fit perfectly with the realities of a busy family home.
Here's why so many parents love them:
- Effortless Application: You can get most designs on the wall in under an hour. It's an instant room makeover with minimal effort.
- Damage-Free Removal: This is a huge plus, especially for renters. Good quality decals peel off cleanly, leaving no sticky residue or damaged paint behind.
- Endless Design Possibilities: From whimsical forests to superhero cityscapes, the creative options are limitless. You can easily find something that perfectly matches your child's ever-changing interests.
- Budget-Friendly: Compared to the cost of wallpapering or painting a whole room, decals deliver a massive visual punch for a fraction of the price.
As you start dreaming up a magical space, it's helpful to think about the broader picture of decorating your baby’s room, including soothing colours that will complement your chosen decals. For more inspiration, you might find some lovely ideas over at https://www.quotemywall.co.uk/blogs/news/nursery-wall-decor-ideas.
Choosing the Right Decal Material for Your Walls
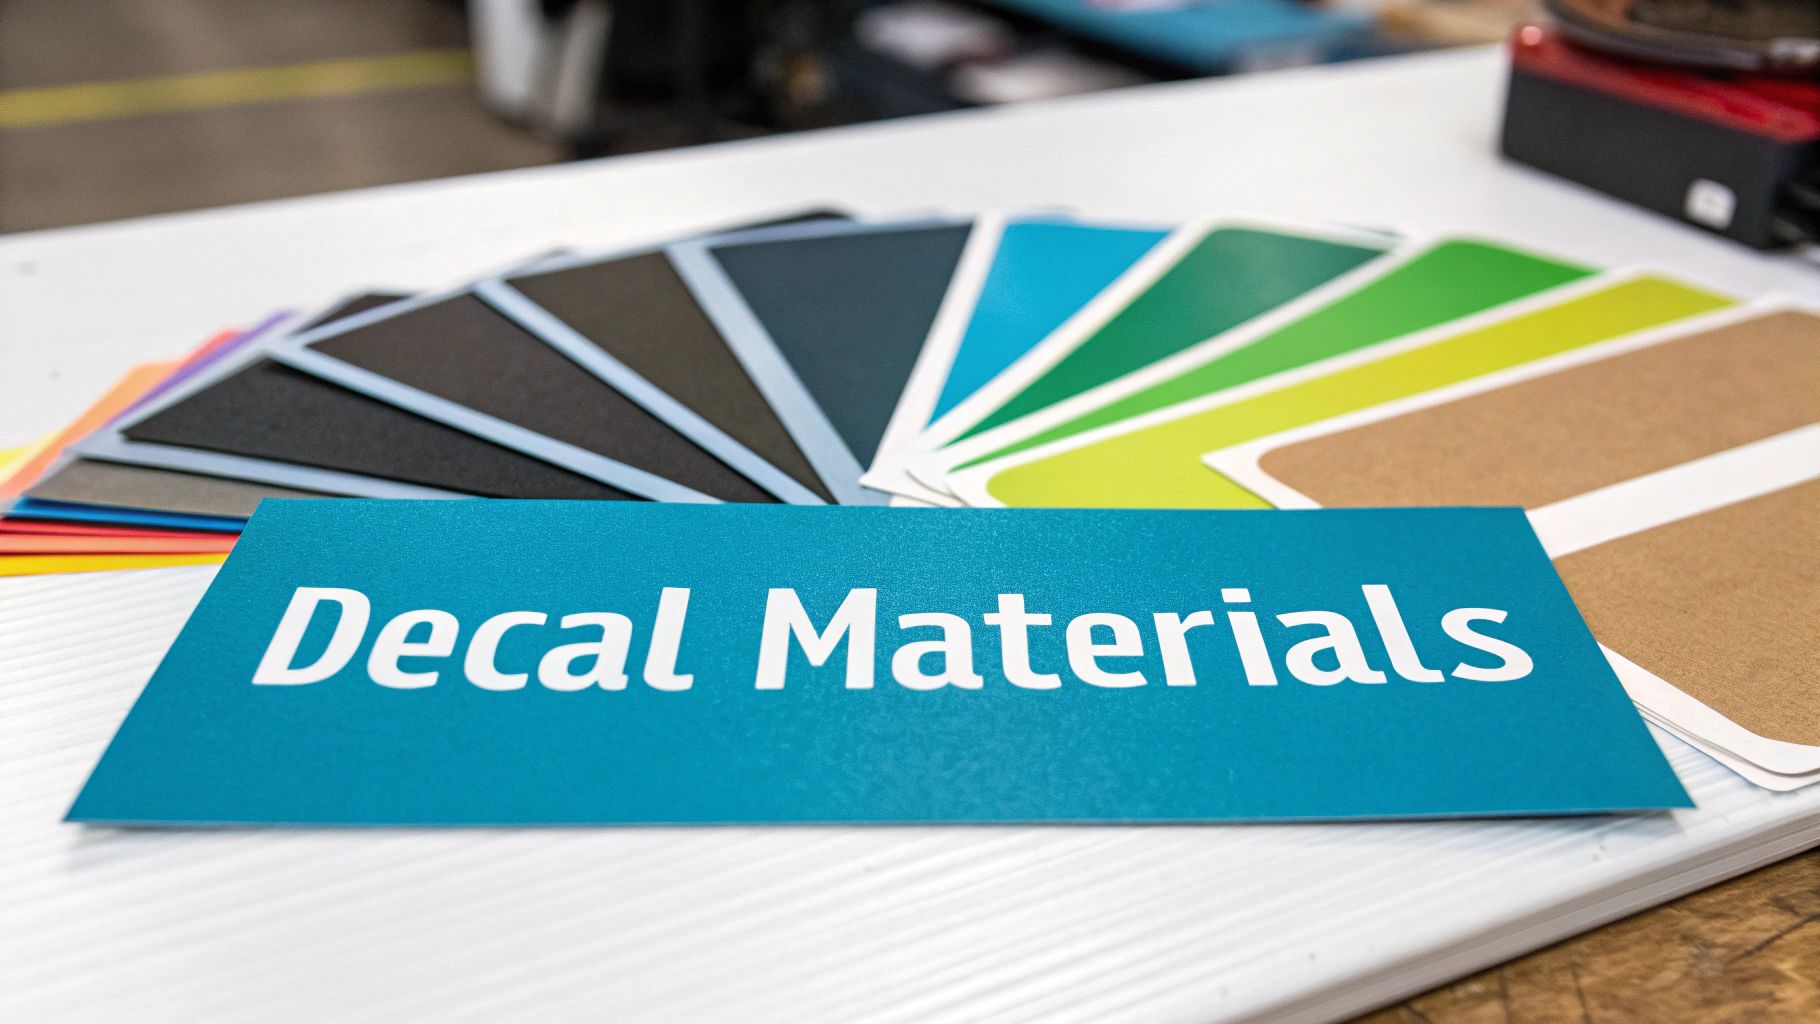
Walking into the world of children's bedroom decals can feel a bit like visiting a sweet shop – the options are endless and everything looks tempting! But not all wall stickers are made the same, and the material you choose makes a huge difference. It affects everything from how it looks on the wall to how easy it is to put up and, eventually, take down.
Getting this right means your investment will look fantastic and stand up to the rigours of a lively child's room. So, let’s get to grips with the most common materials out there to help you find the perfect match for your home.
H3: Vinyl Decals: The Popular All-Rounder
When you picture a classic wall sticker, you’re almost certainly thinking of a vinyl decal. It’s easily the most common material used for children’s decals, and for good reason. It’s tough, versatile, and generally the most budget-friendly choice.
Think of it as a high-quality, durable sticker. It usually has a smooth finish – either slightly glossy or matt – that’s a breeze to wipe clean. That alone is a massive win in any kid’s space where sticky fingerprints are part of the decor!
There are a couple of types of vinyl to know about:
- Peel-and-Stick Vinyl: This is the simplest option. The design is printed on a single sheet of adhesive vinyl. You just peel it away from its backing paper and stick it straight onto the wall. Simple as that.
- Wall Transfers (Cut Vinyl): These create a more intricate, 'painted-on' look. The design is precisely cut from a sheet of coloured vinyl. It comes with a top layer of transfer tape that holds all the individual pieces together, allowing you to apply the whole design at once.
H3: Fabric Decals: The Premium Choice
If you're after a more luxurious, high-end finish, fabric wall decals are a brilliant alternative. Made from a finely woven polyester, these decals have a beautiful, matt texture that’s soft to the touch. This texture also diffuses light gently, so you won’t get any glare.
One of the best things about fabric decals is that they’re often reusable. Unlike most vinyl stickers, you can peel them off and reposition them multiple times without them losing their stickiness or damaging your walls. This makes them a fantastic option if you’re renting, love to redecorate, or want to move the decals to a new room later on.
Because they’re designed for easy, damage-free removal, both fabric and high-quality vinyl decals are an excellent choice for temporary decorating. You can create a stunning feature wall knowing it can be removed without a trace when you move out or your child's tastes change.
Choosing between the two main types can be tricky, so here’s a quick breakdown to help you decide.
Decal Material Comparison for Children's Bedrooms
This table compares the most common decal materials to help you choose the best option based on durability, safety, and ease of use.
| Material Type | Best For | Durability | Reusability | Safety Notes |
|---|---|---|---|---|
| Vinyl | Budget-friendly, high-traffic areas, bold designs | Excellent. Wipeable and resistant to scuffs and moisture. | Low. Typically single-use; may stretch or tear upon removal. | Look for non-toxic, phthalate-free vinyl from reputable UK suppliers. |
| Fabric | Rented homes, premium look, temporary decorating | Very Good. Tear-resistant and holds its shape well. | High. Can be repositioned and moved multiple times without losing stickiness. | Generally considered a very safe, PVC-free option. The woven texture doesn't trap dust as much as you'd think. |
Ultimately, the best choice really comes down to your priorities and how you plan to use the decals in your child's room.
H3: Speciality and Interactive Decals
Beyond the standard materials, you can find interactive decals that add an extra layer of fun and function. These turn a simple wall decoration into a genuinely playful experience.
Here are a few engaging options to consider:
- Chalkboard or Whiteboard Decals: Absolutely brilliant for creativity. They give your child a dedicated space to draw and write without you worrying about permanent marks on the walls.
- Glow-in-the-Dark Decals: Perfect for creating a magical night-time scene. Stars, planets, and friendly animals can offer a comforting glow when the lights go out, helping to ease any bedtime fears.
The right material really depends on what you need – whether it's durability, a premium finish, or the flexibility to change things up. For more details on the benefits of different sticker types, check out our guide on removable wall stickers in the UK, which offers even more helpful insights.
How to Make Sure Your Wall Decals Are Safe for Your Child
When you're bringing any new decoration into your child’s bedroom, safety has to be at the top of the list. Wall decals are a fantastic way to add some magic to their walls, but it’s vital to know you’re choosing products that are safe, non-toxic, and installed thoughtfully.
The first thing to look at is what the decals are actually made of. You’d be surprised how many of the cheaper, unbranded options can be made with vinyls and inks that slowly release nasty chemicals into the air. This is why a quick scan of the product description before you hit 'buy' is so important.
What to Look for on the Label
When you start shopping around, you'll see a few terms pop up again and again. Getting to grips with what they mean is the key to making a smart choice. Think of it like reading the ingredients on a food packet – you want to know you’re getting the good stuff.
Here are the big ones to watch out for:
- VOC-Free: VOCs, or Volatile Organic Compounds, are chemicals that can 'off-gas' from inks and adhesives, which isn't great for indoor air quality. Picking decals labelled VOC-free or low-VOC is a massive win for a healthier bedroom.
- Phthalate-Free: Phthalates are often added to plastics like vinyl to make them softer and more flexible. Any reputable UK brand making products for kids' rooms should be using phthalate-free vinyl as standard.
- Non-Toxic Inks: Keep an eye out for decals printed with water-based or eco-solvent inks. These are far safer than traditional solvent-based inks, which can be packed with harsh chemicals.
Thinking about materials for decals is a bit like choosing other items for your child's room. The same logic applies, as you can see in this guide to non-toxic kids furniture. It’s all about steering clear of harmful chemicals.
Safety Beyond the Sticker Itself
Once you’ve got the non-toxic materials sorted, the next thing to think about is where you’re actually going to put them. This is especially crucial in a nursery or a toddler's room. To a curious little one, a small, peelable sticker can look like a fascinating new toy.
To avoid any potential choking hazards, make sure any small, individual decal pieces are placed well out of arm's reach. This is a big one for walls around cots, beds, and playpens. A good rule of thumb is to place any smaller elements high up the wall or above a piece of furniture they can't climb on yet!
Your Quick Safety Checklist: Before you commit, ask yourself: Does the seller clearly state the decal is non-toxic? Is it from a reputable UK company that follows safety standards? Have I planned to stick them somewhere well away from curious little fingers?
A little bit of vetting goes a long way. Stick with brands that are open and honest about their materials. A trustworthy seller will be proud of their safety credentials and won't hesitate to answer your questions. Taking these simple steps ensures your chosen childrens bedroom decals are a completely safe and joyful addition to their special space.
Right, this is where the magic really happens. Let's get into the fun part—picking a theme that’ll spark your child’s imagination and make their bedroom a space they truly love. The brilliant thing about decals is how they can create a whole new world, one that can change and grow right along with your little one. You might start with something soft and calming for a nursery, and then a few years down the line, switch it up to something bold that screams their personality.
The trick is to think bigger than just sticking a few characters on a wall. A great theme tells a story, sets a mood, and can even become part of their playtime. Let's have a look at some ideas that work beautifully at every stage.
Styling Ideas for Nurseries and Toddlers
For the tiniest people in your life, the aim is to create a space that feels calm, safe, and gently stimulating. Soft, dreamy themes usually hit the nail on the head.
Imagine delicate watercolour animals drifting across a wall, or a fleet of whimsical hot air balloons floating by. Simple patterns like stars and clouds are also fantastic for creating a peaceful atmosphere that’s perfect for sleep, but won't overwhelm their developing eyes.
Here are a few popular ideas to get you started:
- Woodland Wonderland: Think gentle foxes, friendly bears, and sweet deer nestled among soft green tree decals. It creates such a peaceful, storybook feel.
- Under the Sea: Softly drawn whales, smiling turtles, and shoals of colourful fish can turn the room into a calm underwater sanctuary.
- Scandi-Style Patterns: You can’t go wrong with simple geometric shapes like polka dots or triangles in a muted colour palette. It's a chic, modern look that won't date as they grow.
A single, large statement decal can completely transform a room. Picture a sprawling, friendly tree in a corner—it instantly becomes a feature wall. Pop a soft rug and a few cushions at its base, and you’ve got a cosy reading nook ready to go.
Themes for Preschool and School-Aged Kids
As kids get a bit older, their own little personalities and passions really start to emerge. This is your chance to let their interests take centre stage. The themes can become more detailed and action-packed, firing up their imagination for hours of play.
This is also the age where parents often start investing more in creating truly personalised spaces. In fact, the UK kids' furniture market is expected to reach around USD 1.5 billion by 2025. It just shows how much we’re all focusing on creating rooms that are themed, functional, and look fantastic. Decals are a massive part of this, working hand-in-hand with furniture to build these little worlds. You can read more about this in this piece of research on kids' furniture trends.
Consider these engaging themes:
- Dinosaur Discovery: Bring the Jurassic world to life! Towering T-Rexes, gentle Brontosauruses, and a scattering of prehistoric plants make for a roarsome adventure.
- Outer Space Adventure: Turn their ceiling into a galaxy with glow-in-the-dark stars, planets, and rockets. It's not just exciting, it's a great way to get them curious about the universe.
- Jungle Safari: Fill their room with cheeky monkeys swinging from vines, majestic lions, and tall giraffes. It's a proper wild adventure waiting to happen.
How to Create a Cohesive Look
The secret to making a room look professionally styled is making sure your decals work with what's already there. You don't need a complete overhaul to make a huge impact.
A great place to start is by picking one or two main colours from your decal set. Then, just sprinkle those colours around the room in other bits and bobs. So, if your jungle decal has a lovely, vibrant green, you could add a matching green cushion, a lampshade, or even just a storage box. It's a simple trick that ties the whole look together and makes it feel really intentional.
Another tip is to think about how the decal can be useful, too. A beautifully designed growth chart decal, for example, isn't just a lovely decoration. It’s a practical piece that becomes a treasured record of their childhood. When you blend style with purpose, you create a space that’s not just beautiful, but perfectly suited to your child’s life.
Your Step-by-Step Guide to Applying Decals Perfectly
The thought of applying a large wall decal can feel a bit daunting, can't it? It seems like one of those high-stakes decorating jobs. But honestly, it’s much simpler than you think. With a little bit of prep and a steady hand, you can get that flawless, painted-on look that totally transforms a room.
Forget the stress and the dreaded air bubbles. This guide will walk you through a foolproof method for a perfect finish every time. Think of it like putting a screen protector on your phone, but on a much bigger and more forgiving scale. The real secret is preparing your wall properly and taking your time. Rushing is the enemy here, so pop the kettle on, put some music on, and let’s get this right.
This process ensures your new childrens bedroom decals look amazing and stay put for years.
Preparing Your Wall for Application
A brilliant finish starts long before you even think about peeling off the backing paper. A clean, smooth, and properly cured wall is the foundation for a decal that sticks perfectly and looks professional. If you skip this bit, you're asking for peeling corners and frustrating bubbles down the line.
First up, the wall has to be clean. Give the whole area a gentle wipe with a soft, damp cloth to get rid of any dust or grime. A simple solution of mild soap and water is all you need – steer clear of harsh chemical cleaners, as they can leave behind a film that stops the decal from sticking properly.
Now for the important part: let the wall dry completely. And I mean completely. Give it at least 24 hours.
Paint Curing Pro-Tip: Freshly painted walls need to "cure," which is just a fancy way of saying the solvents in the paint need to fully evaporate. If you stick a decal on too soon, you'll trap those fumes, causing bubbles that can ruin both the paint and your new decal. You really must wait a minimum of 3-4 weeks after painting before you even think about applying wall stickers.
Positioning Your Decal for a Perfect Layout
Once your wall is prepped and ready, it's time to figure out the perfect placement. This is where you get to play designer. For bigger or more detailed designs, this step is absolutely crucial for getting the layout spot on. And your best friend for this job? A humble roll of masking tape.
Before you peel anything, tape the entire decal to the wall. This lets you stand back, look at it from every angle, and shuffle it around until you’re 100% happy. You can get your tape measure out to check it’s level and centred, or just eyeball it until it feels right.
This visual gives a great idea of how decal themes can grow with your child, from simple shapes in a nursery to a stunning feature wall in a 'big kid' room.
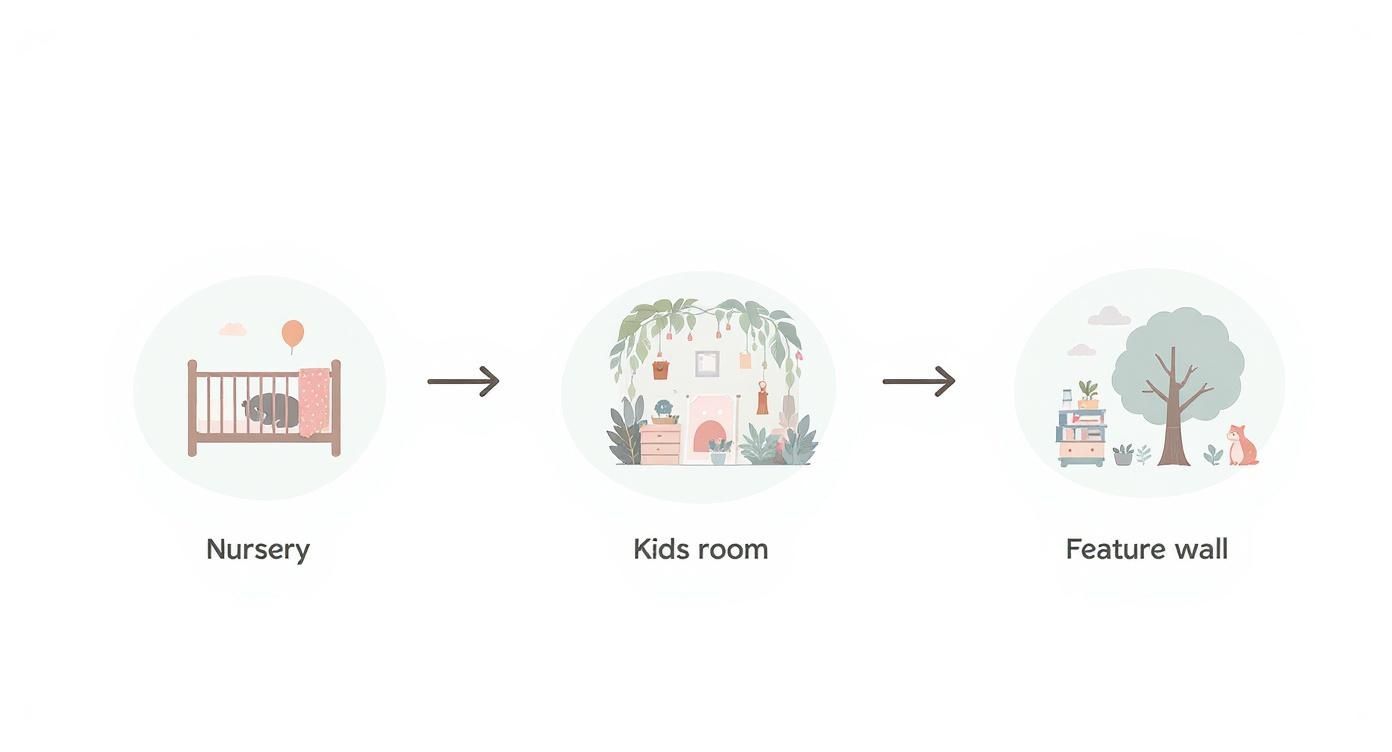
Seeing the change from nursery animals to a detailed world map really shows how versatile decals are for matching your child's ever-changing passions.
Applying the Decal Smoothly
Right, here we go – the main event! With your decal securely taped in place, you’re ready to apply it.
-
Create a Hinge: Run a long strip of masking tape horizontally across the middle of the decal, pressing it firmly onto the wall. This creates a 'hinge', holding everything steady so you can work on one half at a time.
-
Peel the Top Half: Gently lift the top section of the decal and carefully peel the backing paper away from the sticky side, stopping when you get to your tape hinge. Grab some scissors and snip off this loose piece of backing paper.
-
Smooth It Down: Starting from your hinge in the centre and working your way outwards, use a squeegee or even a credit card to smooth the decal onto the wall. Use firm, overlapping strokes to push any air bubbles out towards the edges.
-
Repeat for the Bottom Half: With the top half beautifully smooth and stuck down, you can now remove the central masking tape hinge. Lift the bottom half of the decal and peel away the rest of the backing paper.
-
Finish Smoothing: Just like you did for the top, smooth the bottom half down, working from the middle outwards until the entire design is perfectly applied.
Sometimes, despite our best efforts, little issues can pop up. Don’t panic! Here’s a quick guide to troubleshooting the most common application hiccups.
Decal Application Troubleshooting
| Problem | Cause | Solution |
|---|---|---|
| Air Bubbles | Air trapped during application; uneven pressure with the squeegee. | For small bubbles, use a pin to prick the centre and gently smooth the air out. For larger ones, carefully lift the edge of the decal nearest the bubble and re-smooth it. |
| Decal Won't Stick | Wall surface is dirty, dusty, greasy, or wasn't allowed to dry/cure properly. | Clean the area with an isopropyl alcohol wipe (test a small spot first!) and let it dry. If the paint is too new, you may need to wait longer. |
| Wrinkles or Creases | Decal was applied too quickly or without starting from the centre. | Gently lift the wrinkled section and re-apply it slowly, using the squeegee to smooth it down carefully from the centre outwards. |
| Edges Peeling Up | Not enough pressure was applied to the edges during application. | Place the transfer tape back over the lifting edge and go over it firmly with your squeegee several times. You can also give it a quick, gentle blast with a hairdryer on low heat to help the adhesive bond. |
Most of these are easy fixes, so just take your time and you'll get a professional-looking result.
The Easy Way to Remove Decals Later On
One of the best things about high-quality childrens bedroom decals is that they’re completely removable. This is fantastic news for renters or for when your little one decides they’re suddenly “too old” for dinosaurs. The process is a doddle and won't harm your walls.
All you need is a hairdryer. Set it to low heat and gently warm a corner of the decal, keeping the hairdryer a few inches from the wall. The warmth softens the adhesive just enough to make it easy to peel away.
Once you’ve lifted a corner, keep applying gentle heat as you slowly pull the decal from the wall at a 45-degree angle. It should come away cleanly, leaving no sticky mess or damaged paint. It’s a completely stress-free way to update a room whenever you fancy a change.
Creating a Truly Unique Room with Custom Decals
While off-the-shelf designs offer some fantastic themes, there's nothing quite like creating a space that is uniquely and totally theirs. Custom children's bedroom decals open up a whole new world of creative possibilities. They let you step away from the standard options and design a room that really captures your little one's personality and dreams.
Just imagine turning their very own hand-drawn masterpiece into a giant wall sticker, or adding their name in a beautiful script that weaves perfectly into a woodland or space theme. It’s this personal touch that turns a nicely decorated room into a cherished personal sanctuary, a true reflection of who they are.
Bringing Personal Ideas to Life
You might be surprised at how simple it is to get a custom decal made. Plenty of UK-based suppliers specialise in bringing your unique visions to life, whether it’s a simple name sticker or a completely bespoke design based on a sketch or an idea. The trick is just to communicate your vision clearly.
Here’s a taste of what you can typically personalise:
- Names and Initials: Adding a child’s name is easily one of the most popular custom requests. You can pick from countless fonts and colours to match the existing decor perfectly. For a deeper dive, you can learn all about the options for personalised name wall stickers and how they can really lift a room's design.
- Favourite Quotes: A meaningful quote or a line from a treasured book can be a lovely source of daily inspiration. You can have it designed in any style that suits the room’s atmosphere, from playful and bold to something more calm and elegant.
- Your Child’s Artwork: Now, this is where the real magic happens. Many companies can take a clear photo of your child’s drawing and turn it into a high-quality vinyl decal. It’s a wonderful way to preserve their creativity on the wall for years to come.
"A custom decal acts as a bridge between a child's imagination and their everyday environment. When a child sees their own name or artwork as part of their room's design, it validates their identity and creativity, making them feel truly seen and celebrated in their own personal space."
The Custom Design Process
Working with a supplier on a custom piece is usually a straightforward, collaborative process designed to make sure you get exactly what you've pictured in your mind.
- Share Your Idea: You'll kick things off by sending over your concept. This could be a specific name, a quote, or a photo of your child's artwork. You’ll also need to provide the rough dimensions you’re after and your colour preferences.
- Receive a Design Proof: Next, the company will create a digital mock-up, or a 'proof', of your decal. This is your chance to review everything, double-check spelling, and see exactly how it will look.
- Approve and Print: Once you’re completely happy with the proof and give them the green light, your decal will be printed and sent out. This simple step ensures there are no surprises and that the final product is perfect.
Got a Question About Children's Bedroom Decals? We've Got You Covered.
Picking out the perfect decorations for your little one's room is exciting, but it’s natural to have a few questions. We’ve been there! So, we've gathered the most common queries we hear from UK parents and answered them straight, with no jargon.
Think of this as your go-to guide for everything from wall compatibility to how long they'll last. It's all the info you need, right here in one place.
Can I Stick Decals on Any Painted Wall?
Pretty much! For the best results, you want a smooth, clean wall painted with a standard matt or silk emulsion. Imagine you're preparing a canvas – the smoother the surface, the better your masterpiece will look.
Now, here's a crucial tip: if you've just painted, hold off for at least 3-4 weeks before applying any decals. Paint needs time to 'cure', which is just a fancy way of saying all the solvents need to evaporate completely. If you stick a decal on too early, you can trap those gases, leading to annoying bubbles and a poor stick.
It’s also wise to steer clear of walls painted with special "scrubbable" or "stain-repellent" finishes. The very thing that makes them great for wiping off crayon marks also works against the decal’s adhesive, pushing it away.
Are Children's Bedroom Decals Easy to Clean?
Yes, they’re designed for real family life – spills, smudges, and all. Most good-quality vinyl and fabric decals are a doddle to look after.
A quick wipe with a soft, damp cloth is usually all it takes to get rid of dust or sticky fingerprints. Just be sure to avoid any harsh chemical cleaners or abrasive scourers, as they could dull the vibrant colours or weaken the adhesive over time. It makes them a genuinely practical choice for a busy kid's room.
One of the best things about modern decals is how long they last. They aren't just a temporary fad; they're a durable decorating solution that gives you fantastic value for years.
How Long Do Wall Decals Actually Last?
When you put them up correctly on a suitable indoor wall, a quality decal will stick around for a surprisingly long time. You can easily expect it to look fantastic for 5 years or more, with no peeling, cracking, or fading.
A couple of things can affect their lifespan. Popping them on a wall that doesn't get blasted by direct sunlight will help keep the colours bright, and they’re happiest in rooms that aren't too humid (so maybe not the best choice for a steamy bathroom). This durability means the decor can last as long as your child is in love with their chosen theme.
Are Wall Decals a Good Idea If We're Renting?
Absolutely! This is where they really shine. High-quality decals are made to be removed cleanly, without pulling off the paint or leaving a sticky mess behind.
This makes them a dream come true for renters. You get to completely personalise your child's space and make it feel like home, all without worrying about losing your security deposit. When it's time to move, just follow the simple removal steps – a bit of gentle heat from a hairdryer usually does the trick.
Ready to find the perfect design to spark your child's imagination? At Quote My Wall, we have a huge range of high-quality, non-toxic, and renter-friendly children's bedroom decals. Come and explore our collections and see what you can create at https://www.quotemywall.co.uk.