
Vinyl Decals for Walls Your Complete Home Decor Guide
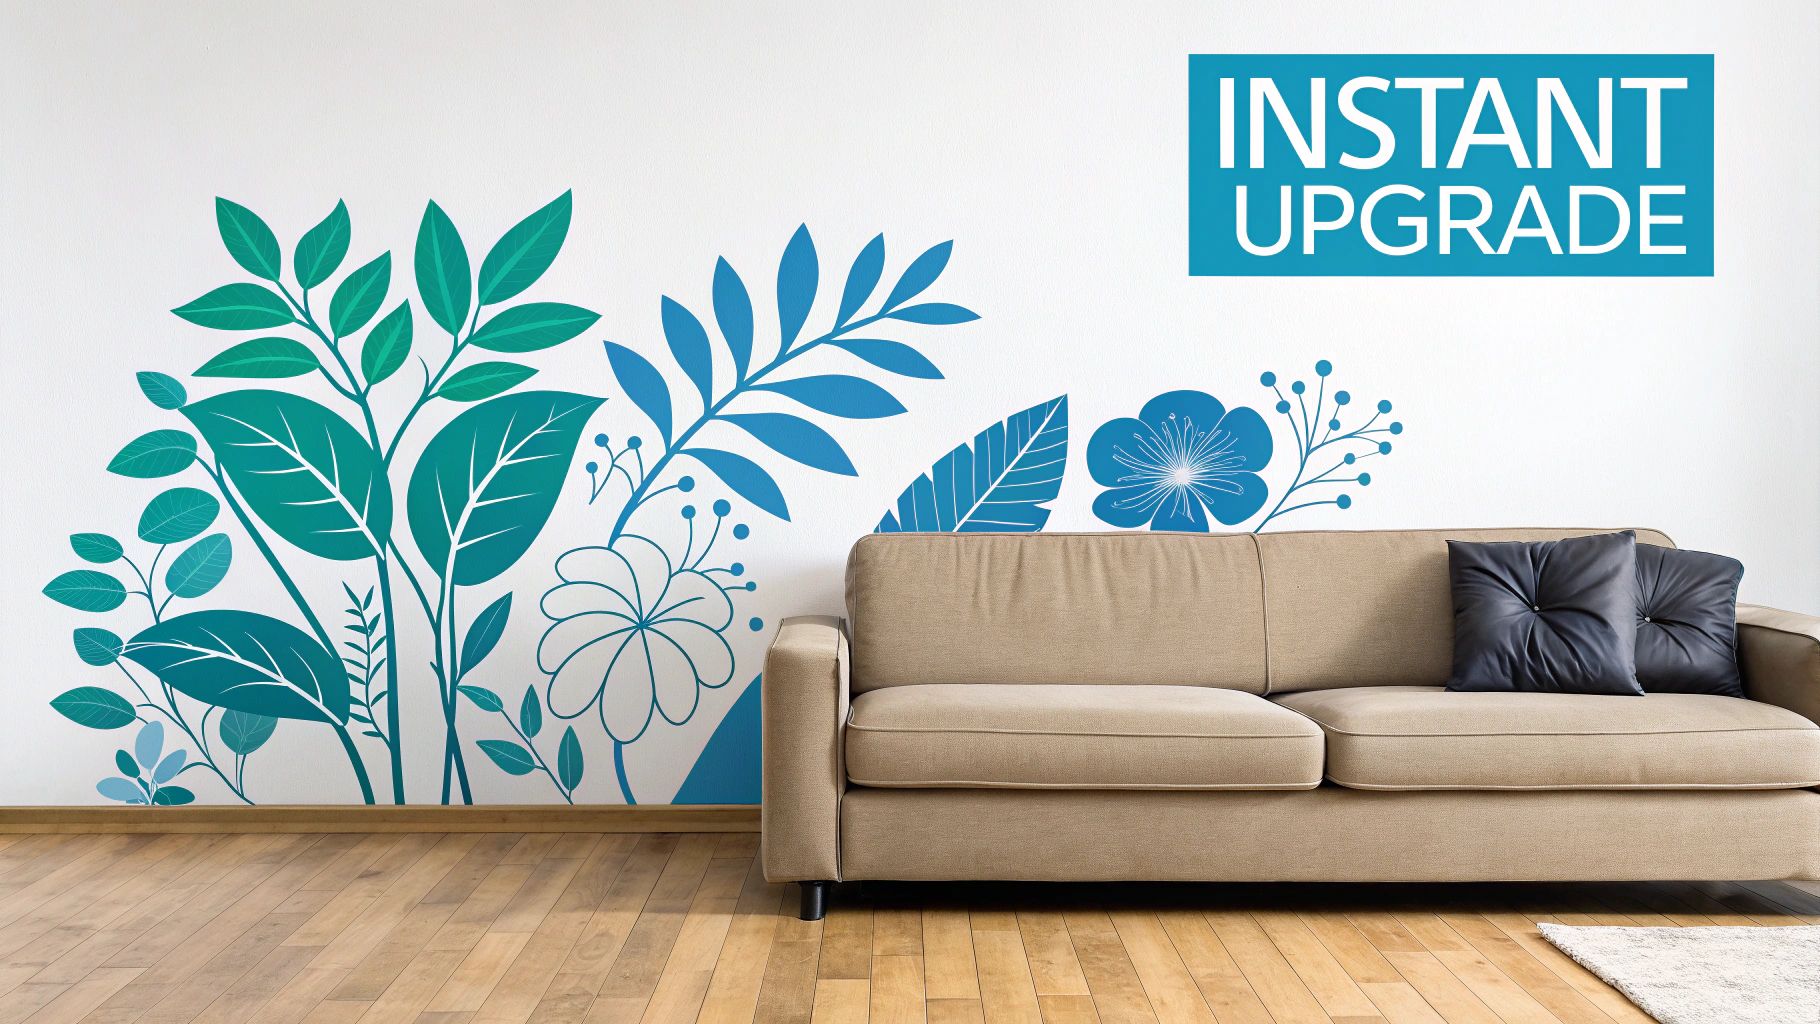
Think of vinyl wall decals as the modern, clever alternative to paint or wallpaper. They are precision-cut designs that stick directly onto your wall, creating an effect so seamless it looks like it was painted on – but without any of the fuss, fumes, or commitment. It's the simplest way to give a room an instant and affordable personality boost.
Transform Your Space with Wall Decals
Ever find yourself staring at a blank wall, wishing you could inject some character into it but recoiling at the thought of getting the paint rollers out? You're definitely not alone. Across the UK, homeowners and renters alike are turning to vinyl decals for walls as the perfect compromise. They neatly fill the gap between permanent, costly redecoration and flimsy, temporary fixes.
Don't just think of them as big stickers. See them as a flexible, powerful interior design tool. With a bit of planning, you can completely change the feel of a room in less than an hour, and that’s a big part of their charm.
Why Are They So Popular?
The buzz around vinyl decals isn't just a passing fad. It's built on real, practical benefits that solve everyday decorating headaches for everyone from city renters to growing families. The appeal is straightforward: you get maximum visual impact for minimal effort.
Here’s a closer look at why they’ve become such a go-to choice:
- Effortless Personalisation: Fancy a subtle Scandi-style pattern or a huge, dramatic floral mural? Decals let you put your own stamp on a space without needing a single artistic bone in your body.
- Cost-Effective Design: Getting a room professionally painted or wallpapered can be expensive. Decals give you a high-end, bespoke look for a fraction of the price.
- Renter-Friendly Decor: This is a total game-changer if you're renting. You can decorate to your heart's content, safe in the knowledge that you can peel them off later without leaving a trace or losing your deposit.
- Quick and Clean Application: Say goodbye to paint drips, dust sheets, and waiting for things to dry. Applying a decal is a simple, mess-free job that transforms your wall instantly.
A well-chosen wall decal does more than just fill an empty space; it tells a story. It can set a mood, reflect a passion, or simply add a touch of joy to your everyday environment.
More Than Just Walls
While "wall decals" is in the name, their potential goes far beyond your vertical surfaces. That same durable, high-quality vinyl can be used to breathe new life into old furniture – imagine giving a tired chest of drawers a fresh, geometric pattern. You can also add a bit of privacy to windows with frosted vinyl films or stick decorative touches on mirrors, doors, or even kitchen appliances.
This guide is here to walk you through it all. We’ll get into the different types of vinyl, share some creative ideas for every room in the house, and give you clear, step-by-step instructions for getting a perfect, bubble-free finish. By the time you're done, you'll understand why these versatile designs are a must-have for modern, stylish living.
Choosing the Right Vinyl for Your Space
Picking the right vinyl decals for walls is a lot like choosing paint. The material you go with has a massive impact on the final look and how long your design will last. Not all vinyl is the same, and getting your head around the differences in adhesive strength and surface finish is the secret to a professional result that sticks around.
Think of it this way: you wouldn't use the same paint for a steamy bathroom as you would for a kid's bedroom wall, right? Vinyl works on a similar principle. Getting this choice right from the get-go means your decal won’t just look brilliant, but it’ll also behave exactly as it should, whether that’s in a busy hallway or a peaceful nursery.
Really, this decision comes down to two things: the type of glue on the back and the finish on the front. Let’s break down what that actually means for your project.
Removable vs. High-Tack Adhesive
The first big decision is whether to go for a removable (low-tack) or a permanent (high-tack) adhesive. This is all about how long you want the decal to stay up and what kind of surface you're sticking it to.
An easy way to think about the difference is to compare them to things you use every day.
-
Removable (Low-Tack) Vinyl: This is your best friend if you're renting or just love to switch things up. Think of it as a high-quality sticky note for your wall. It's made to hold on tight but peel away cleanly months or even years later, without ripping off paint or leaving a gunky residue. Perfect for temporary décor, seasonal designs, or commitment-phobes!
-
Permanent (High-Tack) Vinyl: This is more like a super-strong label. The adhesive creates a much tougher bond, making it the go-to for long-term installations. If you’re putting a decal on a slightly textured wall, or maybe wrapping a piece of furniture that gets a lot of wear and tear, this is definitely the more reliable option.
Expert Tip: For temporary decorating or standard interior walls in a rented flat, always choose removable vinyl. For upcycling furniture, outdoor use, or slightly bumpy surfaces, a permanent adhesive gives you the staying power you need.
Finding the Perfect Finish
Once you've sorted the adhesive, it's time to think about the finish. This choice dictates how the decal plays with the light in your room and has a huge say in the overall vibe. Matte and gloss are the most common options, and each has its own distinct character.
A matte finish is all about subtlety. It absorbs light, giving it a soft, non-reflective surface that looks almost as if the design was painted right onto the wall. This makes it a fantastic choice for living rooms, bedrooms, and home offices where you want to minimise any annoying glare.
On the other hand, a gloss finish reflects light, creating a shiny, vibrant look that really pops. This finish isn’t just eye-catching; it’s also incredibly durable and a doddle to wipe clean. That makes it a practical winner for kitchens, bathrooms, and kids' playrooms where sticky fingers are a fact of life. The move towards these kinds of versatile materials is clear. In fact, vinyl-based coverings accounted for around 36% of the UK's wallpaper market in 2023, showing just how much we love durable and adaptable décor. If you're curious, you can explore the full report on UK wallpaper market trends to see how this interest is growing.
To help you decide, it’s worth looking at the different finishes side-by-side.
Comparing Vinyl Decal Finishes
Here’s a quick breakdown of the most common vinyl finishes to help you choose the best look for your room and aesthetic.
| Finish Type | Best For | Key Characteristics |
|---|---|---|
| Matte | Living rooms, bedrooms, and areas with direct light | Non-reflective, subtle, and gives a 'painted-on' look |
| Gloss | Kitchens, bathrooms, and children's rooms | Shiny, durable, vibrant, and very easy to clean |
| Satin | Anywhere you want a gentle sheen | A beautiful middle-ground between matte and gloss |
Ultimately, whether you go for a subtle matte or a punchy gloss, the finish is what brings your design to life and ties it into your room's overall style.
Creative Ways to Use Decals in Your Home
Right, you’ve got the basics down on the different types of vinyl. Now for the fun part: thinking about all the brilliant things you can do with them. The real beauty of vinyl decals for walls is just how versatile they are. They’re not just for plugging an empty gap on a wall; they're a way to tell a story, inject some personality, and completely rethink a room without the fuss and commitment of paint or wallpaper.
From a whimsical nursery to a sophisticated living room, the right decal can bring in a splash of colour, a touch of pattern, and a whole lot of character in minutes. Let’s explore a few creative ways to use them that go well beyond a simple wall quote.
Transform Key Rooms with Themed Designs
Every room in your home has its own vibe, and decals are a fantastic tool for playing that up. Have a think about the feeling you want to create. Are you after a calming retreat, a vibrant family hub, or a playful escape for the kids?
Here are a few ideas to get you started:
- The Nursery or Child's Room: This is where you can really let your imagination run wild. You could create an enchanting woodland scene filled with friendly animals, map out a galaxy of stars and planets across the ceiling, or go for a playful pattern of colourful dinosaurs. The best bit? These themes can grow with your child and are incredibly easy to update when they move on to their next obsession.
- The Living Room: Want to make a statement? A large-scale geometric pattern or a delicate, sprawling botanical design behind the sofa can create a stunning focal point. It has the same impact as a feature wall but is far easier to pull off – and to change when you fancy a new look.
- The Home Office: A well-chosen decal can help you mentally shift into work mode. Think of an inspiring quote in a sharp font or a sleek, minimalist world map to help you focus. It’s a simple way to define your workspace and make it a more stimulating place to be.
If you're wondering which type of vinyl is right for your project, this decision tree can help you narrow it down quickly.
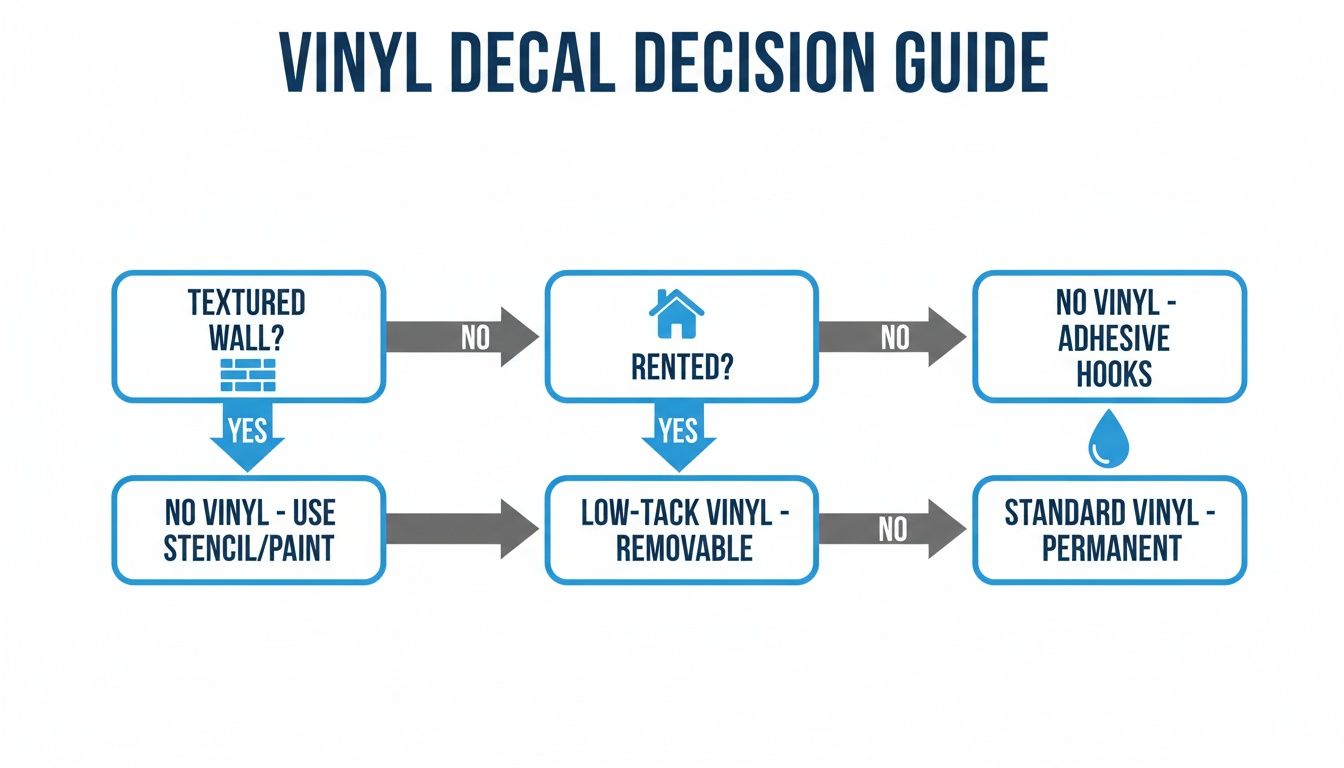
As you can see, for renters with smooth walls, a standard removable decal is perfect. But if you’re dealing with textured walls, you'll need to look at more robust options to get the job done.
Beyond the Walls: Upcycling and More
One of the most exciting things about vinyl is that you don't have to stick to walls. This is where you can get really inventive, breathing new life into tired furniture in a process known as upcycling.
Imagine taking a plain, flat-pack bookcase and giving it a designer finish with a marble or wood-effect vinyl wrap. Or what about updating your kitchen cabinets with a fresh pop of colour without ever picking up a paintbrush? This technique, often called furniture wrapping, is a brilliant, mess-free way to modernise your space on a budget. The durable, wipeable nature of gloss vinyl makes it ideal for these high-traffic surfaces.
Vinyl wrapping isn't just for furniture. You can apply it to internal doors, fridges, or even create a faux-tiled splashback in your kitchen using specialised tile stickers. It’s a fantastic trick for achieving a high-end look without the high-end cost.
Thinking about the bigger picture is always a good idea. While vinyl decals offer amazing flexibility, seeing how they work alongside other textures, like decorative fabric wall hangings, can spark even more creative ideas for your home.
Practical Tips for Specialised Areas
Some rooms need a little more thought. For places like bathrooms and kitchens, the material's durability and resistance to moisture are absolutely key.
For instance, if you're decorating a bathroom, always choose a high-quality, moisture-resistant vinyl. This is crucial to make sure your design doesn’t start peeling or bubbling after a few steamy showers. In the same way, for busy hallways or playrooms, a tough vinyl with a wipeable finish is a must-have to cope with the scuffs and marks of everyday life. Picking the right material from the start means your creative work will look great for years.
How to Apply Wall Decals Like a Pro
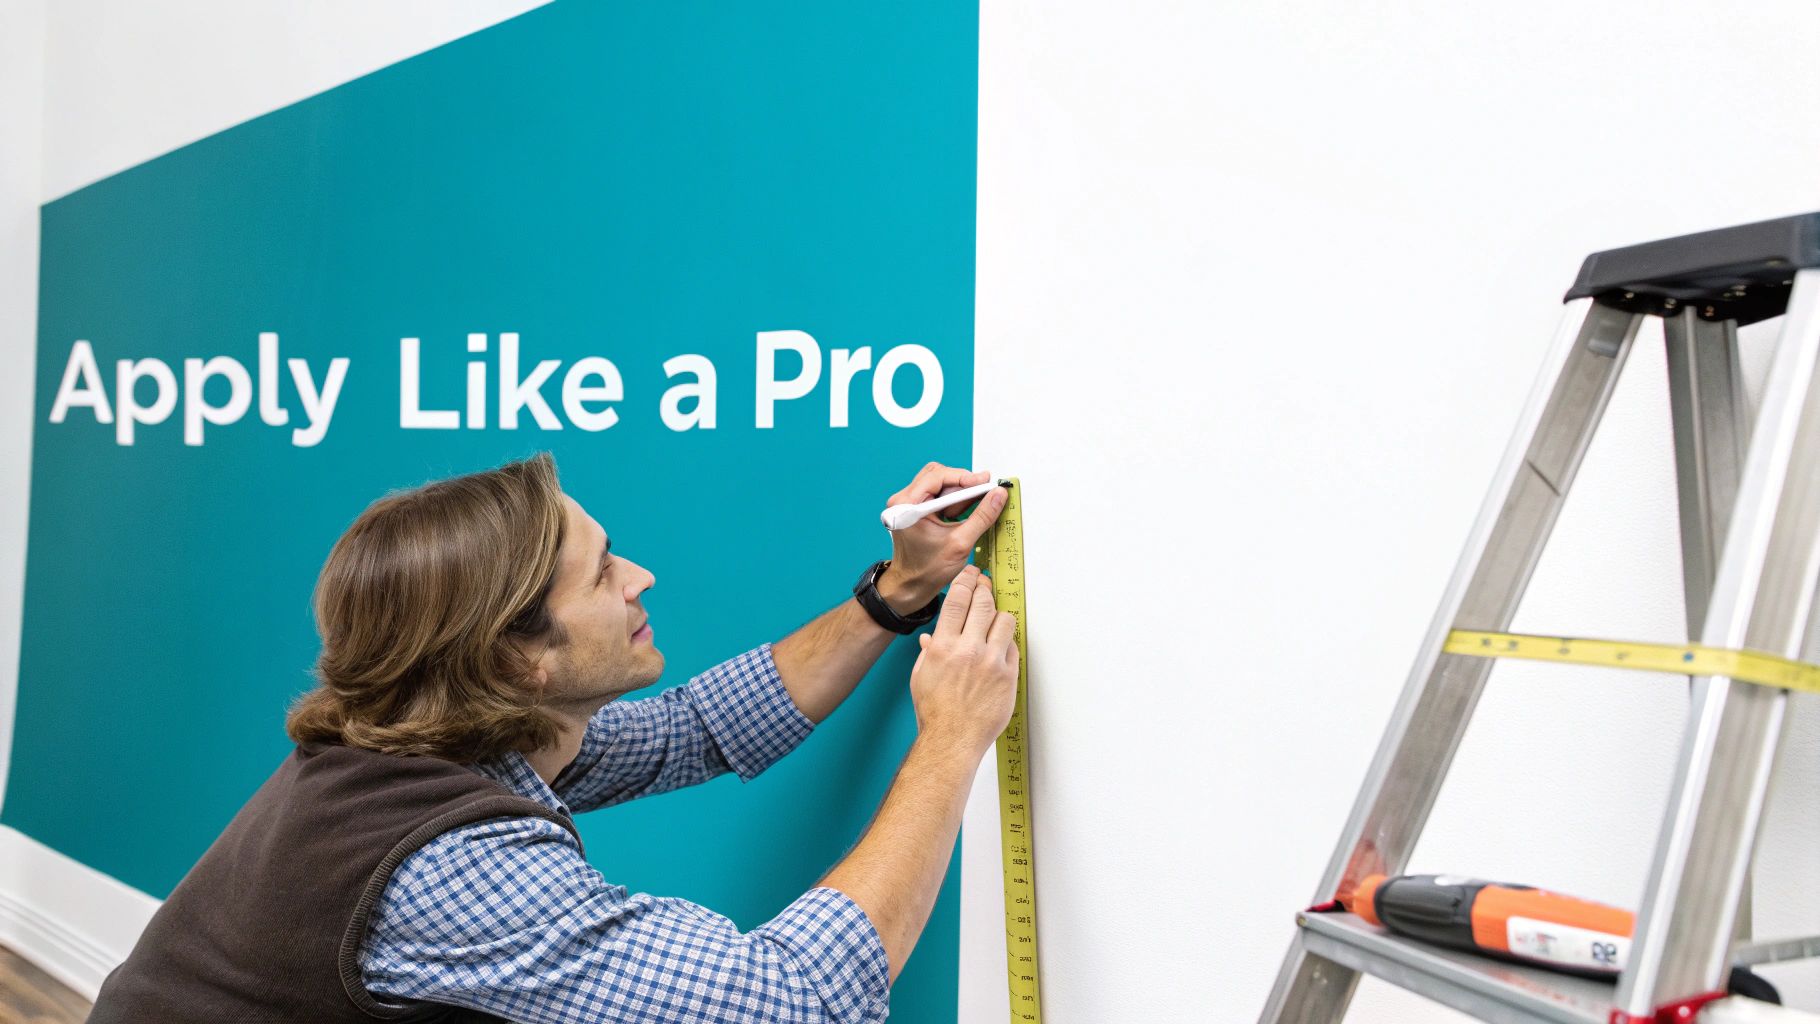
Getting that flawless, paint-like finish with vinyl decals for walls is genuinely much easier than it looks. The secret isn’t some special skill; it’s all about a bit of prep work and using the right technique. I'll walk you through the whole process, so you can get a professional, bubble-free result every single time.
Think of it like putting a screen protector on your phone. A clean surface and a steady hand are really all it takes. We’ll break it down into simple, easy-to-follow steps, from getting your wall ready to smoothing out that final design.
It's no surprise that DIY home personalisation is booming. The global market for wall decals is already valued somewhere between USD 2–9.6 billion and is set to grow by 6–7% each year. With over 100 million units sold annually, it's clear people love how easy and accessible they are. You can discover more insights about the booming wall decals market on archivemarketresearch.com.
Preparing Your Surface for Perfect Adhesion
First things first: preparation is everything. A clean, smooth wall is the perfect canvas for your vinyl decal. Any speck of dust, grease, or grime can stop the adhesive from getting a proper grip, which can lead to peeling corners or bubbles down the line.
Start by giving the wall a gentle wipe with a damp cloth and a little mild soap. Then, make sure you go over it again with a clean, damp cloth to get rid of any soap residue. The most critical part is letting the wall dry completely—give it at least 24 hours to be absolutely sure.
And a quick heads-up if you’ve recently painted: you must wait at least 3-4 weeks for the paint to fully cure. Applying a decal too soon can damage both the paint and the decal.
Your Step-by-Step Application Guide
Once your wall is clean and dry, you’re ready for the fun part. Grab your tools: a tape measure, a pencil, some masking tape, and a squeegee (a credit card works just as well in a pinch).
- Position Your Decal: Hold the decal up to the wall and use your tape measure to find the perfect spot. You can use light pencil marks to guide you or, for a no-mess option, use small bits of masking tape to mark the corners. Step back and have a look from a distance to make sure it’s straight.
- Create a Hinge: For larger designs, the ‘hinge method’ is a total game-changer. Stick a long piece of masking tape horizontally across the middle of the decal, fixing it to the wall. This acts as a hinge, holding the design perfectly in place while you work.
- Peel the Backing Paper: Gently peel the top half of the backing paper (the solid white or blue layer) down to your masking tape hinge. Snip off the peeled section with scissors, taking care not to let your fingers touch the sticky vinyl.
- Apply and Squeegee: Starting from the centre hinge and moving outwards, use your squeegee to smooth the exposed vinyl onto the wall. Use firm, overlapping strokes at about a 45-degree angle to push out any air bubbles as you go.
- Repeat for the Bottom Half: Now you can carefully remove the masking tape hinge. Lift the bottom half of the decal and peel away the rest of the backing paper.
- Final Squeegee Pass: Continue squeegeeing the bottom section onto the wall, again working from the centre outwards to get a lovely, smooth finish. There are so many stunning effects you can create, and you can learn more about using wall stick on quotes in our detailed guide.
- Remove the Transfer Tape: With the whole decal smoothed down, it’s time for the big reveal. Slowly and carefully peel back the clear or semi-see-through transfer tape at a sharp, 180-degree angle, flat against the wall. If any part of the vinyl starts to lift, just lay the transfer tape back down, give that spot another firm rub with the squeegee, and then try peeling again.
Pro Installer Tip
Spotted a stubborn air bubble after you’ve removed the transfer tape? Don’t panic! Just prick it with a tiny pin or the very tip of a craft knife, then gently press the air out with your finger. The tiny hole will be completely invisible.
Removing Decals Without Damaging Your Walls
One of the biggest perks of using vinyl decals for walls is just how simple and stress-free they are to take down. This is fantastic news for renters, who can go bold with their decorating choices without risking their security deposit, and for anyone who just loves to switch up their style on a whim. The secret is all in the clever design of the removable adhesive.
The glue is specially formulated to stick firmly to your wall but let go cleanly when you're ready for a change. Forget those old-school stickers that leave behind a stubborn, sticky residue; these decals are designed for a clean break. That means you get total freedom to play with trends, seasonal themes, and new ideas without any long-term commitment.
The Simple Science of Safe Removal
The whole process is incredibly straightforward and doesn't require any fancy tools—just a bit of patience and a gentle hand. The trick is to soften the adhesive just enough to make peeling a breeze, which stops you from accidentally taking a chip of paint off along with the decal.
Your best friend for this job? A simple hairdryer. By wafting some gentle, low heat across the vinyl's surface, you make the adhesive more flexible and weaken its grip on the wall. This one little step is the secret to getting your walls back to their original, pristine condition.
Your Step-by-Step Removal Guide
Ready to switch things up? Here’s the easiest way to remove your decal without leaving a trace.
- Gently Warm the Vinyl: Grab a hairdryer and set it to its lowest heat setting. Hold it about 15-20 centimetres from the decal's edge and warm the surface for around 30 seconds, moving it back and forth for even heat distribution.
- Lift a Corner: Once the vinyl feels warm, use your fingernail or a plastic card (like a loyalty card) to carefully lift up a corner.
- Peel Slowly and Lowly: Pull the decal away from the wall at a shallow, 180-degree angle—almost folding it back on itself. Try not to pull it straight out at a 90-degree angle, as this puts much more strain on the paint.
- Heat as You Go: If you feel any resistance, especially on larger decals, just apply a bit more gentle heat with the hairdryer right in front of the area you’re peeling.
For a truly flawless removal, patience is key. A slow, steady pull combined with a touch of warmth will convince the adhesive to release cleanly every single time.
If you do happen to find any stubborn spots or a tiny bit of residue, don’t panic. A soft cloth with a little warm, soapy water is usually all it takes to wipe away any lingering traces. For an even more detailed guide, you can find our complete instructions on how to remove a wall sticker without any fuss.
Designing Custom Decals for a Personal Touch
Why settle for a design everyone else has when your walls could say something completely you? This is where the real fun with vinyl decals for walls begins. It’s your chance to move past the standard catalogue and become the designer of your own space, creating a truly one-of-a-kind piece that tells your story.
Imagine turning one of your child's first drawings into a huge, colourful feature in their playroom. Or what about your favourite family photo, transformed into a chic silhouette above the sofa? You could even have a meaningful quote that inspires you every day, written in a beautiful script to welcome guests in the hallway. If you can dream it up, you can probably stick it on a wall.
From Your Idea to Your Wall
Bringing a custom design to life is surprisingly simple. Many online suppliers, including us here at Quote My Wall, specialise in taking your vision and making it a reality. The whole process kicks off with your concept, which can be anything from a simple line of text to a complex, multi-coloured illustration.
To get the ball rolling, you’ll usually need to send over your design in a digital format. Here’s what most companies will look for:
- Vector Files (.SVG or .AI): These are the gold standard. Because they’re built from mathematical lines rather than pixels, vector graphics can be scaled up or down to any size—from a tiny accent to a massive mural—without losing a shred of quality. No blurriness, guaranteed.
- High-Resolution Images (.JPEG or .PNG): If you’re working with a photograph or a scanned piece of artwork, it needs to be high-res. A good rule of thumb is at least 300 DPI (dots per inch) at the final printed size. This ensures your decal looks crisp and professional, not fuzzy or pixelated.
The Design and Approval Process
Once you’ve submitted your file, the supplier will whip up a digital "proof." This is basically a preview showing exactly how your finished decal will look, complete with dimensions and colours. This is your moment to double-check everything—look for typos, confirm the colours are right, and ask for any tweaks before it heads to the printer. Always give your proof a thorough once-over! For a dose of inspiration, have a look at our guide to personalised wall stickers in the UK.
When it comes to custom text, typography is everything. The font you pick can completely transform the mood of a quote or a name, shifting it from playful to elegant. It’s worth exploring resources on choosing the right fonts for your custom designs to find a style that perfectly complements your decor.
Key Takeaway: Creating custom vinyl decals is an amazing and accessible way to make your home’s decor deeply personal. Armed with the right file and a clear vision, you can work with a supplier to produce a piece of art that’s uniquely yours, turning a blank wall into a meaningful statement.
Your Wall Decal Questions, Answered
As we get to the end of our guide, you might still have a few questions buzzing around. That’s completely normal! To make sure you feel ready and excited to start your project, we’ve tackled some of the most common queries we get asked.
Think of this as your go-to cheat sheet. It’s here to iron out any last-minute wrinkles and give you the practical know-how to choose the perfect decal for your home.
Can I Put Vinyl Decals on Textured Walls?
This is probably the number one question we hear, and the honest answer is… it depends. Vinyl decals love smooth, clean surfaces – that’s where they form the strongest bond. If your wall has a very light texture, like a subtle ‘orange peel’ finish, a decal with a high-tack adhesive will probably work just fine.
However, for anything more heavily textured, like popcorn ceilings or rough plaster, a standard vinyl will almost certainly struggle. It won’t be able to get a proper grip, which leads to bubbling and peeling. The smartest move is always to order a small sample decal first. Test it somewhere out of the way and see how it holds up before you commit to a full-sized design.
Are Vinyl Wall Decals Reusable?
In a word, no. Most vinyl wall decals are designed for a single, perfect application. The adhesive is strong enough to last for years, but it’s not designed to be peeled off and stuck back down again. Trying to reposition a decal will likely stretch or tear it, and it will definitely lose its stickiness, meaning it just won’t look right in its new home.
You might come across products called 'wall clings', which are made from a different material specifically for repositioning. But a classic vinyl decal should always be thought of as a one-and-done decoration.
How Long Will My Vinyl Decal Last on the Wall?
The lifespan really comes down to the quality of the vinyl and where you put it. If you opt for a premium-quality vinyl and apply it correctly to a suitable indoor wall, you can easily expect it to look fantastic for five years or more.
To get the most out of your decal, try to keep it out of direct, harsh sunlight, as this can fade the colours over time. It’s also a good idea to avoid areas with a lot of moisture and temperature changes, like right above a radiator or in a bathroom without good ventilation.
Will Wall Decals Damage My Paint When I Take Them Off?
When you use the right type, removable vinyl decals for walls are completely safe for your paint. That’s what they’re designed for – to come off cleanly without leaving damage or a sticky residue behind.
The only time you might run into trouble is if the wall wasn't in great shape to begin with. For instance, if the paint was old and already flaking, or if you applied the decal to freshly painted walls that hadn't had time to fully cure (which takes about 3-4 weeks). By following our gentle removal steps with a hairdryer, you’ll soften the adhesive and ensure it releases without a fight, keeping your paintwork pristine.
Ready to find the perfect design to bring your walls to life? Quote My Wall has a huge range of high-quality vinyl decals, from beautiful nursery designs to stunning furniture wraps. If you can't find exactly what you're looking for, we'll help you create a custom piece that's uniquely yours. Explore our collections and start your transformation today at https://www.quotemywall.co.uk.