
Sew In Labels For Clothing A Complete Crafter's Guide
Choosing the right sew-in labels for clothing is more than just a final touch; it’s the first step in giving your creation a truly professional finish. The right label ensures your brand's quality is felt, not just seen, enhancing the garment while offering comfort that lasts for years.
Why Your Label Choice Is a Big Deal

Before you even think about threading a needle, the label you choose sets the tone. This decision goes way beyond just slapping on a logo. It’s about communicating the quality and care you've stitched into every seam.
Think about it this way: a soft, silky satin label is the only sensible choice for a baby grow, where anything else would irritate delicate skin. On the flip side, you'd want a tough, densely woven damask label for a denim jacket, something that can hold its own against heavy fabric and stand up to plenty of wear.
Matching Material to Garment
The feel of a label is just as crucial as how it looks. Getting the texture right makes the garment more comfortable and elevates the entire piece.
- Woven Damask: This is the industry standard for high-end fashion. The high thread count allows for really intricate, detailed designs and a smooth, professional feel. It’s perfect for blazers, formal trousers, and designer pieces.
- Satin: Known for its signature silky, soft texture. This makes it a brilliant choice for lingerie, children's clothing, or anything else worn close to the skin.
- Cotton: A breathable, natural option that feels right at home on organic or eco-conscious clothing lines. It gives off a lovely, down-to-earth vibe.
If you’re leaning towards more environmentally friendly options, you might find our guide on sustainable clothes labels helpful.
A label isn’t just an identifier; it’s a subtle signal of your brand's commitment to quality. The right material feels like an integral part of the garment, not an afterthought.
Comparing Sew-In Label Materials
To help you decide, here’s a quick comparison of the most common materials. Choosing the right one really depends on the type of garment you're making and the impression you want to create.
| Material Type | Best For | Feel & Durability |
|---|---|---|
| Woven Damask | High-end apparel, intricate logos | Smooth, professional, very durable |
| Satin | Lingerie, baby clothes, delicate items | Silky, soft, gentle on skin |
| Cotton | Organic clothing, casual wear | Natural, breathable, soft but sturdy |
Ultimately, the best choice is one that complements your fabric and brand ethos.
Understanding Label Folds
The way a label is folded completely changes how it’s applied and how it looks in the finished garment. An end-fold label, for instance, is stitched down on its two short sides, giving a clean, polished look on a hemline or cuff. In contrast, a centre-fold label is designed to be tucked neatly into a seam, creating a more integrated, discreet tag.
It’s no surprise that in the UK, over 80% of designer apparel brands opt for woven sew-in labels, usually made from damask or satin. They favour them for their incredible longevity and ability to look pristine wash after wash, which is absolutely vital for upholding a brand's reputation for quality.
Your Essential Toolkit for Attaching Labels
The secret to a flawless finish, rather than a frustrating chore, often lies in having the right tools ready to go. Before you even think about stitching, gathering a few simple items will make sure your sew in labels for clothing look professional and stay put.
First up, your needle. You'll want one that's a good match for your fabric. For delicate materials like satin, a sharp, slender needle is your best friend—it'll glide through without a snag. On the other hand, if you're working with something tougher like denim or canvas, you'll need a sturdier needle to get the job done. Using the wrong size can leave noticeable holes or, worse, a bent needle.
Next, let's talk about something that's often overlooked: the thread. It's more important than you might think. Make sure you select the appropriate sewing thread for the job; a high-quality polyester thread is usually a great all-purpose choice that's strong enough for most projects. For a truly invisible finish, try to match the thread colour to either your garment or the edge of the label itself.
Preparing Your Garment and Label
A little bit of prep work before you start sewing makes a world of difference. It’s always a good idea to pre-wash your garment, especially if it’s made from natural fibres like cotton. This simple step prevents any future shrinkage that could make the fabric pucker around your beautifully stitched label.
Placement is also key to getting that polished look. You need to think about both comfort and visibility. While the back of the neck is the classic spot, don't be afraid to get creative. A label on an outer cuff, a pocket, or along the hemline can add a really distinctive branding touch.
Pro Tip: Use a small piece of double-sided fabric tape or a pin to hold the label exactly where you want it while you sew. This little trick is a game-changer for preventing the label from shifting, which helps you get those perfectly straight, even stitches every time.
Finally, don’t write off the humble thimble! It might seem a bit old-fashioned, but it’s a real finger-saver, particularly when you’re pushing a needle through dense fabrics or several layers. It lets you apply firm, steady pressure without any pain.
Hand Stitching Labels for a Bespoke Finish
There’s something special about hand stitching. It gives you a level of control and an artisanal quality that a sewing machine just can't replicate. It’s the perfect way to add a genuinely bespoke finish to your creations, making sure your sew in labels for clothing are attached with real care and precision.
The real advantage of hand sewing is its versatility. You can work with any fabric, no matter how delicate, without worrying about the machine causing puckering or damage. Yes, it takes a little more time, but the result is a beautifully integrated label that feels like it’s always been part of the garment. You only need to master a couple of key stitches to get a professional, long-lasting finish that really speaks to the quality of your work.
This simple workflow breaks down the key stages, from prepping your garment and gathering your tools to placing the label just right.
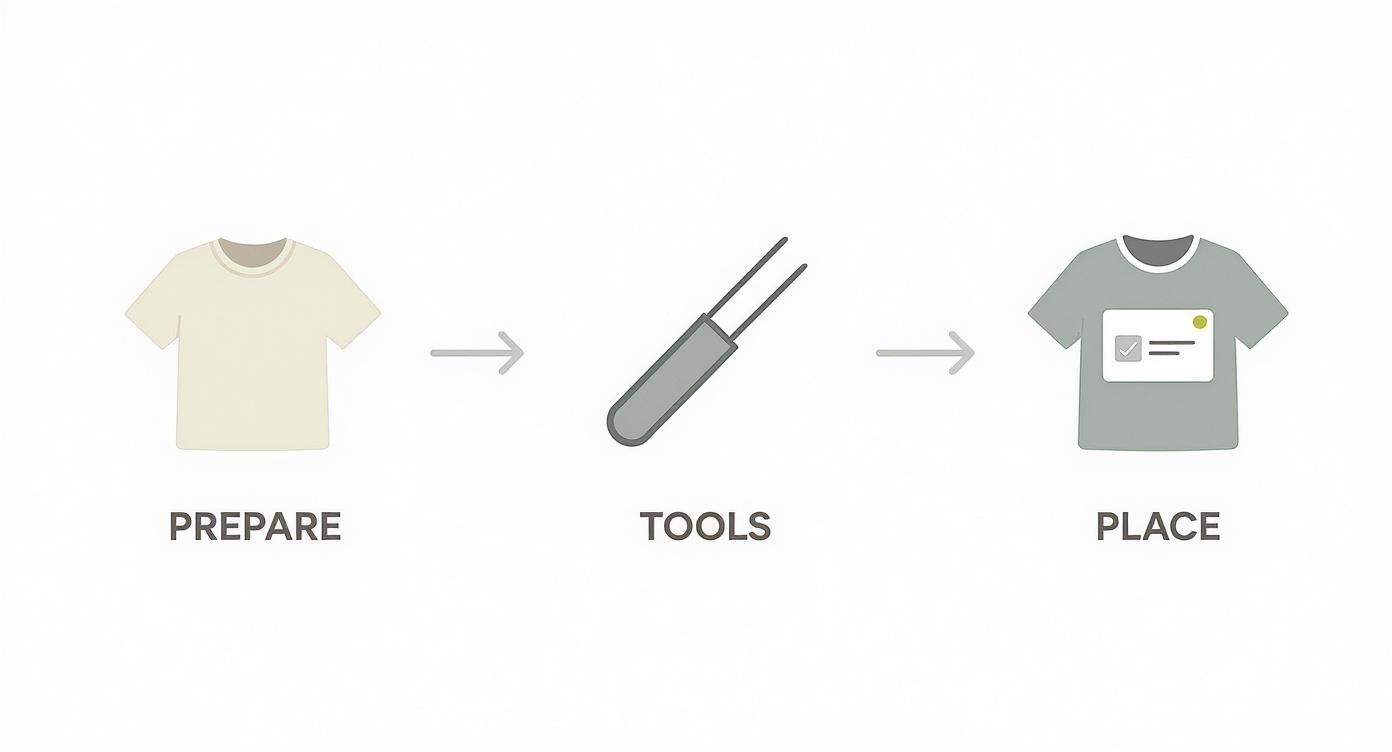
Think of this as your game plan. It helps you get everything organised before you even pick up a needle, making the whole process smoother.
Essential Stitches for a Flawless Look
You don't need to be a seasoned tailor to attach labels beautifully. In fact, three basic stitches will handle almost every scenario you’ll come across.
- The Running Stitch: This is your bread-and-butter stitch. It’s quick, simple, and perfect for labels that lie flat against the fabric. You just weave the needle in and out of the material in a straight line. It's wonderfully straightforward.
- The Whip Stitch: When you're working with folded labels, this is your best friend. The stitch wraps neatly around the edge of the label, encasing it for a clean, durable seam that stops any fraying. It's almost invisible from the front, giving you a really polished look.
- The Slip Stitch: This is the secret to a high-end, almost invisible application. The thread is cleverly hidden between the garment fabric and the label's fold. It takes a bit more practice to get right, but it's absolutely worth the effort for premium pieces where you want the finish to be perfect.
Here's a pro tip: always anchor your thread. Before you begin your main stitch, make a few tiny, secure stitches in an area that the label will cover. This simple step keeps knots hidden and ensures all your careful work won't unravel later on.
For a closer look at the different techniques, our friends have some brilliant advice on applying various types of sew on clothing tags. Picking the right stitch is what keeps your brand name looking great for years to come.
Using a Sewing Machine for Faster Application
When you're faced with a pile of garments needing labels, your sewing machine is your best friend. While I love the charm of hand-stitching, let's be realistic—machine sewing is the way to go for speed and a perfectly consistent finish. It's the ideal method for small batches or if you're producing a larger run.
The secret to making it look professional, not rushed, is all in the machine setup. Getting your settings right from the start means you'll avoid common headaches like bunched-up fabric or dodgy-looking skipped stitches. For most standard woven or satin labels, you can't go wrong with a universal needle and a good quality, all-purpose polyester thread.
Dialling In Your Machine Settings
I can't stress this enough: always do a quick test run. Grab a scrap of the same fabric you're using for your project and a spare label. Taking five minutes to do this will save you the soul-destroying task of unpicking a messy seam later.
- Stitch Length: I find a slightly shorter stitch length of around 2.0 to 2.5 mm is perfect. It creates a really secure seam without riddling the label with too many holes.
- Tension: Keep a close eye on your tension. If it's too tight, you'll get that awful puckering, especially on finer fabrics. What you're aiming for is a beautifully balanced stitch that looks exactly the same on the top and the bottom.
Have you ever had your sewing machine "eat" a small label right at the beginning? It's infuriating. An easy fix is to use a leader cloth. Just start sewing on a little scrap of fabric, then feed your label in right behind it without stopping. Problem solved.
Techniques for a Clean Finish
For a simple flat or end-fold label, a neat straight stitch around the edge is the most straightforward approach. Pin the label exactly where you want it and sew slowly, remembering to pivot with the needle down at each corner for those sharp, professional-looking turns.
If you're tucking a folded label into a seam, the "stitch in the ditch" technique is a game-changer. Once you've sewn and pressed your main seam open, just place the label inside the seam allowance. From the right side of the garment, stitch directly in the groove—the "ditch"—of the original seam. It’s a clever little trick that completely hides the new line of stitching for an invisible, retail-quality finish.
If you want to brush up on your skills and get more confident with your machine, exploring some free online sewing lessons can offer some brilliant pointers. Mastering these simple machine techniques will turn attaching labels from a chore into a genuinely satisfying final step.
Thinking Beyond the Neckline with Creative Placement
A well-placed label is more than just a brand tag; it’s a quiet nod to quality, a design element that can really elevate your entire piece. We’re so used to seeing labels tucked away at the back of the neck, but there's a whole world of more creative options for your sew in labels for clothing.

Imagine a small, folded label peeking out from a sleeve cuff. It’s an unexpected detail that catches the eye and gives off a high-end feel. These thoughtful placements are powerful signals of true craftsmanship that customers genuinely notice and appreciate. It shows you’ve thought about every single detail.
Ideas for Creative Label Placement
Instead of automatically reaching for the usual spot, think about placing your label somewhere that turns it from a simple tag into a signature design feature. A little bit of creativity here goes a long way.
Here are a few ideas I've seen work beautifully:
- On the Outer Hem: A small tag stitched along the front or side hem of a t-shirt or skirt lends a modern, retail-ready vibe. It’s subtle but very effective.
- Edge of a Pocket: Attaching a label to the side of a shirt or trouser pocket is a classic touch that adds just the right amount of understated branding.
- Along a Side Seam: Tucking a folded label into an outer side seam, maybe halfway down the garment, is a popular choice for contemporary brands and for good reason—it looks sleek and intentional.
A strategically placed label does more than just identify your brand; it becomes part of the garment's story. This small detail can make a handmade item feel like a piece from a curated boutique collection.
Polishing Your Work with Finishing Touches
The final steps are what really separate the pros from the hobbyists. Once your label is securely stitched in place, a couple of finishing touches will ensure you have a truly polished, sellable product.
First, always give the label area a final press with an iron. Make sure to use a pressing cloth to protect both the label and your garment’s fabric from direct heat. This is especially important for delicate materials like satin or anything with a sheen.
Finally, give your stitches one last look-over. Check for any loose threads or uneven lines. Taking a moment to snip any stray threads and ensure everything looks neat makes all the difference. It's this attention to detail that results in a clean, professional finish you can be truly proud of.
Common Questions About Sew In Clothing Labels
Even when you’ve got your technique down, little questions always seem to pop up when you're attaching sew in labels for clothing. It’s totally normal. Getting those nagging queries answered is the key to feeling confident and making sure your finished pieces look as polished as you imagined.
So, let's dive into some of the questions I hear most often from fellow crafters and designers.
A big one is always about thread. What’s the best choice? Honestly, you can rarely go wrong with a high-quality, all-purpose polyester thread. It’s strong, incredibly durable, and comes in every colour under the sun, so you can easily find a perfect match for your label or garment.
That said, if you’re working with natural fibres like a beautiful 100% cotton or linen, switching to a cotton thread can create a more seamless, authentic feel. The goal is to pick a thread that either vanishes into the label's edge or adds a subtle, deliberate contrast that works with your design.
Ensuring Comfort and Durability
Comfort is everything, especially for clothing that sits right against the skin. No one wants a scratchy label ruining their favourite handmade jumper. So, how do you avoid it? It really starts with the label material itself. Soft woven damask or silky satin labels are always a better bet for comfort than their stiffer, less refined counterparts.
Where you place the label matters a lot, too. A label tucked neatly into a side seam will be far less noticeable than one at the back of the neck. Finally, your stitching makes a huge difference. A delicate whip stitch or slip stitch that completely encases the raw edges of the label will feel much smoother against the skin.
Can a sew in label be removed without damaging the garment? Absolutely, it just takes a bit of patience. Grab a seam ripper or a small, sharp pair of embroidery scissors and carefully snip each stitch. The trick is to avoid catching the fabric of the garment itself. Once the threads are cut, the label should lift away cleanly.
People also ask about pre-washing. For most high-quality woven labels, you can skip this step. They're usually made to be colourfast and won't shrink. But if you're using natural cotton or printed canvas labels, it’s a smart move to wash them along with your fabric. This handles any potential shrinkage upfront and prevents ugly puckering later on. For more tips on making sure your labels can handle the rough and tumble, check out our guide on creating machine-washable labels.
And what about longevity? A well-attached sew-in label should easily last the entire lifetime of the garment. The secret is using strong thread and small, tight stitches – it doesn't matter if you're sewing by hand or machine. That enduring quality is precisely why so many brands choose them over any other labelling method.
At Quote My Wall, we provide a wide range of labelling solutions to give your creations a professional touch. Explore our customisable labels today!